
1. Introduction
This manual provides detailed instructions for the assembly, operation, and maintenance of your MELONFARM Small Grow Tent, model MLFNGTS114, measuring 18"x18"x55". This grow tent is designed to create an optimal environment for indoor plant growth, featuring highly reflective 600D Diamond Mylar canvas, ventilation options, and a floor tray. Please read this manual thoroughly before setup and use to ensure proper function and longevity of your product.
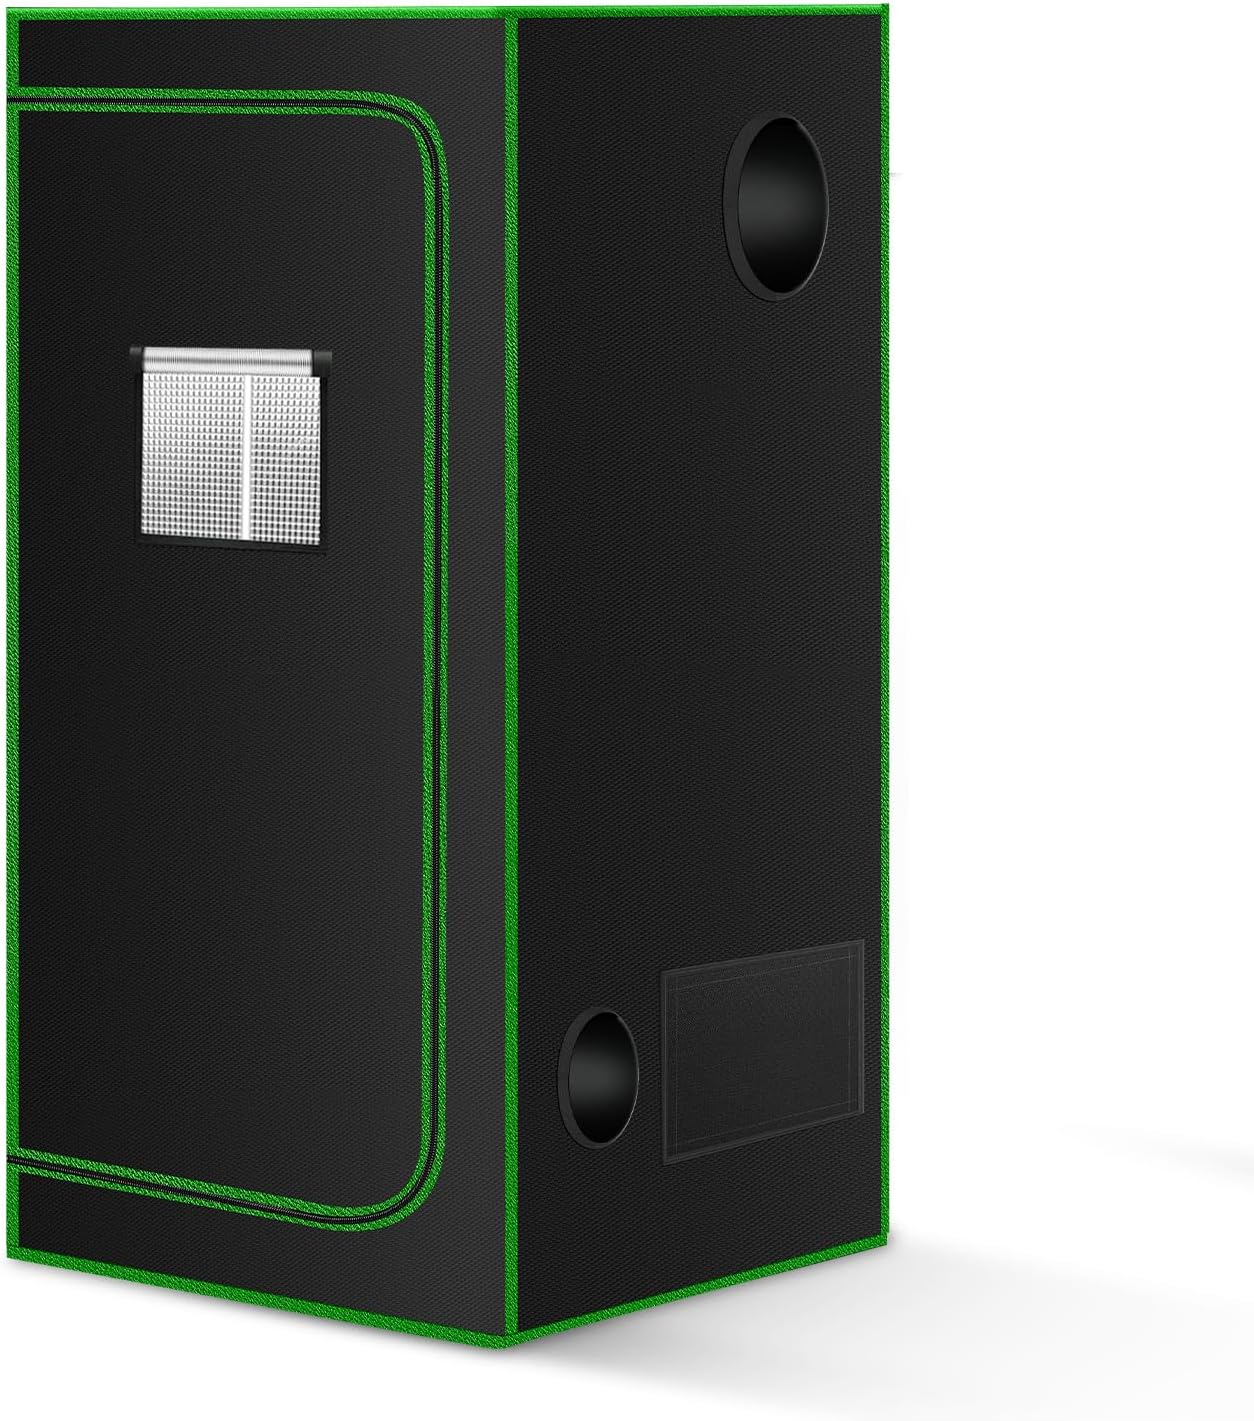
Figure 1.1: MELONFARM Small Grow Tent, 18"x18"x55". This image displays the exterior of the assembled grow tent, highlighting its compact size and design suitable for indoor use.
2. Safety Information
Observe the following safety precautions to prevent injury or damage to the product:
- Ensure the grow tent is assembled on a stable, level surface.
- Keep all electrical components (lights, fans, pumps) away from water and moisture.
- Do not overload electrical outlets. Use surge protectors for multiple devices.
- Regularly inspect electrical cords for damage. Replace damaged cords immediately.
- Do not modify the tent structure or materials in a way that compromises its integrity or light-proofing.
- Keep children and pets away from the grow tent, especially when in operation.
- Ensure adequate ventilation to prevent heat buildup inside the tent.
3. Package Contents
Verify that all components are present before beginning assembly:
- Grow Tent Fabric (1)
- Metal Frame Poles (various lengths)
- Corner Connectors (plastic or metal)
- Removable Waterproof Floor Tray (1)
- Hanging Straps for equipment (2-4)
- Instruction Manual (this document)
If any parts are missing or damaged, please contact MELONFARM customer support.
4. Setup Instructions
Assembly of the MELONFARM Grow Tent is designed to be straightforward and typically requires no tools. Follow these steps:
- Unpack Components: Lay out all frame poles, connectors, tent fabric, and the floor tray on a clean, flat surface.
- Assemble Base Frame: Connect the shortest poles to form the base rectangle using the appropriate corner connectors. Ensure all connections are secure.
- Install Vertical Poles: Insert the vertical poles into the corner connectors of the base frame.
- Assemble Top Frame: Connect the remaining shortest poles to form the top rectangle, then attach this to the top of the vertical poles using the remaining corner connectors.
- Drape Tent Fabric: Carefully pull the tent fabric over the assembled metal frame. Start from the top and work your way down. Ensure the zippers are aligned correctly.
- Secure Fabric: Zip up the tent completely. Adjust the fabric to ensure it fits snugly around the frame.
- Insert Floor Tray: Place the waterproof floor tray inside the bottom of the tent.
- Install Equipment (Optional): Use the hanging straps to suspend grow lights, fans, or other equipment from the top crossbars of the frame. Route cables through designated ports.

Figure 4.1: Interior view of a MELONFARM Grow Tent with equipment. This image illustrates how grow lights and ventilation systems can be installed within the tent structure, demonstrating the internal space and hanging capabilities.
5. Operating Instructions
To optimize your plant growth environment, consider the following operational guidelines:
- Lighting: Position your grow light at an appropriate distance from your plants, adjusting as they grow. The tent's highly reflective Mylar interior maximizes light distribution.
- Ventilation: Utilize the tent's ventilation ports for intake and exhaust fans. Proper airflow is crucial for temperature regulation, humidity control, and CO2 exchange.
- Temperature and Humidity: Monitor internal temperature and humidity levels using a hygrometer/thermometer. Adjust ventilation and potentially add a humidifier/dehumidifier as needed to maintain optimal conditions for your specific plants.
- Light Cycles: The tent's light-proof design ensures precise control over light and dark cycles, essential for various plant growth stages.

Figure 5.1: Diagram illustrating light reflectivity. This graphic shows the multi-layered construction of the tent fabric, including the 600D Oxford Cloth exterior, light-proofing layer, and 100% reflective Mylar interior, demonstrating how light is efficiently reflected back to plants.
6. Maintenance
Regular maintenance ensures the longevity and effectiveness of your grow tent:
- Cleaning the Interior: Periodically wipe down the Mylar interior with a damp cloth and mild, non-abrasive cleaner to maintain reflectivity.
- Floor Tray: The removable waterproof floor tray is designed to catch spills. Empty and clean it regularly to prevent water accumulation and maintain hygiene.
- Zippers: Keep zippers clean and free of debris. Lubricate with a zipper lubricant if they become stiff. Operate zippers gently to prevent damage.
- Fabric Inspection: Periodically check the tent fabric for any tears or damage. Small tears can be repaired with tent repair tape.
- Frame Inspection: Ensure all frame poles and connectors remain securely fitted.

Figure 6.1: Close-up of the duty spill tray. This image highlights the removable, waterproof floor tray designed to contain accidental spills and facilitate easy cleaning, protecting the surrounding area.
7. Troubleshooting
Address common issues with your grow tent using these solutions:
| Problem | Possible Cause | Solution |
|---|---|---|
| Light leaks from tent | Improper zipper closure, small tears, or loose fabric around ports. | Ensure zippers are fully closed and covered by their flaps. Inspect fabric for damage and use tent repair tape if necessary. Tighten drawstrings on ventilation ports. |
| High temperature inside tent | Insufficient ventilation, powerful light source, high ambient room temperature. | Increase exhaust fan speed or size. Add an intake fan. Ensure all ventilation ports are open. Consider cooling the room where the tent is located. |
| Low temperature inside tent | Excessive ventilation, low ambient room temperature. | Reduce exhaust fan speed. Close some ventilation ports. Increase ambient room temperature. Consider a small heater designed for grow spaces. |
| Stiff or stuck zipper | Dirt/debris in zipper teeth, lack of lubrication. | Clean zipper teeth with a brush. Apply a silicone-based zipper lubricant. Operate gently. |

Figure 7.1: Comparison of light leakage. This image contrasts the MELONFARM grow tent, which is designed to be completely light-proof, with other tents that may exhibit light leakage, emphasizing the importance of a sealed environment for plant growth.
8. Specifications
| Feature | Detail |
|---|---|
| Brand | MELONFARM |
| Model Number | MLFNGTS114 |
| Product Dimensions | 18"L x 18"W x 55"H (45.7cm x 45.7cm x 139.7cm) |
| Item Weight | 9.17 pounds (4.17 Kilograms) |
| Frame Material | Metal |
| Inner Material | Highly Reflective Diamond Mylar |
| Outer Material | 600D Oxford Cloth |
| Color | Black |
| Special Features | Ventilation window, Removable Floor Tray, Double-stitched canvas, Light-proof design |
9. Warranty and Support
MELONFARM stands behind the quality of its products. For specific warranty details, please refer to the warranty card included with your purchase or visit the official MELONFARM website. If you encounter any issues or have questions regarding your MELONFARM Small Grow Tent, please contact our customer support team. Provide your model number (MLFNGTS114) and purchase information for faster assistance.
Contact Information: Please refer to the MELONFARM official website or your purchase documentation for the most current customer support contact details.