Important Safety Instructions
- Read all instructions before using the appliance.
- Keep the appliance away from water or other liquids.
- Do not use the appliance while charging.
- Keep hair, loose clothing, fingers, and all parts of the body away from openings and moving parts.
- Use only as described in this manual. Use only manufacturer’s recommended attachments.
- Do not use with damaged cord or plug. If appliance is not working as it should, has been dropped, damaged, left outdoors, or dropped into water, return it to a service center.
- Do not pull or carry by cord, use cord as a handle, close a door on cord, or pull cord around sharp edges or corners. Do not run appliance over cord. Keep cord away from heated surfaces.
- Do not unplug by pulling on cord. To unplug, grasp the plug, not the cord.
- Do not handle plug or appliance with wet hands.
- Turn off all controls before unplugging.
- Do not use to pick up flammable or combustible liquids, such as gasoline, or use in areas where they may be present.
- Do not pick up anything that is burning or smoking, such as cigarettes, matches, or hot ashes.
- Use extra care when cleaning on stairs.
- Do not use without dust cup and filters in place.
- Store the appliance indoors in a cool, dry place.
Product Overview & Components
The PAKEWAY Handheld Pet Hair Removal Vacuum is designed for efficient cleaning of pet hair, dust, and debris from various surfaces. It features a 2-in-1 suction and brushing nozzle, double filtration, and a cordless, portable design.
Included Components:
- Main Unit
- Pet Hair Removal Nozzle set (includes flat suction nozzle and two types of soft rubber sheets)
- Long-neck Suction Nozzle set (includes crevice nozzle and suction nozzle brush)
- Blower Nozzle set (includes fine-tip blower with plant dusting brush)
- Type-C Charging Cable
- Instruction Manual

Setup
1. Charging the Device
Before first use, fully charge the vacuum. Connect the provided Type-C charging cable to the charging port on the main unit and a suitable power source. The indicator light will show charging status.
2. Attaching the Pet Hair Removal Nozzle
- Select the appropriate soft rubber sheet:
- Saw-toothed brush: For dense teeth, less residue on fabrics like sofas.
- Cone-toothed brush: For high efficiency on sticky hair on pet mats or scratch boards.

Figure 2: Comparison of Saw-toothed and Cone-toothed Soft Rubber Sheets for different cleaning needs. - To install a rubber sheet: Push the button on the flat suction nozzle to open the suction port. Insert the chosen rubber sheet, ensuring the surface that faces the suction port and the buckle align. Close the clips to secure.
- Attach the assembled flat suction nozzle to the main unit's suction inlet.

3. Attaching Other Nozzles
The vacuum comes with various attachments for different cleaning tasks. Simply push the desired nozzle onto the suction inlet of the main unit until it clicks securely into place. For the blower function, attach the blower nozzle to the exhaust port at the rear of the main unit.

Operating Instructions
1. Powering On/Off
Press the power button located on the handle to turn the vacuum on. Press it again to turn it off.
2. Using the 2-in-1 Suction & Brushing Nozzle
This nozzle is designed to suction and brush simultaneously, effectively removing pet hair, dust, dander, and small debris. It is ideal for:
- Sofas and Upholstery: Gently glide the nozzle across the fabric. The rubber sheets help dislodge embedded hair while the vacuum suctions it away.
- Carpets and Rugs: Use a back-and-forth motion to lift and remove hair from carpet fibers.
- Pet Beds and Scratch Boards: The cone-toothed brush is particularly effective for sticky hair on these surfaces.


3. Using the Crevice Nozzle
The long-neck crevice nozzle is perfect for reaching tight spaces and corners where pet hair and debris accumulate. Use it for:
- Car seats and floor mats.
- Between sofa cushions.
- Along baseboards and window sills.
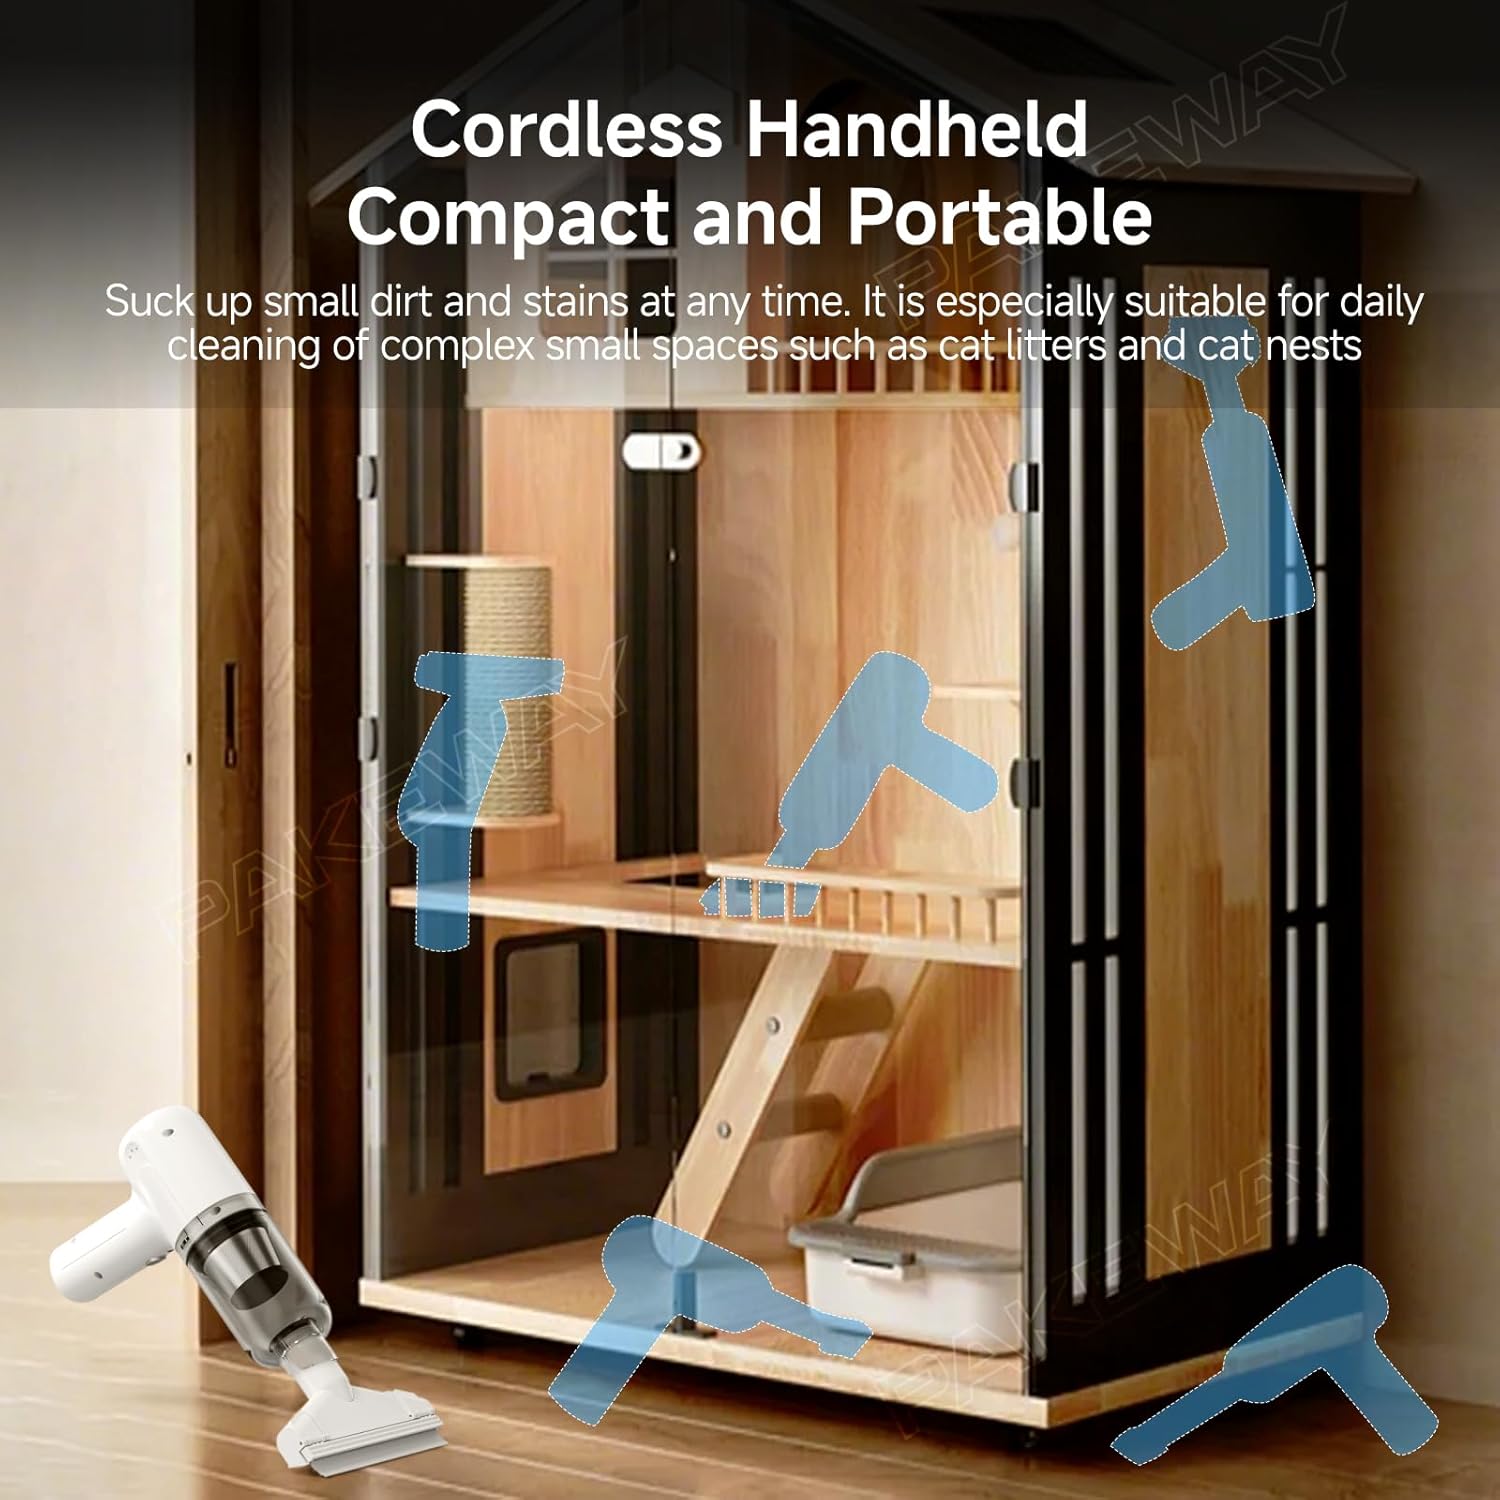
- Inside cat litter boxes or cat nests.
4. Using the Blower Nozzle
Attach the fine-tip blower nozzle to the exhaust port at the rear of the main unit. This function is useful for:
- Blowing dust and debris out of keyboards.
- Cleaning PC fans.
- Dusting delicate items or plants.
Maintenance
1. Emptying the Dust Cup
Regularly empty the dust cup to maintain optimal suction power.
- Rotate the dust cup counter-clockwise to detach it from the main unit.
- Carefully remove the double-layer filter element from the dust cup.
- Empty the collected dust and residues into a trash bin.
2. Cleaning the Filters
The split-type dust cup and filters are 100% washable for eco-friendly reuse. It is recommended to clean them regularly.
- After emptying, separate the steel mesh and HEPA filter core.
- Rinse both the dust cup, steel mesh, and HEPA filter core under running water until clean.
- Allow all components to air-dry completely before reassembling. Ensure they are thoroughly dry to prevent mold or damage.
- Reassemble the filter elements and attach the dust cup back to the main unit by rotating clockwise until secure.


Troubleshooting
Common Issues and Solutions:
- No Power: Ensure the device is fully charged. Check the charging cable connection.
- Weak Suction: Empty the dust cup if it is full. Clean the steel mesh and HEPA filter core as described in the Maintenance section. Ensure all attachments are securely connected.
- Device Not Turning On: Verify the battery is charged. If the device has been stored for a long time, it may require a longer charge.
- Hair or Debris Not Being Picked Up: Ensure the correct rubber sheet is installed for the surface type. Check for any blockages in the nozzle or suction path.
Specifications
| Feature | Detail |
|---|---|
| Brand | PAKEWAY |
| Model Name | PAKEWAY Handheld Pet Hair Removal Vacuum |
| Model Number | PKW-20250722 |
| Power Source | Battery Powered |
| Filter Type | HEPA Filter |
| Special Features | Double Filtration, Washable Filter, Cordless, Portable, 2-in-1 Suction & Brushing Nozzle, Dual Soft Rubber Brushes |
| Recommended Uses | Car, Carpet, Upholstery |
| Included Components | Blower Nozzle set, Crevice Nozzle Set, Main Unit, Pet Hair Removal Nozzle set, Type-C charging Cable |
Warranty and Support
This PAKEWAY product comes with a standard manufacturer's warranty. For detailed warranty information, product support, or to purchase replacement parts, please refer to the contact information provided with your purchase or visit the official PAKEWAY website.
Please retain your proof of purchase for warranty claims.


