
Introduction
Thank you for choosing the TORVO TD3 4K+2K Dash Cam. This device is designed to provide reliable video recording for your vehicle, enhancing safety and providing crucial evidence in various driving scenarios. Featuring 4K front and 2K rear recording, 5G WiFi, GPS, and advanced parking protection, the TD3 offers comprehensive surveillance. Please read this manual thoroughly to ensure proper installation, operation, and maintenance of your dash cam.
What's in the Box
Verify that all components are present:
- TORVO TD3 Front Dash Cam Unit
- Rear Camera
- 11.5ft USB Type-C Hardwire Cable
- 64GB Micro SD Memory Card
- User Manual
- Cable Install Tool
- 3M Adhesive Mounts
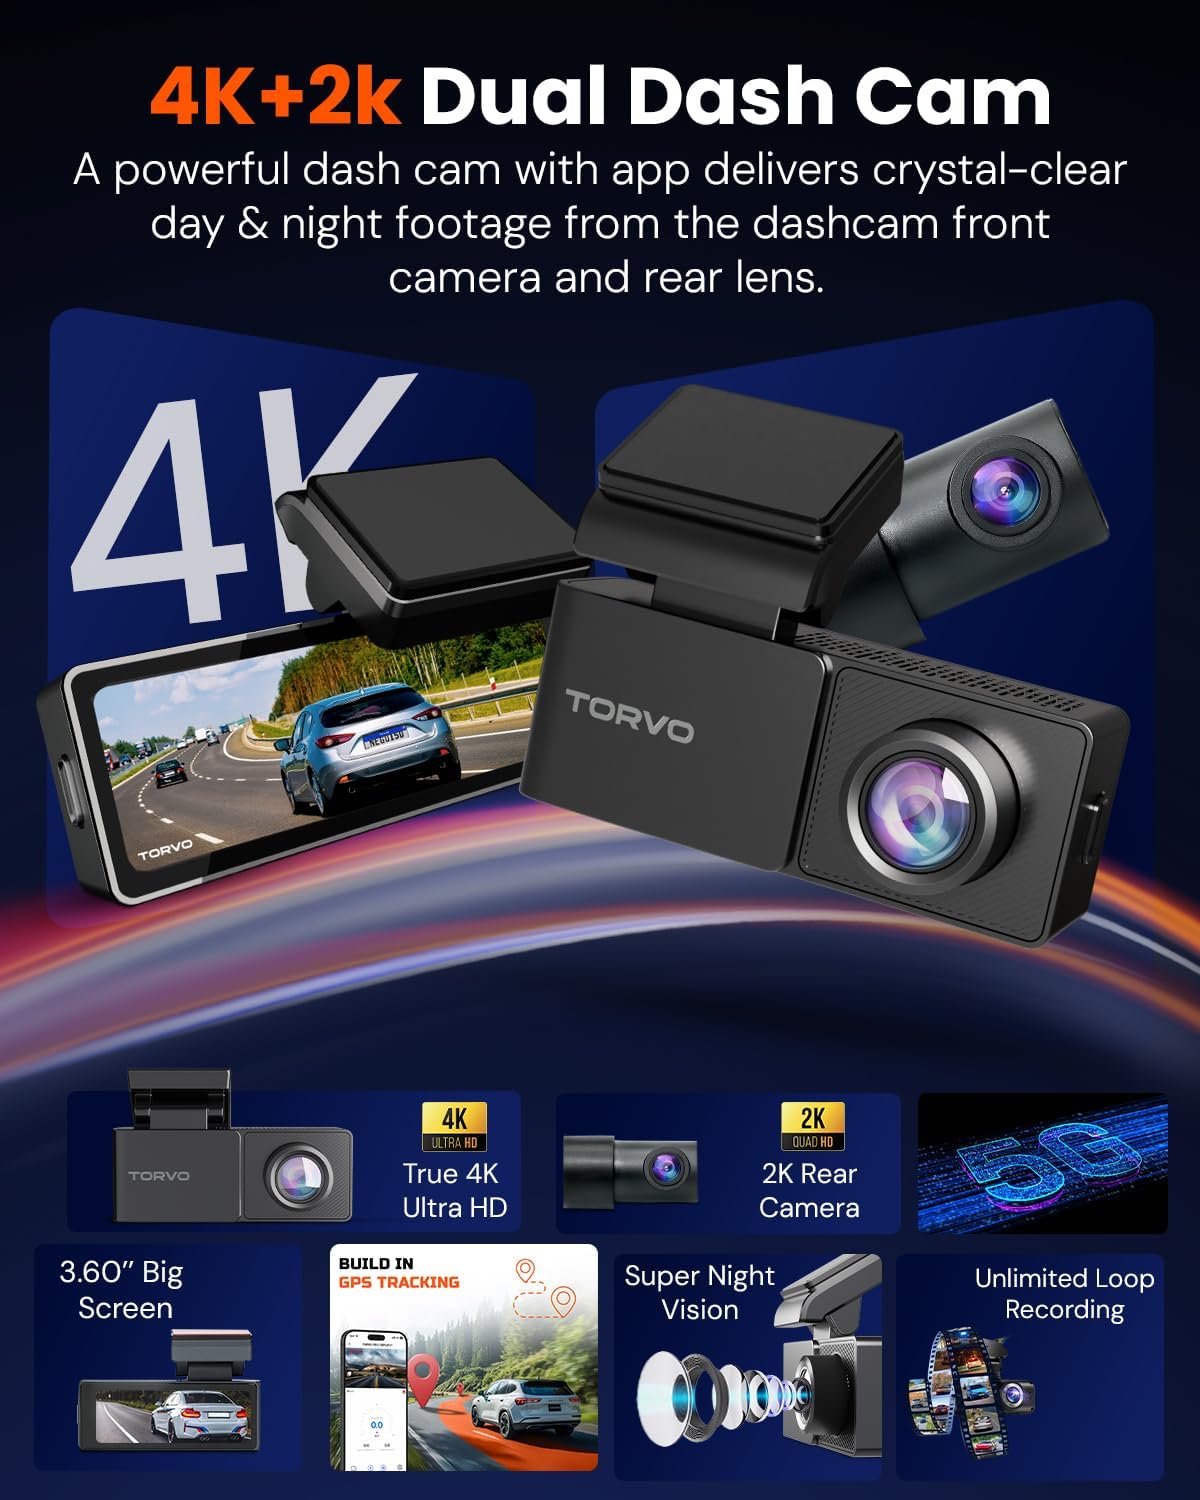
Image: TORVO TD3 Dash Cam, rear camera, cables, and user manual laid out on a surface.
Product Overview
Front Dash Cam Unit
The main dash cam unit features a 3.2-inch LCD screen, a 4K front lens with a 170° wide-angle view, and control buttons on the bottom. It includes a USB Type-C port for power, an AV-in port for the rear camera, and a Micro SD card slot. The unit is designed for discreet mounting on the windshield.
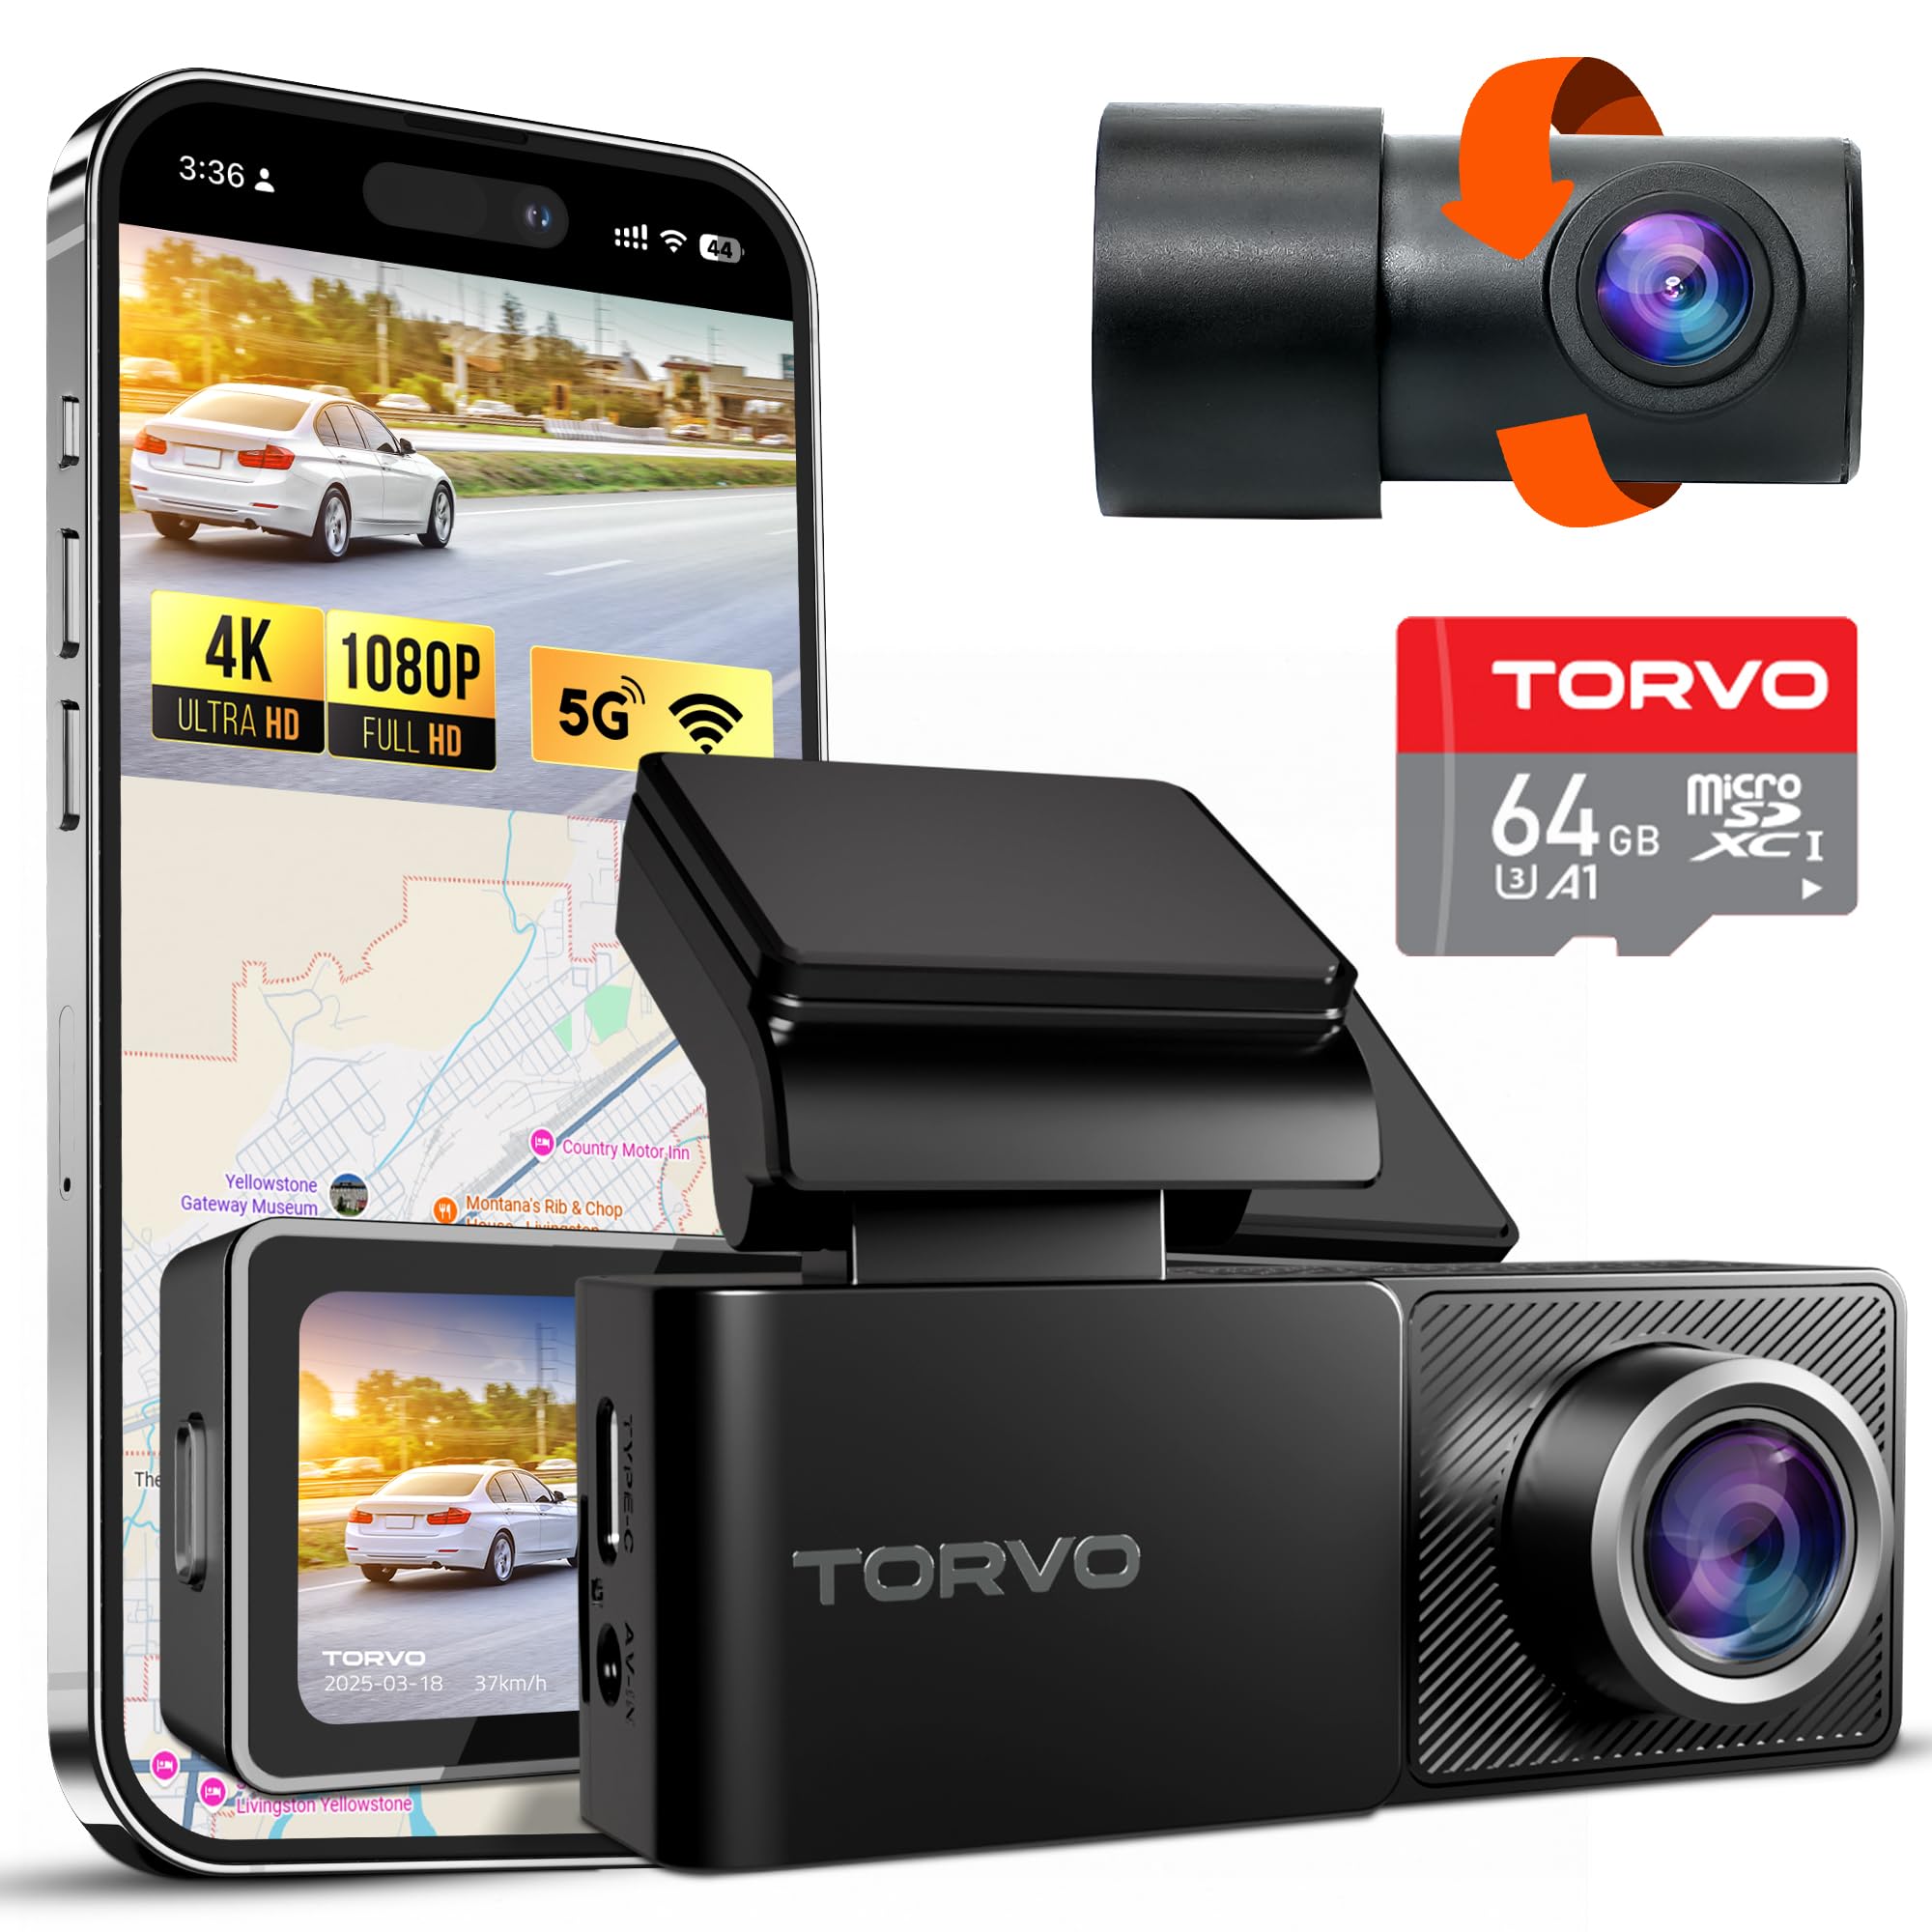
Image: Close-up of the TORVO TD3 Front Dash Cam, showing the screen, front lens, and compact design.
Rear Camera
The rear camera records in 2K resolution and is designed to be mounted on the rear window. It connects to the main unit via a long cable and offers vertical adjustability to capture the optimal view.
Image: The compact TORVO TD3 Rear Camera with its adhesive mount and connecting cable.
Setup
1. Installing the Micro SD Card
- Ensure the dash cam is powered off.
- Locate the Micro SD card slot on the side of the main dash cam unit.
- Insert the provided 64GB Micro SD card (or your own up to 256GB) into the slot until it clicks into place.
- To remove, gently push the card until it pops out.
2. Mounting the Front Dash Cam
- Clean the desired area on your windshield, preferably behind the rearview mirror, to ensure a clear view and strong adhesion.
- Attach the static tape (if provided) to the windshield first, then apply the 3M adhesive mount to the static tape. This allows for easier removal without residue.
- Press firmly for at least 30 seconds to secure the mount.
- Slide the main dash cam unit onto the mounted bracket.
3. Mounting the Rear Camera
- Clean the desired area on your rear window.
- Peel off the protective film from the 3M adhesive on the rear camera mount.
- Attach the rear camera to the rear window, ensuring the lens has a clear view of the road behind.
- Adjust the camera's vertical angle as needed.
4. Wiring the Cameras
- Connect the rear camera cable to the AV-in port on the main dash cam unit.
- Route the rear camera cable neatly along the headliner and A-pillar to the rear of the vehicle, using the provided cable install tool to tuck it under trim panels.
- Connect the USB Type-C power cable to the main dash cam unit.
- Route the power cable along the headliner, down the A-pillar, and to your vehicle's 12V power outlet (cigarette lighter) or a hardwire kit (sold separately for 24/7 parking mode).

Image: Visual guide for installing the front and rear dash cams and routing the power and rear camera cables discreetly within the vehicle's interior.
Operating Instructions
1. Powering On/Off
- The dash cam will automatically power on and begin recording when your vehicle's ignition is turned on.
- It will automatically power off when the ignition is turned off.
- To manually power on/off, press and hold the power button on the side of the unit.
2. Basic Controls (Buttons)
The buttons on the bottom of the dash cam allow for direct control and menu navigation:
- Menu Button: Accesses the system settings.
- Up/Down Buttons: Navigate through menu options or adjust camera view angles.
- OK Button: Confirms selections or pauses/restarts recording.
- Long Press (Up Button): Toggles Wi-Fi on/off.
- Long Press (Down Button): Toggles microphone on/off.
3. Video Resolution Settings
The front camera records in Ultra-Clear 4K, and the rear camera records in 2K. You can select the front camera resolution (4K or 2K) via the system settings menu.
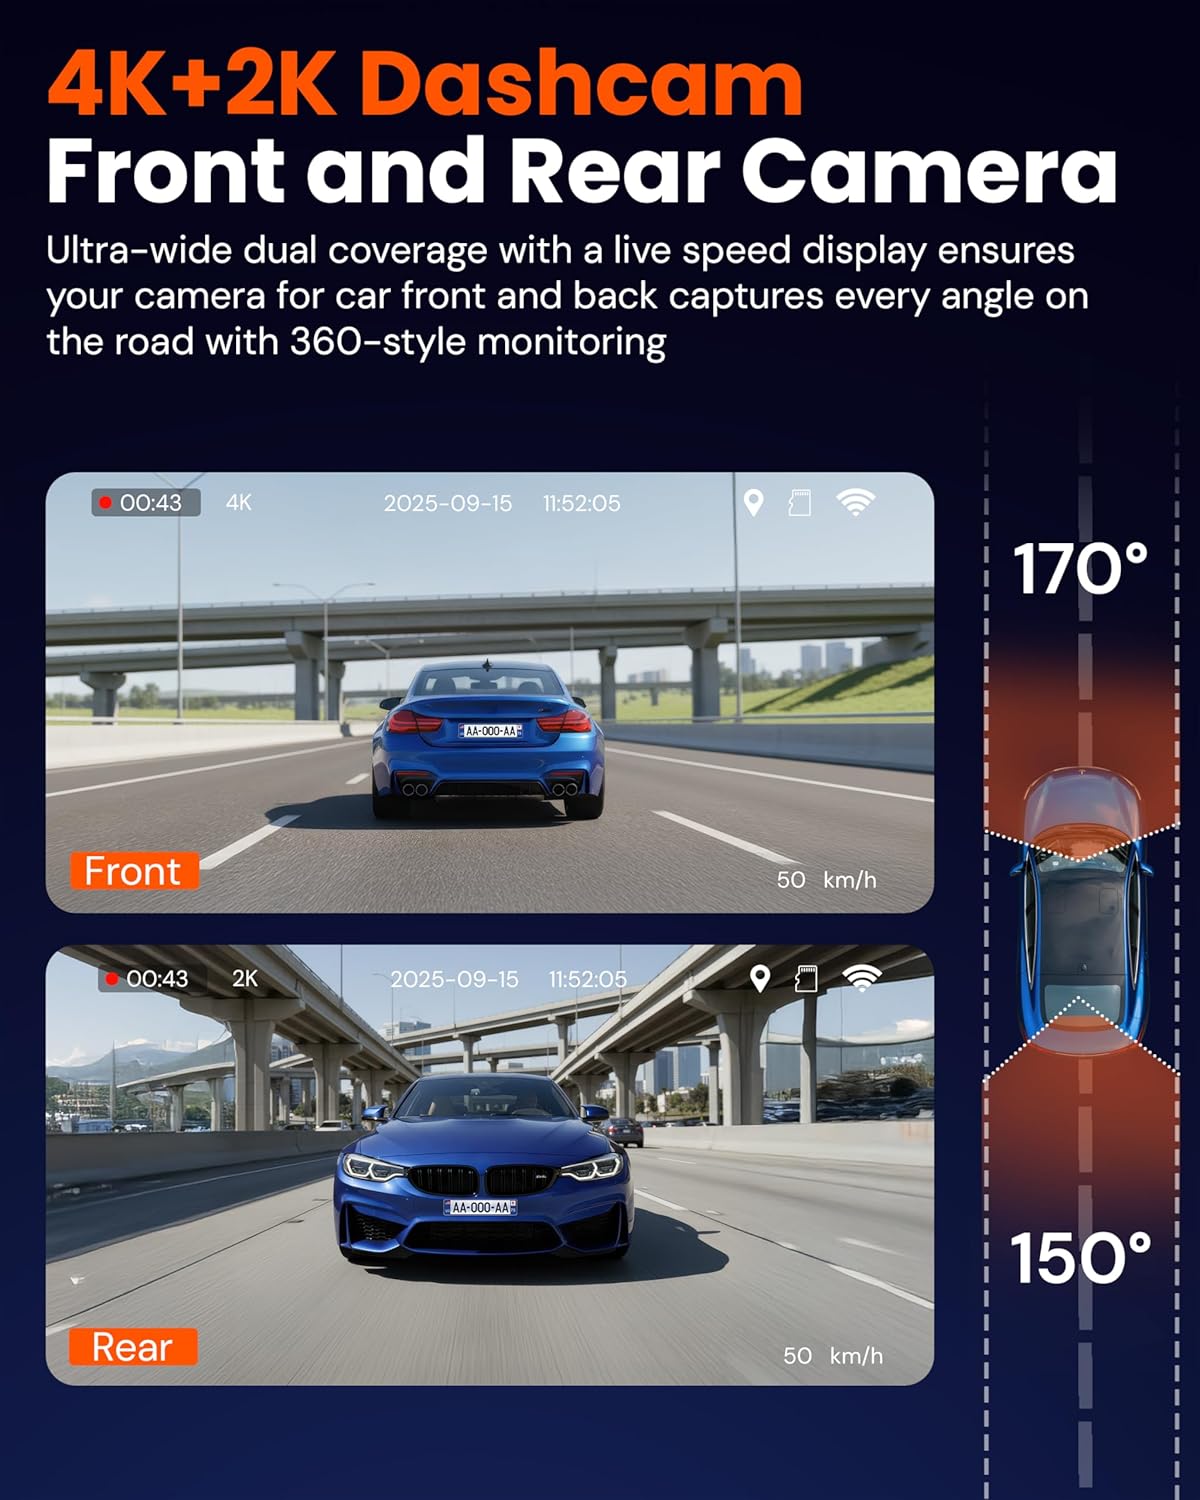
Image: Dash cam screen displaying simultaneous 4K front and 2K rear camera views, highlighting the wide 170° front and 150° rear angles.
4. Loop Recording
The dash cam records video in continuous loops (1, 2, or 3 minutes per segment). When the Micro SD card is full, the oldest unlocked files are automatically overwritten to make space for new recordings. This ensures continuous recording without manual intervention.
5. Time-Lapse Recording
Enable time-lapse recording in the system settings to condense long periods of footage into shorter videos, saving storage space while maintaining surveillance.
6. G-Sensor (Collision Detection)
The built-in G-Sensor automatically detects sudden impacts or collisions. When triggered, it locks the current video segment to prevent it from being overwritten by loop recording, preserving critical evidence.

Image: A visual representation of the G-Sensor feature, showing a car collision and a lock icon indicating video protection.
7. Parking Monitoring (24/7 Protection)
With a hardwire kit (required and sold separately), the dash cam can provide 24/7 parking surveillance. It uses motion detection and impact alerts to automatically record incidents when your car is off, acting as a security camera for your vehicle.

Image: Infographic detailing 24/7 Parking Protection, Continuous Loop Recording with a free 64GB SD card, and Smart Collision Detection G-Sensor.
8. Night Vision
The TD3 features advanced HDR night vision technology, ensuring clear and detailed footage even in low-light conditions. This enhances visibility for both front and rear cameras during nighttime driving or parking surveillance.

Image: A split image comparing the clear night vision of the TORVO TD3 dash cam against a blurry, noisy view from another dash cam.
9. GPS Tracking
The built-in GPS module tracks your route, speed, and location in real-time. This data is time-stamped and embedded in your video footage, providing accurate evidence for trip documentation or in case of an incident.
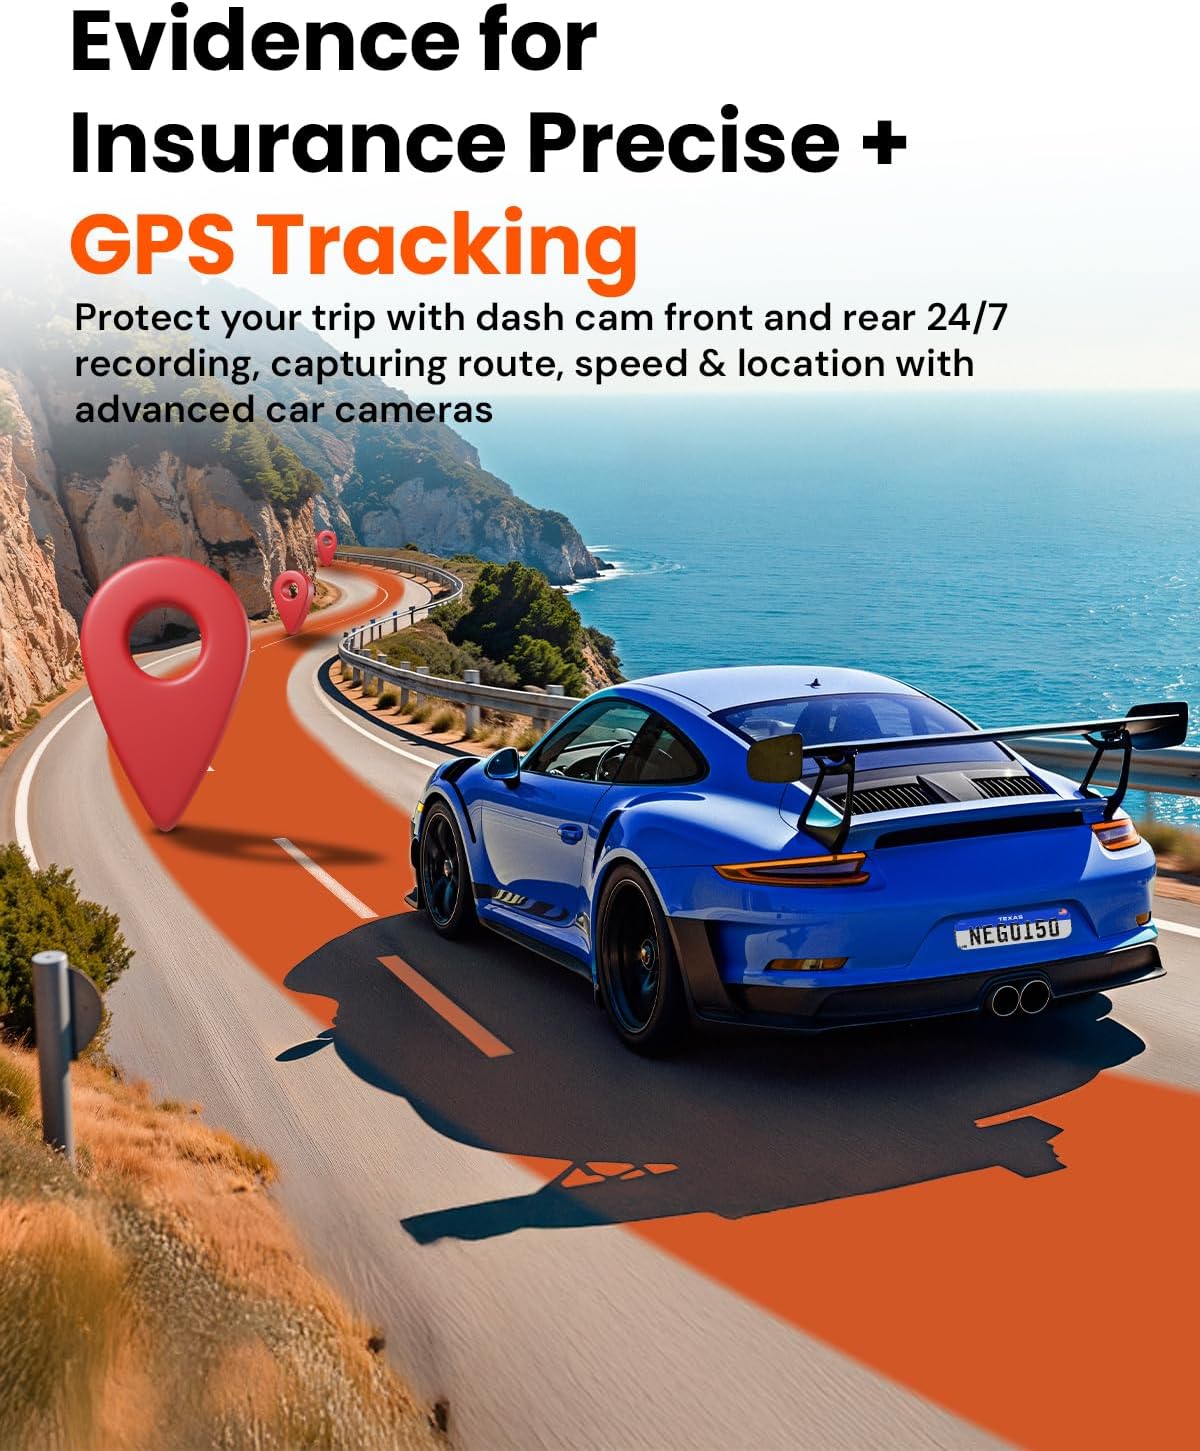
Image: A car driving on a scenic road with GPS pins indicating location tracking, alongside a smartphone screen showing a map with route and speed data from the dash cam.
10. 5G WiFi and App Control
The TD3 features built-in 5G WiFi for faster and smoother connectivity. This allows you to connect the dash cam to your smartphone via a dedicated app for full control, live previews, and easy video management.
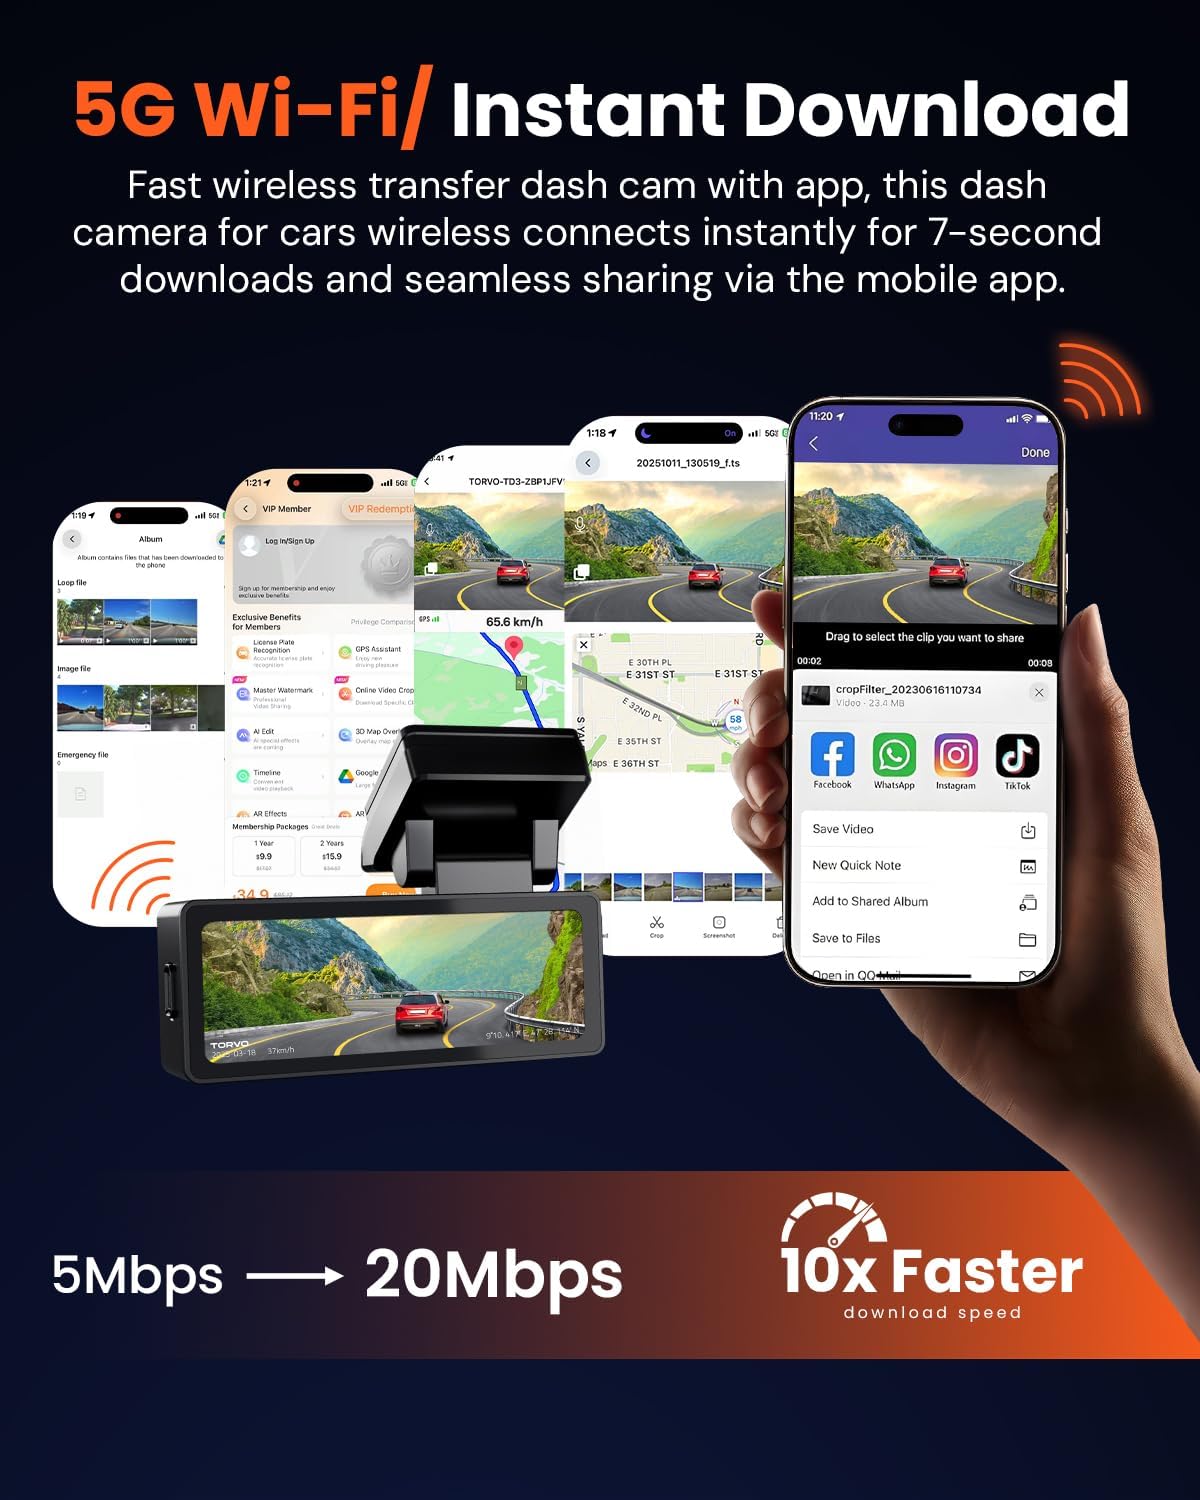
Image: Multiple smartphone screens displaying the dash cam's mobile app interface, showing live video, GPS tracking, and options for downloading and sharing footage.
11. Audio Recording
The dash cam can record audio inside the vehicle. This feature can be toggled on or off via the system settings or by a long press of the Down button.
App Usage
1. Downloading the App
- Scan the QR code provided in the user manual or on the dash cam screen to download the compatible mobile application (e.g., Viidure-Dashcam Viewer).
- Install the app on your smartphone.
2. Connecting via 5G WiFi
- Ensure the dash cam is powered on and Wi-Fi is enabled (long press the Up button).
- On your smartphone, go to Wi-Fi settings and connect to the dash cam's Wi-Fi network (SSID typically starts with
