Introduction
The ATTACK SHARK X8 Ultra is a high-performance wireless gaming mouse designed for precision and comfort. Featuring an ultra-lightweight design, tri-mode connectivity, and an advanced PixArt PAW3950MAX sensor, this mouse is engineered to enhance your gaming experience. This manual provides detailed instructions to help you get started and optimize your mouse's performance.
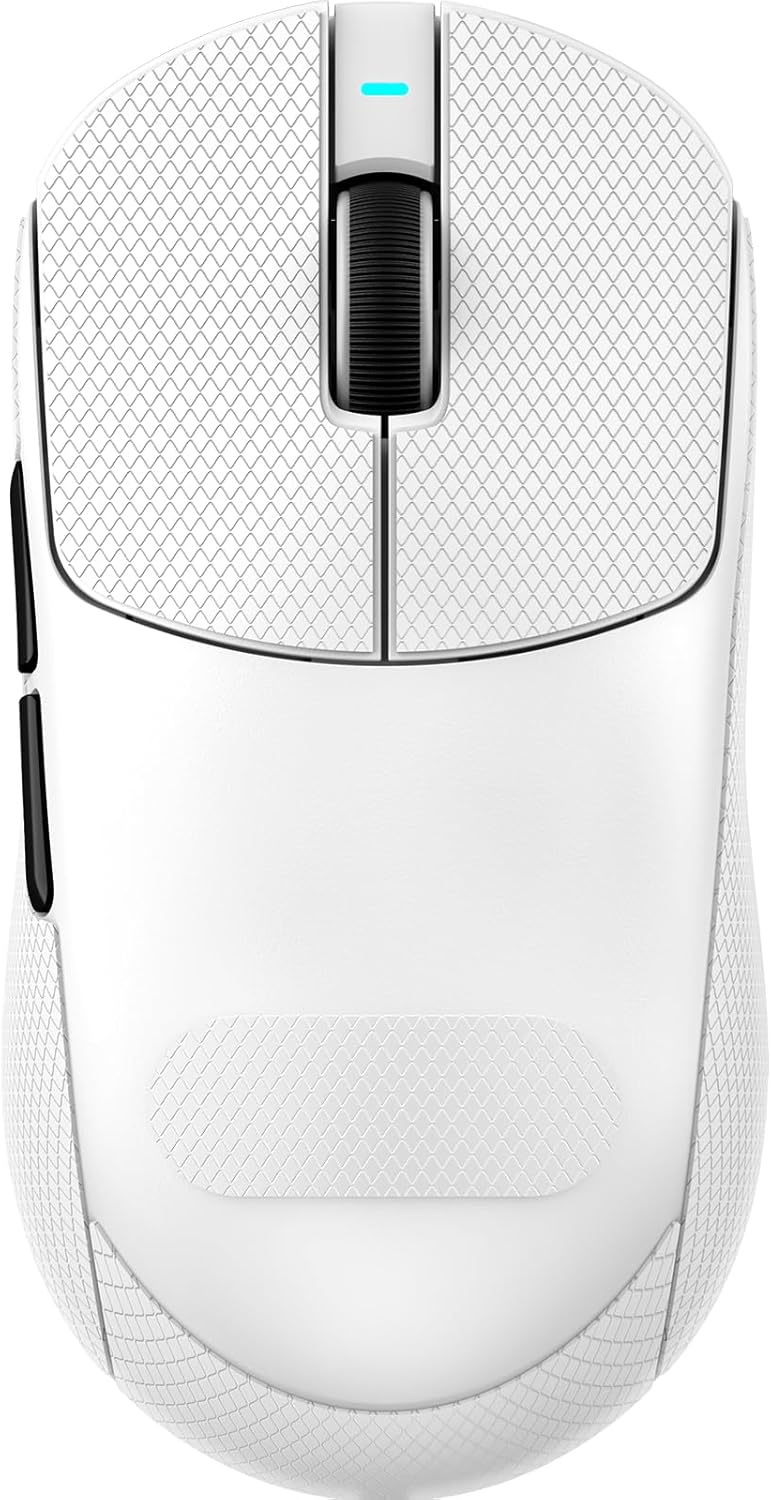
Image: Top view of the ATTACK SHARK X8 Ultra Wireless Gaming Mouse in white.
Package Contents
Please verify that all items are present in your package:
- ATTACK SHARK X8 Ultra Wireless Gaming Mouse
- USB-C Charging Cable (Paracord)
- 8K USB-C Receiver
- Replacement Mouse Feet Skates
- Grip Tape
- User Manual (this document)
Product Features
Ultra-Lightweight Design
Weighing only 55 grams, the X8 Ultra features an innovative Nano-ice coating for a cool grip during extended use. Its ergonomic design is suitable for medium to large hands, providing maximum control and comfortable handling.

Image: The X8 Ultra mouse highlighting its Nano-ice coating for a cool grip.
8K Polling Rate
Experience an 8KHz wireless polling rate with self-developed WIRELESS technology, ensuring low latency, low power consumption, faster data transmission, and enhanced interference immunity. A 1KHz polling rate is available in wired mode for consistent performance.

Image: Visual representation of the 8K Polling Rate technology and its benefits.
Tri-mode Connectivity
The X8 Ultra offers versatile connectivity options: Bluetooth, 2.4GHz wireless, and wired USB. This flexibility ensures reliable and responsive performance across various devices and scenarios.

Image: An exploded view of the mouse showing its internal components, including the Nordic 52840 controller and tri-mode switch.
PixArt PAW3950MAX Gaming Sensor
Equipped with the new-generation PAW3950 MAX sensor, the mouse provides up to 42,000 DPI sensitivity, 700 IPS accuracy, and 60G acceleration for precise and granular control.

Image: Close-up of the PAW3950MAX sensor chip with its specifications.
Durable Switches & Long Battery Life
The X8 Ultra features Omron micro switches rated for over 100 million clicks, ensuring durability. A 500 mAh battery provides up to 300 hours of intermittent use on a single charge.

Image: Detailed view of the Omron light switch, designed for durability and responsive clicks.
Cloud Driver Software
Customize your mouse settings using the innovative cloud-driven webpage. This open-source driver allows for DPI adjustment, polling rate, competitive mode, custom buttons, macro recording, and personalized key mapping without requiring software installation.

Image: Interface of the web-based cloud driver for mouse customization.
Setup
Before first use, it is recommended to fully charge the mouse using the provided USB-C cable.
1. Charging the Mouse
- Connect the USB-C end of the charging cable to the mouse.
- Connect the USB-A end to an available USB port on your computer or a USB wall adapter.
- The mouse's indicator light will show charging status (refer to LED indicator section for details).
2. Connecting via 2.4GHz Wireless
- Locate the 8K USB-C receiver in the package.
- Plug the receiver into an available USB port on your computer.
- Turn on the mouse using the switch on its underside. Ensure it is set to 2.4GHz mode (indicated by a specific LED color, refer to the operating section).
- The mouse should automatically connect to the receiver.
3. Connecting via Bluetooth
- Turn on the mouse and set it to Bluetooth mode using the switch on its underside.
- On your computer, navigate to Bluetooth settings.
- Select "Add Bluetooth or other device" and choose "Bluetooth".
- Select "ATTACK SHARK X8 Ultra" from the list of available devices to pair.
4. Connecting via Wired USB
- Connect the USB-C end of the provided cable to the mouse.
- Connect the USB-A end to an available USB port on your computer.
- The mouse will function immediately in wired mode and will also charge.
Operation
DPI Adjustment
The mouse features a dedicated button on its underside to cycle through preset DPI levels. Each DPI level is typically indicated by a specific LED color. For fine-tuning DPI settings and creating custom profiles, use the Cloud Driver software.
Customizing Buttons and Macros
The ATTACK SHARK X8 Ultra is programmable via its cloud-driven webpage. This allows you to:
- Adjust DPI sensitivity.
- Change polling rate.
- Configure competitive modes.
- Customize button functions.
- Record and assign macros.
Access the Cloud Driver by visiting www.attackshark.pro in your web browser. Ensure your mouse is connected via 2.4GHz wireless for optimal configuration.
LED Indicators
The mouse features an LED indicator for various statuses:
- DPI Level: Different colors indicate current DPI setting.
- Battery Status: Flashing or specific colors may indicate low battery or charging status.
- Connectivity Mode: Distinct colors or patterns for 2.4GHz, Bluetooth, and wired modes.
Refer to the Cloud Driver software for a detailed explanation of LED indications.
Maintenance
Cleaning
- Use a soft, dry cloth to wipe the mouse surface.
- For stubborn dirt, slightly dampen the cloth with water or a mild electronics cleaner.
- Avoid using harsh chemicals or abrasive materials.
- Regularly clean the optical sensor on the underside of the mouse with a cotton swab to ensure accurate tracking.
Battery Care
- To prolong battery life, avoid fully discharging the mouse frequently.
- Store the mouse in a cool, dry place when not in use for extended periods.
- Use only the provided charging cable or a certified USB-C cable.
Replacing Mouse Feet
The package includes replacement mouse feet skates. If the existing feet show significant wear, they can be replaced to maintain optimal glide performance. Carefully peel off the old feet and apply the new ones, ensuring they are properly aligned.

Image: Illustration of the PTFE anti-slip footpads on the underside of the mouse.
Troubleshooting
| Problem | Possible Cause | Solution |
|---|---|---|
| Mouse not responding | Low battery; Incorrect connection mode; Receiver not plugged in; Bluetooth not paired. | Charge the mouse; Ensure correct mode (2.4GHz/BT/Wired); Plug in 8K receiver; Re-pair Bluetooth. |
| Intermittent connection | Interference; Distance from receiver; Low battery. | Move receiver closer; Reduce wireless interference; Charge mouse. |
| Inaccurate tracking | Dirty sensor; Unsuitable surface; Incorrect DPI setting. | Clean optical sensor; Use a proper mouse pad; Adjust DPI via button or Cloud Driver. |
| Buttons not working | Software conflict; Incorrect button mapping. | Check Cloud Driver settings; Restart computer. |
Specifications

Image: Detailed technical specifications for the ATTACK SHARK X8 series, including the X8 Ultra.
| Feature | Detail |
|---|---|
| Model | X8 Ultra |
| Sensor | PixArt PAW3950MAX Optical |
| DPI Sensitivity | 50 - 42,000 (Adjustable) |
| Polling Rate | Wireless: 8000Hz, Wired: 1000Hz |
| Connectivity | 2.4GHz Wireless, Bluetooth, USB Wired |
| Weight | Approximately 55g |
| Switches | OMRON Micro Switches (100 Million Clicks) |
| Battery Capacity | 500 mAh |
| MCU | Nordic 52840 |
| Dimensions | 4.96 x 2.5 x 1.6 inches (125.5 x 63 x 40 mm) |
Product Overview Video
Video: An official overview of the ATTACK SHARK X8 Ultra 8K Ultra-Lightweight Wireless Gaming Mouse, showcasing its design and key features.
Warranty Information
ATTACK SHARK products are covered by a limited warranty from the date of purchase. This warranty covers manufacturing defects and workmanship. It does not cover damage caused by misuse, accidents, unauthorized modifications, or normal wear and tear. Please retain your proof of purchase for warranty claims.
For specific warranty terms and conditions, please refer to the official ATTACK SHARK website or contact customer support.
Support
For further assistance, technical support, or to download the latest firmware and Cloud Driver software, please visit the official ATTACK SHARK website:
You can also contact customer support through the website for any inquiries.


