
1. Introduction
This manual provides essential instructions for the safe and effective use of your JMNGSHU A10 10000 Lumen Rechargeable Flashlight. Please read this manual thoroughly before operating the device and retain it for future reference.
2. Safety Information
- Do not look directly into the light beam to avoid eye injury.
- Keep out of reach of children.
- Do not disassemble the flashlight; this may void the warranty and cause damage.
- Use only the provided or compatible USB Type-C charging cable.
- Avoid exposing the flashlight to extreme temperatures or open flames.
- Ensure the charging port cover is securely closed when not charging to maintain waterproof integrity.
3. Package Contents
The JMNGSHU A10 Flashlight package includes the following items:
- JMNGSHU A10 Flashlight (2 units)
- USB Type-C Charging Cable (2 units)
- Lanyard (2 units)

Image: Two JMNGSHU A10 flashlights, along with their respective USB charging cables and lanyards, as included in the package.
4. Product Overview
The JMNGSHU A10 flashlight features a durable aluminum body, an LED light source, and a digital power display. It is designed for various lighting needs with its adjustable modes and zoom function.

Image: A detailed view of the JMNGSHU A10 flashlight, emphasizing its 10000 lumen output and advanced LED chip technology.
5. Setup
5.1 Charging the Flashlight
- Locate the USB Type-C charging port on the flashlight. It is typically covered by a rubber flap to protect against water and dust.
- Open the rubber flap.
- Connect the provided USB Type-C cable to the flashlight's charging port.
- Connect the other end of the USB cable to a compatible USB power source (e.g., wall adapter, power bank, computer USB port).
- The LCD power display on the flashlight will indicate the charging status. A full charge is indicated by 100%.
- Once fully charged, disconnect the cable and securely close the rubber flap to maintain the IPX67 waterproof rating.
The flashlight features a 6000mAh rechargeable Lithium-Ion battery with overcharge protection, ensuring safe and efficient charging.
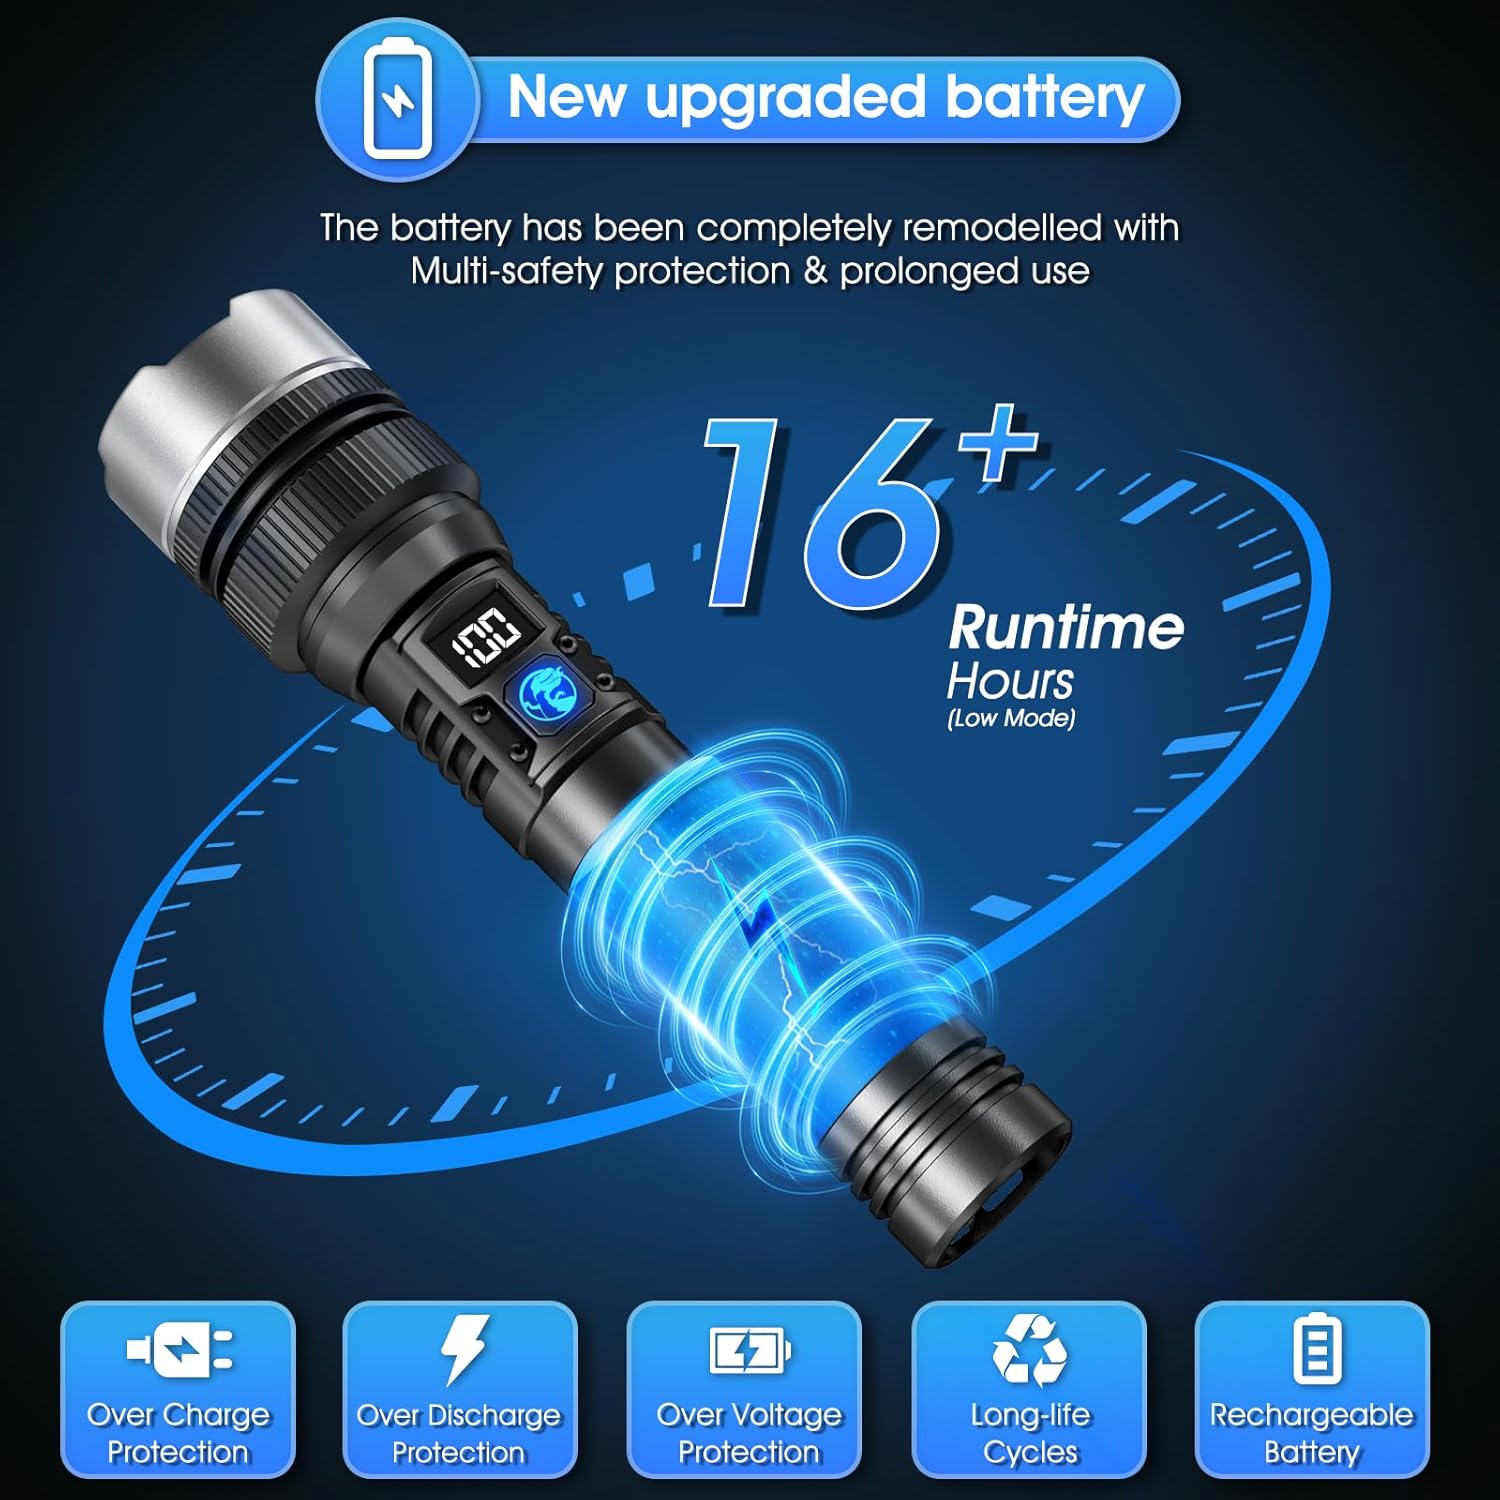
Image: The JMNGSHU A10 flashlight illustrating its upgraded battery, indicating 16+ hours of runtime in low mode, and highlighting overcharge, over-discharge, and over-voltage protection features.
5.2 Reverse Charging (Power Bank Function)
The flashlight is equipped with a USB output port, allowing it to function as a power bank for other devices.
- Connect your device's charging cable to the USB output port on the flashlight.
- The flashlight will begin charging your device.
6. Operating Instructions
6.1 Power On/Off and Mode Selection
The flashlight features three lighting modes: High, Low, and SOS.
- To Power On: Press the power button once. The flashlight will turn on in High mode.
- To Change Modes: Press the power button repeatedly to cycle through High → Low → SOS.
- To Power Off: Long-press the power button for 3 seconds in any mode. Alternatively, cycle through all modes until the flashlight turns off.
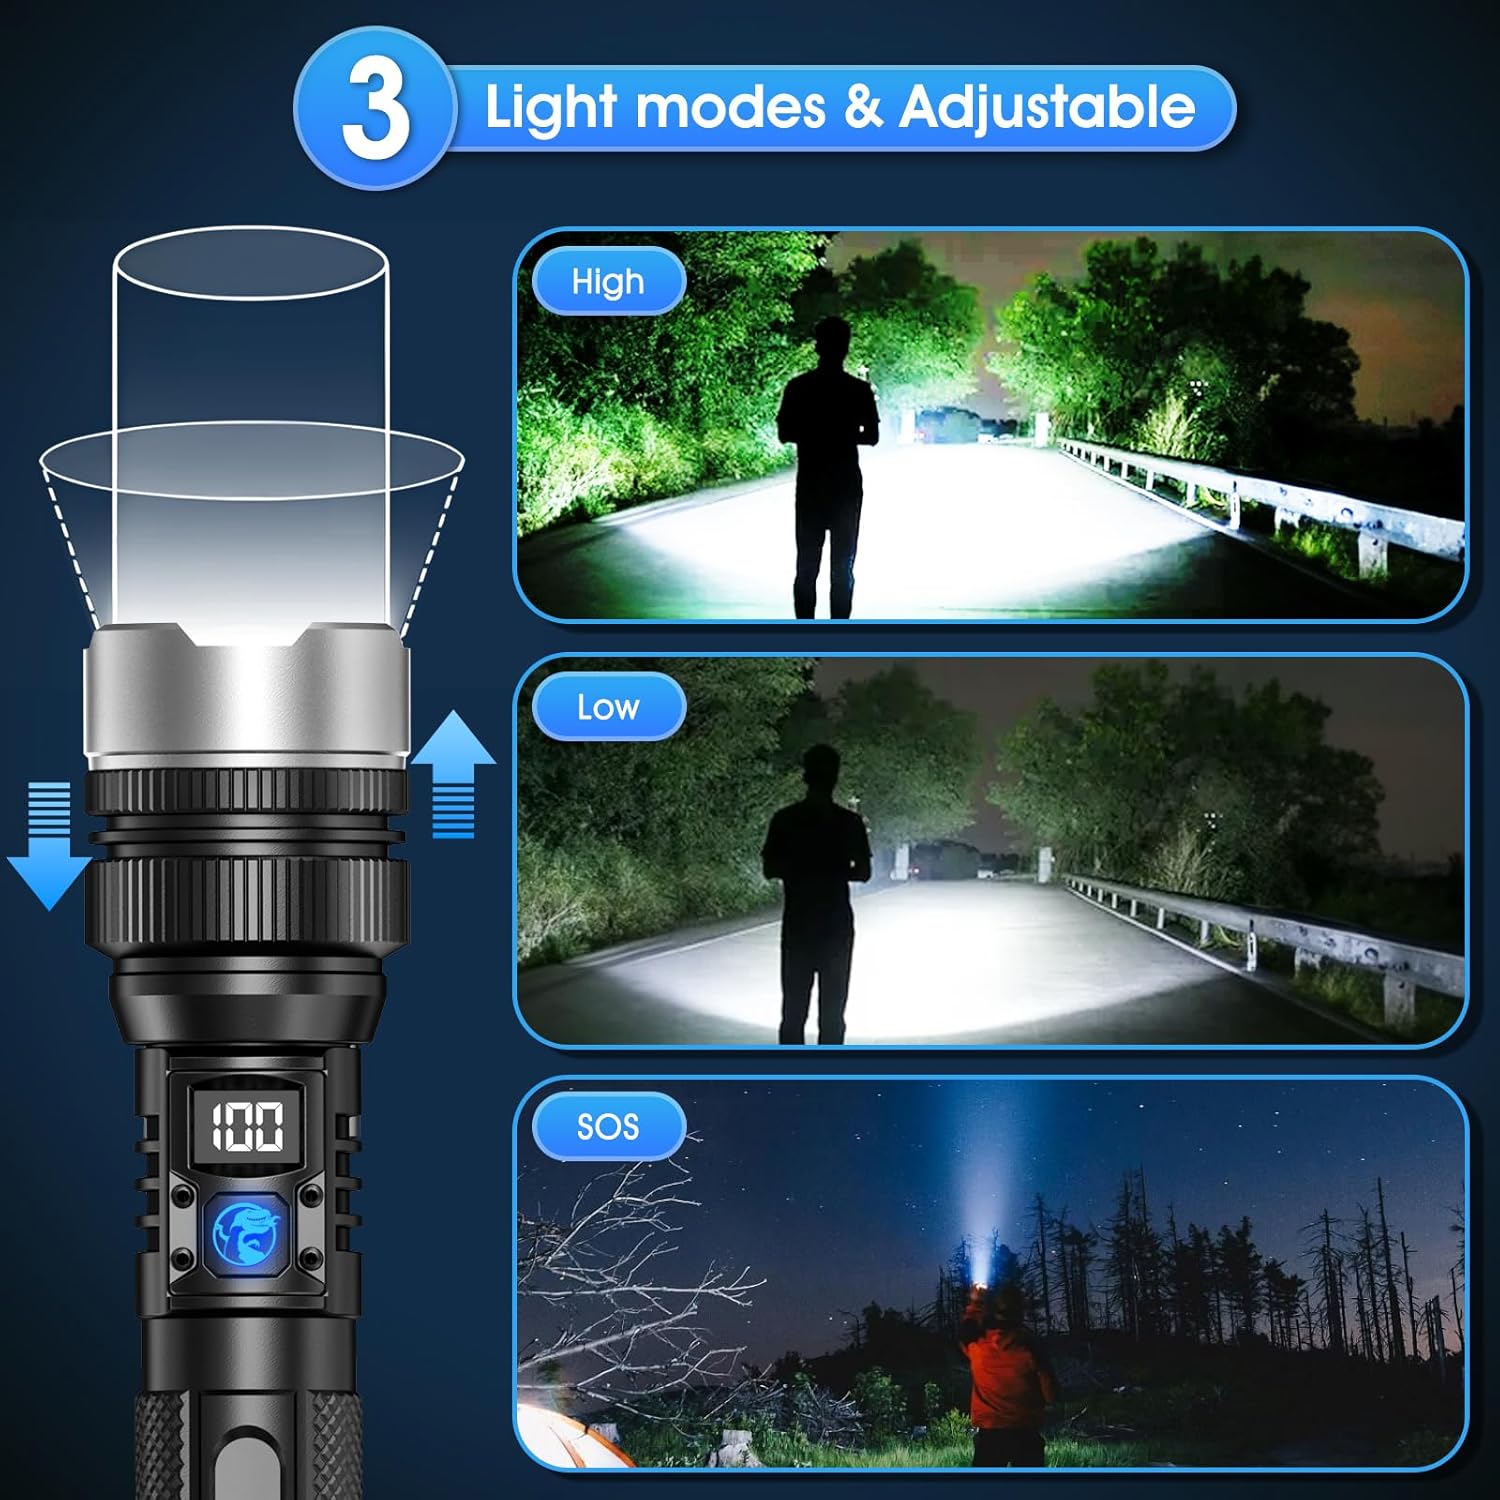
Image: The JMNGSHU A10 flashlight illustrating its three adjustable light modes: High for intense illumination, Low for softer light, and SOS for emergency signaling.
6.2 Telescopic Zoom Function
The flashlight features a telescopic head for adjusting the beam from a wide floodlight to a focused spotlight.
- To Zoom In (Spotlight): Extend the head of the flashlight forward to narrow the beam for long-distance illumination.
- To Zoom Out (Floodlight): Retract the head of the flashlight backward to widen the beam for broad area coverage.

Image: The JMNGSHU A10 flashlight showing its zoomable design, allowing users to adjust the light head for a broad floodlight or a focused spotlight.
Video: Demonstration of the JMNGSHU A10 flashlight's telescopic zoom function, showing the transition between a concentrated long-range beam and an ultra-large angle floodlight.
7. Maintenance
7.1 Cleaning
- Wipe the flashlight with a soft, damp cloth.
- Do not use abrasive cleaners or solvents.
7.2 Storage
- Store the flashlight in a cool, dry place away from direct sunlight.
- For long-term storage, charge the battery to approximately 50% every 3-6 months to prolong battery life.
7.3 Waterproofing
The flashlight has an IPX67 waterproof rating, meaning it is protected from dust and can withstand immersion in water up to 1 meter for 30 minutes. Ensure all ports are securely sealed before exposure to water.
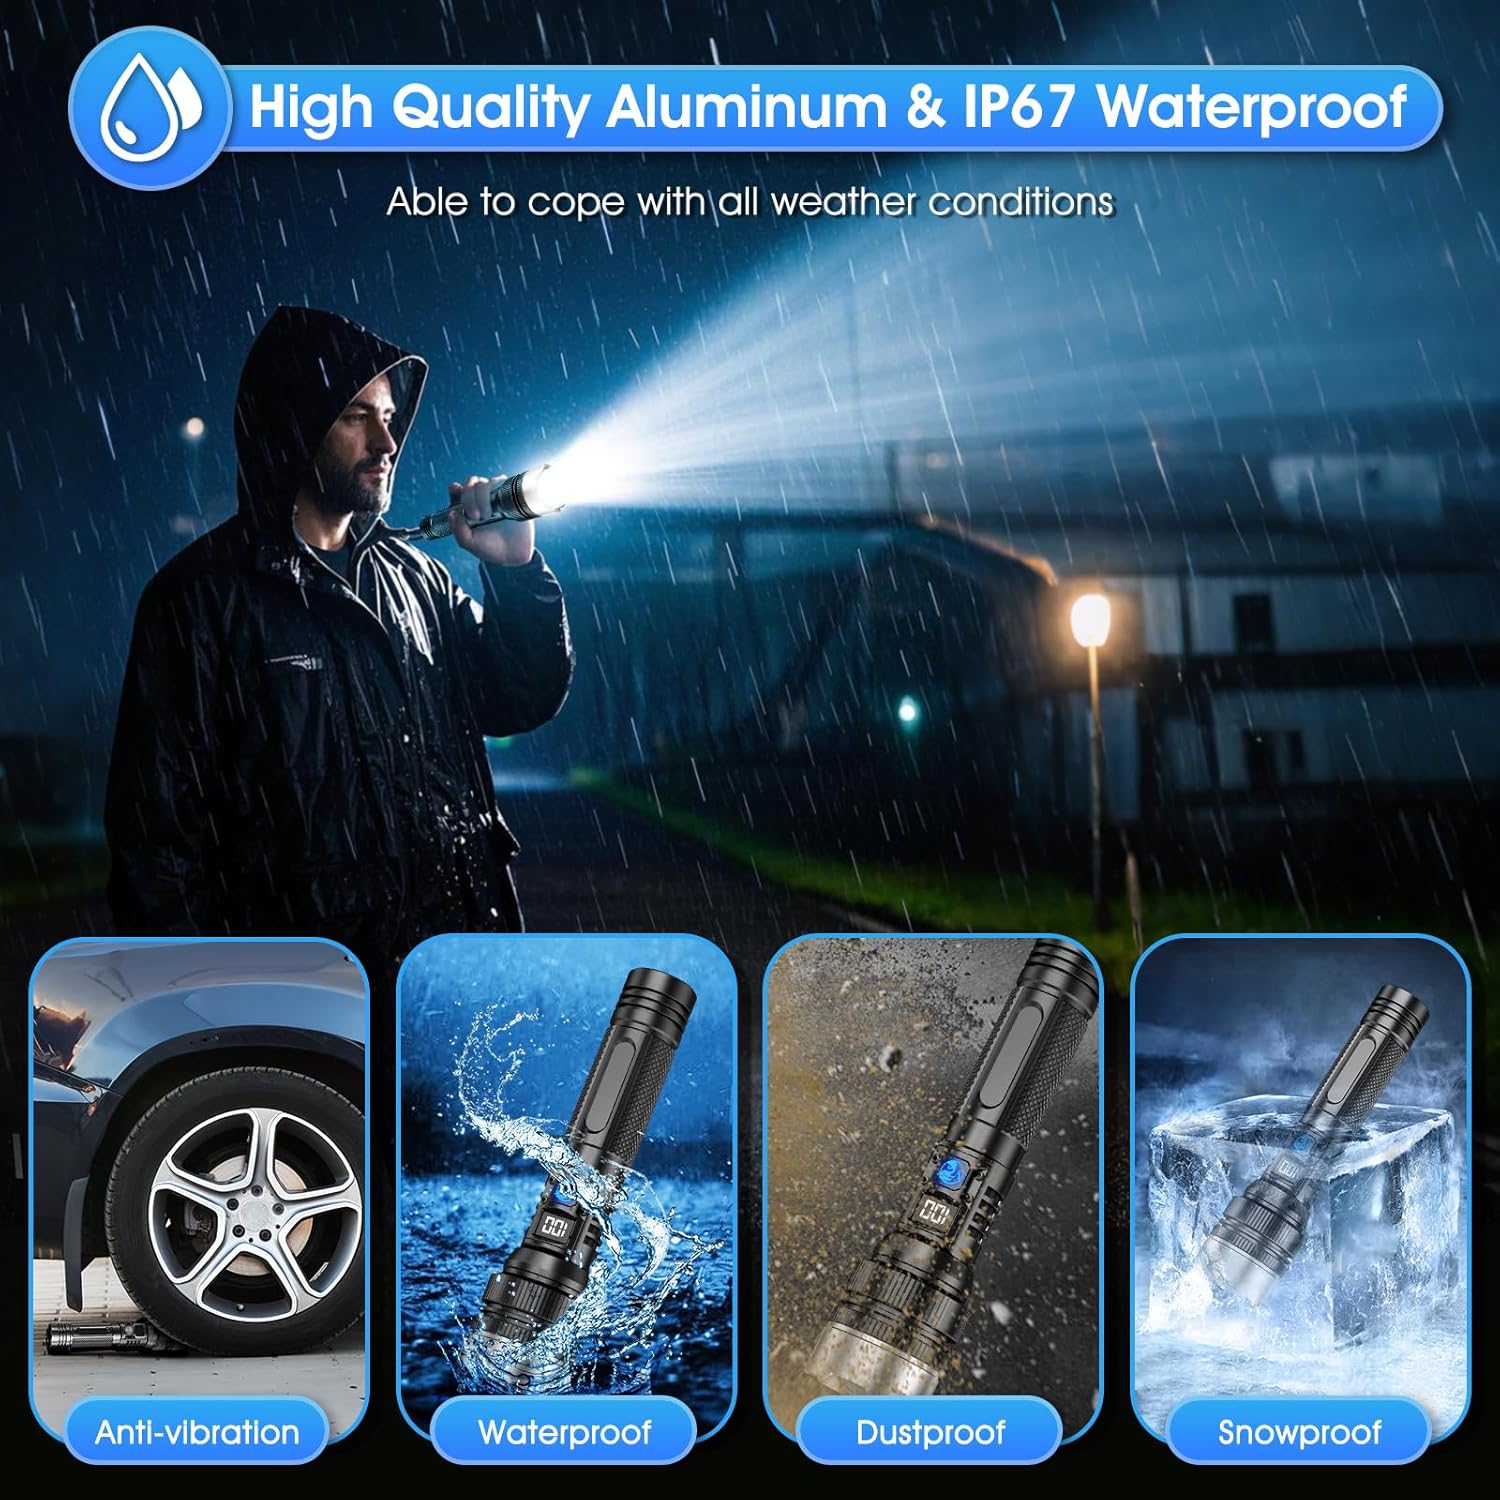
Image: The JMNGSHU A10 flashlight highlighting its robust construction, showcasing its IPX67 waterproof, anti-vibration, dustproof, and snowproof capabilities.
8. Troubleshooting
| Problem | Possible Cause | Solution |
|---|---|---|
| Flashlight does not turn on. | Low battery. | Charge the flashlight using the provided USB Type-C cable. |
| Flashlight does not turn on. | Power button not pressed correctly. | Ensure a firm press for power on, or a long-press for 3 seconds to power off. |
| Light beam is weak. | Low battery. | Recharge the flashlight. |
| Light beam is weak. | Incorrect mode selected. | Cycle through modes to select High mode. |
| Charging is slow or not working. | Faulty cable or power source. | Try a different USB Type-C cable or power adapter. |
9. Specifications
| Feature | Detail |
|---|---|
| Model Number | A10 |
| Brightness | 10000 Lumens (Max) |
| Light Source | LED |
| Power Source | Battery Powered (Rechargeable) |
| Battery Type | 1 x 6000mAh Lithium Ion (Included) |
| Runtime | Up to 16 hours (Low Mode) |
| Charging Port | USB Type-C (Input) |
| Output Port | USB (for reverse charging) |
| Light Modes | High, Low, SOS |
| Zoom Function | Telescopic (Floodlight to Spotlight) |
| Material | Aluminum Alloy |
| Water Resistance | IPX67 (Waterproof) |
| Product Dimensions | Approximately 16.7"D x 14.7"W x 14"H (Note: These dimensions seem unusually large for a handheld flashlight and may refer to packaging or an error in source data. Actual flashlight dimensions are compact.) |
| Item Weight | 12.3 ounces |
10. Warranty and Support
For warranty information or technical support, please refer to the product packaging or contact the manufacturer directly. Keep your purchase receipt as proof of purchase.