
1. Introduction and Safety Guidelines
Welcome to the iScooter DX5 Electric Scooter user manual. This guide provides essential information for the safe assembly, operation, and maintenance of your new electric scooter. Please read this manual thoroughly before your first ride to ensure proper usage and to maximize the lifespan of your device.
Important Safety Information
- Always wear a helmet and appropriate safety gear (knee pads, elbow pads) when riding.
- Familiarize yourself with local laws and regulations regarding electric scooter usage.
- Perform a pre-ride inspection: check tire pressure, brake function, and ensure all fasteners are tight.
- Do not ride in wet conditions, heavy rain, or through puddles. The scooter has an IPX4 water resistance rating, meaning it is protected against splashing water from any direction, but not submersion or heavy rain.
- Avoid riding on uneven terrain, steep slopes, or over obstacles that may cause loss of control.
- Maintain a safe distance from pedestrians and other vehicles.
- Do not allow children under the age of 16 to operate the scooter.
- The maximum load capacity for this scooter is 330 lbs. Do not exceed this limit.
2. Package Contents
Upon unboxing, please verify that all components listed below are present and in good condition. If any items are missing or damaged, contact iScooter customer support immediately.
- iScooter DX5 Electric Scooter (main body)
- Front Wheel Assembly
- Handlebar Assembly
- Seat
- Front Fender
- Rearview Mirrors (2)
- Footpegs (2)
- Charger
- Tool Kit (Allen wrenches, open-end wrench)
- NFC Smart Cards (2)
- Removable Storage Basket
- Scooter Bag
- User Manual (this document)

Figure 2.1: All components included with the iScooter DX5 Electric Scooter.
3. Assembly Instructions
Follow these steps carefully to assemble your iScooter DX5 Electric Scooter. It is recommended to watch the provided installation video for visual guidance.
Video 3.1: Detailed installation guide for the iScooter DX5 Electric Scooter.
Step-by-Step Assembly:
- Install the Footpegs: Locate the mounting points for the footpegs on the side of the scooter frame. Secure each footpeg using the provided screws and Allen wrench. Ensure they are firmly attached.
- Install the Handlebar: Carefully insert the handlebar stem into the front fork assembly. Align the handlebar with the front wheel and secure it by tightening the bolts on the handlebar clamp using the appropriate Allen wrench. Ensure the bolts are tightened evenly for a secure fit.

Figure 3.1: Securing the handlebar to the scooter's front fork.
- Attach Brake Levers and Rearview Mirrors: Mount the brake levers onto the handlebar. The left lever controls the rear brake, and the right lever controls the front brake. Secure them with the provided fasteners. Then, screw the rearview mirrors into their designated slots on the brake lever assemblies. Adjust the mirrors for optimal rear visibility.

Figure 3.2: Mounting the brake levers and mirrors on the handlebar.
- Connect and Secure Front Headlight: Locate the headlight and its corresponding wiring. Connect the headlight's electrical connector to the main harness. Secure the headlight to the front fork using the provided screws and Allen wrench. Ensure the brake cable is properly routed inside the fender stay.

Figure 3.3: The front headlight and its connection point.
- Install Front Fender: Attach the front fender to the front fork using the provided screws. Ensure it is securely fastened and does not interfere with the wheel's rotation or brake components.
- Install Front Wheel: Separate the brake pads to create enough space for the brake rotor. Carefully align the front wheel with the front fork, ensuring the brake rotor slides smoothly between the brake pads. Insert the axle through the wheel hub and fork, then secure it with the nuts on both sides using the appropriate wrench.

Figure 3.4: Proper installation of the front wheel and brake.
- Install Rear Shock Absorbers: Attach the rear shock absorbers to their designated mounting points on the rear swingarm and frame. Secure them with the provided bolts and nuts, ensuring they are tightened appropriately.
Figure 3.5: The rear shock absorbers provide dual suspension for a smoother ride.
- Install Storage Basket: Position the removable storage basket on the front of the scooter frame. Secure it using the provided screws and screwdriver.
- Install Seat: Place the seat onto the rear rack of the scooter. Align the mounting holes and secure the seat with the provided screws.
- Attach Scooter Bag: Secure the scooter bag to the handlebar or another convenient location using its straps.
4. Basic Operations
Understanding the basic functions of your iScooter DX5 is crucial for a safe and enjoyable riding experience.
Power On/Off and NFC Unlock
- To power on the scooter, ensure the battery disconnect switch (located near the footpegs) is in the 'ON' position.
- Tap one of the provided NFC Smart Cards to the NFC reader on the display to unlock and activate the scooter. The display will show 'READY'.
- To power off, tap the NFC card again or use the power button on the display.

Figure 4.1: The 9-inch full-color LCD display with NFC unlocking feature.
Speed Modes
The iScooter DX5 features four speed modes, allowing you to adjust your ride according to your preference and environment. Use the 'S' button on the handlebar to cycle through the modes:
- 1st Gear Mode: 15 MPH (Easy start, energy-saving mode)
- 2nd Gear Mode: 21 MPH (Urban commuting, steady speed)
- 3rd Gear Mode: 28 MPH (Balanced power, faster ride)
- 4th Gear Mode: 35 MPH (Turbo sprint, full power)
Lighting System and Horn
The scooter is equipped with a comprehensive lighting system for enhanced visibility and safety, especially during night rides.
- Headlight: Press the headlight button on the left handlebar to turn the front LED headlight on or off.
- Turn Signals: Use the turn signal switch on the left handlebar to activate left or right turn signals.
- Brake Lights: The taillight automatically illuminates when the brakes are applied.
- Horn: Press the horn button on the left handlebar to alert pedestrians or traffic.
Figure 4.2: The integrated lighting system for safe night riding.
Anti-theft Alarm Feature
The DX5 electric scooter includes an advanced anti-theft alarm system for added security. When the scooter is locked (display shows 'P'), any unauthorized movement will trigger the alarm and lock the motor.
5. Charging Operation
To ensure optimal battery life and performance, follow these charging guidelines:
- Locate the charging port on the side of the scooter frame.
- Ensure the scooter is powered off before connecting the charger.
- Connect the charger to the charging port, then plug the charger into a standard wall outlet.
- The indicator light on the charger will typically show red during charging and turn green when fully charged.
- Charging time is approximately 6-8 hours for a full charge.
- Do not leave the scooter charging unattended for extended periods after it is fully charged.
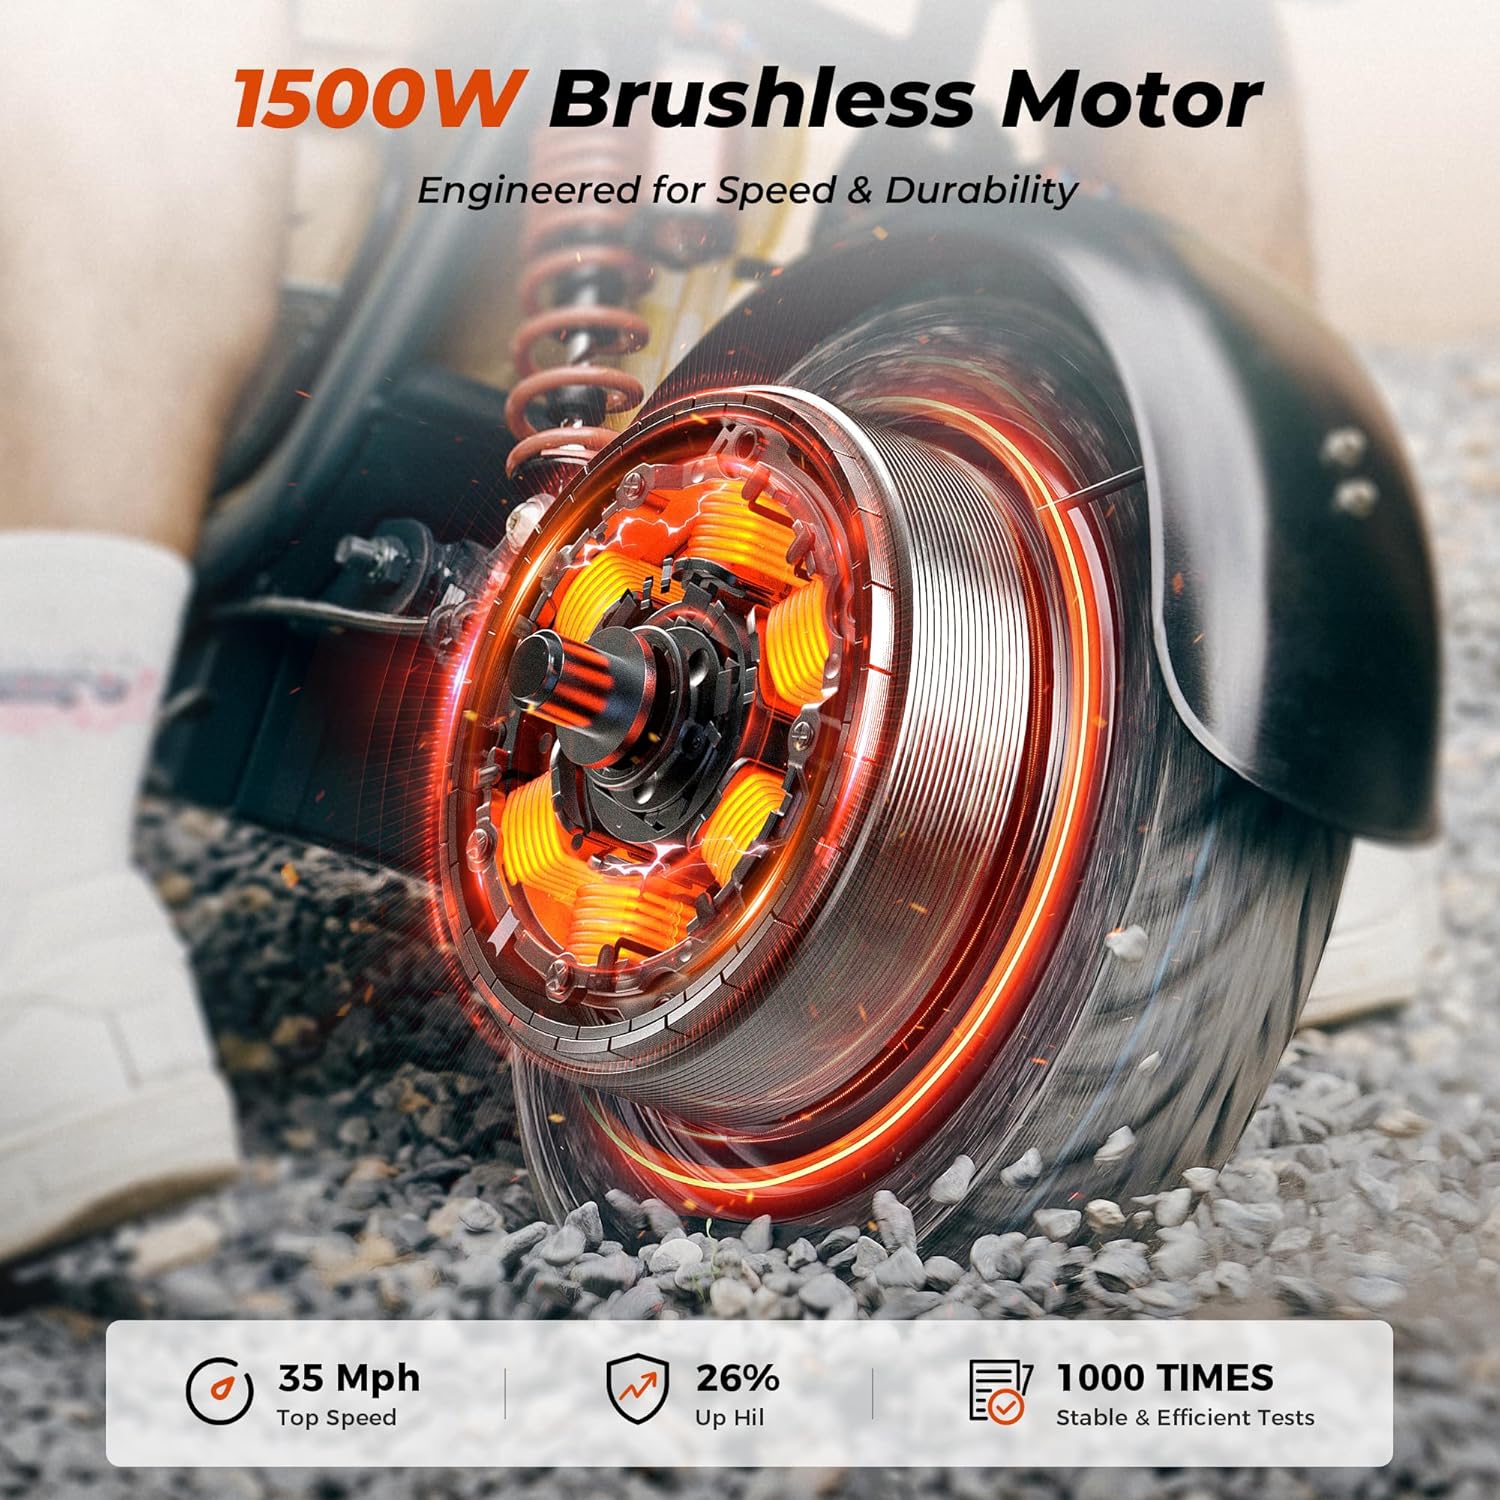
Figure 5.1: The charging port location on the iScooter DX5.
6. Maintenance
Regular maintenance is essential to keep your iScooter DX5 in top condition and ensure your safety.
Tires and Brakes
- Tire Pressure: Check tire pressure regularly (recommended pressure is usually indicated on the tire sidewall). Proper inflation ensures optimal performance and range. The DX5 is equipped with durable 15" x 3.0" vacuum pneumatic e-motorcycle tires.
- Brakes: Inspect the dual hydraulic disc brakes for wear and proper function before each ride. Ensure the brake levers provide firm and responsive stopping power. Adjust if necessary or consult a professional.
Figure 6.1: The front wheel and hydraulic disc brake system.
Cleaning and Storage
- Clean the scooter with a damp cloth. Avoid using high-pressure water jets or harsh chemicals.
- Store the scooter in a cool, dry place away from direct sunlight and extreme temperatures.
- If storing for an extended period, ensure the battery is charged to about 50-70% and recharge it every 30-60 days to prevent deep discharge.
7. Troubleshooting
This section addresses common issues you might encounter with your iScooter DX5. For problems not listed here, please contact customer support.
| Problem | Possible Cause | Solution |
|---|---|---|
| Scooter does not power on | Battery disconnect switch is OFF; Low battery; Faulty power button. | Ensure switch is ON; Charge battery; Contact support. |
| Motor not engaging | Scooter is in 'P' (Park) mode; NFC card not tapped; Motor connection issue. | Tap NFC card to exit 'P' mode; Re-tap NFC card; Check motor connections. |
| Reduced range or speed | Low tire pressure; Overloaded; Battery degradation; Riding conditions (uphill, strong winds). | Inflate tires to recommended pressure; Reduce load; Charge fully; Adjust riding style. |
| Brakes not responsive | Worn brake pads; Low hydraulic fluid; Loose brake cable. | Inspect/replace brake pads; Check fluid level; Tighten brake cable; Consult professional. |
| Alarm sounds unexpectedly | Scooter moved while locked; Sensor malfunction. | Unlock with NFC card; Contact support if persistent. |
8. Specifications
Key technical specifications for the iScooter DX5 Electric Scooter:
| Feature | Specification |
|---|---|
| Brand | iScooter |
| Model Name | DX5 |
| Motor Power | Peak 1500W (1000W rated) Brushless Motor |
| Top Speed | 35 MPH |
| Battery | 48V 15.6Ah (748.8Wh) Lithium Battery |
| Maximum Distance Range | Up to 45 Miles (depending on riding conditions) |
| Charging Time | 6-8 Hours |
| Tires | 15" x 3.0" Vacuum Pneumatic E-Motorcycle Tires |
| Brake Style | Dual Hydraulic Disc Brakes |
| Suspension | Front Hydraulic Suspension & Rear Air Spring Suspension |
| Weight Limit | 330 Pounds |
| Product Dimensions (LxWxH) | 46.5"L x 26.8"W x 46.5"H |
| Water Resistance Rating | IPX4 |
| Certifications | UL2272 |
9. Warranty and Support
iScooter provides a limited warranty for the DX5 Electric Scooter. Warranty periods may vary for different parts. Please refer to the warranty description for specific details.
- Warranty Description: We offer a 360-day or 180-day warranty on different parts.
- For warranty claims, technical support, or any inquiries, please contact iScooter customer service through the retailer where you purchased the product or visit the official iScooter website.