1. Introduction
This manual provides detailed instructions for the setup, operation, and maintenance of your ULar 4K Wireless WiFi Camera Clock, Model pxa5. This multifunctional device combines a high-definition security camera with a desktop clock, offering time and temperature display, wireless charging, and motion detection capabilities. Please read this manual thoroughly before using the product to ensure proper functionality and safety.
2. What's in the Box
Carefully unpack the box and ensure all items are present and in good condition. If any items are missing or damaged, please contact customer support.
- ULar 4K Wireless WiFi Camera Clock (Main Unit)
- Instruction Manual
- Power Adapter (Corded Electric)
3. Product Features
The ULar Camera Clock offers a range of advanced features designed for home security and convenience:
- 4K Ultra HD Camera: Captures clear, crisp 4K real-time images and 110° wide-angle 4K HD videos (without sound, as per Amazon policy).
- 2.4GHz Dual-Band WiFi: Equipped with a powerful 2.4GHz dual-band WiFi chip for stable connectivity.
- Wide Field of View: 110° ultra-wide-angle lens ensures broad coverage.
- Storage Options: Supports up to 256GB SD card (not included) and cloud storage subscription (7, 30, or 365-day options).
- Motion Detection: Advanced motion detection capabilities for security alerts.
- Multifunctional Display: Integrated desktop clock with time and temperature display.
- Wireless Charging: Convenient wireless charging pad on top for compatible devices.
- App Control: Manage and monitor the device via a dedicated smartphone application (Android compatible).
- Indoor Usage: Designed for indoor environments.

Image: Overview of the ULar Camera Clock's key features, including 4K HD video, WiFi connectivity, recording capabilities, wireless charging, motion detection, and app control.
4. Setup
4.1 Powering On the Device
- Connect the provided power adapter to the camera clock's power input port.
- Plug the power adapter into a standard electrical outlet.
- The device will power on automatically, and the clock display will illuminate.
4.2 App Download and Installation
To control and monitor your camera clock, you need to download the dedicated smartphone application.
- Scan the QR code provided in the quick start guide (or search for "ULar Camera" in your device's app store).
- Download and install the application on your smartphone (compatible with Android devices).
- Open the app and follow the on-screen instructions to create an account or log in.
4.3 Connecting to WiFi
Ensure your smartphone is connected to a 2.4GHz WiFi network before proceeding.
- In the app, select "Add Device" or the "+" icon.
- Choose your ULar Camera Clock from the list of available devices or scan the QR code on the device if prompted.
- Follow the in-app instructions to connect the camera to your 2.4GHz WiFi network. This typically involves entering your WiFi password.
- Once connected, the camera's status indicator will change (refer to the app or device for specific indicator behavior).
4.4 SD Card Installation (Optional)
For local video storage, install a microSD card (up to 256GB, not included).
- Locate the SD card slot on the camera clock (refer to the device diagram in the quick start guide).
- Gently insert the microSD card into the slot with the gold contacts facing down/in, until it clicks into place.
- The app may prompt you to format the SD card. It is recommended to format the card through the app for optimal performance.
4.5 Device Placement
Place the camera clock on a stable, flat surface indoors, such as a desk, shelf, or nightstand. Ensure it has a clear line of sight to the area you wish to monitor.

Image: The ULar Camera Clock showing its digital display for time and temperature, alongside a visual comparison illustrating the superior clarity of 4K video capture compared to 1080P.
5. Operating Instructions
5.1 Live View
Once the camera is connected to WiFi, you can access the live video feed through the app:
- Open the ULar Camera app on your smartphone.
- Select your camera from the device list.
- The live 4K video stream will appear. You can pan/tilt digitally (if supported by the app) or zoom in on the feed.
5.2 Recording and Playback
The camera supports continuous recording and motion-activated recording.
- Motion Detection Recording: Enable motion detection in the app settings. The camera will automatically record when motion is detected and send alerts to your phone.
- Continuous Recording: If an SD card is installed and formatted, you can enable continuous recording in the app settings.
- Cloud Storage: Subscribe to cloud storage via the app for off-site backup of your recordings.
- Playback: Access recorded videos via the "Playback" or "History" section in the app. You can filter by date and event type.
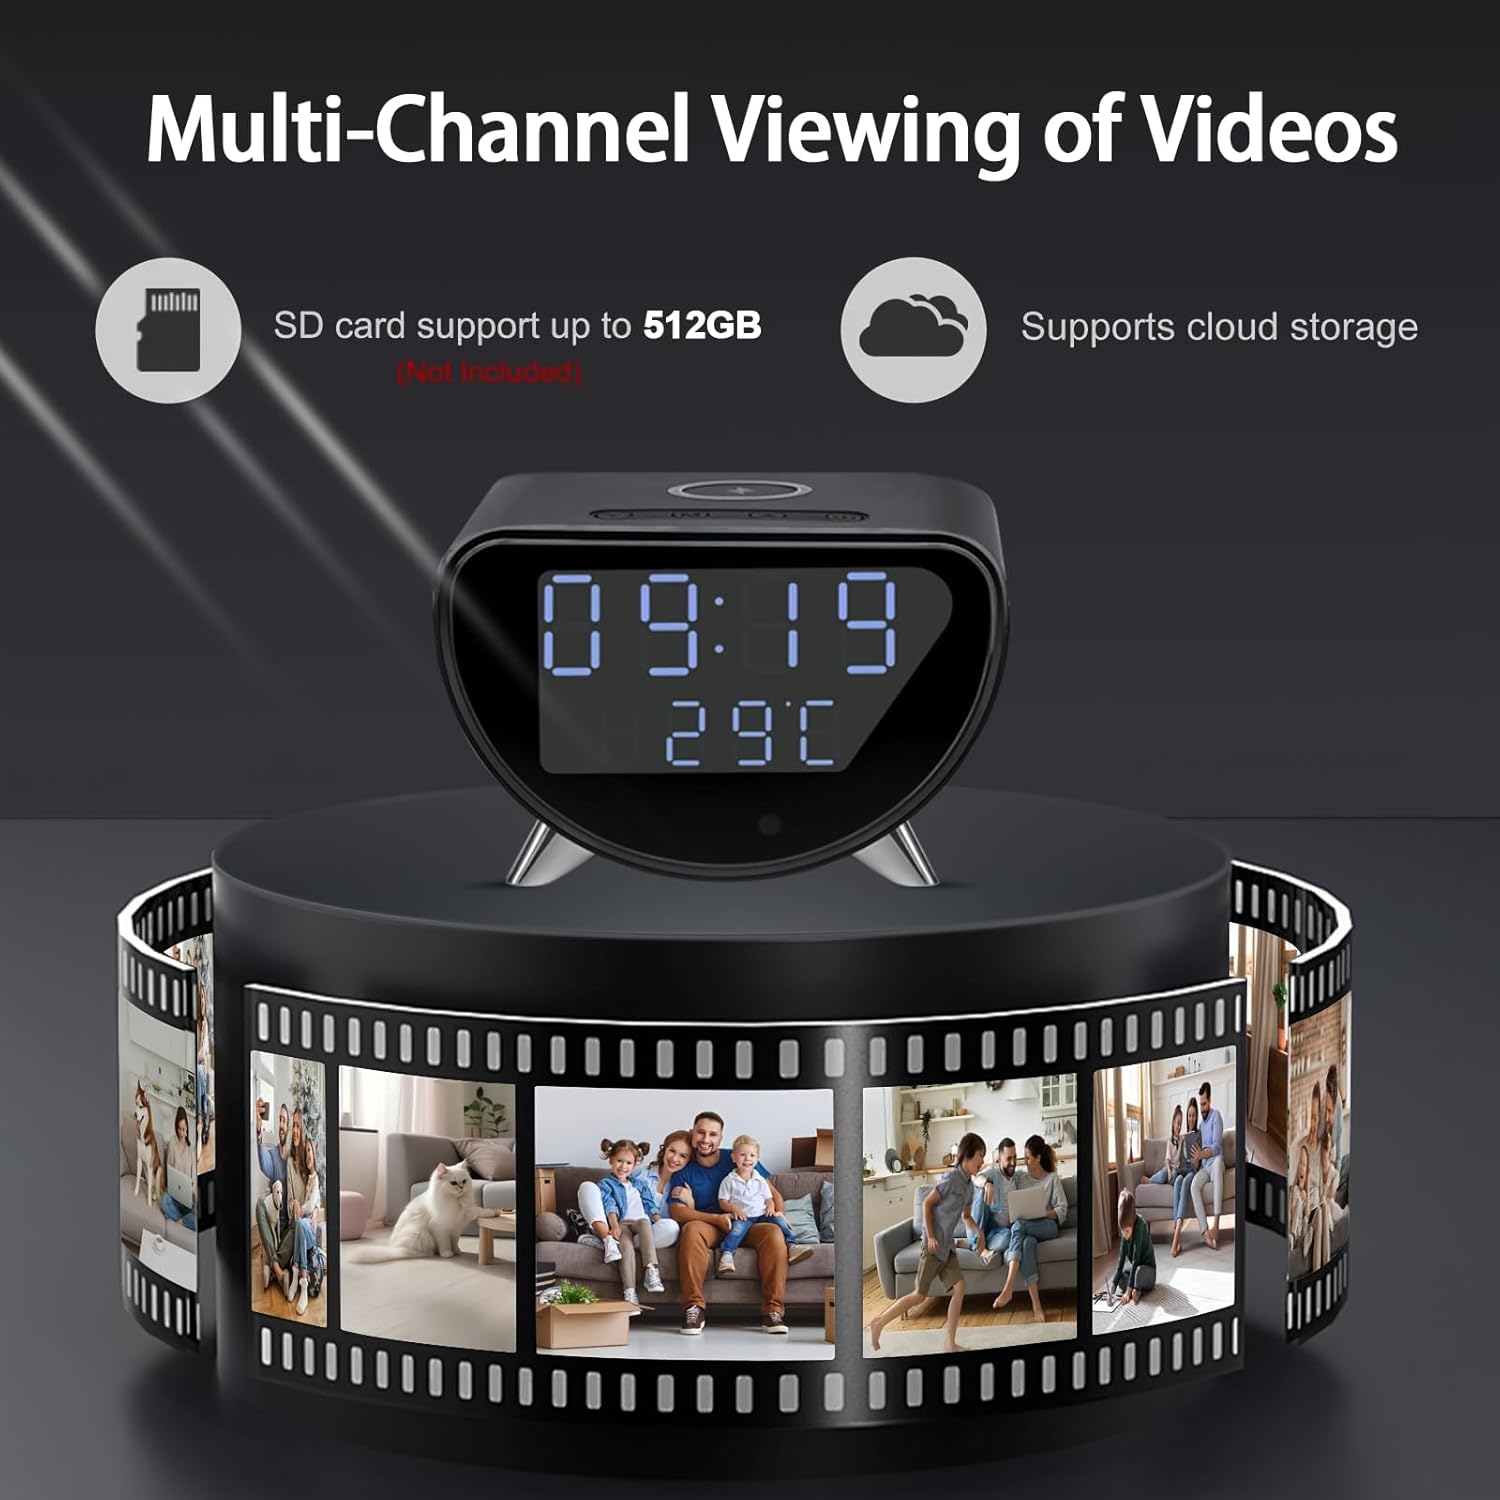
Image: The ULar Camera Clock illustrating its capability for multi-channel video viewing, highlighting support for both local SD card storage (up to 512GB, not included) and cloud storage options.
5.3 Wireless Charging Function
The top surface of the camera clock features a wireless charging pad.
- Place your Qi-compatible smartphone or other device on the center of the charging pad.
- Ensure the device is properly aligned for charging to begin. A charging indicator may appear on your phone's screen.
- Remove the device once fully charged.

Image: The ULar Camera Clock demonstrating its wireless charging capability, with a smartphone placed on its top surface receiving power.
5.4 Time and Temperature Display
The front display shows the current time and ambient temperature. These settings are typically synchronized via the app during initial setup and WiFi connection. Refer to the app settings for any adjustments to time format or temperature units.
6. Maintenance
6.1 Cleaning the Device
- Ensure the device is unplugged before cleaning.
- Use a soft, dry, lint-free cloth to wipe the exterior surfaces.
- For the camera lens, use a specialized lens cleaning cloth to avoid scratches.
- Do not use liquid cleaners, aerosols, or abrasive materials.
6.2 Firmware Updates
Periodically check the app for available firmware updates. Updates can improve performance, add new features, and enhance security. Follow the in-app instructions carefully when performing an update.
6.3 SD Card Management
If using an SD card, regularly check its storage capacity through the app. Format the SD card periodically (e.g., every few months) to maintain optimal recording performance and prevent data corruption. Back up any important recordings before formatting.
7. Troubleshooting
| Problem | Possible Cause | Solution |
|---|---|---|
| Device not powering on. | Power adapter not connected or faulty; power outlet issue. | Ensure power adapter is securely connected. Try a different power outlet. Check the adapter for damage. |
| Cannot connect to WiFi. | Incorrect WiFi password; not a 2.4GHz network; device too far from router. | Verify WiFi password. Ensure you are connecting to a 2.4GHz network. Move the camera closer to the router. Restart the camera and router. |
| No video feed in app. | WiFi connection lost; app issue; camera offline. | Check WiFi connection status in the app. Restart the app. Power cycle the camera. Ensure your internet connection is stable. |
| SD card not recording. | SD card full or not formatted; faulty SD card; recording settings incorrect. | Format the SD card via the app. Check recording settings (e.g., motion detection enabled). Try a different SD card. |
| Wireless charging not working. | Device not Qi-compatible; improper alignment; foreign objects on pad. | Ensure your device supports Qi wireless charging. Realign the device on the pad. Remove any metal objects or thick cases. |
8. Specifications
| Feature | Detail |
|---|---|
| Model Name | Camera (pxa5) |
| Brand | ULar |
| Video Capture Resolution | 4K |
| Field of View | 110° Ultra-Wide-Angle |
| Connectivity Technology | Wireless (Wi-Fi 2.4GHz Dual-Band) |
| Compatible Devices | Smartphone (Android Controller Type) |
| Control Method | App |
| Indoor/Outdoor Usage | Indoor |
| Power Source | Corded Electric |
| Mounting Type | Tabletop Mount |
| Storage Function | Max 256GB SD Card (not included), Cloud Storage (subscription) |
| Product Dimensions (L x W x H) | 4.01 x 3.15 x 3.15 inches |
| Color | Black |
| Video Encoding/Format | MJPEG |
| Audio Visual Recording Capabilities | Still Images (Video without sound) |
9. Warranty and Support
ULar is committed to providing high-quality products and customer satisfaction. For any questions, concerns, or technical assistance regarding your ULar 4K Wireless WiFi Camera Clock, please contact ULar customer support.
Please refer to the product packaging or the official ULar website for specific warranty information and contact details. When contacting support, please have your product model number (pxa5) and purchase information ready.
We aim to respond to all inquiries within 24 hours.


