
Important Safety Information
Read all instructions carefully before using this treadmill. Keep this manual for future reference.
- Always place the treadmill on a level surface. Ensure adequate clear space around the treadmill for safe operation.
- Keep children and pets away from the treadmill during operation.
- The emergency stop safety key must be attached to the console and to your clothing during use. In case of an emergency, the safety key will detach, stopping the treadmill.
- Do not operate the treadmill if it has a damaged cord or plug, or if it is not working properly.
- The maximum user weight capacity for this treadmill is 300 pounds. Do not exceed this limit.
- Wear appropriate athletic footwear during use.
- Consult a physician before beginning any exercise program.
Package Contents
Verify that all components are present in the package:
- LONTEK SF10 Treadmill Unit
- Safety Key
- Tool Kit
- User Manual (this document)
Assembly Instructions
The LONTEK SF10 Treadmill is designed for minimal assembly. Follow these steps to prepare your treadmill for use:
- Unpacking: Carefully remove the treadmill from its packaging. Place it on a flat, stable surface.

Image: The treadmill is shown in its folded, flat position and then being lifted to its upright, operational position, highlighting its portability and space-saving design.
- Unfolding the Handles: Gently lift the console and handles from the folded position until they lock securely into place. Ensure both handles are fully extended and stable.

Image: This image illustrates the console area, including the water bottle holder and the tablet/phone holder, demonstrating the convenient storage and optimal viewing angle for devices.
- Securing Components: Use the provided tool kit to tighten any pre-installed screws or bolts that may have loosened during shipping. Refer to the diagrams in the separate quick start guide if available.
Setup
- Power Connection: Plug the power cord into a grounded electrical outlet.
- Safety Key Placement: Attach the red safety key clip to your clothing and place the magnetic end onto the designated area on the console. The treadmill will not operate without the safety key in place.
- Initial Power On: Locate the power switch, usually at the front base of the treadmill, and turn it to the "ON" position. The display will illuminate.
Operating Instructions
Familiarize yourself with the treadmill's controls and functions.
Console Overview

Image: The control panel features three distinct screens showing workout metrics and touch-sensitive buttons for operation.
- Start Button: Initiates the treadmill belt movement.
- Stop Button: Halts the treadmill belt movement.
- Speed +/- Buttons: Adjusts the speed of the running belt. Speed range: 0.6 - 7.0 MPH.
- Program/Mode (P/M) Button: Cycles through pre-set workout programs or modes.
- Display Screens: Shows real-time data including Time, Speed, Distance, and Calories Burned.
Starting a Workout
- Stand on the side rails of the treadmill.
- Ensure the safety key is properly attached.
- Press the "Start" button. The treadmill will begin at a low speed (e.g., 0.6 MPH) after a brief countdown.
- Carefully step onto the running belt and adjust the speed using the "Speed +" or "Speed -" buttons to your desired pace.
Adjusting Incline
This treadmill features a 12% manual incline. To adjust the incline:
- Stop the treadmill and step off the belt.
- Locate the manual incline adjustment points at the rear of the treadmill.
- Lift or lower the rear of the treadmill to the desired incline level (e.g., 0%, 6%, 12%) and ensure it is securely locked into position before resuming your workout.

Image: This visual demonstrates the manual incline feature, illustrating how different incline levels can impact calorie expenditure during a workout.
Ending a Workout
- Press the "Stop" button to gradually slow down and stop the treadmill belt.
- Alternatively, pull the safety key to immediately stop the treadmill in an emergency.
- Once the belt has completely stopped, step off the treadmill.
Maintenance
Regular maintenance ensures the longevity and optimal performance of your treadmill.
- Cleaning: Wipe down the treadmill surfaces with a damp cloth after each use to remove sweat and dust. Do not use abrasive cleaners.
- Belt Lubrication: The running belt requires periodic lubrication to reduce friction and extend its lifespan. Refer to the specific instructions for lubrication frequency and type of lubricant in the separate quick start guide or contact customer support.
- Belt Tension and Alignment: Check the running belt tension and alignment regularly. If the belt feels loose or is drifting to one side, adjust it according to the instructions provided in the quick start guide or by contacting customer support.
- Motor Area: Keep the area around the motor clean and free of dust and debris to ensure proper ventilation.
Troubleshooting
This section addresses common issues you might encounter with your treadmill.
| Problem | Possible Cause | Solution |
|---|---|---|
| Treadmill does not power on. | Power cord not plugged in, power switch off, circuit breaker tripped. | Ensure power cord is securely plugged in. Check if the power switch is ON. Reset the circuit breaker if necessary. |
| Running belt does not move. | Safety key not in place, emergency stop activated. | Ensure the safety key is correctly placed on the console. Check if the emergency stop button is pressed in. |
| Belt slipping or hesitating. | Belt too loose, insufficient lubrication. | Adjust belt tension (refer to quick start guide). Lubricate the running belt as per maintenance instructions. |
| Unusual noise during operation. | Loose components, motor issue, belt friction. | Check for any loose screws or bolts and tighten them. Ensure the belt is properly lubricated. If noise persists, contact customer support. |
If you encounter an issue not listed here, or if the problem persists after attempting the solutions, please contact LONTEK customer support.
Specifications
| Feature | Detail |
|---|---|
| Brand | LONTEK |
| Model Name | SF10 |
| Product Dimensions (D x W x H) | 47.2" x 24.6" x 5.5" |
| Folded Size (L x W x H) | 40" x 20" x 5" |
| Item Weight | 45 Pounds |
| Material | Iron |
| Maximum Speed | 7 Miles per Hour |
| Maximum Horsepower | 3.0 HP |
| Maximum Incline Percentage | 12% (Manual) |
| Maximum Weight Recommendation | 300 Pounds |
| Running Belt Dimensions | 38.2" x 15.2" |
| Display Type | LED (Three-Screen Touch Control) |
| Noise Level | Below 45 decibels |
| Power Source | Corded Electric |
| Included Components | Safety Key, Tool Kit, User Manual |
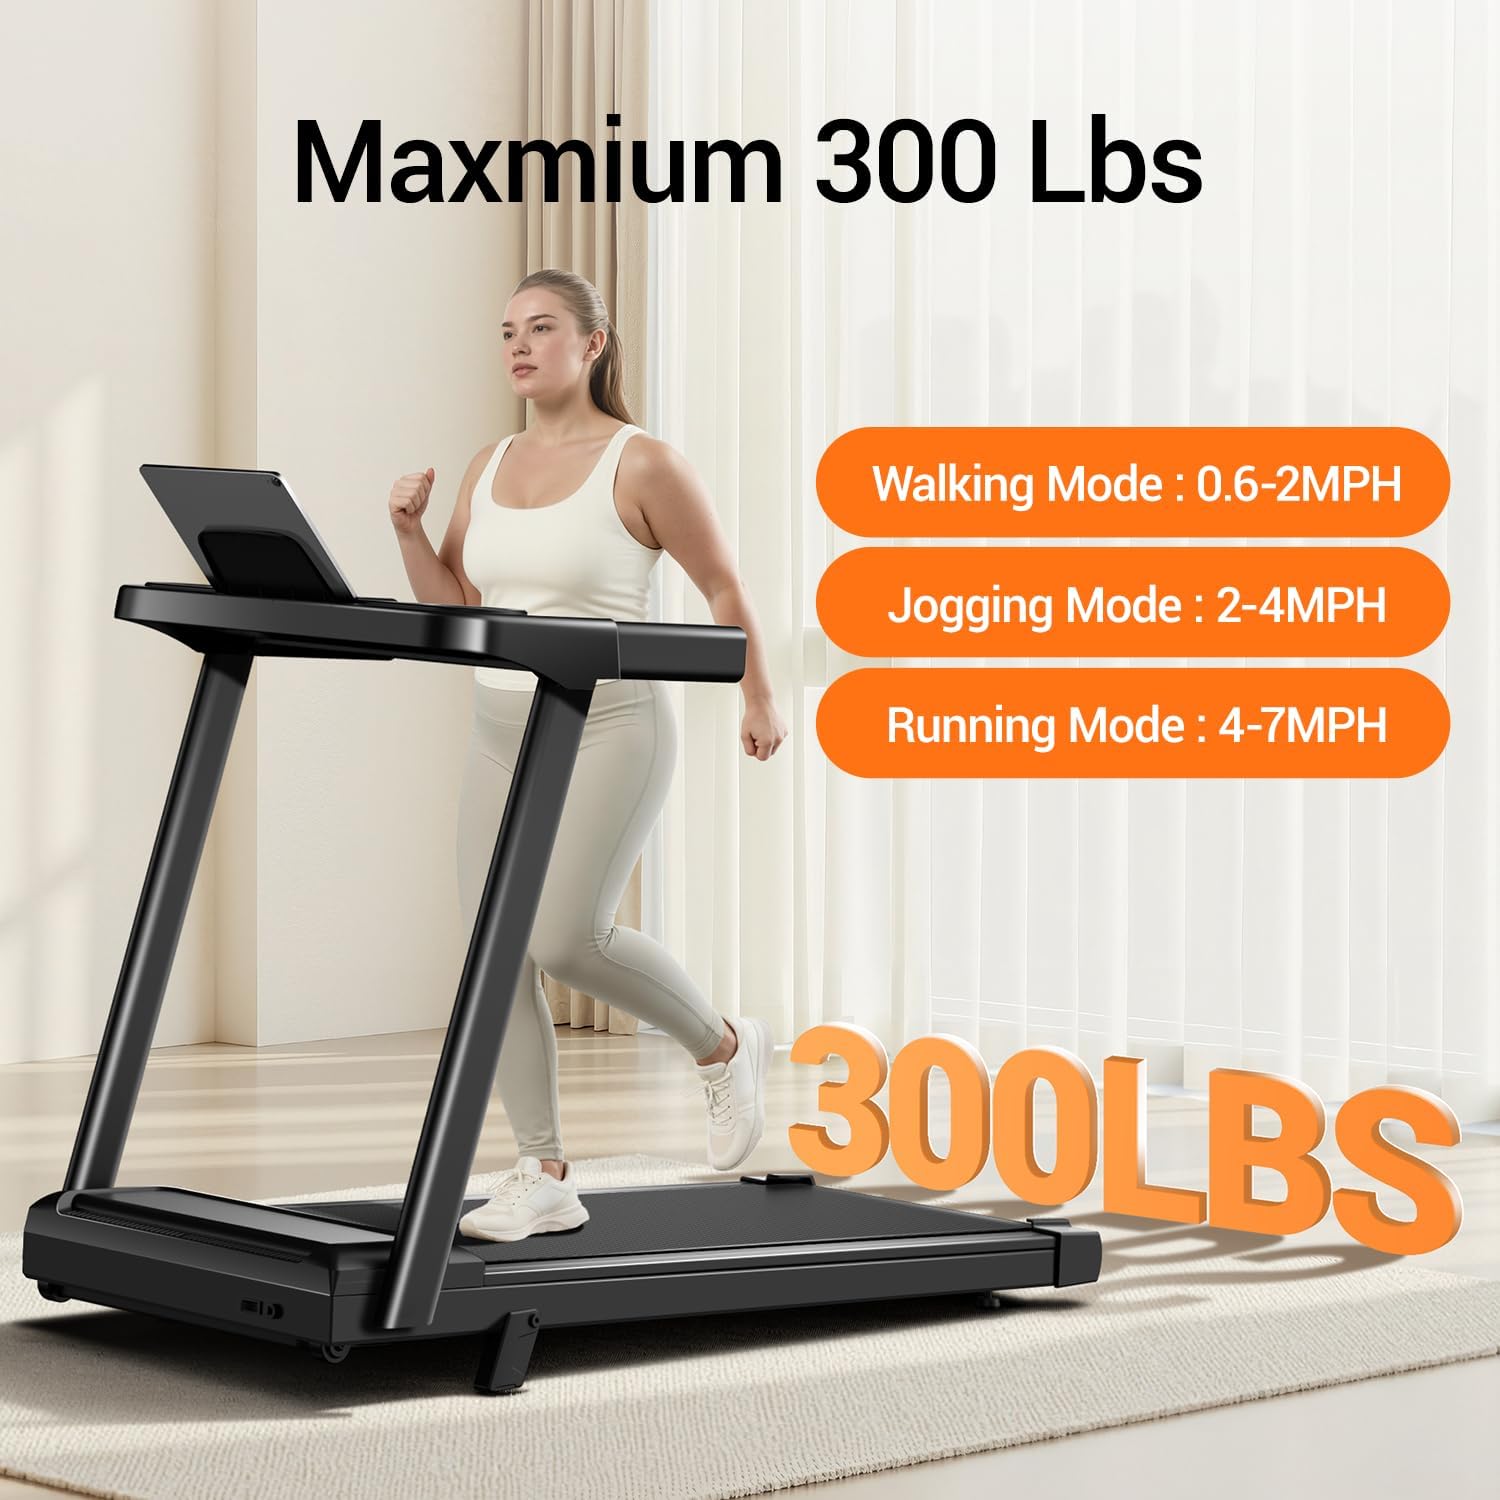
Image: This image highlights the treadmill's maximum weight capacity and outlines the recommended speed ranges for walking, jogging, and running modes.
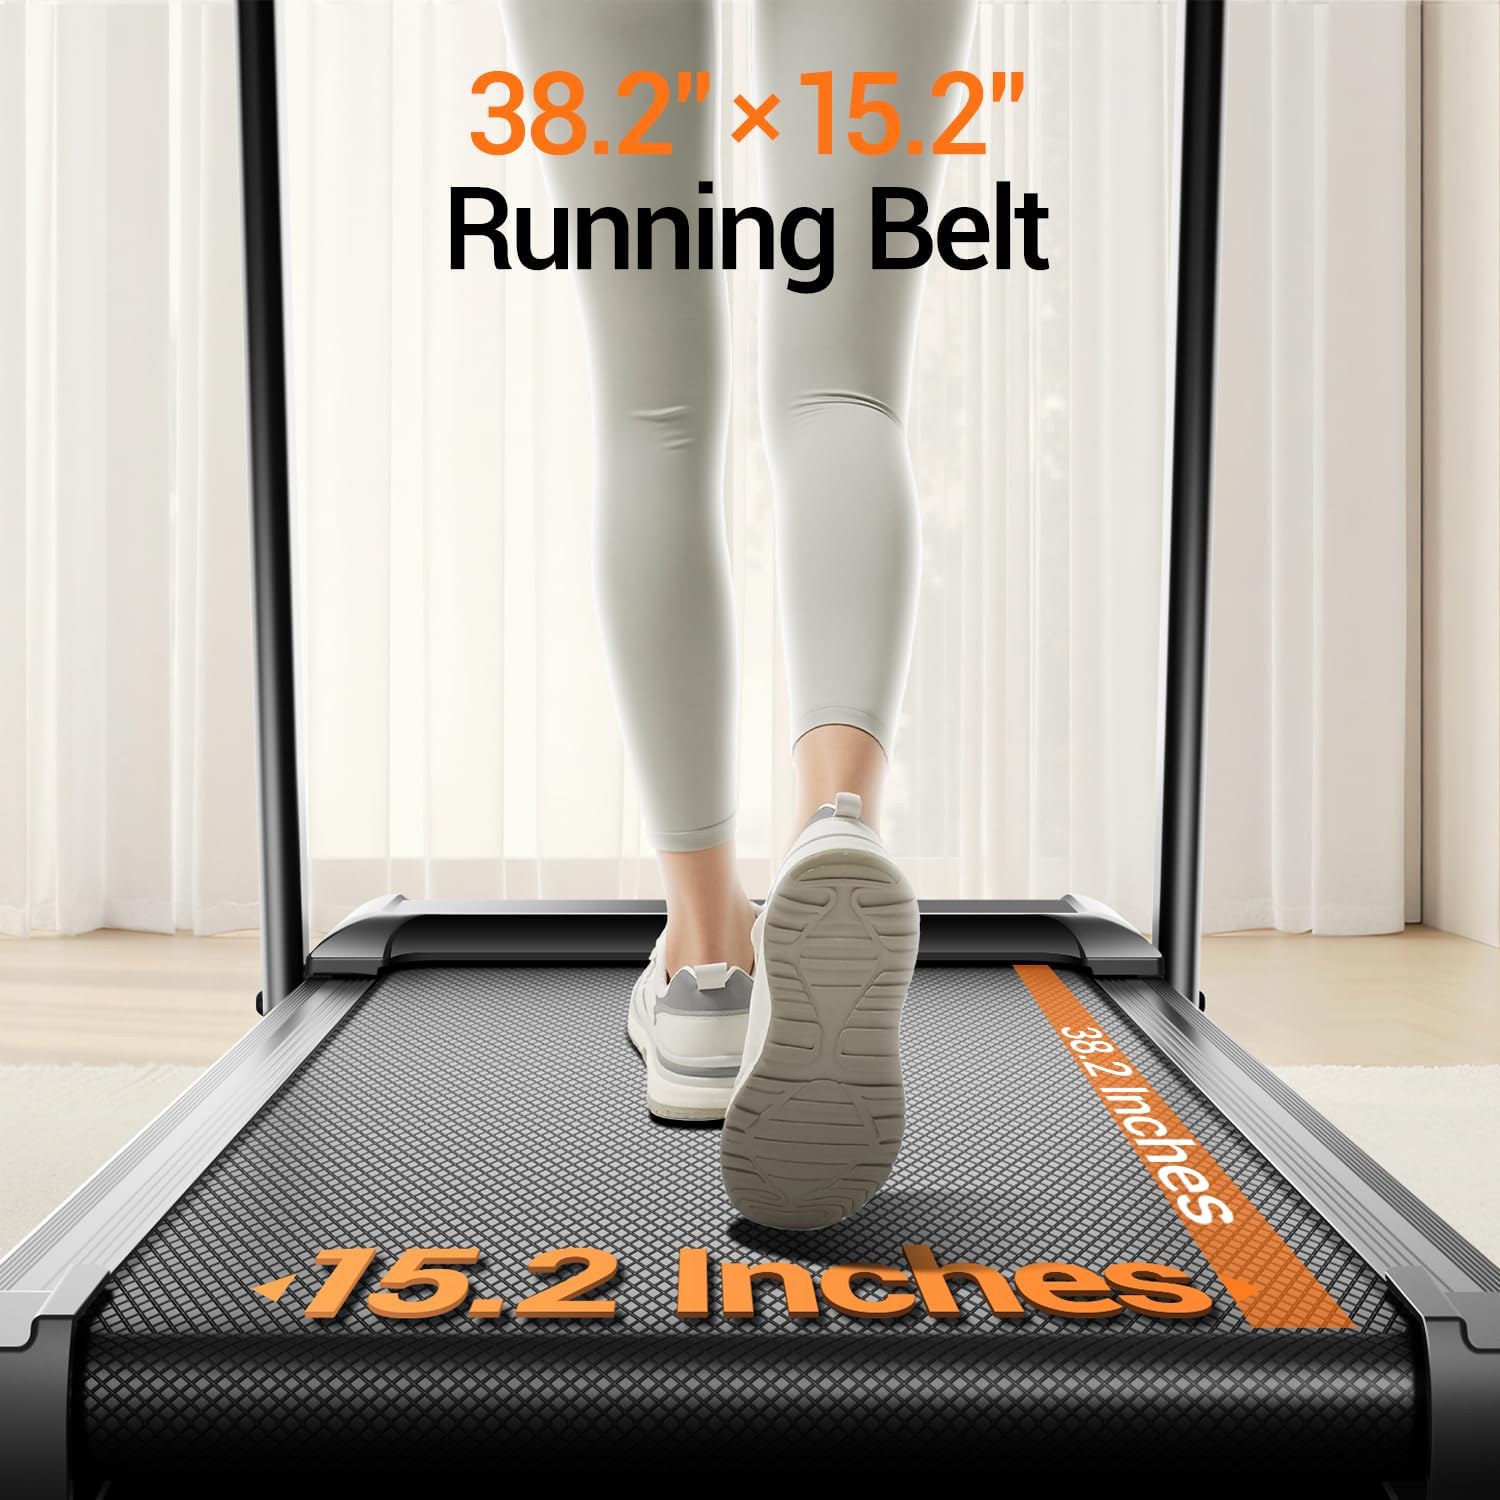
Image: A detailed view of the running belt, indicating its generous dimensions for comfortable use.

Image: This image provides a look at the powerful and quiet 3.0HP motor, emphasizing its durability and low noise operation.
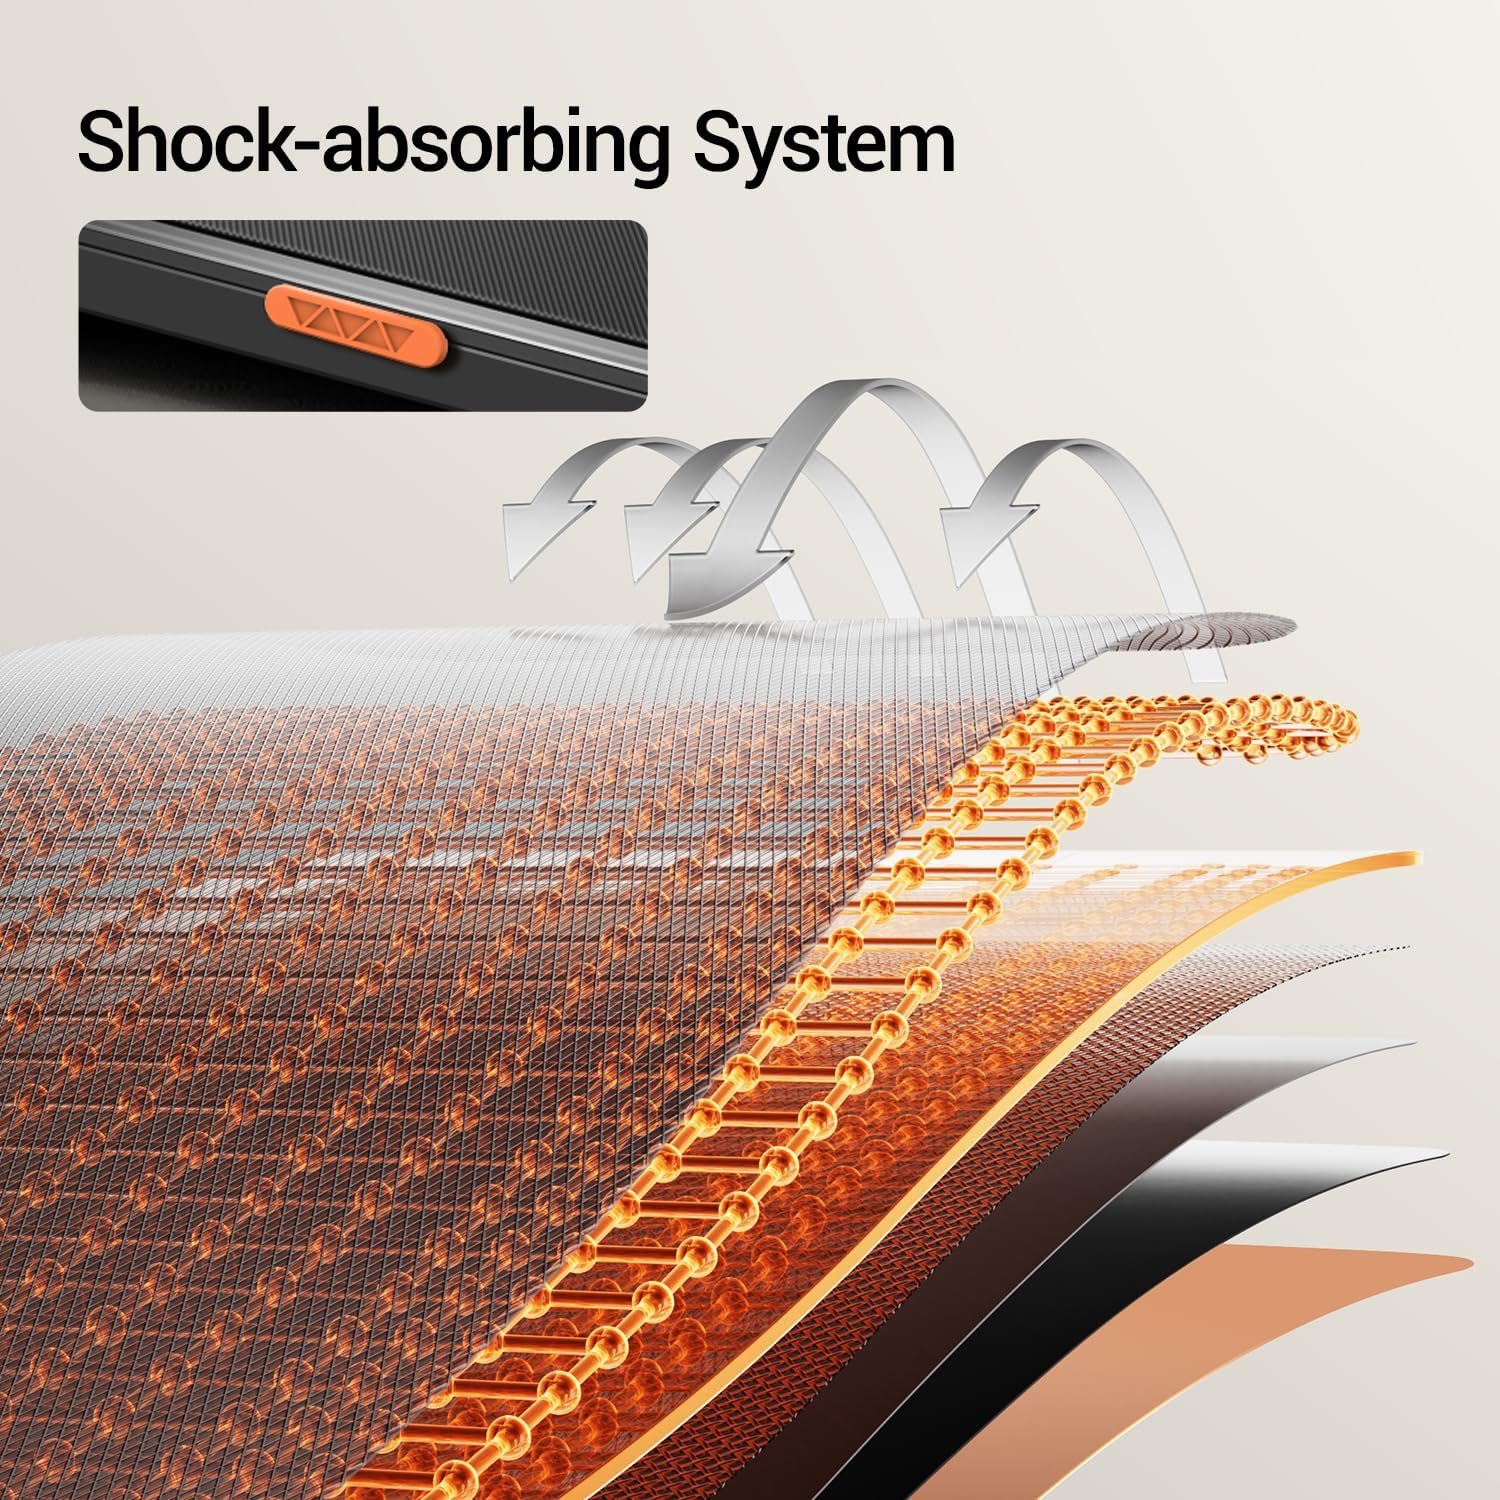
Image: A cross-section diagram detailing the advanced shock-absorbing layers beneath the running belt, designed to reduce impact on joints.
Warranty and Support
Your LONTEK SF10 Treadmill comes with a 1-Year Warranty from the date of purchase.
For any questions, technical assistance, replacement parts, or maintenance videos, please contact our dedicated service team. We are committed to providing comprehensive support to ensure your satisfaction.
Customer Service: Please refer to the contact information provided on your purchase receipt or the official LONTEK website.


