
AUXITO A502
Contents
AUXITO A502 Tire Inflator & Portable Jump Starter
User Manual
1. Important Safety Instructions
Please read all safety information carefully before using this product. Failure to follow these instructions may result in electric shock, fire, and/or serious injury.
- Do not operate the jump starter or tire inflator if it is damaged.
- Do not jump start a frozen battery.
- Do not use the jump starter on vehicles that do not match the specified voltage (12V).
- Do not allow the positive and negative clamps to touch each other.
- Do not over-inflate tires. Always refer to the vehicle manufacturer's recommended tire pressure.
- Keep out of reach of children.
- Store in a cool, dry place away from direct sunlight and heat.
- Use only the provided charging cable and accessories.
2. Product Overview
The AUXITO A502 is a versatile device combining a powerful portable jump starter and a high-performance tire inflator. It is designed for emergency vehicle starting and convenient tire maintenance.

Figure 2.1: Overview of the AUXITO A502 unit, showcasing its compact design and integrated features.
Key Features:
- Powerful Jump Starter: 4000A peak current, capable of starting up to 8L gas and 7L diesel engines.
- Intelligent Safety Clamps: 10 advanced safety protections with indicator lights for error notification.
- Fast Tire Inflation: 150 PSI max pressure, 26L/min airflow, inflates compact car tires (30-35 PSI) in approximately 1 minute.
- Smart Preset Modes: 4 preset modes (Car, Motorcycle, Bike, Ball) and a custom mode for various inflation tasks.
- Adjustable LED Light: 2000 lumens with 4 modes (Super bright, Normal bright, SOS, Strobe).
- 2-Way Power Supply: Rechargeable 7800mAh battery and 12V DC corded backup.
- 30W Fast Charging: Fully charges in approximately 1 hour.

Figure 2.2: Illustration of the dual-cylinder inflation system, highlighting its efficiency and speed.

Figure 2.3: The jump starter unit connected to a car battery with its smart jumper clamps, indicating readiness for use.
3. Setup and Charging
Initial Charging:
Before first use, fully charge the AUXITO A502. Connect the provided USB-C charging cable to the device and a suitable USB power adapter (not included). The device supports 30W fast charging and can be fully charged in approximately 1 hour.

Figure 3.1: The device connected for fast charging, illustrating the USB-C port and charging indicator.
Checking Battery Level:
Press the power button briefly to check the current battery level indicated by the LED lights on the jump starter unit.

Figure 3.2: Visual representation of the smart battery indicator, showing battery percentage via LED cells.
4. Operating the Tire Inflator
- Connect Air Hose: Screw the air hose securely onto the inflator's air outlet and then onto the tire valve stem.
- Power On: Press the power button to turn on the inflator. The current tire pressure will be displayed.
- Select Mode: Use the mode button to cycle through preset modes (Car, Motorcycle, Bike, Ball) or select custom mode.
- Set Target Pressure: Use the '+' and '-' buttons to adjust the desired pressure.
- Start Inflation: Press the start button to begin inflation. The inflator will automatically stop when the target pressure is reached.
- Disconnect: Unscrew the air hose from the tire valve and then from the inflator.
Using 12V DC Corded Power:
If the internal battery is drained, you can power the tire inflator directly from your vehicle's 12V DC outlet using the provided car power cable. Connect the cable to the inflator and your car's 12V socket, then proceed with inflation as usual.
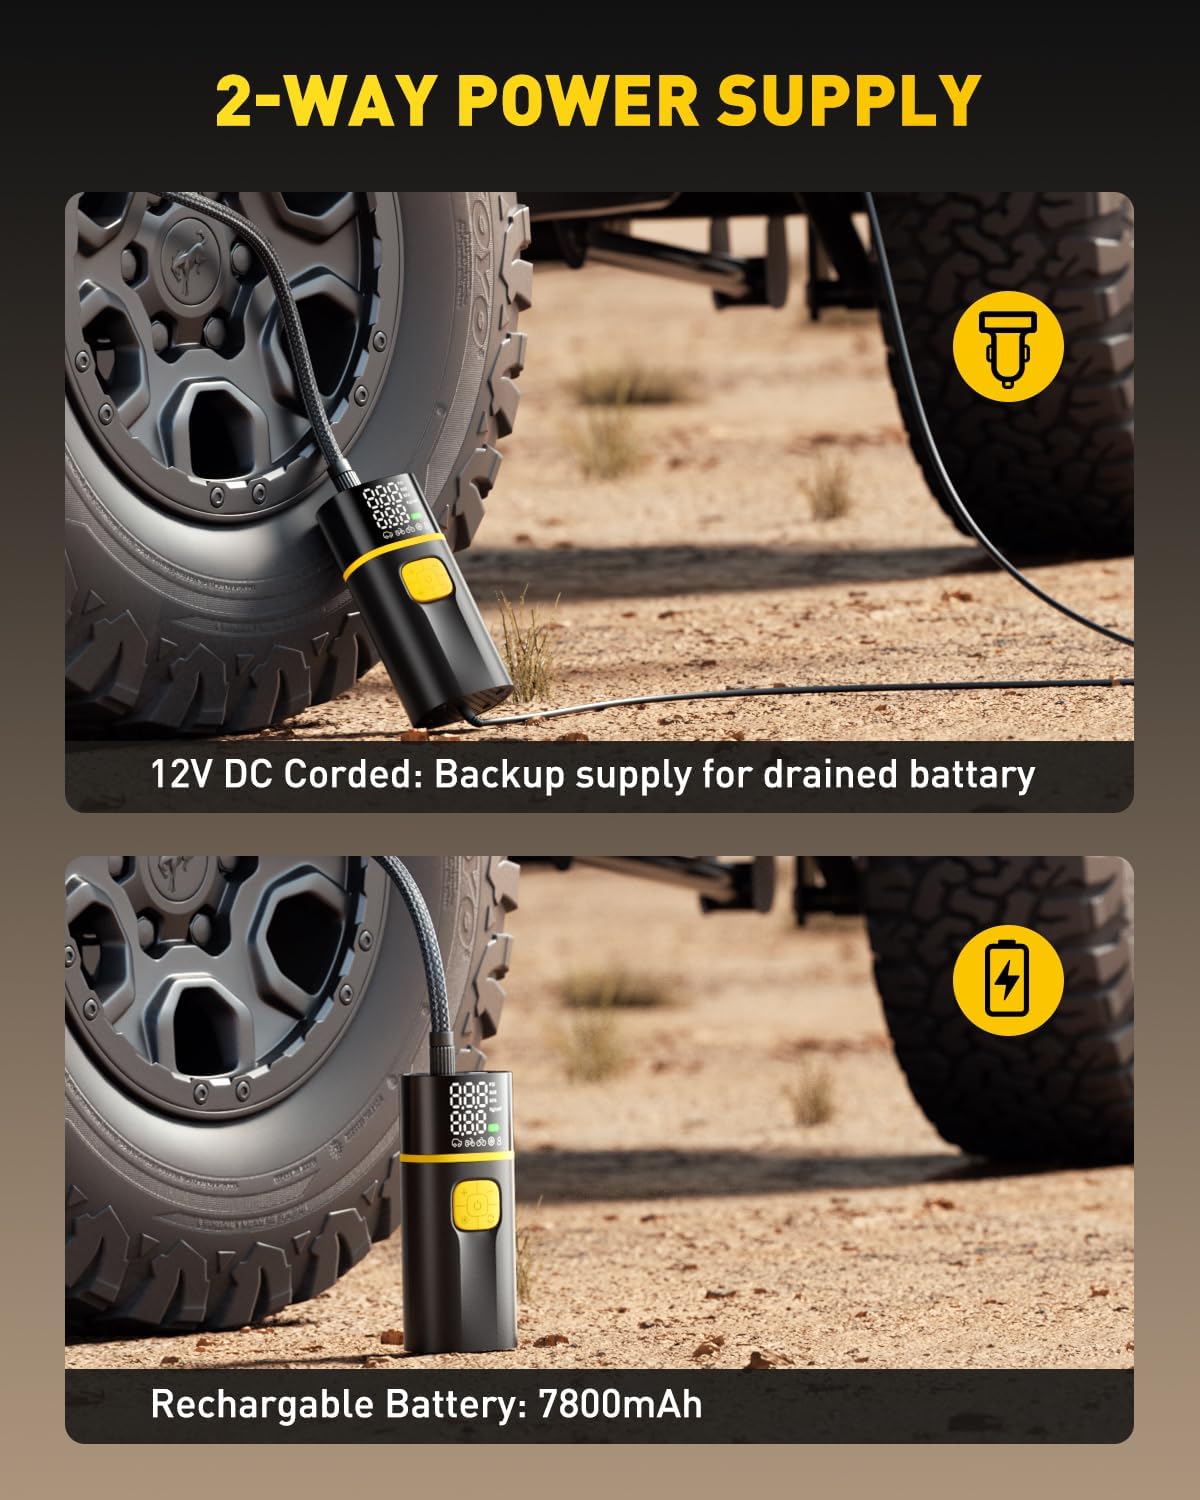
Figure 4.1: The inflator powered by both its internal rechargeable battery and an external 12V DC cord, demonstrating flexible power options.

Figure 4.2: The digital display showing preset pressure and the auto shut-off feature in action during tire inflation.
5. Operating the Jump Starter
Ensure the jump starter is fully charged before use.
- Connect Clamps: Insert the smart jumper cable plug into the jump starter's output port.
- Connect to Battery: Attach the red (+) clamp to the positive terminal of the vehicle's battery. Attach the black (-) clamp to the negative terminal of the vehicle's battery.
- Check Indicator: Observe the indicator lights on the smart clamps. A solid green light indicates a safe connection and readiness to jump start. Refer to the troubleshooting section for other light patterns.
- Start Vehicle: Start your vehicle's engine.
- Remove Clamps: Once the engine starts, immediately remove the black (-) clamp, then the red (+) clamp from the battery. Disconnect the smart jumper cable from the jump starter.
6. Emergency Flashlight Operation
The AUXITO A502 features a powerful 2000-lumen LED flashlight with multiple modes.
- Turn On/Off: Press and hold the flashlight button to turn the light on or off.
- Change Modes: While the light is on, short press the flashlight button to cycle through the modes: Super Bright > Normal Bright > SOS > Strobe.

Figure 6.1: The integrated flashlight illuminating an engine bay, showcasing its various brightness and emergency modes.
7. Maintenance
- Charging: For optimal battery life, fully charge the device every 3-6 months if not in regular use.
- Cleaning: Wipe the device with a soft, dry cloth. Do not use harsh chemicals or abrasive cleaners.
- Storage: Store the device in a cool, dry place, away from direct sunlight, moisture, and extreme temperatures.
8. Troubleshooting
| Problem | Possible Cause | Solution |
|---|---|---|
| Jump starter not working / Smart clamp indicator red/flashing | Incorrect connection, battery too low, short circuit. | Check clamp connections (red to +, black to -). Ensure jump starter is fully charged. Consult smart clamp manual for specific error codes. |
| Tire inflator not turning on | Battery drained, power button not pressed correctly. | Charge the device. Press and hold the power button for a few seconds. Try using 12V DC corded power. |
| Tire inflator not inflating | Air hose not securely connected, target pressure not set, hose leakage. | Ensure air hose is tightly screwed onto valve and inflator. Set a target pressure. Check hose for damage. |
| Device not charging | Faulty cable, power adapter, or charging port. | Try a different USB-C cable and power adapter. Ensure connections are secure. |
9. Specifications
- Model: A502
- Jump Starter Peak Current: 4000A
- Engine Compatibility: Up to 8.0L Gas / 7.0L Diesel
- Tire Inflator Max Pressure: 150 PSI
- Airflow Capacity: 26 Liters/Minute
- Battery Capacity: 7800mAh
- Flashlight Brightness: 2000 Lumens
- Charging Input: USB-C (30W Fast Charging)
10. Warranty and Support
AUXITO products are designed and manufactured to the highest quality standards. For warranty information, technical support, or any questions regarding your AUXITO A502, please contact AUXITO customer service through their official website or your purchase platform.
For further assistance, visit the AUXITO Store on Amazon.
Ask a question about this manual
Ask about setup, troubleshooting, compatibility, parts, safety, or missing instructions. Manuals+ will review the question and use this page’s manual context to help answer it.