1. Introduction
This manual provides instructions for the safe and efficient use of your Auletor R3 Electric Mason Jar Vacuum Sealer Kit. This 3-in-1 device is designed to create an airtight seal on Mason jars, vacuum containers, and vacuum bags, extending the freshness of various food items. Please read this manual thoroughly before first use and retain it for future reference.
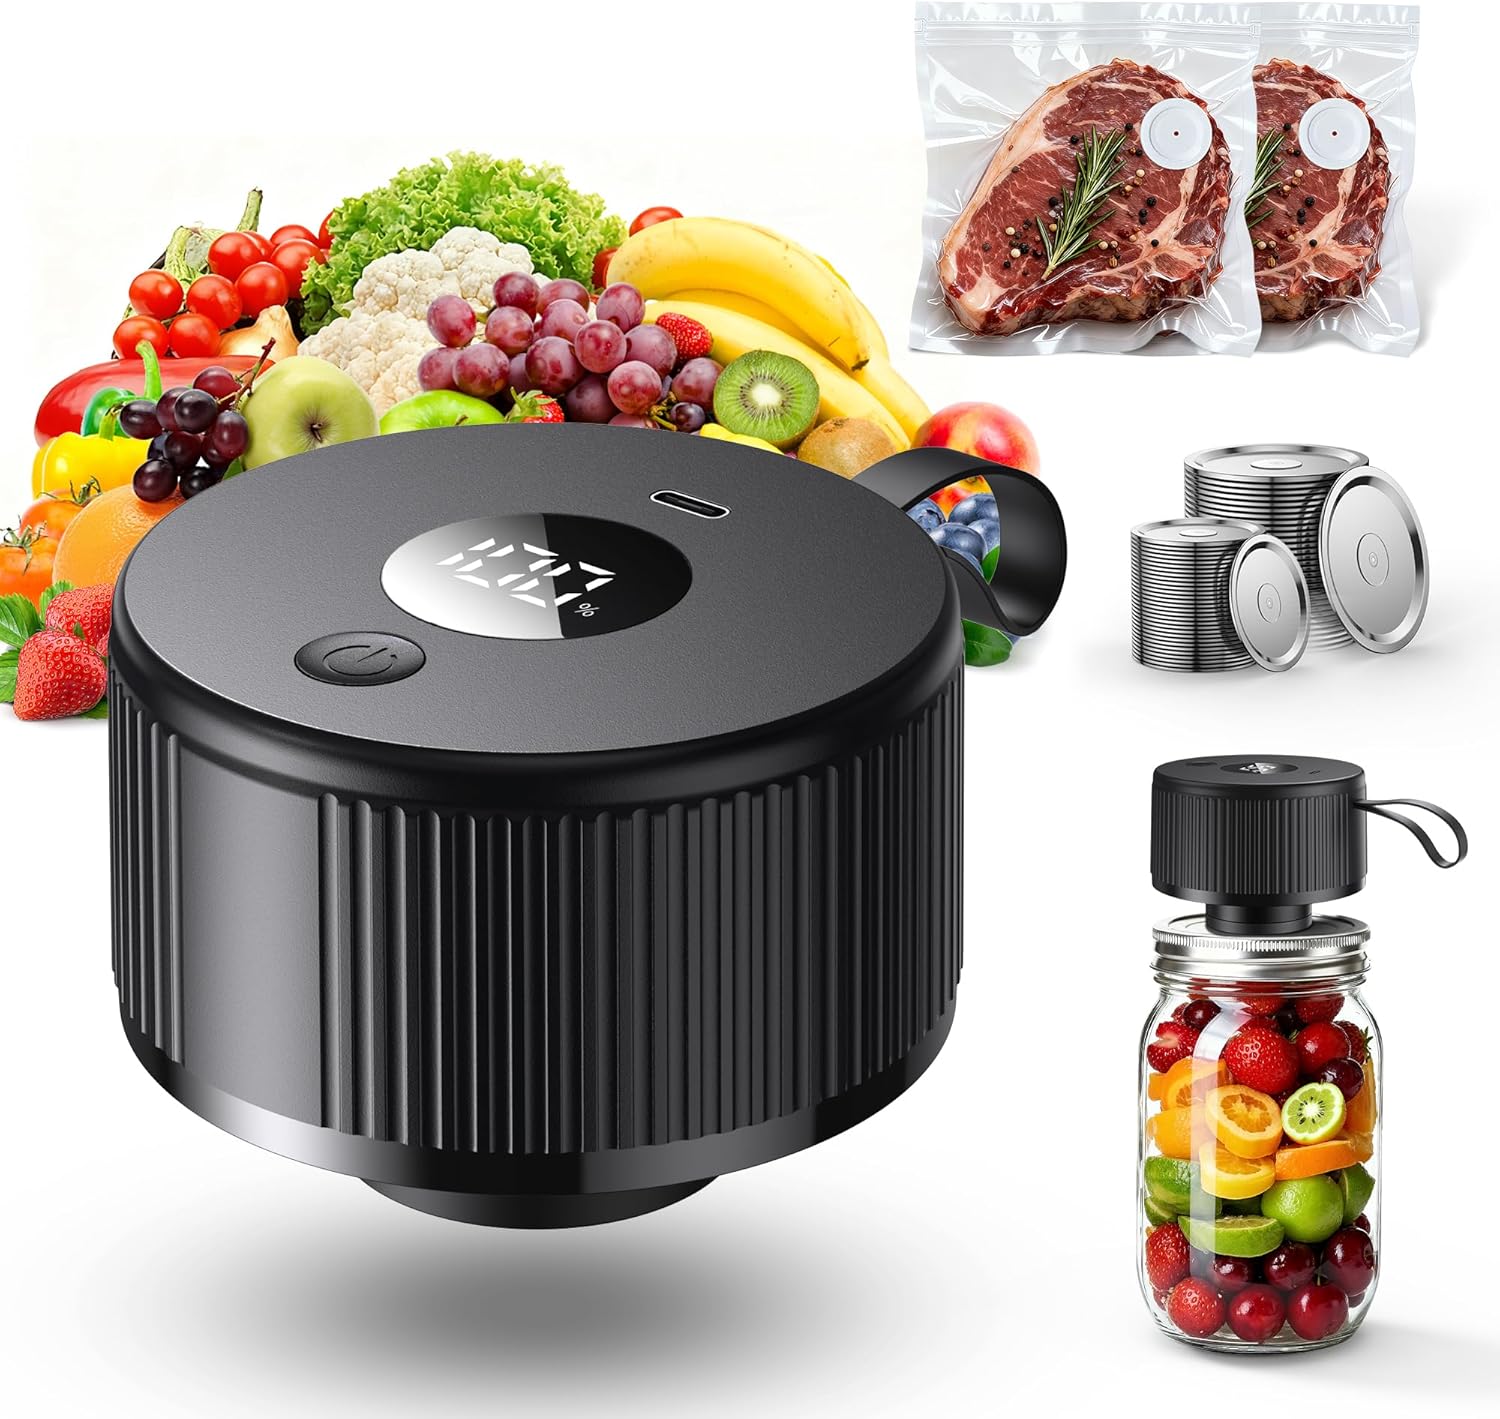
Image 1.1: The Auletor R3 Electric Mason Jar Vacuum Sealer Kit, shown with fresh produce, vacuum-sealed meat, and sealed Mason jars, illustrating its versatile applications.
2. Safety Instructions
- Do not immerse the electric vacuum sealer unit in water or other liquids.
- Keep the device away from children. This is not a toy.
- Use only the provided charging cable.
- Do not attempt to open or repair the device yourself. Contact customer support for assistance.
- Ensure jar rims and lids are clean and dry before sealing to achieve an effective vacuum.
- The central membrane of the vacuum lids is crucial for sealing. Do not puncture or scrape it with sharp objects. Damage to this membrane will prevent proper sealing.
3. Package Contents
Verify that all items are present in your package:
- 1 x Electric Mason Jar Vacuum Sealer
- 1 x Charging Cable (Type-C)
- 10 x Wide-Mouth Mason Jar Lids
- 10 x Regular Mason Jar Lids
- 1 x Lid Opener
- 2 x Vacuum Seal Bags
- 1 x User Manual (this document)
- 12 x Stickers
- 1 x Sliding Clamp

Image 3.1: Visual representation of the complete package contents included with your Auletor R3 Vacuum Sealer Kit.
4. Product Components
Familiarize yourself with the main parts of your electric vacuum sealer:
- Power Button: Activates and deactivates the vacuum sealing process.
- Battery Display: Digital indicator showing the remaining battery percentage.
- Type-C Charging Port: Used to recharge the device.
- Automatic Detection: The device automatically stops once a sufficient vacuum is achieved.

Image 4.1: Key components of the Auletor R3 Electric Mason Jar Vacuum Sealer, including the battery display, power button, and Type-C charging port.
5. Charging the Device
Before first use, fully charge the electric vacuum sealer. Connect the provided Type-C charging cable to the charging port on the device and plug the other end into a compatible USB power adapter (not included). The battery display will indicate charging status and percentage. A full charge ensures optimal performance.
6. Operating Instructions
6.1. Sealing Mason Jars
- Prepare the Jar: Ensure the Mason jar and its rim are clean and dry. Any food debris or moisture can prevent a proper seal.
- Place the Lid: Position a compatible Mason jar lid (regular or wide-mouth) onto the jar.
- Position the Sealer: Place the electric vacuum sealer straight down over the lid, ensuring it is centered and covers the lid completely.
- Initiate Sealing: Press the power button on the sealer. The device will begin to extract air from the jar.
- Automatic Stop: The sealer will automatically stop once the optimal vacuum pressure is achieved.
- Check the Seal: Carefully lift the sealer off the jar. Press down on the center of the lid to confirm it is concave and sealed. If not, repeat the process.

Image 6.1: Step-by-step guide for vacuum sealing a Mason jar using the Auletor R3 device.

Image 6.2: The one-touch operation of the vacuum sealer, demonstrating its simplicity for sealing jars.
6.2. Sealing Vacuum Bags and Containers
The Auletor R3 is also compatible with vacuum seal bags and containers. Follow the specific instructions provided with your vacuum bags or containers for proper placement of the sealer's nozzle to create a vacuum seal. The automatic shut-off feature will function similarly.
7. Food Preservation Guidelines
Vacuum sealing significantly extends the freshness of various foods by removing oxygen, which is a primary cause of spoilage and freezer burn. Refer to the table below for estimated preservation times:
| Food Type | Room Temperature (Ordinary Storage) | Our Vacuum Sealer (Room Temp) | Vacuum + Freezer/Fridge |
|---|---|---|---|
| Fried foods, nuts | 1-3 Days | 4-6 Days | 12 Months |
| Meat | 2-3 Days | 8-9 Days | 12 Months |
| Vegetables / Fruits | 5-7 Days | 7-10 Days | 12-40 Months |
| Cookies / Bread | 1-2 Days | 3-8 Days | 10-20 Months |
Table 7.1: Estimated food preservation times with and without vacuum sealing.

Image 7.1: Visual representation of the food preservation guidelines, highlighting the extended freshness provided by vacuum sealing.
8. Care and Maintenance
- Cleaning the Sealer: Wipe the exterior of the electric vacuum sealer with a damp cloth. Do not use abrasive cleaners or immerse the unit in water.
- Cleaning Lids: Mason jar lids and vacuum bags can be washed with warm, soapy water. Ensure they are completely dry before reuse.
- Storage: Store the sealer in a cool, dry place when not in use.
9. Troubleshooting
- Device Not Turning On: Ensure the device is charged. Connect it to the charging cable and allow it to charge for at least 30 minutes before attempting to use it again.
- No Vacuum or Weak Seal:
- Check if the Mason jar rim is clean and dry. Food particles or moisture can break the seal.
- Ensure the lid is correctly positioned on the jar.
- Verify that the electric sealer is placed squarely and firmly over the lid.
- Inspect the lid's central membrane for any damage or punctures. A damaged membrane will prevent sealing.
- Ensure the device is fully charged.
- Unusual Noise During Operation: This is typically normal as the pump operates. If the noise is excessively loud or accompanied by other issues, contact customer support.
10. Specifications
- Model: R3
- Brand: Auletor
- Item Weight: 14.9 ounces
- Package Dimensions: 5.67 x 4.49 x 4.06 inches
- Batteries: 1 A battery required (included)
- Material: Acrylonitrile Butadiene Styrene (ABS)
- Color: Black
- Operation Mode: Automatic
- UPC: 199284050600

Image 10.1: Internal view illustrating the powerful motor and robust construction of the Auletor R3 vacuum sealer.
11. Customer Support
For any questions, concerns, or technical assistance, please contact Auletor customer support. We offer 12 months of worry-free support and a dedicated after-service team ready to assist you.
You can visit our storefront on Amazon or contact us directly for additional lids or support.

Image 11.1: Auletor customer support information, emphasizing professional assistance and warranty details.


