
Introduction
Thank you for choosing the AUXITO AS1 PRO Portable Tire Inflator. This device is designed to provide efficient and convenient tire inflation for various vehicles and inflatable items. Please read this manual thoroughly before use to ensure proper operation and safety.
Safety Information
- Do not leave the inflator unattended during operation.
- Keep out of reach of children.
- Avoid over-inflating tires. Always refer to the recommended pressure for your specific item.
- Do not expose the device to extreme temperatures, direct sunlight, or moisture.
- Ensure the air hose is securely connected before starting inflation.
- If the device becomes excessively hot, discontinue use and allow it to cool down.
- Use only the provided charging cables and accessories.
Package Contents
Verify that all items are present in your package:

This image shows the AUXITO AS1 PRO Tire Inflator along with all its included accessories, such as the air hose, various nozzles, charging cables, and storage bag, neatly arranged on a surface.
- AUXITO AS1 PRO Air Inflator (A502) x1
- Schrader Valve Air Hose (20 inches) x1
- Woods Valve x1
- Presta Valve x1
- Ball Needle x1
- Swim Ring Nozzle x1
- Car Charger (12V DC) x1
- USB Type-C Cable x1
- Storage Bag x1
- User Manual x1
Product Features
- Fast Inflation: Equipped with an upgraded 19mm dual air cylinder and 100W motor, providing 40L/MIN airflow for quick inflation.
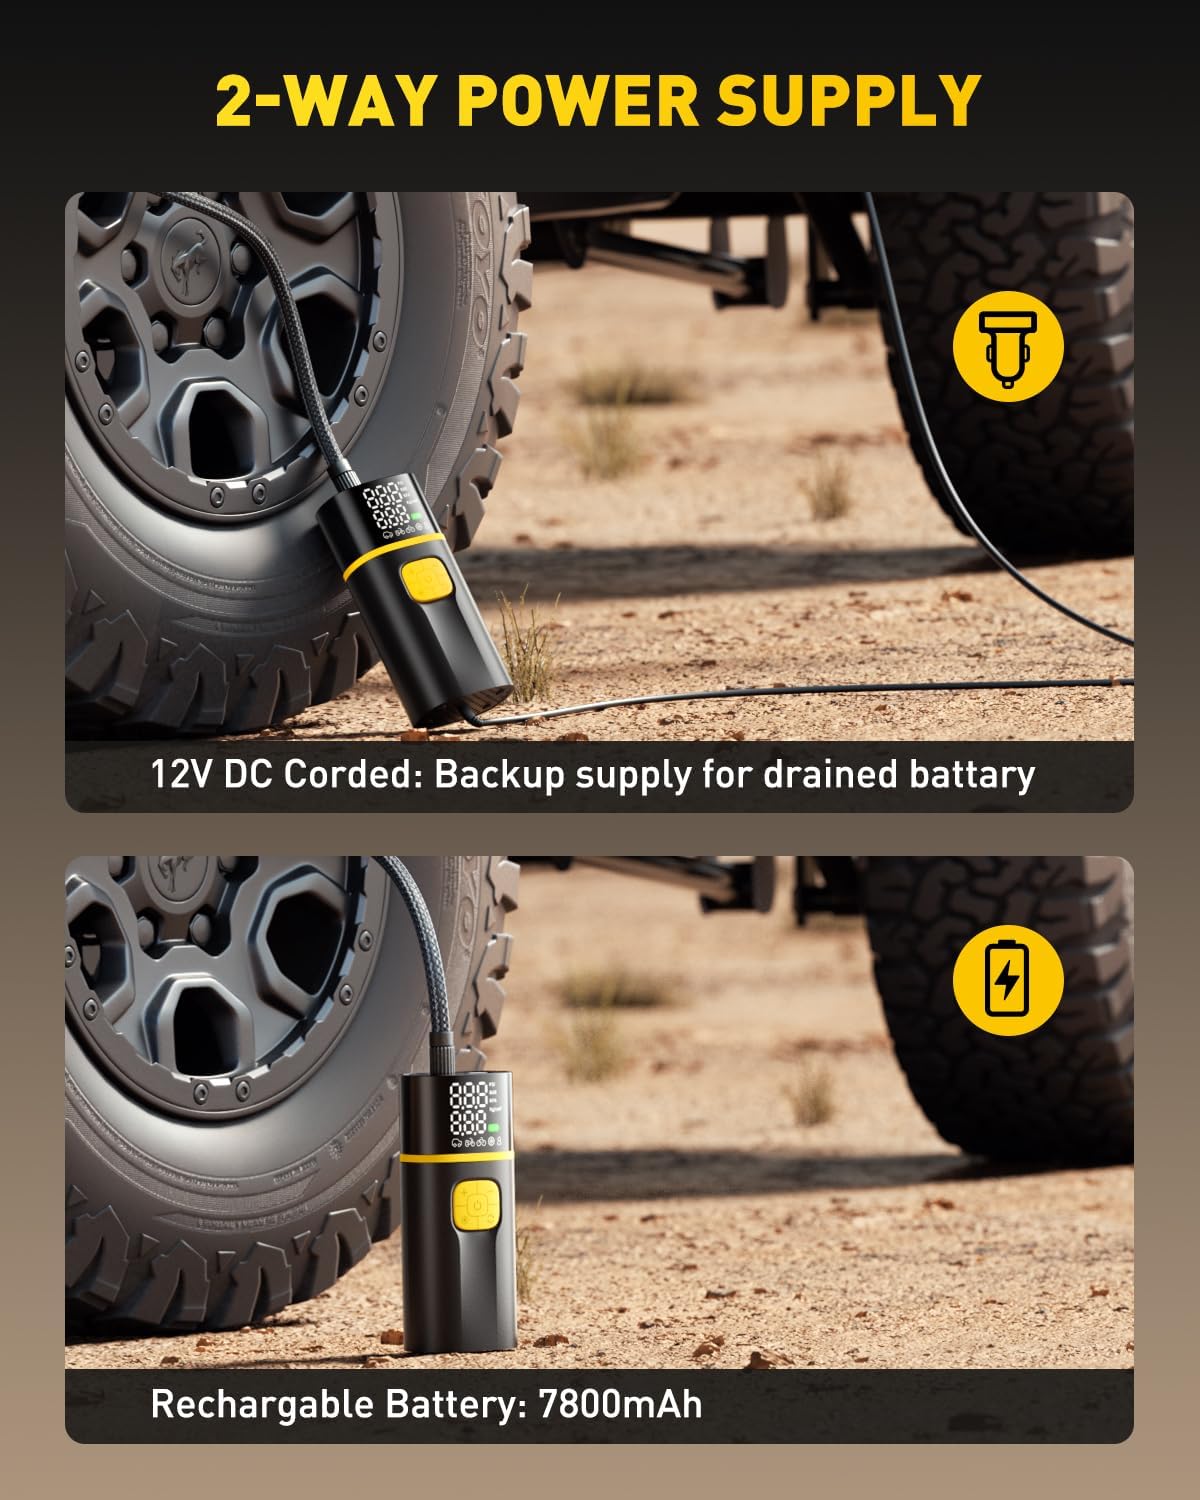
- Dual Power Supply: Features a built-in 7800mAh rechargeable battery and includes a 12V DC car charger for backup power.
- Fast Charging: PD 30W quick recharge design allows full charge in approximately 1 hour.
- Preset & Auto Shut-off: Digital LCD display for precise pressure readings. Set desired PSI, and the inflator automatically stops when reached.
- Multiple Inflation Modes: 4 preset modes for cars, bicycles, motorcycles, and balls, plus a manual mode for custom pressure up to 150 PSI.
- Emergency Functions: Can be used as a power bank to recharge devices and includes a built-in LED light for visibility in low-light conditions.
- Overheat Protection: Built-in intelligent IC chips prevent overheating for safe use and prolonged lifespan.
Setup
1. Charging the Device
Before first use, fully charge the AUXITO AS1 PRO. Connect the provided USB Type-C cable to the inflator and a suitable USB power adapter (not included) or use the 12V DC car charger.

This image illustrates the AUXITO AS1 PRO Tire Inflator connected to a USB-C charging cable, indicating the device is being recharged. The display shows battery level and other information.
The display will show the charging status. A full charge takes approximately 1 hour with PD 30W fast charging.
2. Connecting the Air Hose
Screw the Schrader valve air hose onto the inflator's air outlet. Ensure it is tightened securely to prevent air leakage.

This image provides a close-up view of the quick-connect air chuck being attached to the AUXITO AS1 PRO Tire Inflator, highlighting the secure connection point for the air hose.
Select the appropriate nozzle (Woods valve, Presta valve, ball needle, or swim ring nozzle) and attach it to the end of the air hose if needed for your specific item.
Operating Instructions
1. Power On and Connect
Press and hold the power button to turn on the inflator. The LCD display will illuminate, showing the current tire pressure and battery level.
Connect the air hose to the tire valve or the item you wish to inflate. The display will show the current pressure reading.
This image displays the AUXITO AS1 PRO Tire Inflator connected to a car tire valve, with its digital screen showing pressure readings. A person's legs are visible in the background, suggesting active use.
2. Select Inflation Mode
Press the 'M' button to cycle through the 4 preset inflation modes: Car, Motorcycle, Bicycle, and Ball. Each mode has a default pressure setting. You can also select manual mode for custom pressure.

This image illustrates the AUXITO AS1 PRO Tire Inflator's display cycling through its five inflation modes: car, motorcycle, bicycle, ball, and a custom manual setting, demonstrating its versatility.
3. Set Desired Pressure
Use the '+' and '-' buttons to adjust the target pressure (PSI, BAR, KPA, kg/cm²) according to your needs. The unit can be changed by pressing the unit button.
This video demonstrates the AUXITO AS1 PRO Portable Tire Inflator in use, showing how to set the desired pressure and initiate inflation for a tire. It highlights the digital display and automatic shut-off feature.
4. Start Inflation
Press the power button again to start the inflation process. The inflator will automatically stop once the preset pressure is reached.

This image shows the AUXITO AS1 PRO Tire Inflator actively inflating a tire, with a visual representation of its fast inflation capability (40 seconds to go from 0 to 36 PSI).
5. LED Light Function
Press the light button to turn on the built-in LED light for illumination in dark environments. Press again to cycle through light modes (e.g., steady, flashing, SOS) or turn off.
6. Power Bank Function
The inflator can also serve as a power bank. Connect your device to the USB output port using a compatible cable to charge it.
Maintenance
- Cleaning: Wipe the exterior of the inflator with a soft, dry cloth. Do not use harsh chemicals or immerse in water.
- Storage: Store the inflator in a cool, dry place, away from direct sunlight and extreme temperatures. Use the provided storage bag for protection.
- Battery Care: For optimal battery life, charge the device at least once every 3 months if not in regular use. Avoid fully discharging the battery for extended periods.
- Hose Inspection: Regularly check the air hose for any signs of wear, cracks, or damage. Replace if necessary.
Troubleshooting
| Problem | Possible Cause | Solution |
|---|---|---|
| Inflator does not turn on. | Low battery or device is off. | Charge the battery. Press and hold the power button to turn on. |
| Slow inflation or no inflation. | Air hose not securely connected; low battery; blocked nozzle. | Ensure hose is tightly screwed. Charge the battery. Check for obstructions in the nozzle. |
| Inaccurate pressure reading. | Hose not properly connected to valve. | Reconnect the air hose to the tire valve securely. |
| Device overheats. | Continuous operation for too long. | Allow the device to cool down for at least 10-15 minutes before resuming use. |
Specifications
| Feature | Detail |
|---|---|
| Brand | AUXITO |
| Model Number | AS1 PRO (A502) |
| Battery Capacity | 7800mAh |
| Maximum Pressure | 150 PSI (10.34 Bars) |
| Air Flow Capacity | 40 Liters Per Minute |
| Maximum Power | 100 Watts |
| Voltage | 12 Volts |
| Noise Level | 50 Decibels |
| Battery Charge Time | Approximately 1 Hour (with PD 30W charger) |
| Item Weight | 1.5 Pounds |
| Dimensions (L x W x H) | 6.9" x 2.2" x 3.1" |
| Additional Features | Automatic Shut-Off, Cordless, Heavy Duty, LED Light, Lightweight, Power Bank Function |
Warranty
The AUXITO AS1 PRO Portable Tire Inflator comes with a 2-year manufacturer's warranty. This warranty covers defects in materials and workmanship under normal use. Please retain your proof of purchase for warranty claims. For specific terms and conditions, refer to the warranty card included in your package or contact AUXITO customer support.
Support
If you encounter any issues or have questions regarding your AUXITO AS1 PRO Portable Tire Inflator, please contact AUXITO customer support. You can find contact information on the official AUXITO website or through the retailer where you purchased the product.
For more information and product updates, visit the official AUXITO store: AUXITO Store on Amazon