
1. Important Safety Information
Please read all instructions carefully before using your television and retain them for future reference. Follow all warnings and instructions marked on the product.
- Do not block ventilation openings.
- Do not install near any heat sources.
- Protect the power cord from being walked on or pinched.
- Only use attachments/accessories specified by the manufacturer.
- Unplug this apparatus during lightning storms or when unused for long periods.
- Refer all servicing to qualified service personnel.
2. What's in the Box
Carefully unpack your EMtronics TV and check that all items are present.
- EMtronics 32 inch HD LED TV
- TV Stand
- Remote Control
- HDMI Cable
- User Guide
- Batteries (for remote control)
- Screws (for stand assembly)
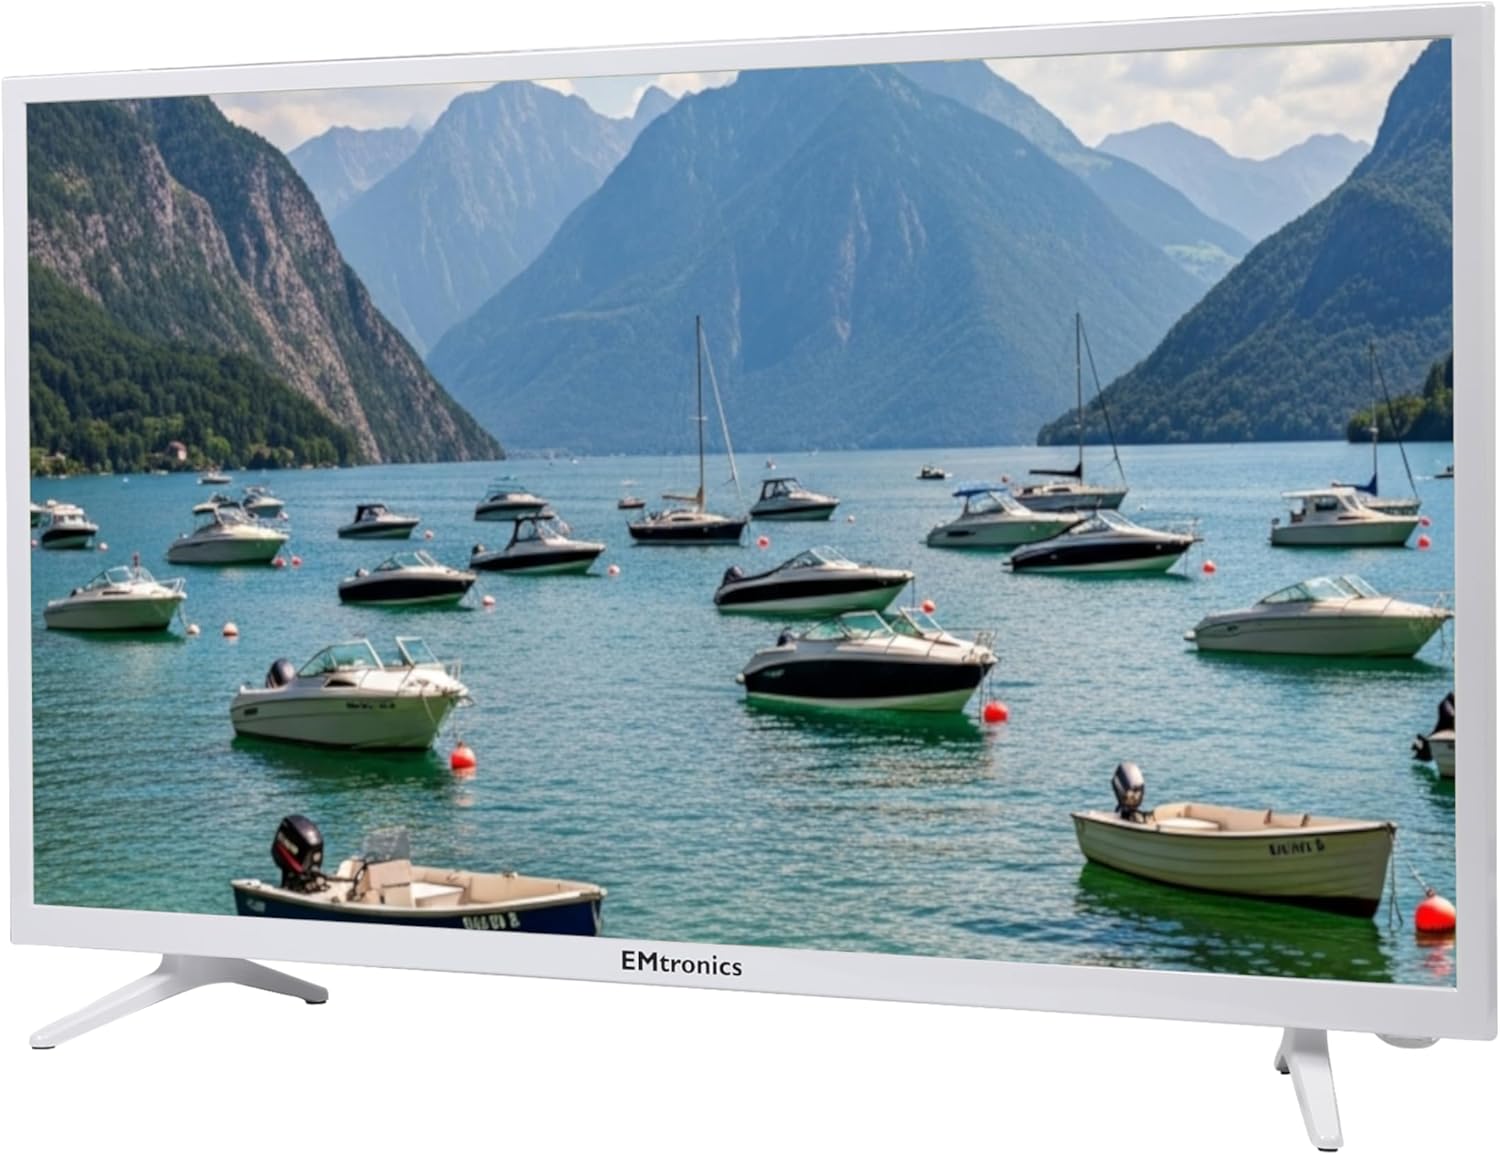
Image: Front view of the EMtronics 32 inch HD LED TV, showcasing its design and display.
3. Setup
3.1 Attaching the Stand
- Place the TV screen-down on a soft, flat surface to prevent scratches.
- Align the stand bases with the corresponding slots on the bottom of the TV.
- Secure the stand bases using the provided screws. Ensure they are tightened firmly.
Note: The stand feet may be fiddly to attach. Ensure screws are properly aligned and tightened.
3.2 Wall Mounting (Optional)
This TV is VESA wall mount compatible with dimensions of 100 x 100 mm. A wall mount bracket is not included and must be purchased separately. Follow the instructions provided with your wall mount bracket for safe installation.
3.3 Connecting External Devices
The EMtronics TV offers multiple connection options for various devices.

Image: Rear panel of the TV, highlighting the available connectivity ports.
- HDMI Ports (x3, 1 x ARC): Connect Blu-ray players, game consoles, streaming devices, or other HDMI-enabled equipment. An HDMI cable is included.
- USB Ports (x2): Connect USB storage devices for media playback or PVR recording.
- Earphone Output (AUX): Connect headphones or external speakers.
- CI Slot: For Conditional Access Modules (CAMs) required by some pay-TV services.
- Coaxial Output: For digital audio output to a compatible sound system.
- Composite Video and Audio Input: For older devices using RCA connections.
- TV Aerial (RF) Input: Connect your terrestrial antenna for Freeview channels.
3.4 Initial Setup and Channel Scan
- Connect the power cord to the TV and a wall outlet.
- Connect your TV aerial to the "TV Aerial (RF)" input.
- Press the power button on the remote control or TV to turn it on.
- Follow the on-screen prompts for initial setup, including language selection and country.
- Select the "Auto Search" feature to scan for available Freeview channels. This process may take several minutes.
- Once the scan is complete, your TV is ready to watch.
4. Operating Your TV
4.1 Remote Control Functions
Insert the provided batteries into the remote control. Point the remote control directly at the TV's IR sensor. Familiarize yourself with the buttons for power, volume, channel selection, menu navigation, and source input.
Note: If the remote control is unresponsive, ensure batteries are correctly inserted and charged. Some users report needing to press keys multiple times; ensure direct line of sight to the TV sensor.
4.2 Watching Freeview TV
After completing the channel scan, you can access over 70 TV channels and 15 HD channels without a subscription. Use the channel up/down buttons or the numeric keypad on your remote to select channels.
4.3 PVR Recording and Live Pause
To use the PVR (Personal Video Recorder) function, connect a USB storage device (e.g., a USB flash drive or external hard drive) to one of the TV's USB ports. The PVR function allows you to:
- Live Pause: Pause live television broadcasts.
- Record: Record current or future programs directly to your USB device.
Consult the on-screen menu for specific PVR recording and playback options.
4.4 Media Playback via USB
Insert a USB storage device containing compatible media files (photos, music, videos) into a USB port. Use the TV's media player interface to browse and play your content.
4.5 Picture and Sound Settings
Access the TV's menu to customize picture and sound settings. You can choose from various preset modes or adjust individual settings such as brightness, contrast, color, and sound equalizer to suit your preferences.
- Picture Modes: Standard, Dynamic, Mild, User, etc.
- Sound Modes: Standard, Music, Movie, User, etc.
4.6 Electronic Program Guide (EPG)
The 7-day EPG provides a schedule of upcoming programs on all Freeview channels. Access it via the remote control to view program information and set reminders or recordings.
4.7 Parental Lock
Utilize the parental lock feature to restrict access to certain channels or programs based on rating. This ensures that only suitable content is viewed.
4.8 Sleeper Timer and Eco Mode
The Sleeper Timer allows you to set a specific time after which the TV will automatically turn off. Eco Mode optimizes power consumption for energy efficiency.
5. Maintenance
5.1 Cleaning Your TV
- Always unplug the TV from the power outlet before cleaning.
- Use a soft, dry cloth to wipe the screen and cabinet.
- For stubborn marks, lightly dampen the cloth with water or a mild, non-abrasive screen cleaner. Do not spray cleaner directly onto the screen.
- Avoid using abrasive cleaners, waxes, or solvents as they can damage the finish.
5.2 General Care
- Keep the TV away from direct sunlight and heat sources.
- Ensure adequate ventilation around the TV.
- Do not place heavy objects on top of the TV.
6. Troubleshooting
If you encounter issues with your TV, refer to the following common solutions before contacting support.
| Problem | Possible Cause / Solution |
|---|---|
| No power |
|
| No picture, but sound is present |
|
| No sound, but picture is present |
|
| Remote control not working |
|
| Cannot find channels / Poor reception |
|
| Aspect ratio issues when switching sources |
|
7. Specifications
Detailed technical specifications for the EMtronics 32 inch HD LED TV (Model EM32W2).
| Feature | Detail |
|---|---|
| Model Name | EM32W2 |
| Screen Size | 32 Inches |
| Display Technology | LED |
| Resolution | HD Ready (720p) |
| Refresh Rate | 60 Hz |
| Signal Format | DVB-T, DVB-T2, Freeview HD Tuner |
| Aspect Ratio | 16:9 |
| Total HDMI Ports | 3 (1 x ARC) |
| Total USB Ports | 2 |
| Other Connectivity | Earphone Output (AUX), CI Slot, Coaxial Output, Composite Video and Audio Input, TV Aerial (RF) |
| Product Dimensions (D x W x H) | 2.99"D x 28.74"W x 17.13"H |
| Item Weight (Without Stand) | 3.1 Kilograms |
| VESA Wall Mount | 100 x 100 mm |
| Energy Rating | E |
| Power Consumption | 26.6 watts |
| Color | White |

Image: Energy label for the EMtronics EM32W2 TV, indicating its energy efficiency class.
8. Warranty and Support
8.1 Product Warranty
Your EMtronics TV comes with a standard manufacturer's warranty. Please refer to the warranty card included in your packaging for specific terms, conditions, and duration. Retain your proof of purchase for warranty claims.
8.2 Customer Support
For further assistance, technical support, or warranty inquiries, please contact EMtronics customer service. You may also find additional resources and contact information on the official EMtronics website or the retailer's support page.
Official Website: electricmania.co.uk
