1. Introduction
This manual provides detailed instructions for the installation, operation, and maintenance of your Diyeeni 4K+1080P 3-Channel Dash Cam. Please read this manual thoroughly before using the device to ensure proper functionality and safety. Keep this manual for future reference.
2. Safety Information
- Do not operate the dash cam or access its settings while driving. This can distract you and lead to accidents.
- Ensure the dash cam is securely mounted and does not obstruct your view of the road or interfere with vehicle controls.
- Use only the provided power cord and accessories. Using unauthorized accessories may damage the device or cause fire.
- Avoid exposing the device to extreme temperatures, direct sunlight for prolonged periods, or excessive moisture.
- Do not attempt to disassemble or repair the device yourself. Contact customer support for assistance.
- Regularly check the memory card for errors and ensure it is functioning correctly.
3. Package Contents
Verify that all items are present in the package:
- 1 x Diyeeni Dash Cam (Main Unit)
- 1 x Lighter Power Cord
- 1 x Rear Camera (with cable)
- 1 x User Manual
- Mounting accessories (e.g., adhesive pads)
4. Product Overview
Familiarize yourself with the main components of your dash cam.

Image: Diyeeni Dash Cam main unit, lighter power cord, and rear camera.
Main Unit Features:
- Front Camera Lens: Records the road ahead.
- Screen: 1.47 Inch display for live view and settings.
- Control Buttons: For navigation and settings adjustment.
- Memory Card Slot: For inserting a MicroSD card (up to 128GB, not included).
- Power Port: Type C socket for power supply.
- Rear Camera Port: For connecting the rear camera.
- Microphone: For audio recording.
- Speaker: For audio playback and alerts.
Rear Camera Features:
- Rear Camera Lens: Records the rear view or inside the cabin.
- Connection Cable: Connects to the main dash cam unit.
5. Setup and Installation
5.1 Inserting the Memory Card
- Ensure the dash cam is powered off.
- Locate the memory card slot on the main unit.
- Insert a compatible MicroSD card (Class 10 or higher, up to 128GB, not included) into the slot until it clicks into place.
- To remove, gently push the card in until it springs out.
5.2 Mounting the Dash Cam
Choose a location on your windshield that does not obstruct your view. Clean the area thoroughly before applying the adhesive mount.
- Attach the adhesive mount to the main dash cam unit.
- Remove the protective film from the adhesive pad.
- Firmly press the dash cam onto the chosen spot on your windshield for at least 30 seconds.
- Adjust the front camera lens to ensure it captures the road ahead clearly.
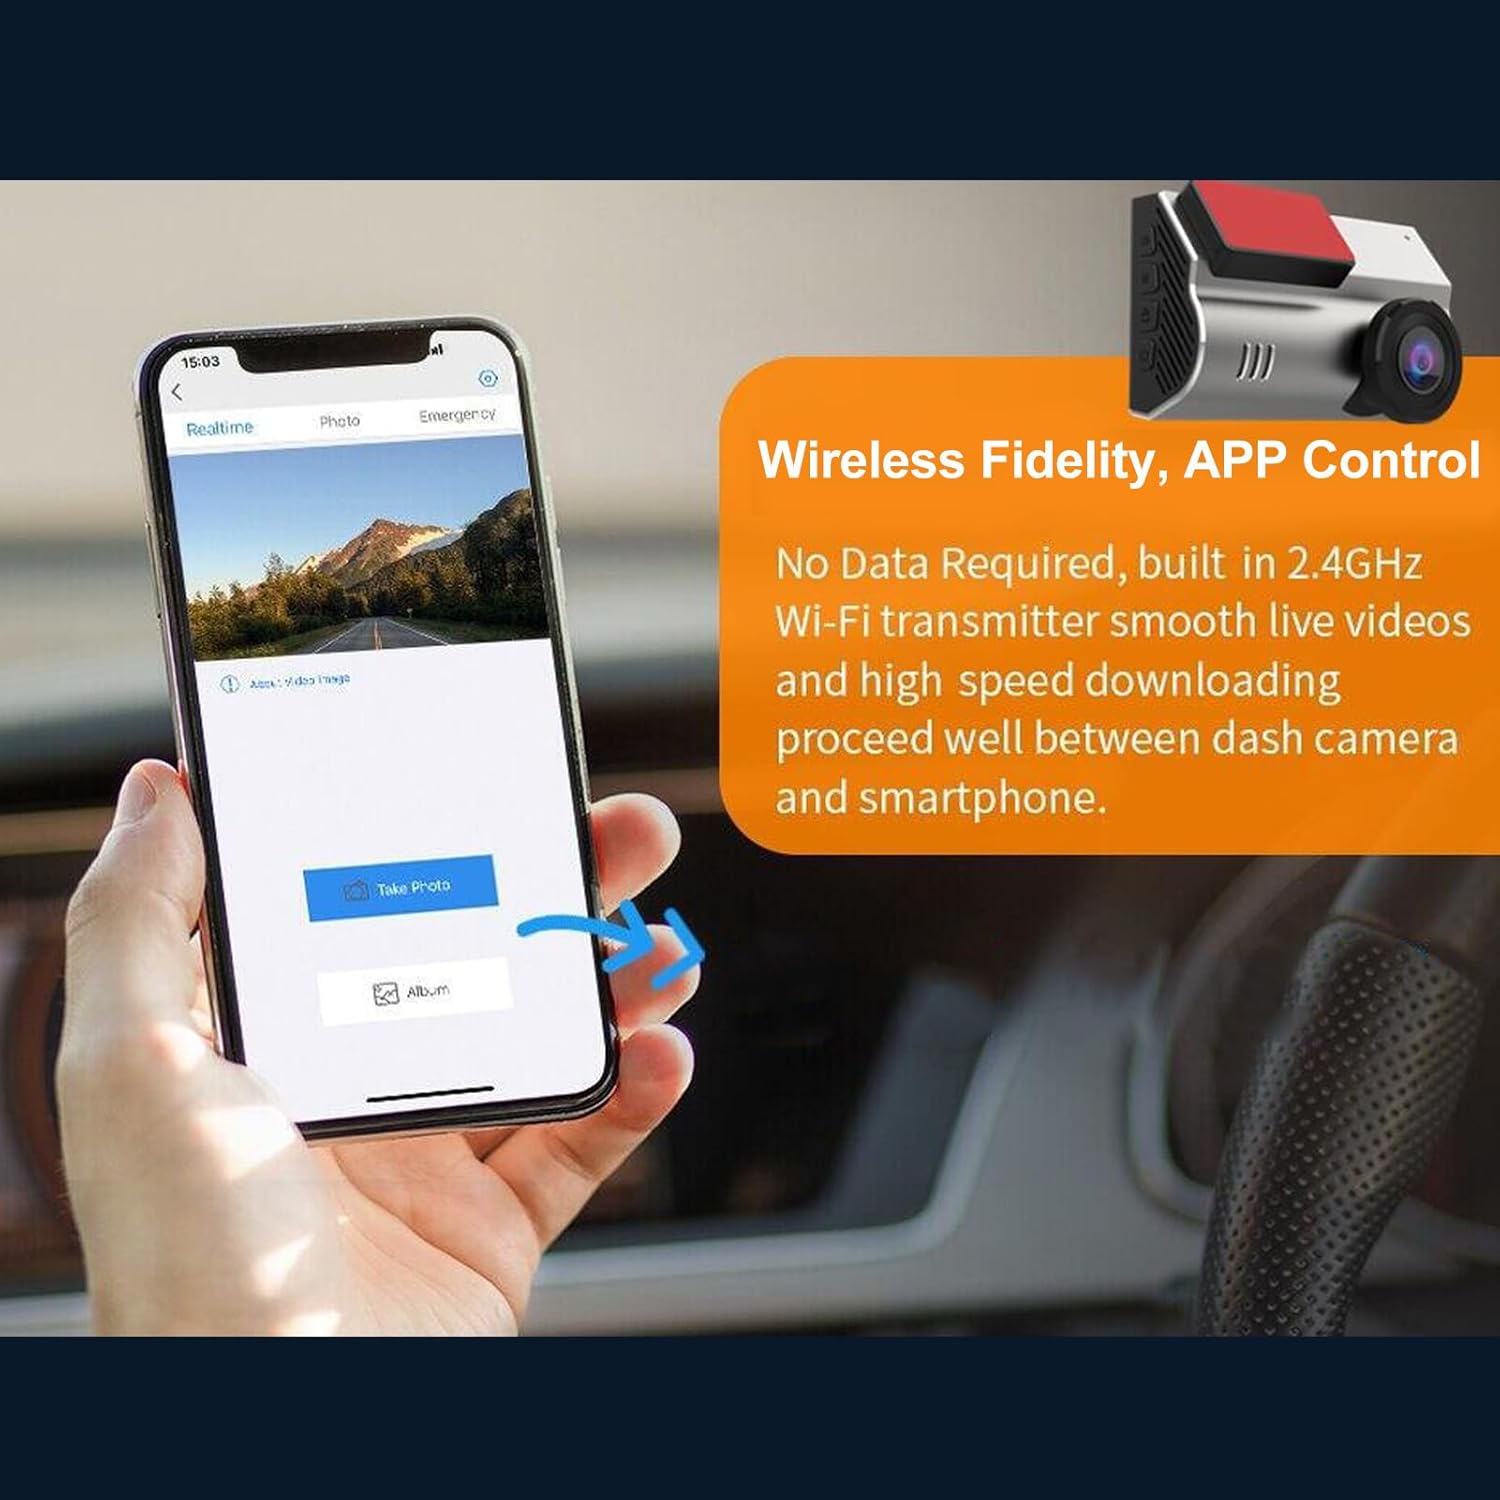
Image: Illustration of front and rear dash cam placement and their respective wide-angle views.
5.3 Connecting the Rear Camera
- Connect the rear camera cable to the designated port on the main dash cam unit.
- Route the cable neatly along the vehicle's interior trim to the desired location for the rear camera.
- Mount the rear camera on the rear windshield or inside the cabin, ensuring a clear view.
5.4 Power Connection
- Connect the lighter power cord to the Type C power port on the dash cam.
- Plug the other end of the lighter power cord into your vehicle's 12V power outlet (cigarette lighter socket).
- The dash cam will typically power on automatically when the vehicle starts and power off when the engine is turned off.
6. Operating Instructions
6.1 Basic Recording
Once powered on, the dash cam will automatically begin recording. The front camera records in 4K (3840*2160) and the rear camera in 1080P. The wide-angle lenses (170° front, 140° rear) capture a broad view of the road.

Image: Display showing 4K resolution for front vision and 1080P for dual vision recording.
6.2 Loop Recording
The dash cam features loop recording, which automatically overwrites the oldest video files when the memory card is full. This ensures continuous recording without manual intervention. Important footage locked by the G-sensor will not be overwritten.

Image: Visual representation of G-sensor, Emergency Lock, and Loop Recording functionalities.
6.3 G-Sensor (Accident Lock)
The built-in G-sensor detects sudden impacts or collisions. When an event is detected, the current video segment is automatically locked and saved to a protected folder, preventing it from being overwritten by loop recording. This footage serves as crucial evidence in case of an accident.
6.4 24-Hour Parking Monitoring
To enable 24-hour parking monitoring, the dash cam requires a continuous power supply, typically achieved through a hardwire kit (sold separately). When activated, the dash cam can monitor your parked vehicle using motion detection or time-lapse recording (1fps/3fps) to capture events while the vehicle is off.
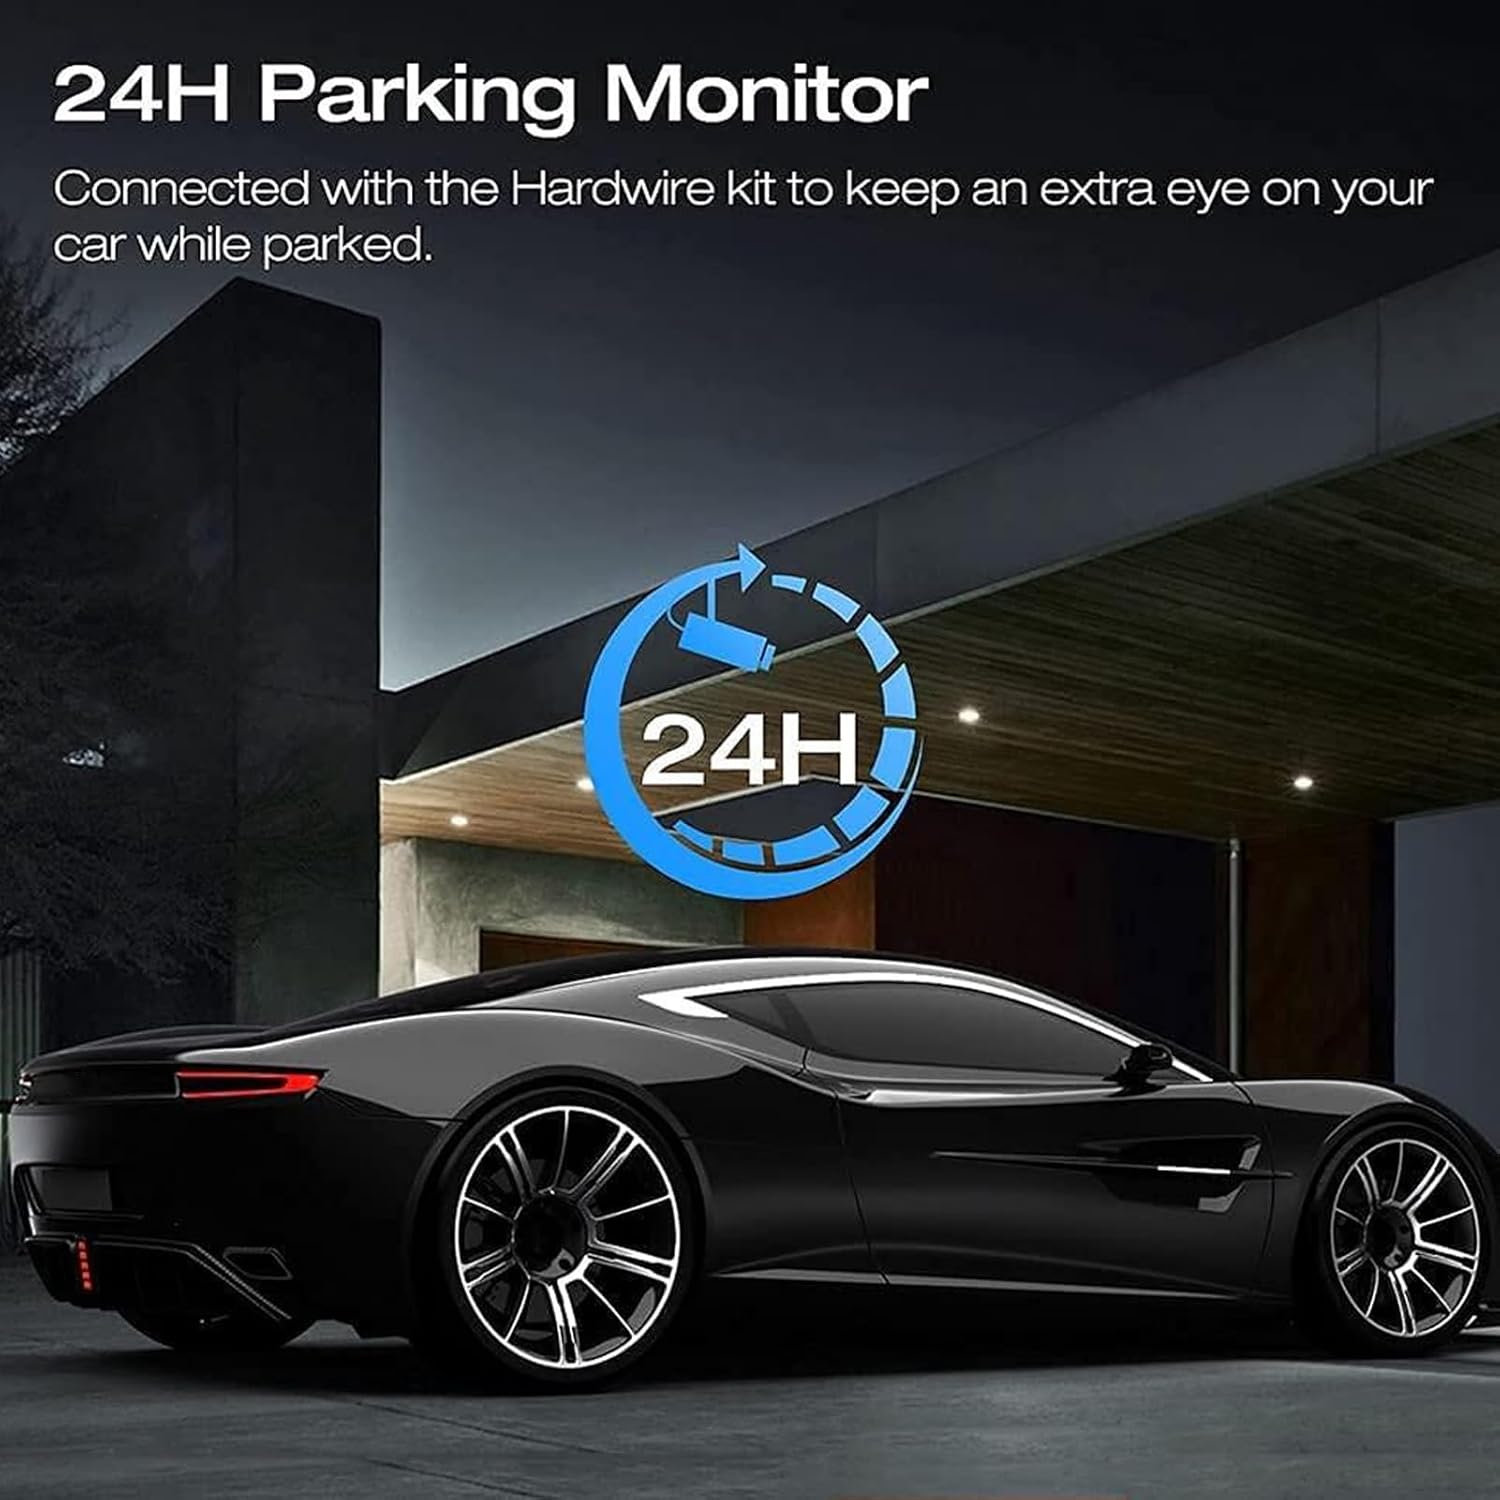
Image: Graphic indicating 24-hour parking monitoring functionality.
6.5 Night Vision
The dash cam is equipped with features to enhance recording quality in low-light conditions, capturing clearer footage at night.

Image: Side-by-side comparison demonstrating the dash cam's night vision capability.
6.6 Wireless Fidelity and APP Control
The dash cam supports Wireless Fidelity (Wi-Fi) connectivity, allowing you to connect it to a smartphone app. This enables you to:
- View live footage.
- Playback recorded videos.
- Manage dash cam settings.
- Download and edit videos directly on your iOS or Android device.
- Share videos easily.

Image: A smartphone displaying the dash cam's app interface for real-time viewing and photo capture.
7. Maintenance
7.1 Cleaning the Device
- Ensure the dash cam is powered off and disconnected from power before cleaning.
- Use a soft, dry cloth to wipe the exterior of the dash cam.
- For lenses, use a lens cleaning cloth and specialized lens cleaning solution to avoid scratches.
- Do not use abrasive cleaners or solvents.
7.2 Memory Card Management
- Format the memory card regularly (e.g., once a month) within the dash cam's settings to ensure optimal performance and prevent data corruption.
- Replace the memory card if you notice frequent errors or reduced performance.
8. Troubleshooting
If you encounter issues with your dash cam, refer to the following common problems and solutions:
- Dash Cam not powering on:
- Check if the power cord is securely connected to both the dash cam and the vehicle's power outlet.
- Ensure the vehicle's power outlet is functional.
- Recording stops unexpectedly:
- Check if the memory card is full. Format the card or replace it.
- Ensure the memory card is Class 10 or higher. Lower class cards may not keep up with the recording speed.
- Check for memory card errors.
- Video footage is blurry or unclear:
- Clean the camera lenses with a soft cloth.
- Ensure the protective film has been removed from the lenses.
- Check if the windshield area in front of the camera is clean.
- Wi-Fi connection issues:
- Ensure the dash cam's Wi-Fi is enabled in the settings.
- Restart both the dash cam and your smartphone.
- Ensure you are within close proximity to the dash cam.
- G-sensor is too sensitive/not sensitive enough:
- Adjust the G-sensor sensitivity setting in the dash cam menu.
9. Specifications
| Feature | Specification |
|---|---|
| Item Model Number | Diyeenifz7p8g1god |
| Resolution (Front) | 4K (3840*2160) |
| Resolution (Rear) | 1080P |
| Photo Resolution | 1MP, 2MP, 5MP, 8MP |
| CMOS Sensor | 1/4 Inch |
| Screen Size | 1.47 Inch |
| View Angle (Front) | 170 Degrees |
| View Angle (Rear) | 140 Degrees |
| Aperture | F/2.0 |
| Motion Detection | Supported |
| Memory Card Support | Maximum 128GB (Not Included) |
| Wireless Fidelity | Supported (2.4GHz Wi-Fi) |
| G-Sensor | Supported |
| Parking Monitoring | Supported |
| Built-in Battery | Lithium Battery 150mAh |
| Power Supply | Type C socket, Supercapacitors |
| Product Dimensions | 7.87 x 5.91 x 2.36 inches |
| Item Weight | 1.21 pounds |
10. Warranty and Support
For warranty information and customer support, please refer to the documentation provided with your purchase or contact Diyeeni customer service through their official channels. Keep your purchase receipt as proof of purchase.