
1. Introduction
This manual provides detailed instructions for the setup, operation, maintenance, and troubleshooting of your Miroir SL5100 5.1 Dolby Atmos Sound Bar System. Please read this manual thoroughly before using the product to ensure proper functionality and safety.

Figure 1: Miroir SL5100 5.1 Dolby Atmos Sound Bar System
The Miroir SL5100 system delivers immersive 5.1 surround sound with Dolby Atmos technology, featuring a 3-channel soundbar, a wireless subwoofer, and two wired surround speakers. It offers 410W peak power and multiple connectivity options for an enhanced home theater experience.
2. Setup
2.1 What's in the Box
- Soundbar
- Wireless Subwoofer
- Surround Speakers (x2)
- Remote Control
- HDMI Cable
- Digital Optical Cable
- Stereo RCA to RCA Cable (6m) L
- Stereo RCA to RCA Cable (6m) R
- Power Adaptor
- Subwoofer Power Cable
- Wall Bracket & Screws
- User Manual
- Requires 2 AAA batteries (not included)

Figure 2: Included Components
Ensure all listed components are present before proceeding with the setup.
2.2 Speaker Placement
Optimal placement of the soundbar, subwoofer, and surround speakers is crucial for achieving the best Dolby Atmos 5.1 surround sound experience.
- Soundbar: Place the soundbar centrally below your TV.
- Subwoofer: The wireless subwoofer can be placed anywhere in the room, ideally in a corner or near a wall for enhanced bass response.
- Surround Speakers: Position the two wired surround speakers behind your primary listening area, to the left and right. The included 20-foot extension cables allow for flexible placement.

Figure 3: Recommended Speaker Layout
This diagram illustrates the ideal setup for a balanced and immersive audio field.
2.3 Connections
Connect your sound system to your TV and other devices using the appropriate cables.
- HDMI eARC (Recommended): For the best audio quality and Dolby Atmos support, connect the included HDMI cable from your TV's HDMI (eARC) port to the soundbar's HDMI (eARC) port.
- Optical: If your TV does not have an HDMI eARC port, connect the Digital Optical Cable from your TV's optical output to the soundbar's OPTICAL input.
- AUX: Use the Stereo RCA to RCA Cable to connect devices with analog audio output to the soundbar's AUX input.
- Bluetooth: For wireless audio streaming, pair your Bluetooth-enabled device with the soundbar.
- Surround Speakers: Connect the two wired surround speakers to the corresponding RCA ports on the wireless subwoofer.
- Power: Connect the power adaptor to the soundbar and the subwoofer power cable to the subwoofer, then plug both into a power outlet.

Figure 4: Soundbar Rear Connections
The HDMI eARC port is highlighted for optimal Dolby Atmos performance.

Figure 5: HDMI eARC Connection Steps
Follow these steps for a seamless HDMI eARC connection.
Video 1: Miroir 5.1 Sound Bar with Dolby Atmos Overview
This video provides a visual guide to the features and setup of the Miroir 5.1 Sound Bar System, demonstrating its immersive capabilities.
3. Operating Your Sound System
3.1 Power On/Off
Press the Power button on the soundbar or remote control to turn the system on or off.
3.2 Input Selection
Use the Input button on the remote control to cycle through available input sources: HDMI eARC, Optical, AUX, and Bluetooth.
3.3 Sound Modes
The system features three optimized sound modes for different content types. Press the EQ button on the remote control to switch between them:
- Movie Mode: Enhances cinematic audio with rich bass and clear dialogue.
- Dialogue Mode: Optimizes vocal clarity for news, podcasts, and TV shows.
- Music Mode: Provides a balanced sound profile for music listening.

Figure 6: Sound Optimized for Each Scene
Easily switch between modes to match your audio content.
3.4 Volume Control
Use the Volume +/- buttons on the remote control or the soundbar to adjust the master volume.
3.5 Adjusting Bass and Surround Levels
Fine-tune your audio experience:
- Bass: Use the Bass +/- buttons on the remote to increase or decrease the subwoofer's output.
- Surround: Use the Surround +/- buttons to adjust the volume of the rear surround speakers.
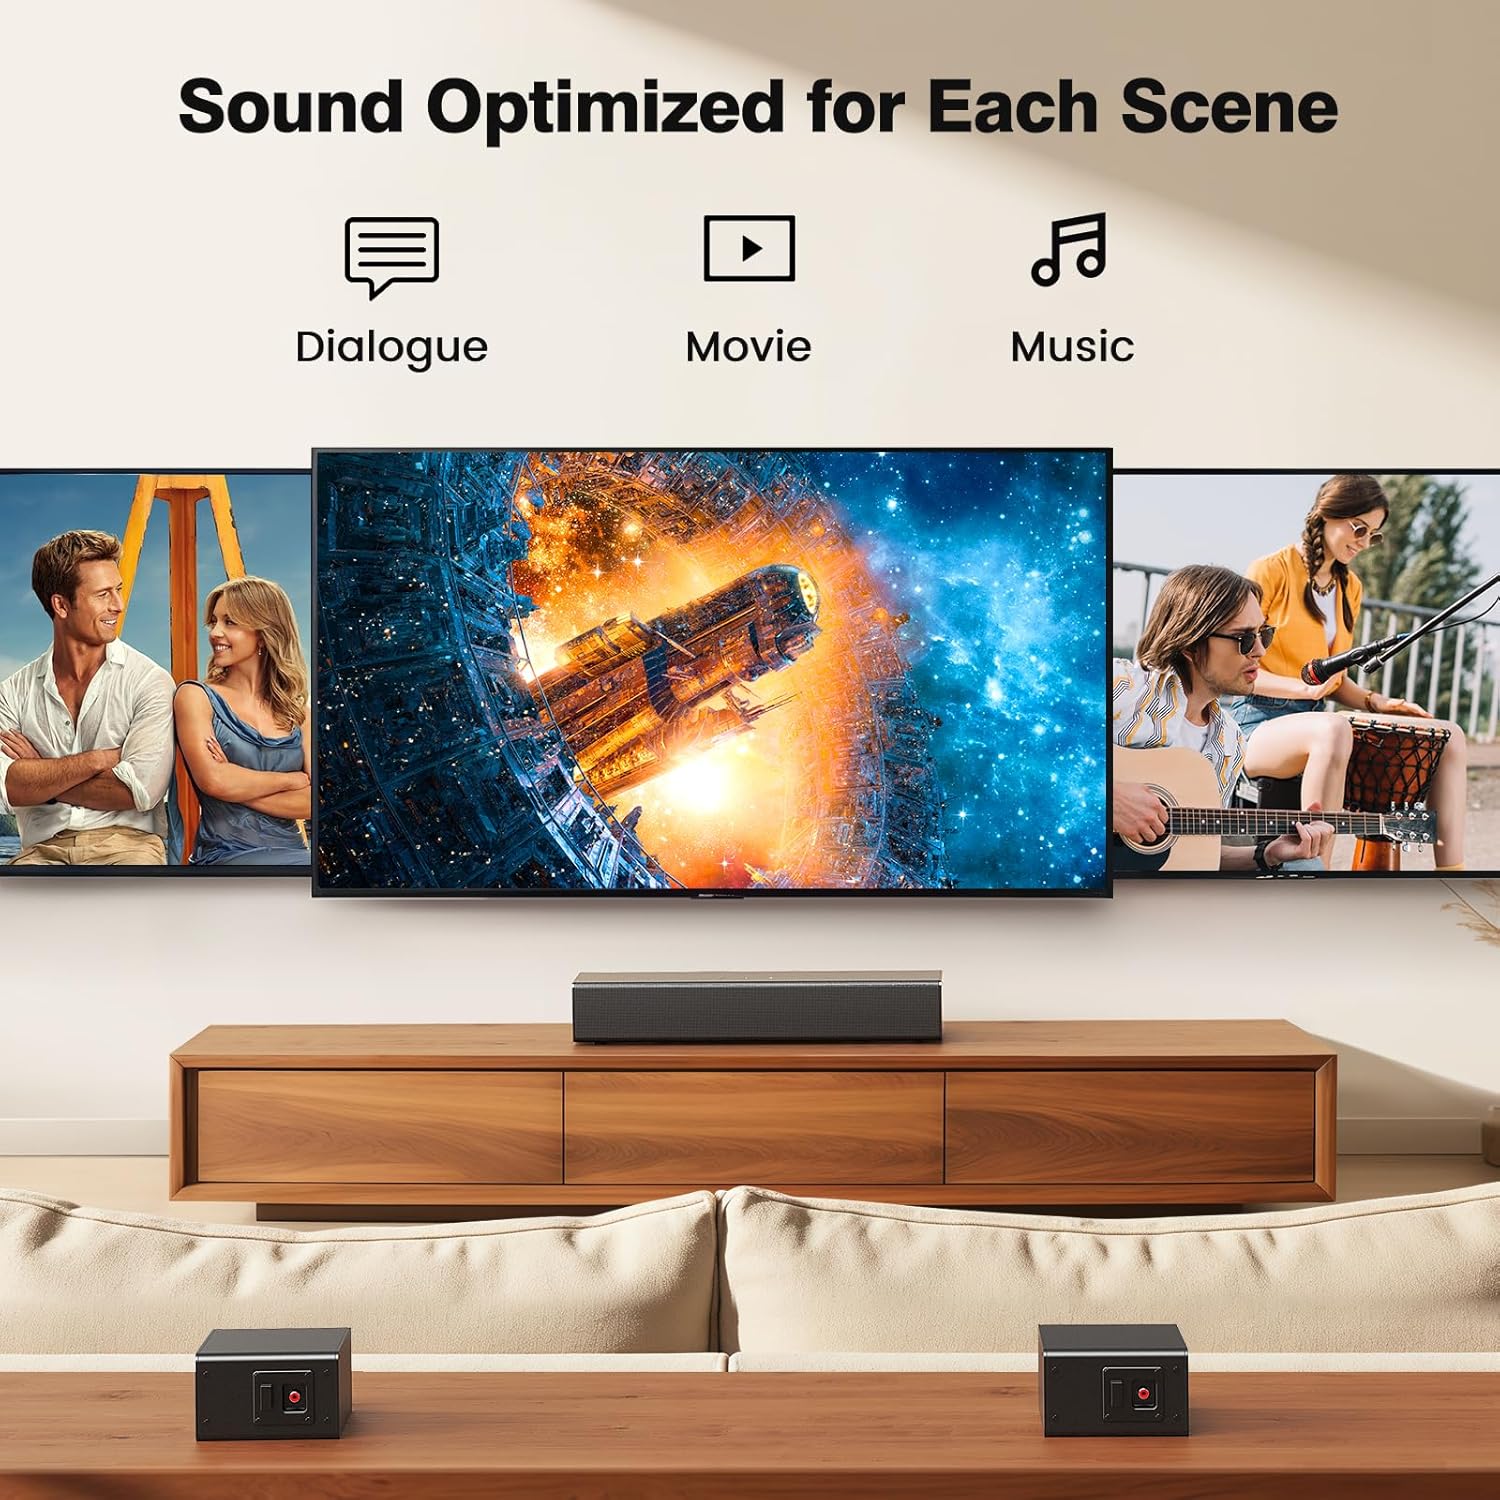
Figure 7: Mighty Bass Engine Adjustment
Customize your bass intensity for a powerful audio impact.
4. Maintenance
4.1 Cleaning
To maintain the appearance and performance of your sound system:
- Always unplug the system from the power outlet before cleaning.
- Use a soft, dry cloth to wipe down the surfaces of the soundbar, subwoofer, and speakers.
- Do not use liquid cleaners, abrasive cleaners, or chemical sprays, as these can damage the finish or internal components.
- Gently vacuum speaker grilles if dust accumulates.
4.2 Storage
If storing the system for an extended period:
- Disconnect all cables and power cords.
- Store the components in their original packaging or a protective container to prevent dust and damage.
- Keep the system in a cool, dry place away from direct sunlight and extreme temperatures.
5. Troubleshooting
If you encounter issues with your Miroir SL5100 system, refer to the following common problems and solutions:
| Problem | Possible Cause | Solution |
|---|---|---|
| No power | Power cables not connected or outlet not working. | Ensure all power cables are securely connected and the power outlet is functional. |
| No sound | Incorrect input source selected; volume too low; cables loose. | Select the correct input source (HDMI eARC, Optical, AUX, Bluetooth). Increase volume. Check all audio cable connections. |
| No surround sound | Surround speakers not connected to subwoofer; audio source not 5.1. | Ensure surround speakers are properly connected to the subwoofer. Verify your audio source is outputting 5.1 channel audio. |
| Remote control not working | Batteries depleted or incorrectly inserted; obstruction between remote and soundbar. | Replace batteries (2 AAA). Ensure no obstructions block the remote's signal to the soundbar. |
| Dolby Atmos not working | TV or source device not configured for Dolby Atmos; using incorrect input. | Ensure your TV and source device (e.g., Blu-ray player, streaming device) are set to output Dolby Atmos. Use the HDMI eARC connection. Note: DTS decoding is not supported. |
If the problem persists after trying these solutions, please contact customer support.
6. Specifications
| Feature | Specification |
|---|---|
| Model Name | SL5100 |
| Speaker Type | Soundbar (3-channel), Wireless Subwoofer, Surround Speakers (x2) |
| Speaker Maximum Output Power | 410 Watts |
| Connectivity Technology | HDMI-eARC, Bluetooth 5.3, Optical, AUX, USB |
| Audio Output Mode | Surround (Dolby Atmos) |
| Frequency Response | 20 KHz |
| Product Dimensions | 15.6"D x 2.54"W x 4.1"H (Soundbar) |
| Item Weight | 16 Pounds (Total System) |
| Material | ABS Plastic |
| Color | Black |
| Mounting Type | Wall Mount (brackets included) |
7. Warranty Information
Miroir products are designed and manufactured to the highest quality standards. For specific warranty details regarding your SL5100 5.1 Dolby Atmos Sound Bar System, please refer to the warranty card included in your product packaging or visit the official Miroir website. Keep your purchase receipt as proof of purchase for any warranty claims.
8. Customer Support
Should you require further assistance or have any questions not covered in this manual, please contact Miroir customer support. Contact information can typically be found on the official Miroir website or on the product packaging.
When contacting support, please have your product model number (SL5100) and purchase details readily available.
