
1. Introduction
This manual provides detailed instructions for the CHEREEKI Digital Alarm Clock. Please read it carefully to ensure proper use and to fully utilize all features of your new alarm clock. This device is designed for convenience and reliability, offering a large LED display, dual alarm settings, adjustable brightness and volume, and a USB charging port.

Figure 1: CHEREEKI Digital Alarm Clock with included power adapter and USB cable.
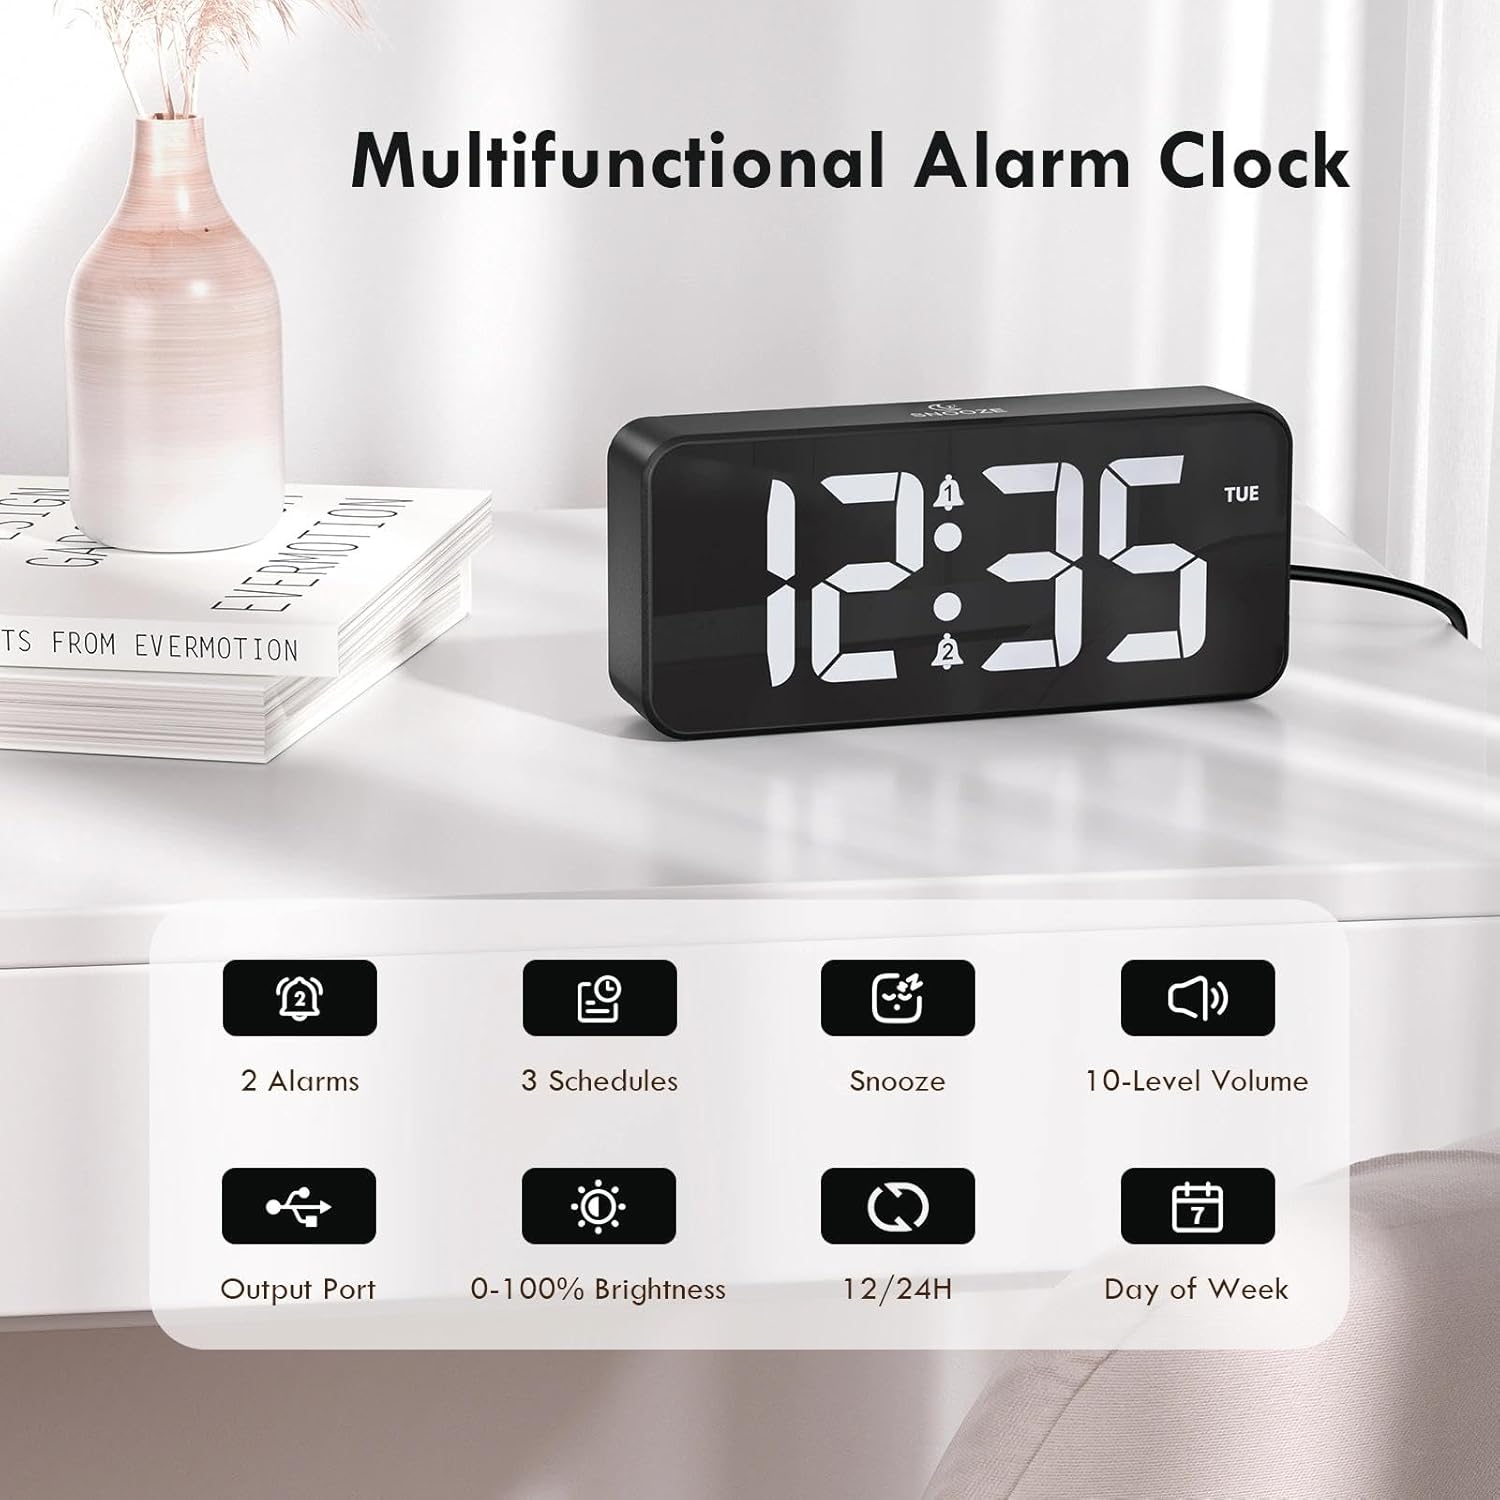
Figure 2: Key features of the CHEREEKI Digital Alarm Clock.
2. Package Contents
Upon opening the package, please verify that all the following items are included:
- 1 x CHEREEKI Digital Alarm Clock
- 1 x Power Adapter
- 1 x USB Charging Cable (1.5m)
- 1 x Instruction Manual

Figure 3: Contents of the CHEREEKI Digital Alarm Clock package.
3. Product Overview
Familiarize yourself with the various buttons and ports on your CHEREEKI Digital Alarm Clock:

Figure 4: Rear panel controls and ports of the alarm clock.
- Dimmer Knob: Adjusts display brightness (0% to 100%).
- Time Set Button: Enters time setting mode.
- Alarm 1 Button: Enters Alarm 1 setting mode.
- Alarm 2 Button: Enters Alarm 2 setting mode.
- Up Button (+): Increases values during setting.
- Down Button (-): Decreases values during setting.
- Volume Knob: Adjusts alarm volume (10 levels).
- USB Port (Output): For charging external devices.
- Type-C Port (DC 5V Input): For main power connection.
- DST Switch: Activates/deactivates Daylight Saving Time.
- Battery Compartment: Houses the CR2032 backup battery.
4. Setup
4.1 Power Connection
The CHEREEKI Digital Alarm Clock operates solely on AC power. Connect the provided USB cable to the Type-C port on the back of the alarm clock and plug the power adapter into a standard wall outlet (5V/1A or 5V/2A adapter recommended). The display will illuminate once power is connected.

Figure 5: Connecting the alarm clock to a power source.
4.2 Backup Battery Installation (Memory Function)
The alarm clock includes a CR2032 backup battery (pre-installed) to retain time and alarm settings during power outages. This battery does not power the clock's display or functions; it only preserves memory. If the battery needs replacement, open the battery compartment on the rear panel and insert a new CR2032 battery, ensuring correct polarity.

Figure 6: The backup battery ensures settings are retained during power interruptions.
5. Operating Instructions
5.1 Setting the Time
- Press the Time Set button. The hour digits will flash.
- Use the Up (+) or Down (-) buttons to adjust the hour.
- Press Time Set again. The minute digits will flash.
- Use the Up (+) or Down (-) buttons to adjust the minutes.
- Press Time Set once more to confirm and exit time setting mode.
5.2 12/24-Hour Format
To switch between 12-hour and 24-hour time formats, press the Time Set button while the time is displayed (not in setting mode). The display will show "AM" or "PM" for 12-hour format, or no indicator for 24-hour format.

Figure 7: The alarm clock supports both 12-hour and 24-hour time displays.
5.3 Setting Alarms (Alarm 1 & Alarm 2)
The clock features two independent alarms. The setting process is identical for both:
- Press the Alarm 1 or Alarm 2 button. The alarm hour digits will flash.
- Use the Up (+) or Down (-) buttons to adjust the alarm hour.
- Press the respective alarm button again. The minute digits will flash.
- Use the Up (+) or Down (-) buttons to adjust the alarm minutes.
- Press the alarm button again to select the alarm schedule:
- MON-FRI: Alarm sounds on weekdays.
- SAT-SUN: Alarm sounds on weekends.
- MON-SUN: Alarm sounds daily.
- Press the alarm button once more to confirm and activate the alarm. A bell icon will appear on the display.

Figure 8: Dual alarms with customizable schedules.
5.4 Snooze Function
When an alarm sounds, press any button (except the alarm buttons) to activate the 5-minute snooze function. The alarm will temporarily stop and sound again after 5 minutes. To completely turn off the alarm, press the corresponding Alarm 1 or Alarm 2 button.
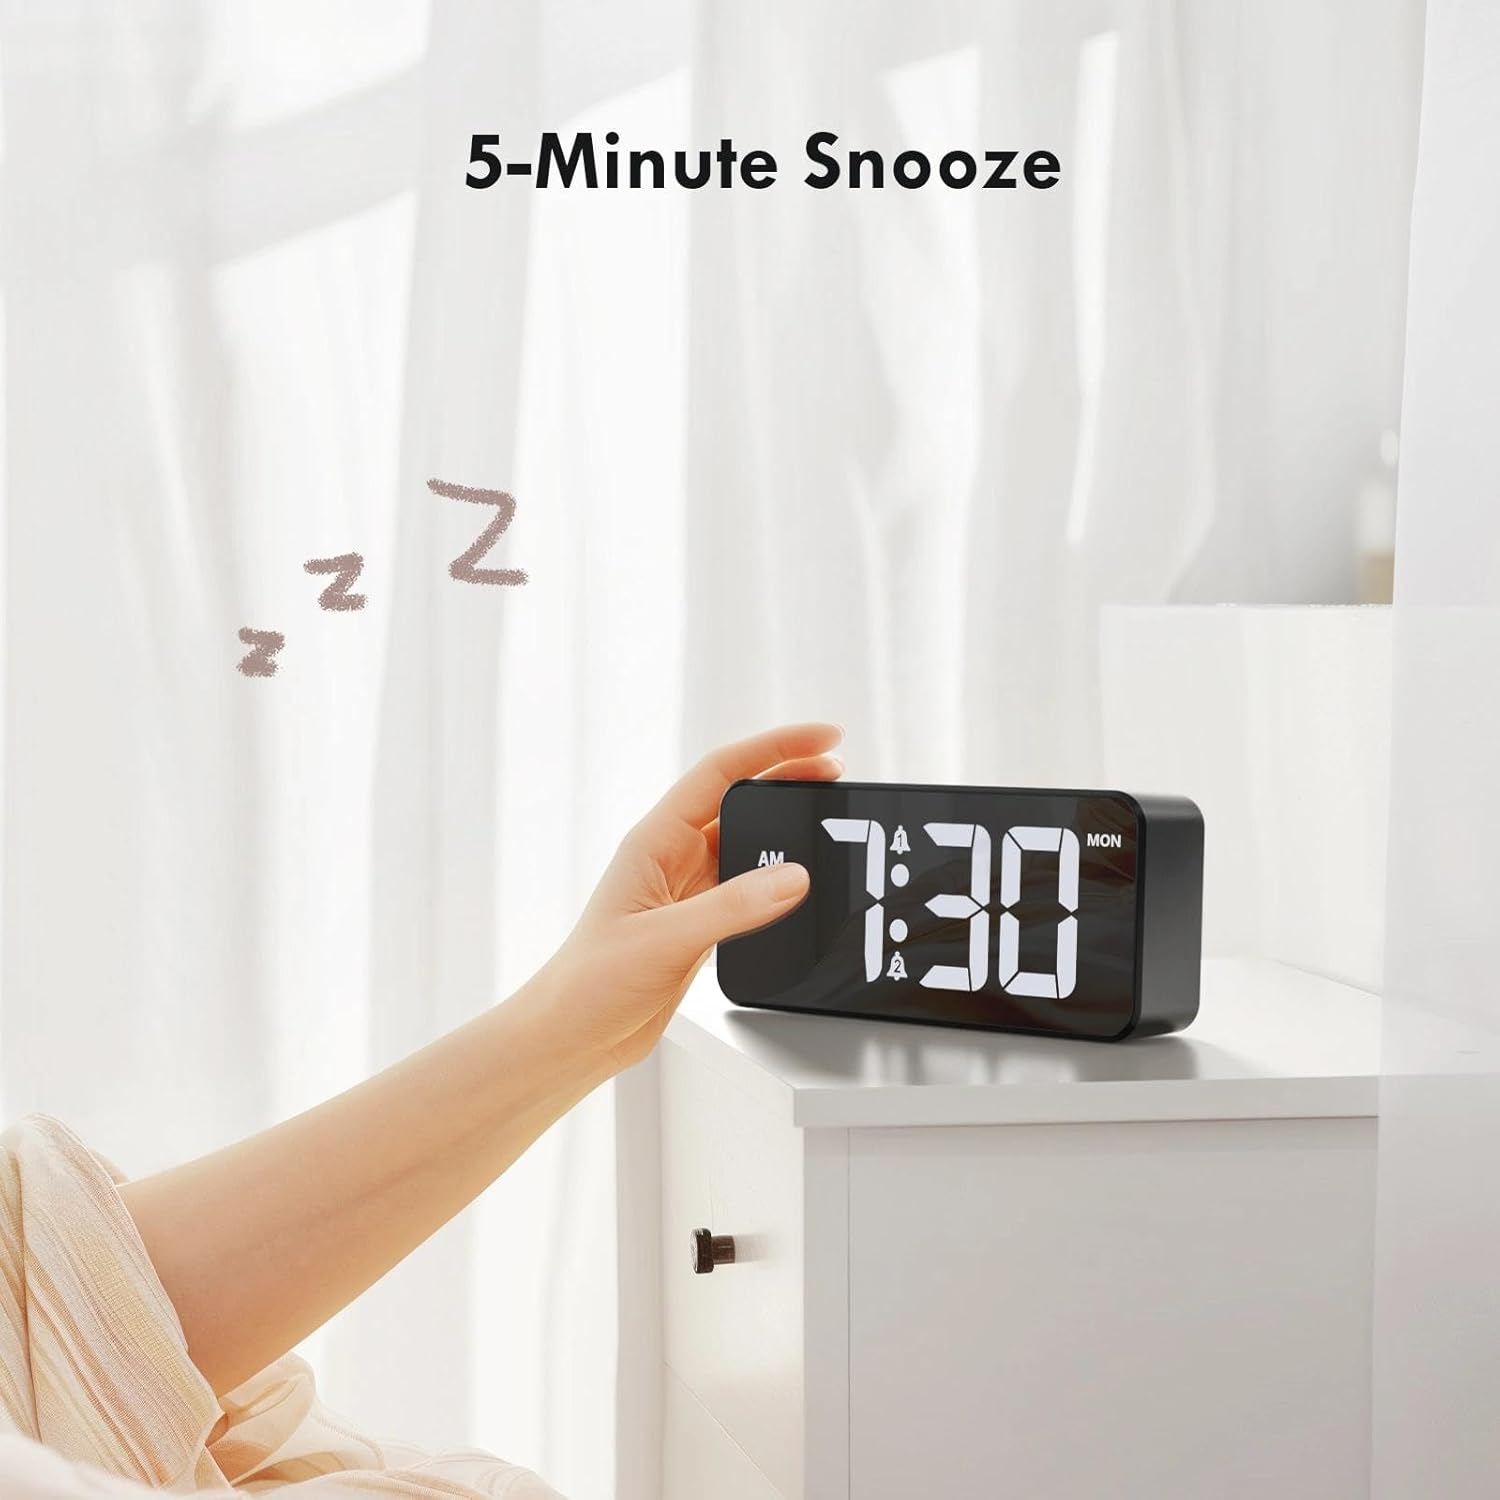
Figure 9: Activating the 5-minute snooze.
5.5 Adjusting Display Brightness
Rotate the Dimmer knob on the rear panel to adjust the LED display brightness from 0% (off) to 100% (maximum brightness). This allows you to customize the display visibility for different lighting conditions and personal preference.
5.6 Adjusting Alarm Volume
Rotate the Volume knob on the rear panel to select one of the 10 available volume levels for the alarm sound. Choose a volume that is suitable for your needs.

Figure 10: Controls for brightness and volume adjustment.
5.7 Daylight Saving Time (DST)
The alarm clock supports Daylight Saving Time. Locate the DST switch on the rear panel. Slide the switch to activate or deactivate DST as required by your local time zone.
6. USB Charging Port
The alarm clock is equipped with a USB output port on the rear panel. This port allows you to conveniently charge other electronic devices, such as smartphones or tablets, directly from the alarm clock. Simply connect your device's charging cable to the USB port.

Figure 11: Using the USB port to charge an external device.
7. Maintenance
To ensure the longevity and optimal performance of your CHEREEKI Digital Alarm Clock, follow these maintenance guidelines:
- Cleaning: Use a soft, dry cloth to clean the surface of the alarm clock. Avoid using abrasive cleaners, solvents, or chemical sprays, as these can damage the finish.
- Placement: Place the alarm clock on a stable, flat surface. Avoid areas with excessive heat, humidity, direct sunlight, or strong magnetic fields.
- Power: Always use the provided power adapter and cable. Do not attempt to power the clock with incompatible adapters.
8. Troubleshooting
If you encounter any issues with your alarm clock, please refer to the following common problems and solutions:
| Problem | Possible Cause | Solution |
|---|---|---|
| Display is off or not working. | No power connection or power outage. Backup battery does not power the display. | Ensure the power adapter is securely plugged into both the clock and a working wall outlet. Check the power source. |
| Alarm does not sound. | Alarm not activated, volume too low, or incorrect alarm time set. | Verify that the alarm is activated (bell icon visible). Adjust the volume knob. Re-check alarm time settings. |
| Time/settings are lost after power outage. | Backup battery is depleted or not installed correctly. | Replace the CR2032 backup battery, ensuring correct polarity. |
| USB charging port not working. | Device not properly connected or power issue. | Ensure the alarm clock is powered on. Check the connection of the charging cable to both the clock and your device. Try a different USB cable. |
9. Specifications
| Feature | Detail |
|---|---|
| Brand | CHEREEKI |
| Model | B0FHHKMP1X |
| Color | Black |
| Product Dimensions | 14.5 x 3.81 x 6.5 cm |
| Weight | 230 grams |
| Material | Acrylonitrile Butadiene Styrene (ABS) |
| Display Type | Digital LED |
| Special Features | Adjustable Brightness, Dual Alarms, Snooze, USB Charging Port, 12/24H Format, DST Support |
| Power Source | Corded Electric (5V/1A or 5V/2A adapter) |
| Backup Battery | CR2032 (for memory retention only) |
10. Warranty and Support
10.1 Warranty Information
The CHEREEKI Digital Alarm Clock comes with a Lifetime Warranty from CHEREEKI. Please refer to the warranty card included in your package or contact CHEREEKI customer support for detailed terms and conditions.
10.2 Customer Support
For any questions, technical assistance, or warranty claims, please contact CHEREEKI customer support. You can typically find contact information on the product packaging, the official CHEREEKI website, or through your purchase platform.