Introduction
This manual provides detailed instructions for the installation, operation, and maintenance of your VASTEND VS-7C Solar Powered Wireless Magnetic Reversing Camera system. This system is designed to enhance visibility and safety for various vehicles, including trailers, motorhomes, and other large vehicles.
Package Contents
Before beginning installation, please verify that all components are present:
- 1 x 7.0 Inch Monitor
- 1 x Magnetic Solar Camera
- 1 x Cigarette Lighter Adapter
- 1 x USB to Type-C Cable for Camera
- 1 x Extended Cable
- 1 x Bracket for Monitor
- 3 x Antennas
- 1 x Stickers
- 1 x Install Accessories (screws, tools)
- 1 x Instruction Manual

Image: All components included in the VASTEND VS-7C camera kit.
Setup and Installation
1. Camera Installation
The magnetic wireless camera offers quick and tool-free installation. Ensure the camera is fully charged before first use.
- Attach the magnetic camera to any flat metal surface at the rear of your vehicle (e.g., trailer, motorhome). The powerful magnet ensures a secure hold.
- For non-magnetic surfaces (aluminum, fiberglass), use the provided screws to secure the camera base.
- Adjust the camera angle to achieve the desired field of view.
- Screw the antenna onto the designated port on the camera.
2. Monitor Installation
- Attach the monitor to the dashboard using the provided bracket. The bracket allows for angle adjustment.
- Screw the antennas onto the designated ports on the monitor.
- Plug the 7-inch HD monitor into your vehicle's cigarette lighter socket or a Type-C power source using the provided adapter/cable.

Image: Magnetic camera installation and monitor setup.

Image: Step-by-step quick installation guide.
3. Pairing the Camera and Monitor
The camera and monitor are pre-paired at the factory. If re-pairing is needed:
- Ensure both the camera and monitor are powered on.
- On the monitor, navigate to the "Pairing" option in the menu.
- Follow the on-screen prompts to initiate pairing. The system will automatically connect.
Video: Instructions on how to pair the VASTEND VE-7C camera with the monitor.
Operating Instructions
1. Monitor Functions
The 7-inch 1080P IPS touchscreen monitor provides a clear interface for controlling the system.
- Power On/Off: Press the power button on the monitor to turn the display on or off.
- Menu Navigation: Use the touchscreen or physical buttons to navigate through the menu options.
- Brightness/Contrast/Hue: Adjust display settings for optimal viewing in various lighting conditions.
- Auto-Dimming: Enable auto-dimming for automatic brightness adjustment based on ambient light.
- Volume: Adjust the volume for audible alerts.
- Language: Select your preferred language from the system settings.
- Image Orientation: Flip or mirror the camera image if needed, depending on camera mounting.
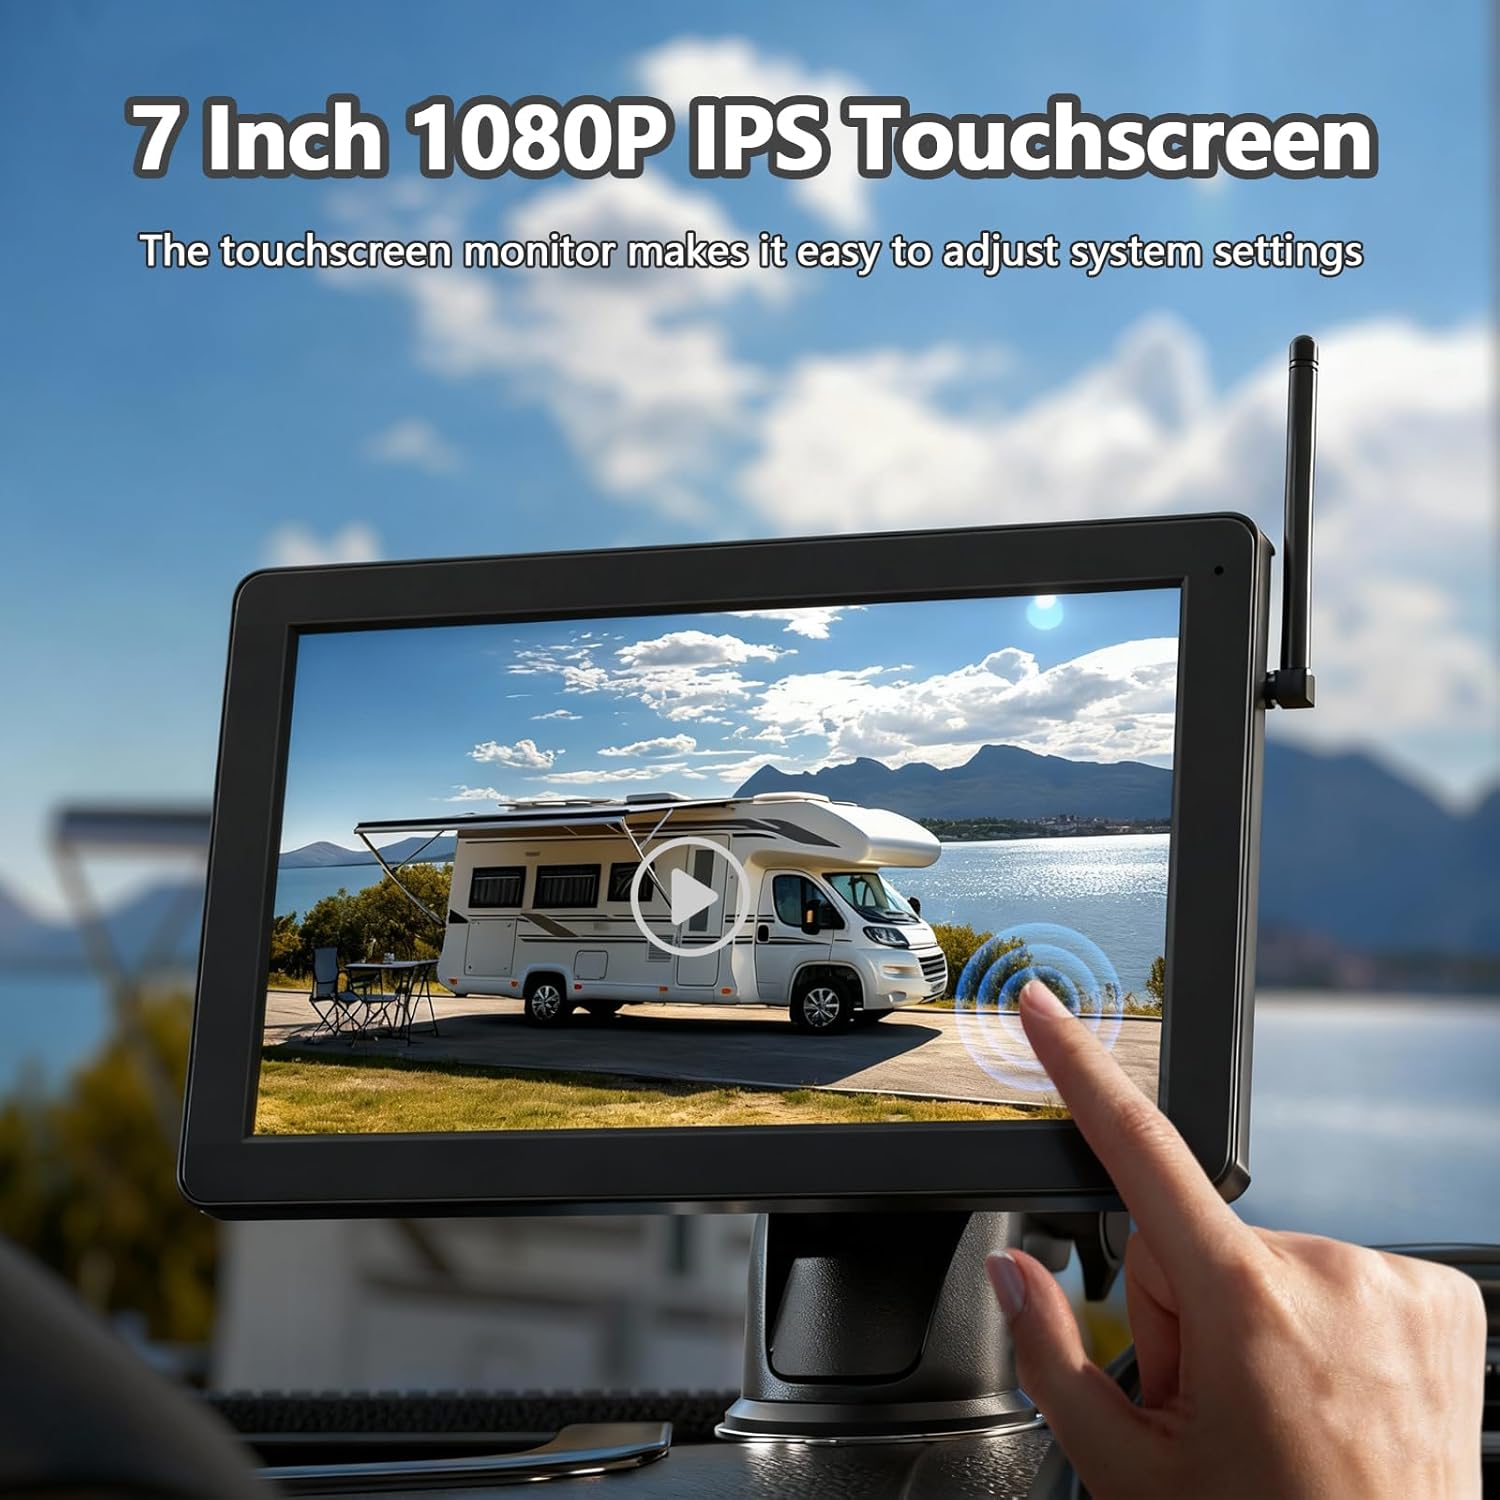
Image: Touchscreen monitor interface.

Image: Monitor settings for display and audio.

Image: Image orientation options.
2. Camera Features
- 1080P HD Image: The camera provides ultra-clear 1080P HD video.
- 150° Wide-Angle Lens: Offers an expansive field of view to minimize blind spots.
- IR Night Vision: Equipped with 4 IR night vision LEDs, ensuring clear visibility up to 30ft (9m) in complete darkness.
- IP69 Waterproof: The camera is designed to withstand heavy rain, snow, and dust, ensuring reliable operation in various weather conditions.
- Solar Power & Rechargeable Battery: The integrated 9600mAh battery provides up to 15 hours of operation. The solar panel efficiently recharges the battery, reducing the need for manual charging.
- 2.4G Stable Digital Wireless Signal: Utilizes frequency-hopping technology for an interference-free transmission range of up to 320 feet in open spaces.
- Parking Guidelines: Adjustable parking guidelines on the monitor assist in judging distances and improving parking safety.
- Multi-Camera Support: The system supports up to 4 cameras (additional cameras sold separately) with split-screen display capability.

Image: Camera features including 1080P and night vision.

Image: Solar charging and rechargeable battery details.

Image: Stable 2.4GHz wireless signal transmission.

Image: IP69 Waterproof and weather adaptability.

Image: Support for up to 4 cameras with split-screen display.
Maintenance
1. Charging the Camera
The camera's 9600mAh battery is primarily charged via its integrated solar panel. For initial charging or in low-light conditions:
- Connect the provided USB to Type-C cable to the camera's charging port.
- Plug the USB end into a compatible USB wall adapter or power bank.
- A full charge takes approximately 4.5 hours when the battery is depleted.

Image: Camera charging methods.
2. DVR Loop Recording & Local Playback
The monitor supports DVR loop recording and local playback with a memory card (up to 256GB, not included).
- Insert a compatible memory card into the monitor's SD card slot.
- Enable loop recording in the monitor's settings to continuously save footage.
- Access the "Play" menu to view recorded videos.
- Videos can be edited or deleted directly from the monitor.
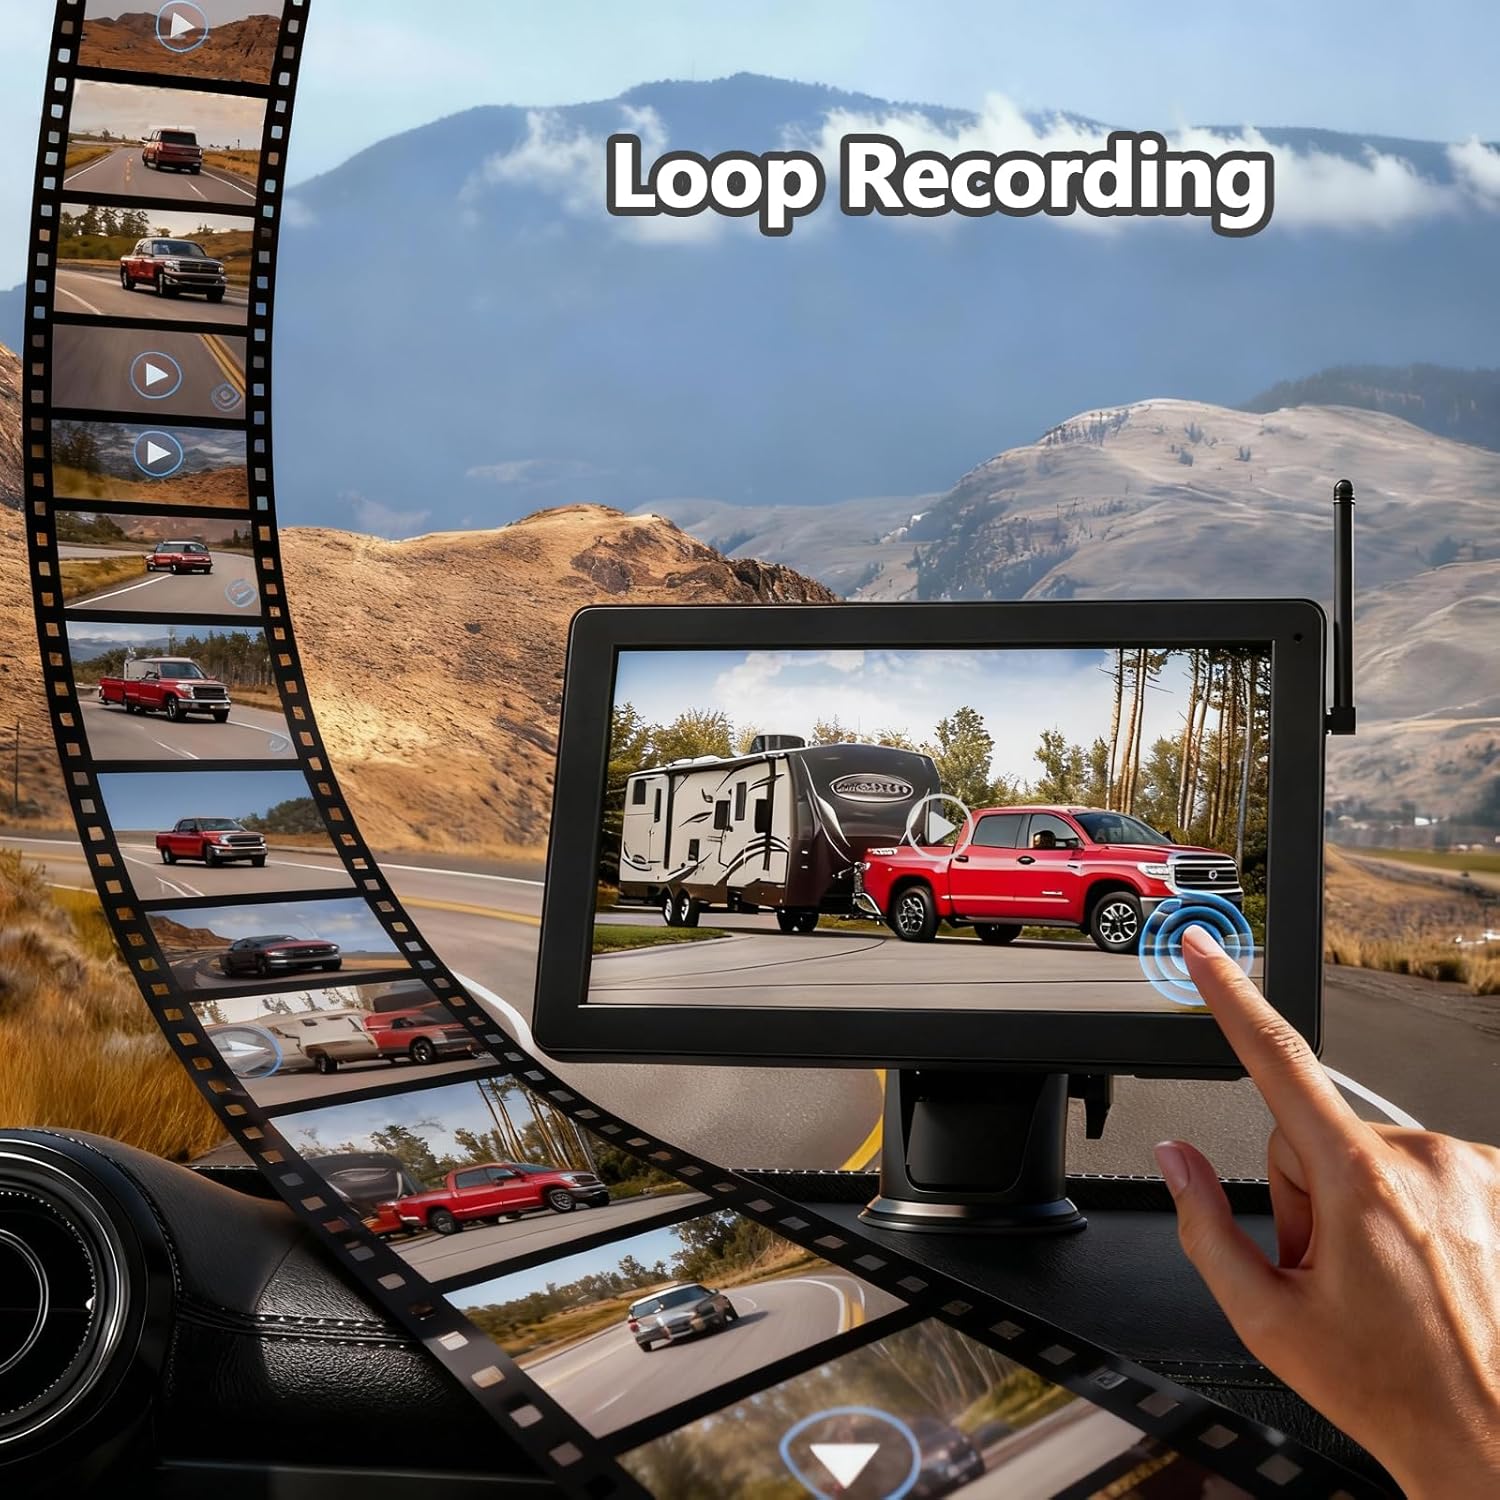
Image: DVR loop recording and playback interface.
3. Cleaning and Storage
- Wipe the camera lens and solar panel regularly with a soft, damp cloth to ensure optimal performance.
- Store the system in a cool, dry place when not in use for extended periods.
Troubleshooting
- No Signal: Ensure both camera and monitor are powered on and within transmission range. Check antenna connections.
- Poor Image Quality: Verify the camera lens is clean. Adjust brightness, contrast, and hue settings on the monitor.
- Battery Not Charging: Ensure the solar panel is exposed to direct sunlight. If charging via USB-C, check cable and adapter connections.
- Magnetic Mount Issues: For aluminum or fiberglass surfaces, use screws for secure mounting.
For further assistance, please refer to the contact information in the Warranty and Support section.
Specifications
| Feature | Detail |
|---|---|
| Model | VS-7C |
| Monitor Size | 7 Inches |
| Video Resolution | 1080p |
| Battery Capacity | 9600mAh |
| Wireless Frequency | 2.4G Digital |
| Transmission Range | Up to 320 feet (open spaces) |
| Viewing Angle | 150 Degrees |
| Waterproof Rating | IP69 |
| Max Memory Card | 256GB (SD card not included) |
| Operating Voltage | 36 Volts |
Warranty and Support
VASTEND provides a two-year complimentary warranty and lifetime technical support for the VS-7C system. For any queries, issues, or technical assistance, please contact us via the email address provided in your product manual.