
1. Introduction
This manual provides comprehensive instructions for the safe and effective use of your Hoorola CS05 5K 80MP Dual Screen Digital Camera. Please read this manual thoroughly before operating the device and retain it for future reference.
2. Safety Information
- Do not expose the camera to water or moisture. This product is not water-resistant.
- Avoid dropping the camera or subjecting it to strong impacts.
- Keep the camera away from extreme temperatures, direct sunlight, and strong magnetic fields.
- Use only approved batteries and charging accessories.
- Do not attempt to disassemble or modify the camera. Refer all servicing to qualified personnel.
- Keep out of reach of small children.
3. Package Contents
Verify that all items are present in your package:

Image: Hoorola CS05 Digital Camera and included accessories.
- Hoorola CS05 Digital Camera x1
- 32GB SD Card x1
- Type-C USB Cable x1
- Rechargeable Battery x2
- Storage Bag x1
- Cleaning Cloth x1
- User Manual x1
- Lanyard x1
4. Camera Overview
Familiarize yourself with the main components of your Hoorola CS05 Digital Camera:

Image: Front and rear view of the Hoorola CS05 Digital Camera.
- Front Screen: 1.4-inch display for selfies and vlogging.
- Rear Screen: 2.8-inch display for framing and playback.
- Lens: 18x powerful zoom lens.
- Flash: Built-in flash for low-light conditions.
- Shutter Button: To capture photos and start/stop video recording.
- Navigation Buttons: For menu navigation and settings adjustment.
- Power Button: To turn the camera on or off.
- USB-C Port: For charging and data transfer.
5. Setup
5.1. Inserting the Battery
- Open the battery compartment cover on the bottom of the camera.
- Insert the rechargeable battery, ensuring the correct polarity.
- Close the battery compartment cover securely.
5.2. Inserting the SD Card
- Locate the SD card slot, usually next to the battery compartment.
- Insert the provided 32GB SD card with the metal contacts facing down until it clicks into place.
- To remove, press the card gently until it pops out.
5.3. Charging the Camera
- Connect the camera to a power source using the supplied Type-C USB cable.
- The charging indicator light will illuminate.
- Charging typically takes approximately 2 hours. The indicator light will change or turn off when fully charged.
- The camera supports continuous recording while charging.
6. Operating the Camera
6.1. Power On/Off
Press and hold the Power button (usually located on the top or back of the camera) to turn the camera on or off.
6.2. Basic Photography (Point and Shoot)
To take a photo:
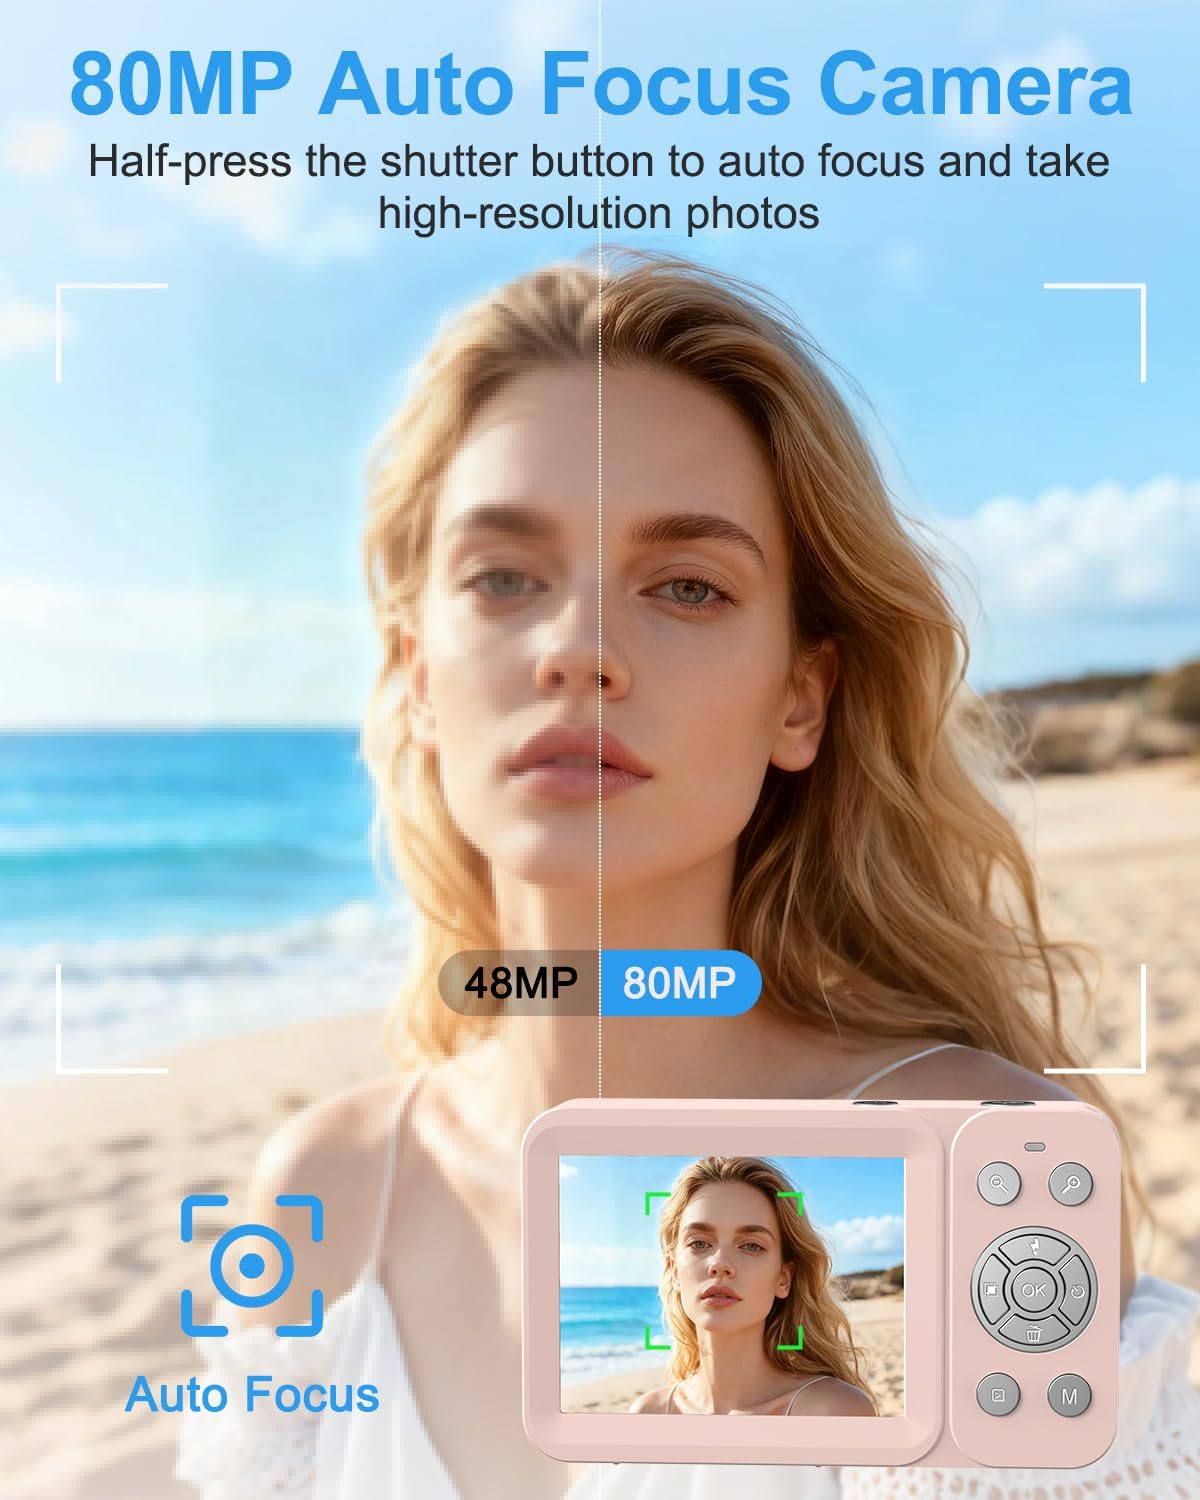
Image: Demonstrating 80MP Auto Focus for clear images.
- Turn on the camera.
- Frame your subject using the rear display.
- Half-press the shutter button to activate auto focus. A green box will appear when focus is achieved.
- Fully press the shutter button to capture the photo.
6.3. Dual Screen Functionality
The camera features both a front and rear screen for versatile shooting:

Image: Simple Dual-Screen Switching for selfies and group photos.
- To switch between the front and rear screens, press and hold the 'OK' button for 3 seconds.
- Use the front screen for selfies and vlogging to ensure you are perfectly framed.
6.4. Video Recording (5K UHD)
Capture high-quality 5K Ultra HD videos:
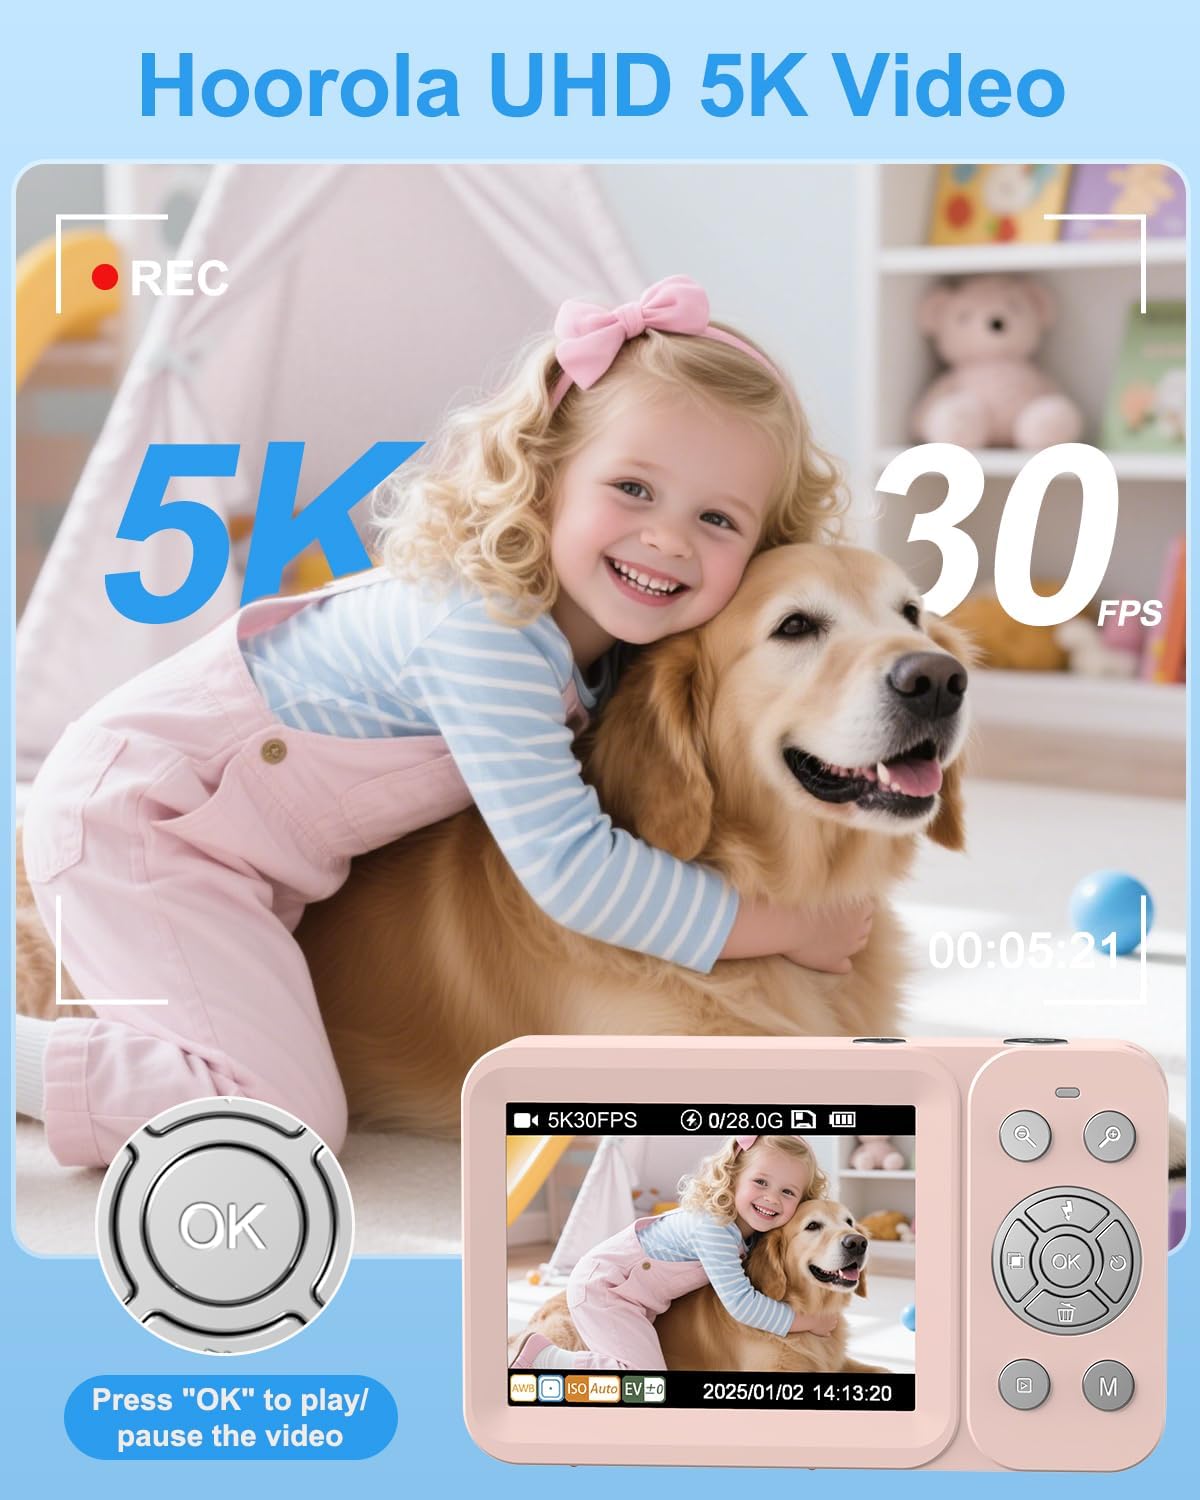
Image: Capturing 5K 30FPS video with the Hoorola CS05 camera.
- Switch to video mode (refer to your camera's menu for specific button/setting).
- Press the shutter button to start recording. A red 'REC' indicator will appear.
- Press the shutter button again to stop recording.
6.5. 18X Digital Zoom and Filter Effects
Utilize the camera's zoom and creative filters:

Image: Applying 18X Digital Zoom and various filter effects.
- Use the zoom buttons (often marked 'W' for wide and 'T' for telephoto) to adjust the 18X digital zoom.
- Access the menu to select from various built-in filter effects to enhance your photos and videos.
6.6. Photo and Recording Modes
Explore different shooting modes for various scenarios:

Image: Overview of available Photo and Recording Modes.
- Photo Modes: Normal Pic, Time Pic (timer), Continue Pic (burst), Auto Pic.
- Recording Modes: Normal Rec, Slowly Rec (slow-motion), Loop Rec, Time Rec (time-lapse).
- Navigate through the camera's menu to select your desired mode.
6.7. Connecting to a Computer (Webcam & File Transfer)
Connect your camera to a computer for various functions:
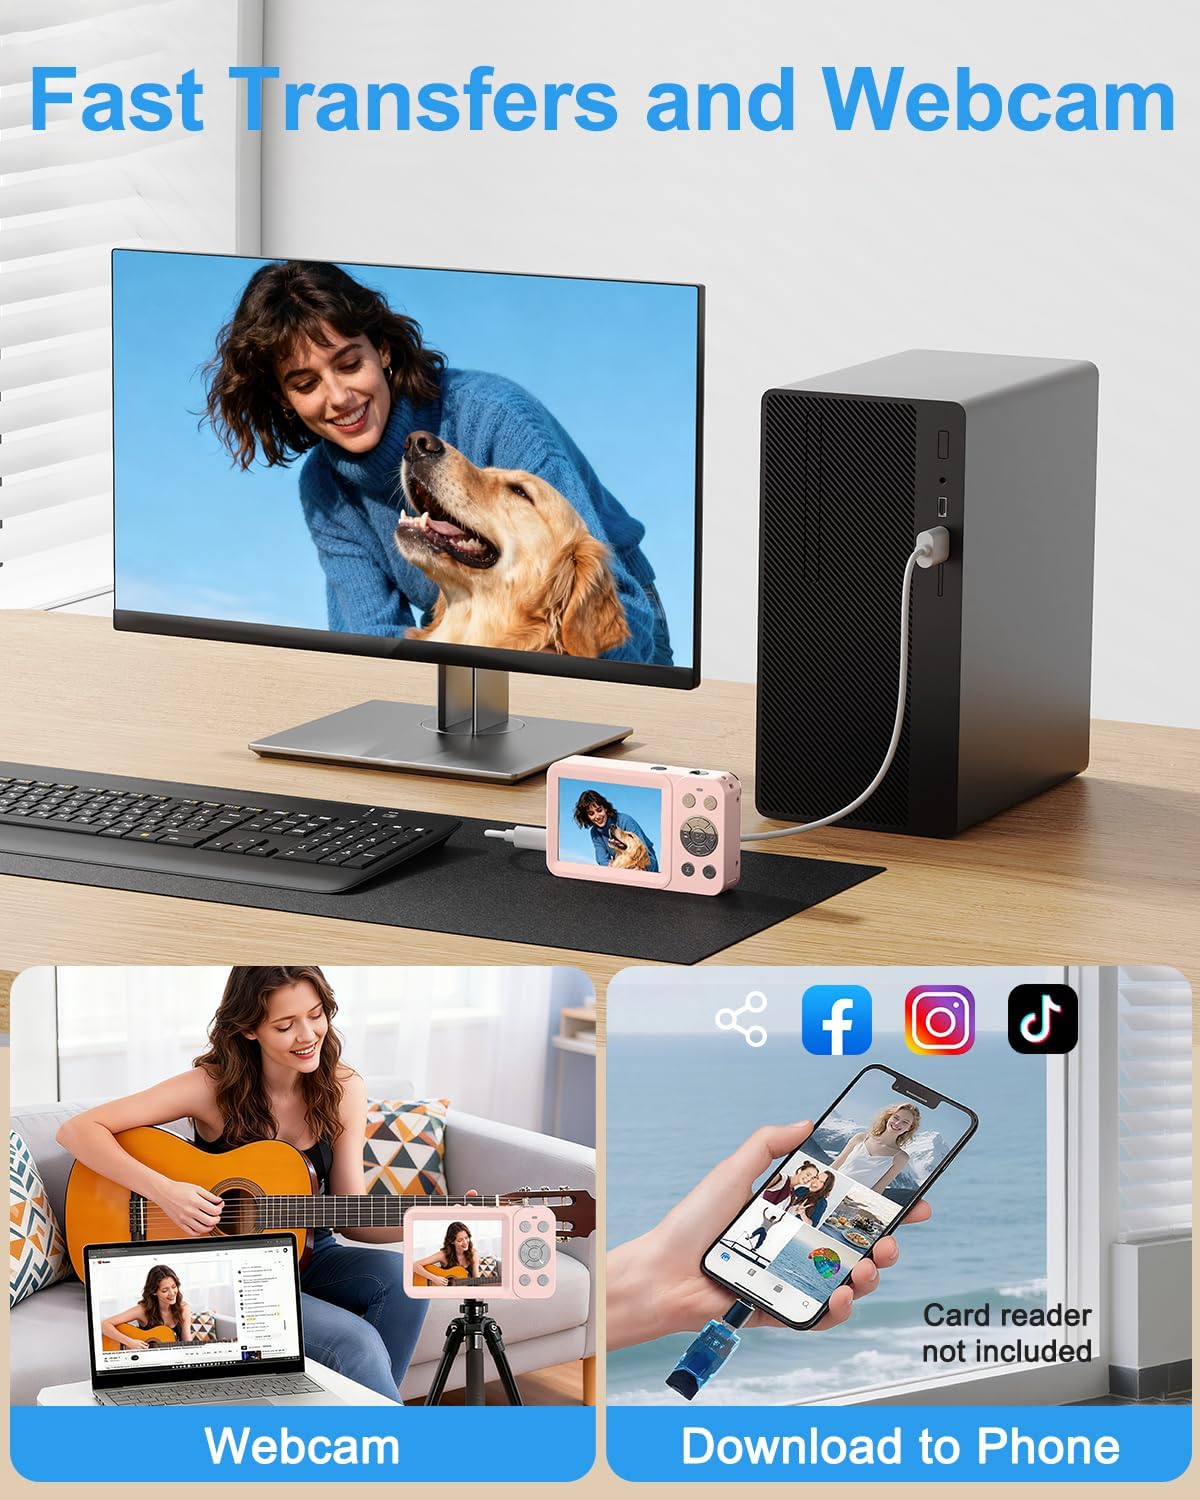
Image: USB Transfer and Webcam functionality.
- Webcam Function: Connect the camera to your computer via the USB-C cable. Select 'Webcam' mode on the camera (if prompted) to use it as an HD webcam for video calls or streaming.
- File Transfer: Connect the camera to your computer. Select 'Mass Storage' or 'File Transfer' mode on the camera. The camera's memory card will appear as a removable drive on your computer, allowing you to transfer photos and videos.
7. Maintenance
7.1. Cleaning
- Use the provided cleaning cloth to gently wipe the camera body and screens.
- For the lens, use a specialized lens cleaning solution and cloth to avoid scratches.
- Do not use harsh chemicals or abrasive materials.
7.2. Battery Care
- Charge batteries fully before first use.
- Remove batteries if the camera will not be used for an extended period.
- Store batteries in a cool, dry place.
7.3. Storage
- Store the camera in the provided storage bag to protect it from dust and scratches.
- Keep the camera in a dry environment, away from direct sunlight and extreme temperatures.
8. Troubleshooting
| Problem | Possible Cause | Solution |
|---|---|---|
| Camera does not power on. | Battery is depleted or incorrectly inserted. | Charge the battery fully. Ensure the battery is inserted with correct polarity. |
| Cannot take photos/videos. | SD card is full, locked, or not inserted. | Check SD card capacity. Unlock the SD card. Reinsert the SD card correctly. |
| Images are blurry. | Auto focus failed or lens is dirty. | Ensure half-press of shutter button for auto focus. Clean the lens with a soft cloth. |
| Flash not working. | Flash is disabled or battery is low. | Check flash settings in the menu. Charge the battery. |
| Camera not recognized by computer. | Incorrect USB mode selected or faulty cable. | Ensure 'Mass Storage' or 'Webcam' mode is selected. Try a different USB-C cable or port. |
9. Specifications
| Feature | Detail |
|---|---|
| Model Name | CS05 |
| Photo Sensor Technology | CMOS |
| Effective Still Resolution | 80 MP |
| Video Resolution | 5K (2160p) |
| Optical Zoom | 18x |
| Digital Zoom | 18x |
| Front Screen Size | 1.4 Inches |
| Rear Screen Size | 2.8 Inches |
| Auto Focus Technology | Hybrid |
| Supported File Format | MP4, JPEG |
| Memory Storage Capacity | 32 GB (included) |
| Battery Type | Lithium Ion |
| Battery Average Life | 160 minutes |
| Connectivity Technology | USB |
| Special Features | Dual-screen, Auto Focus, 18X Zoom, Flash, Selfie, Time-lapse, Slow-motion, Filters, Webcam |
10. Warranty and Support
Your Hoorola CS05 Digital Camera is designed for reliable performance. For any issues or inquiries, please contact Hoorola customer support. While specific warranty details are not provided in this manual, Hoorola is committed to responsive support for its products.
Extended protection plans may be available for purchase separately to cover your device beyond the standard warranty period.