1. Introduction
The Ufesa Steamy Pad vertical steam iron is designed for efficient and convenient garment care. With its powerful steam output and adjustable settings, it helps remove wrinkles from various fabrics quickly and effectively. This manual provides essential information for the safe and proper use, assembly, operation, maintenance, and troubleshooting of your appliance.

Figure 1: Ufesa Steamy Pad Vertical Steam Iron in use with garments.
2. Safety Instructions
Please read all safety instructions carefully before using the appliance. Failure to follow these instructions may result in electric shock, fire, or serious injury.
- Always ensure the appliance is unplugged before filling or emptying the water tank, or when not in use.
- Do not immerse the appliance, power cord, or plug in water or other liquids.
- Keep the steam head away from your body, hands, and face during operation to avoid steam burns.
- Use only distilled or demineralized water to prevent mineral buildup and prolong the life of the appliance.
- Do not operate the appliance with a damaged cord or plug. Contact customer service for repairs.
- Keep out of reach of children and pets.
- Place the appliance on a stable, flat surface during use.
3. Product Components
Familiarize yourself with the parts of your Ufesa Steamy Pad vertical steam iron:
- Base Unit: Contains the water tank, heating element, and control panel.
- Water Tank: Removable 1.35L capacity tank for water.

Figure 2: Water tank with visible water level.
- Control Panel with LCD Screen: Allows selection of 9 steam levels.
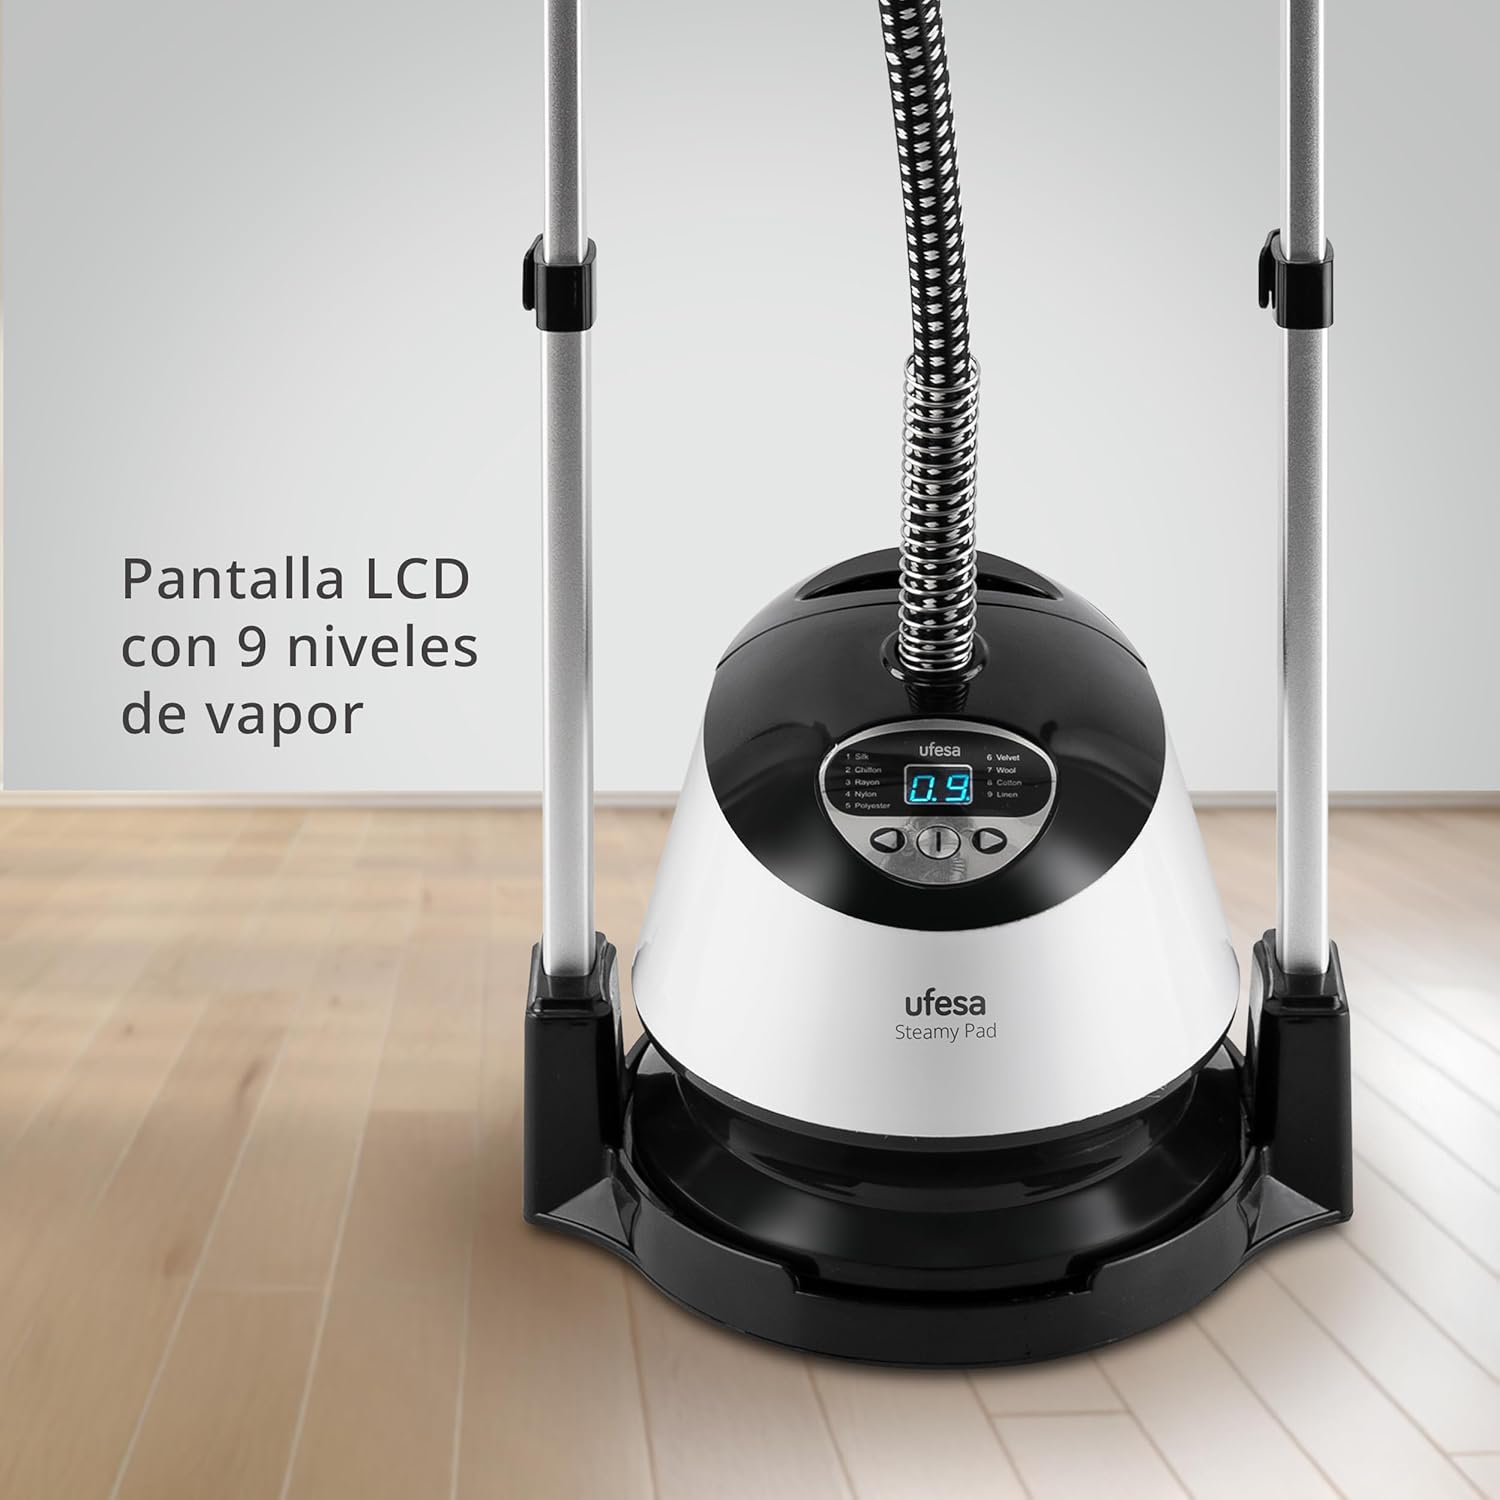
Figure 3: LCD control panel for steam level selection.
- Telescopic Pole: Adjustable height pole for comfortable steaming.
- Steam Head/Nozzle: Delivers steam to garments.
- Hose: Connects the base unit to the steam head.
- Vertical Curtain/Hanger: Provides a stable surface for steaming clothes.
4. Setup
- Assembly: Assemble the telescopic pole and attach the vertical curtain/hanger securely to the top.
- Water Tank Fill: Remove the water tank from the base unit. Fill it with distilled or demineralized water up to the MAX line. Reinsert the tank firmly into the base unit.
- Hose Connection: Ensure the steam hose is securely connected to the base unit and the steam head.
- Power Connection: Plug the power cord into a suitable electrical outlet.
5. Operating Instructions
The Ufesa Steamy Pad heats up in approximately 1 minute, providing up to 40 minutes of continuous steam.
- Power On and Heat Up: Turn on the appliance. The LCD screen will indicate heating. Wait for approximately 1 minute until the appliance is ready to produce steam.
- Select Steam Level: Use the control panel to select one of the 9 available steam levels. Choose a lower setting for delicate fabrics and a higher setting for heavier materials.
- Prepare Garment: Hang the garment on the vertical curtain/hanger. Gently pull the fabric taut with one hand while applying steam with the other.
- Steaming Technique: Hold the steam head a few centimeters from the fabric and move it in a downward motion. For stubborn wrinkles, press the steam head gently against the fabric.
- Continuous Steam: The 1.35L water tank allows for up to 40 minutes of continuous steaming, ideal for multiple garments or larger items like curtains.
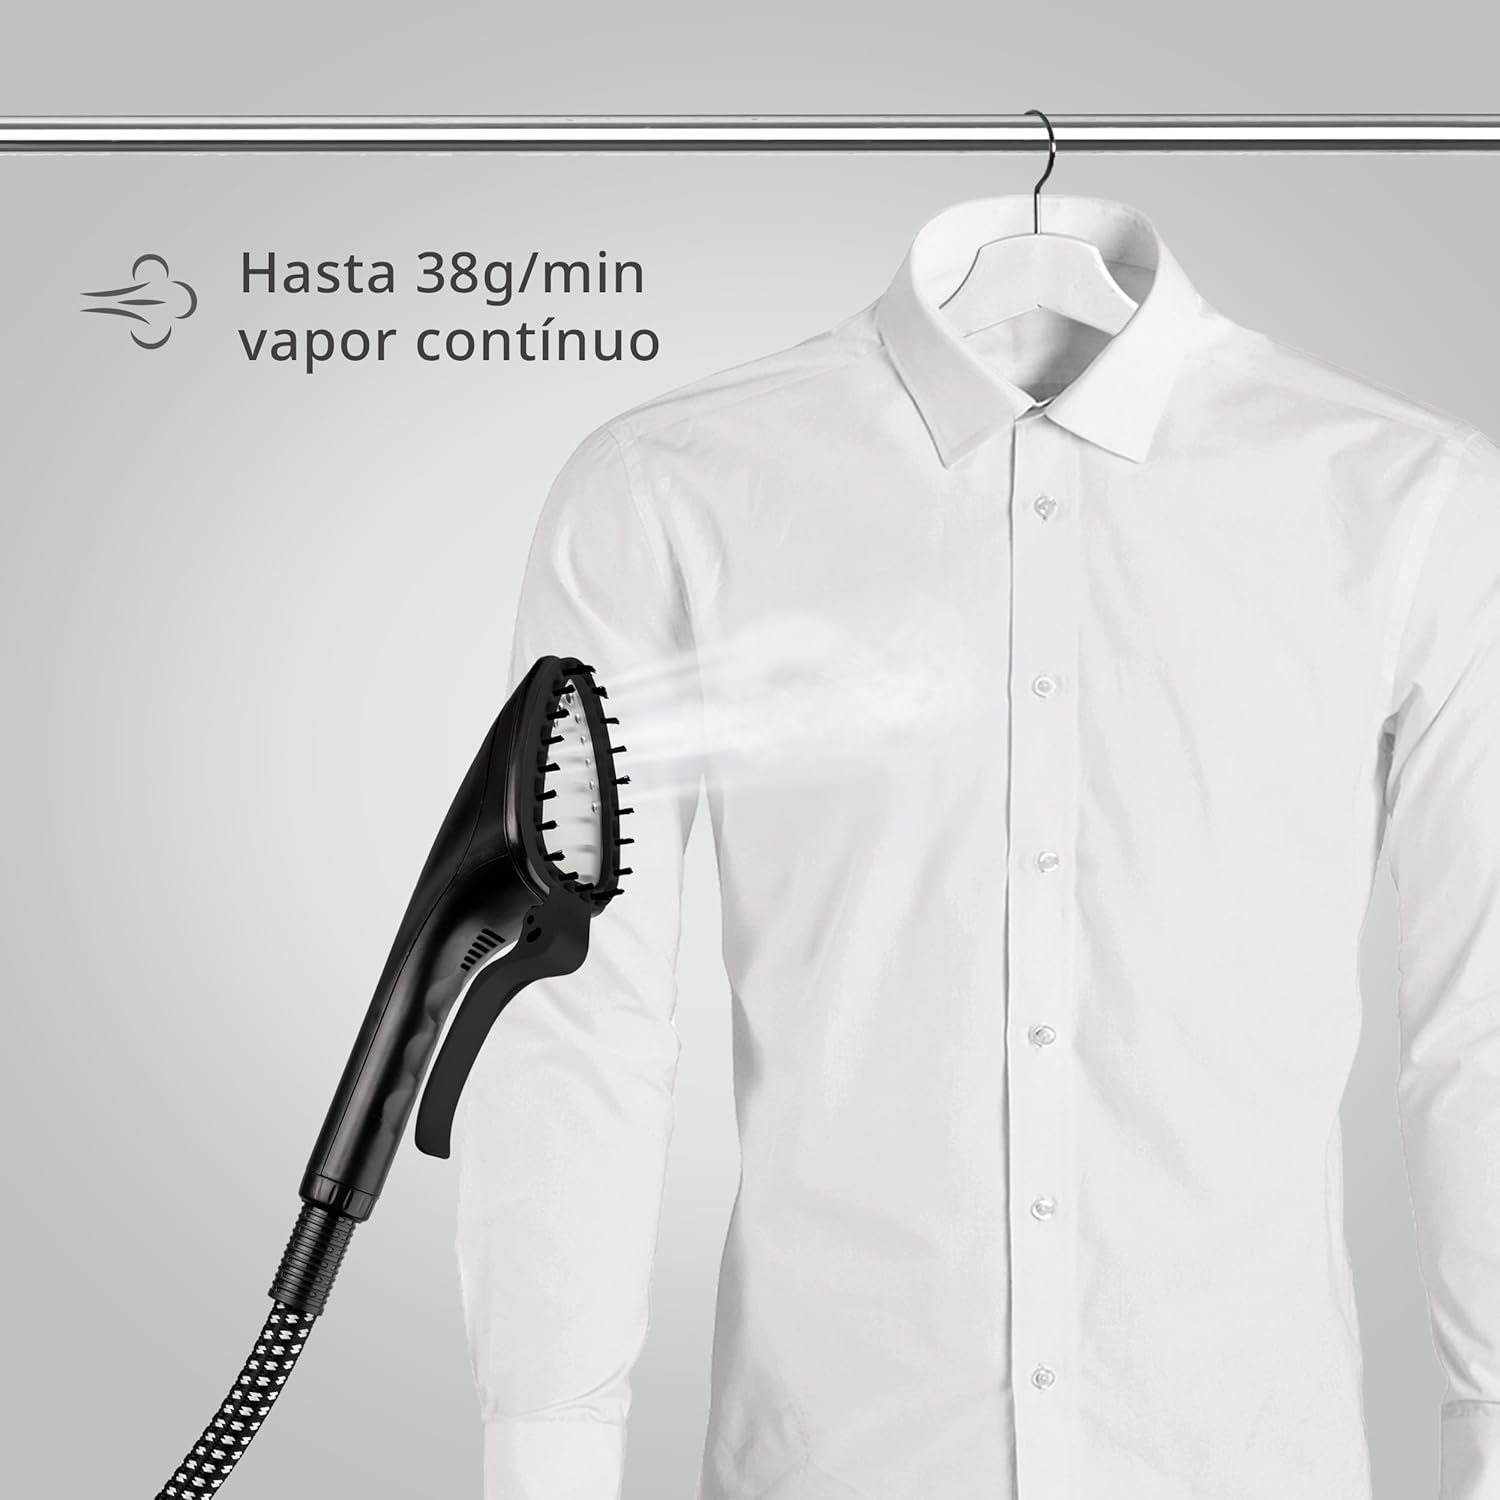
Figure 4: Steam head in action, removing wrinkles from a shirt.

Figure 5: Steam head positioned on a shirt for vertical steaming.
Operation Videos
This video demonstrates the general operation of a vertical garment steamer, including filling the water tank, adjusting steam settings, and effectively steaming different types of clothing like shirts and pants.
Watch this video for a demonstration of setting up and using a vertical garment steamer. It covers adjusting the height, attaching the steam head, and steaming various garments to remove wrinkles.
A brief overview of a vertical steam iron, highlighting its features and quick steaming capabilities for various fabrics.
6. Maintenance and Cleaning
Regular maintenance ensures optimal performance and extends the life of your steam iron.
- Empty Water Tank: After each use, unplug the appliance and allow it to cool. Remove the water tank and empty any remaining water.
- Descaling: To prevent mineral buildup, descale the appliance every few months or as needed, depending on water hardness. Follow the manufacturer's instructions for descaling solutions or use a mixture of white vinegar and water.
- Clean Steam Head: Wipe the steam head with a damp cloth to remove any residue. Do not use abrasive cleaners.
- Storage: Store the appliance in a cool, dry place. Ensure the water tank is empty and the hose is not kinked.
7. Troubleshooting
If you encounter any issues, refer to the following common problems and solutions:
- No Steam: Check if the water tank is filled and properly inserted. Ensure the appliance is plugged in and powered on. Allow sufficient time for preheating.
- Water Leaking: Ensure the water tank cap is securely closed and the tank is correctly seated in the base. Check for any cracks in the hose or steam head.
- Low Steam Output: The appliance may need descaling if mineral buildup is present. Ensure the steam level is set appropriately for the fabric.
- Appliance Not Turning On: Verify the power cord is securely plugged into a working outlet. Check the power switch on the appliance.
If the problem persists, please contact Ufesa customer support.
8. Specifications
| Brand | Ufesa |
| Model Name | Steamy Pad |
| Model Number | 80306027 |
| Power | 1580W |
| Steam Output | Up to 38g/min |
| Heat-up Time | 1 minute |
| Water Tank Capacity | 1.35 Liters |
| Continuous Steam Time | Up to 40 minutes |
| Steam Levels | 9 (adjustable via LCD) |
| Dimensions | 41.4 x 38.5 x 34.9 cm |
| Weight | 4.85 kg |
| Color | White/Black |
9. Warranty and Support
Your Ufesa Steamy Pad vertical steam iron comes with a standard manufacturer's warranty. Please refer to the warranty card included in your product packaging for specific terms and conditions.
For technical support, spare parts, or warranty claims, please contact Ufesa customer service through their official website or the contact information provided in your product documentation.
Keep your purchase receipt as proof of purchase for warranty purposes.


