
1. Introduction
This manual provides detailed instructions for the installation, operation, and maintenance of your POWLSOJX MPPT Solar Controller. Please read this manual thoroughly before use to ensure proper function, safety, and optimal performance of your solar power system. This controller is designed to efficiently manage power flow from your solar panels to your battery bank, ensuring maximum power point tracking (MPPT) for enhanced energy harvesting.
2. Key Features
- Advanced MPPT Technology: Ensures maximum power point tracking efficiency of no less than 99.5%, optimizing solar energy utilization.
- Multi-Voltage Support: Automatically detects and adapts to 12V, 24V, 36V, and 48V system voltages.
- Real-Time LCD Monitoring: Features a backlit LCD display with a clock function, providing dynamic information on operating data, battery status, PV charging current, battery discharging current, and device operating temperature.
- Seven Operating Modes: Includes Charging Mode, Light Control Mode, Delay Control Mode, Universal Control Mode, Manual Control Mode, Timer Mode, and Factory Test Mode for versatile energy management.
- Comprehensive Protection Functions: Integrated safeguards against over-voltage, over-current, power failure, over-charge, deep discharge, reverse polarity, and over-temperature.
- Dual USB Charging Ports: Two 5V USB ports for convenient charging of mobile devices.
- Efficient Heat Dissipation: Die-cast aluminum heat sink design for high heat dissipation efficiency, ensuring stable operation and extended lifespan.
3. Safety Information
Adhering to safety guidelines is crucial for preventing injury and damage to the equipment. Please observe the following precautions:
- Always disconnect the battery and solar panel power before installing or performing maintenance on the controller.
- Ensure all wiring is correctly polarized and securely connected to prevent short circuits and damage.
- Use appropriate wire gauges for all connections to handle the expected current without overheating.
- Install the controller in a well-ventilated area, away from flammable materials and direct sunlight, to ensure proper heat dissipation.
- This device is designed for indoor use or within a protective enclosure. Avoid exposure to water or excessive humidity.
- Do not attempt to disassemble or repair the controller yourself. Contact qualified personnel for service.
The controller incorporates eight protection functions to enhance safety and reliability:

Image: Eight Protection Functions. This diagram illustrates the comprehensive safety features built into the solar charge controller, including protection against short circuits, open circuits, overcurrent, overload, over-discharge, lightning, high temperature, and reverse polarity.
4. Setup and Connection
Follow these steps carefully to connect your MPPT solar charge controller to your solar panel, battery, and DC load. The correct connection order is critical to prevent damage to the controller and other components.
- Connect the Battery: First, connect the battery to the controller's battery terminals. Ensure correct polarity (positive to positive, negative to negative). The controller will automatically detect the battery voltage.
- Connect the DC Load: Next, connect the DC load to the controller's load terminals. Ensure correct polarity.
- Connect the Solar Panel: Finally, connect the solar panel to the controller's solar panel terminals. Ensure correct polarity.
Important: Always connect the battery first, then the load, and finally the solar panel. Disconnect in the reverse order: solar panel, then load, then battery.

Image: Connection Steps. This diagram illustrates the correct sequence for connecting the battery, DC load, and PV panel to the solar charge controller, highlighting positive and negative terminals and supported battery types like lead-acid and lithium.
Supported Battery Types: The controller supports various battery types, including lead-acid and lithium batteries. Refer to the controller's settings for specific battery type configuration.

Image: Product Dimensions. This image provides the physical dimensions of the MPPT solar charge controller, indicating a width of 180mm (7.08 inches) and a height of 190mm (7.48 inches).
5. Operating Modes
The POWLSOJX MPPT Solar Controller offers seven distinct operating modes to suit various application requirements. These modes can be configured via the LCD interface.
- Charging Mode: Standard mode for charging batteries from solar panels.
- Light Control Mode: Automatically turns the load on/off based on ambient light levels.
- Delay Control Mode: Similar to Light Control Mode but with a user-defined delay before switching the load.
- Universal Control Mode: Provides continuous power to the load.
- Manual Control Mode: Allows manual switching of the load via the controller's buttons.
- Timer Mode: Configures the load to operate for a specific duration.
- Factory Test Mode: Used for testing purposes during manufacturing. Not for general user operation.
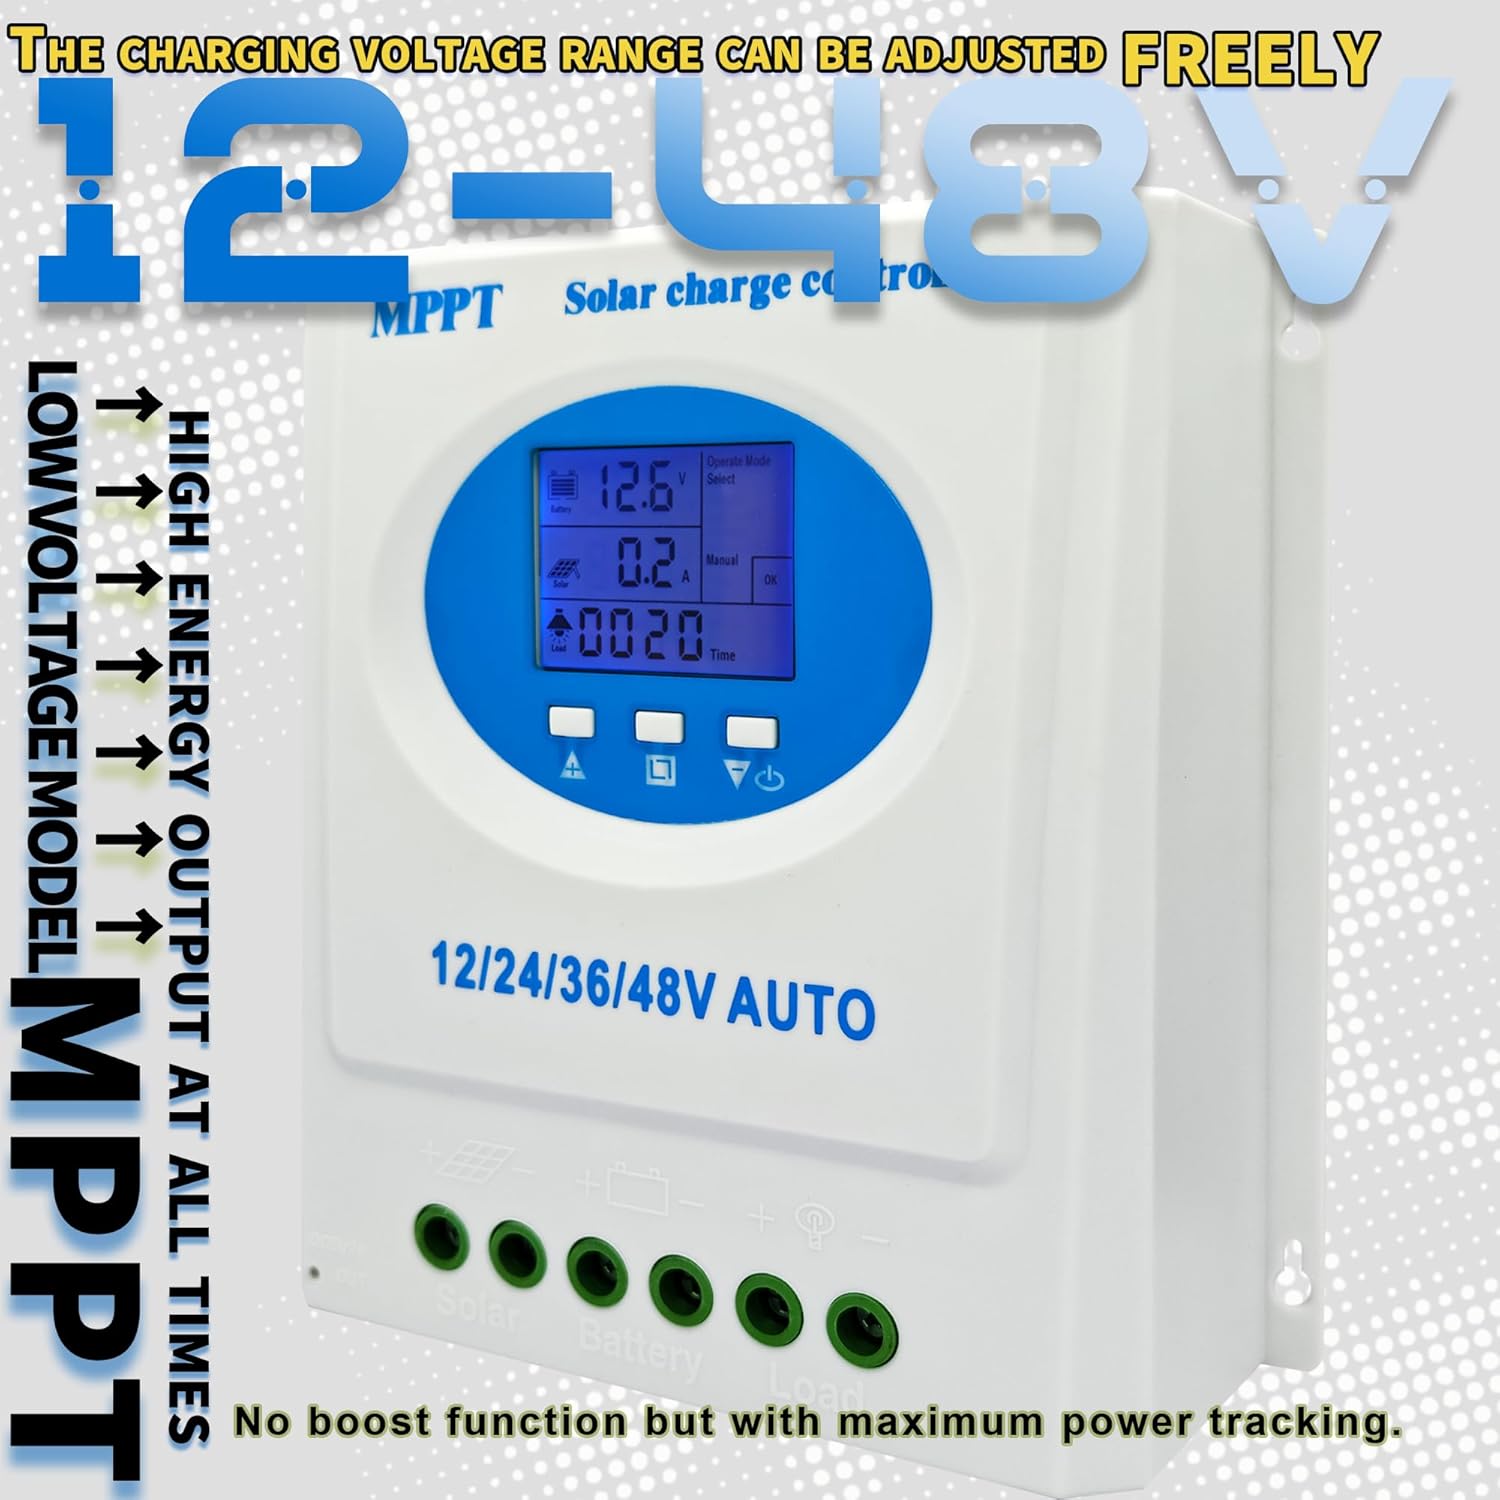
Image: Adjustable Charging Voltage Range. This image highlights the controller's capability to adjust the charging voltage freely within a 12-48V range, emphasizing high energy output at all times and its low voltage model MPPT functionality.
6. LCD Display Overview
The integrated LCD provides a user-friendly interface for monitoring system status and adjusting parameters. Key information displayed includes:
- Battery voltage and charge status.
- Solar panel charging current.
- Battery discharging current.
- Load output status.
- Operating mode selection.
- System parameters and settings.
- Clock function.
Use the navigation buttons below the display to cycle through different screens and adjust settings as needed.
7. Maintenance
Regular maintenance ensures the longevity and optimal performance of your solar charge controller.
- Cleaning: Periodically clean the controller's exterior with a dry cloth to remove dust and debris. Ensure ventilation openings are clear.
- Connection Checks: Annually inspect all wiring connections for tightness and corrosion. Loose connections can lead to power loss or overheating.
- Environmental Inspection: Ensure the installation environment remains dry, well-ventilated, and free from excessive temperatures.
- Firmware Updates: Check the manufacturer's website for any available firmware updates that may improve performance or add features.

Image: Efficient Heat Dissipation Design. This image highlights the controller's die-cast aluminum heat sink for high heat dissipation efficiency and the inclusion of a temperature sensor (3.3ft length) to compensate battery charge voltages and extend battery lifespan.
8. Troubleshooting
If you encounter issues with your solar charge controller, refer to the following common problems and solutions:
| Problem | Possible Cause | Solution |
|---|---|---|
| No display/No power | Battery not connected or low voltage; loose connections. | Check battery connections and voltage. Ensure battery voltage is above the minimum operating threshold. |
| Battery not charging | Solar panel not connected; insufficient sunlight; faulty solar panel; incorrect settings. | Verify solar panel connections and ensure adequate sunlight. Check solar panel output voltage. Review charging mode settings. |
| Load not working | Load not connected; battery voltage too low (low voltage disconnect); load mode incorrect; overload protection activated. | Check load connections. Allow battery to charge. Verify load operating mode. Reduce load to prevent overload. |
| Over-temperature warning | Poor ventilation; excessive ambient temperature; heavy load. | Ensure adequate ventilation around the controller. Reduce ambient temperature if possible. Reduce load. |
If the problem persists after attempting these solutions, please contact customer support.
9. Specifications
| Feature | Specification |
|---|---|
| Brand | POWLSOJX |
| Model Number | TN |
| System Voltage | 12V/24V/36V/48V Auto-detection |
| Current Rating | 120A (for Blue-120A variant) |
| Display Type | LCD |
| USB Output | Dual 5V ports |
| Item Weight | 2.5 Pounds |
| Product Dimensions | 9.25"L x 2.75"W x 8.26"H |
| Material | Metal, Plastic |
| Batteries Required | Yes (for operation) |
| Included Components | Solar Charge Controller |
| GTIN/UPC | 692090609364 |
10. Warranty and Support
For warranty information, technical support, or service inquiries, please contact your retailer or the manufacturer directly. Keep your purchase receipt as proof of purchase for warranty claims.

Image: Applicable Applications. This image illustrates the versatility of the solar charge controller for both home use (daily solar energy management, emergency power) and street light applications (powering street lights and other appliances, saving electricity bills).
