1. Introduction
The Raymoto R1 PRO 20W Portable Laser Engraver utilizes dual galvanometer motor technology for high-precision engraving. It features a 0.08mm spot size, engraving speeds of 20-2000mm/s, and a 100x100mm engraving area. The laser is classified as Class 1 with an output of 0.5mW. This versatile 2-in-1 laser engraver can engrave on various materials including plywood, gray paper, logs, leather, stone, acrylic/plastic, cork coasters, and bamboo. It offers easy connectivity via Wi-Fi, Bluetooth (for mobile devices), and USB/Wi-Fi (for PC), supporting file formats like JPG, SVG, PNG, and G-code.
2. Safety Information
The Raymoto R1 PRO 20W Laser Engraver is equipped with an emergency stop button for complete safety. If the laser engraver tilts, the machine automatically shuts down, effectively ensuring safety. It also features a Hall sensor that interrupts engraving operations if the protective cover is opened. The built-in exhaust fan effectively removes smoke and exhaust gases generated during the laser engraving process. Connecting to a ventilation duct allows for optimal exhaust to a window or air filter. The protective cover blocks 99% of harmful light, ensuring safety in the work area. The USB child safety lock ensures normal operation when plugged in, but the machine will not operate if removed, effectively guaranteeing safety.
Important Note:
- Always wear protective goggles when operating the laser engraver, especially if the protective cover is removed.
- Ensure proper ventilation to avoid inhaling fumes and gases produced during engraving.
- Do not engrave pure metals (gold, silver, copper, brass, etc.) or transparent/reflective materials like painted metal, 304 stainless steel, or clear acrylic without first painting them black.
- This device is compatible with LightBurn 1.7.08. Compatibility with LightBurn 2.0 and later versions is currently under development. Please do not use LightBurn 2.0 applications at this time.
3. Package Contents
Please verify that all items are present in the package:

Image: All components included in the Raymoto R1 PRO 20W Laser Engraver package.
- Raymoto R1 PRO 20W Laser Engraver Main Unit
- Electric Lifting Stand
- Base Plate
- Conical Protective Cover
- Protective Goggles
- Power Adapter
- USB-A to USB-C Cable (0.4m)
- USB-A to USB-C Cable (1.5m)
- M4x10 Screws (x4)
- Hex Wrench H2.5 (x1)
- Sample Materials
- Ruler
- Instruction Manual
4. Setup & Assembly
Follow these steps to assemble your Raymoto R1 PRO 20W Laser Engraver. For a visual guide, refer to the assembly video below (note: video shows LP2 model, but assembly steps are similar).
Video: Assembly and basic operation guide (LP2 model shown, R1 PRO assembly is similar).
- Attach the base plate to the electric lifting stand using the provided hex wrench and M4x6 screws. Ensure the correct orientation.
- Place the laser engraver main unit onto the stand and secure it by turning the knob counter-clockwise.
- Attach the conical protective cover to the bottom of the laser unit, ensuring it is firmly inserted and secured.
5. Component Overview
Familiarize yourself with the main components and their functions:
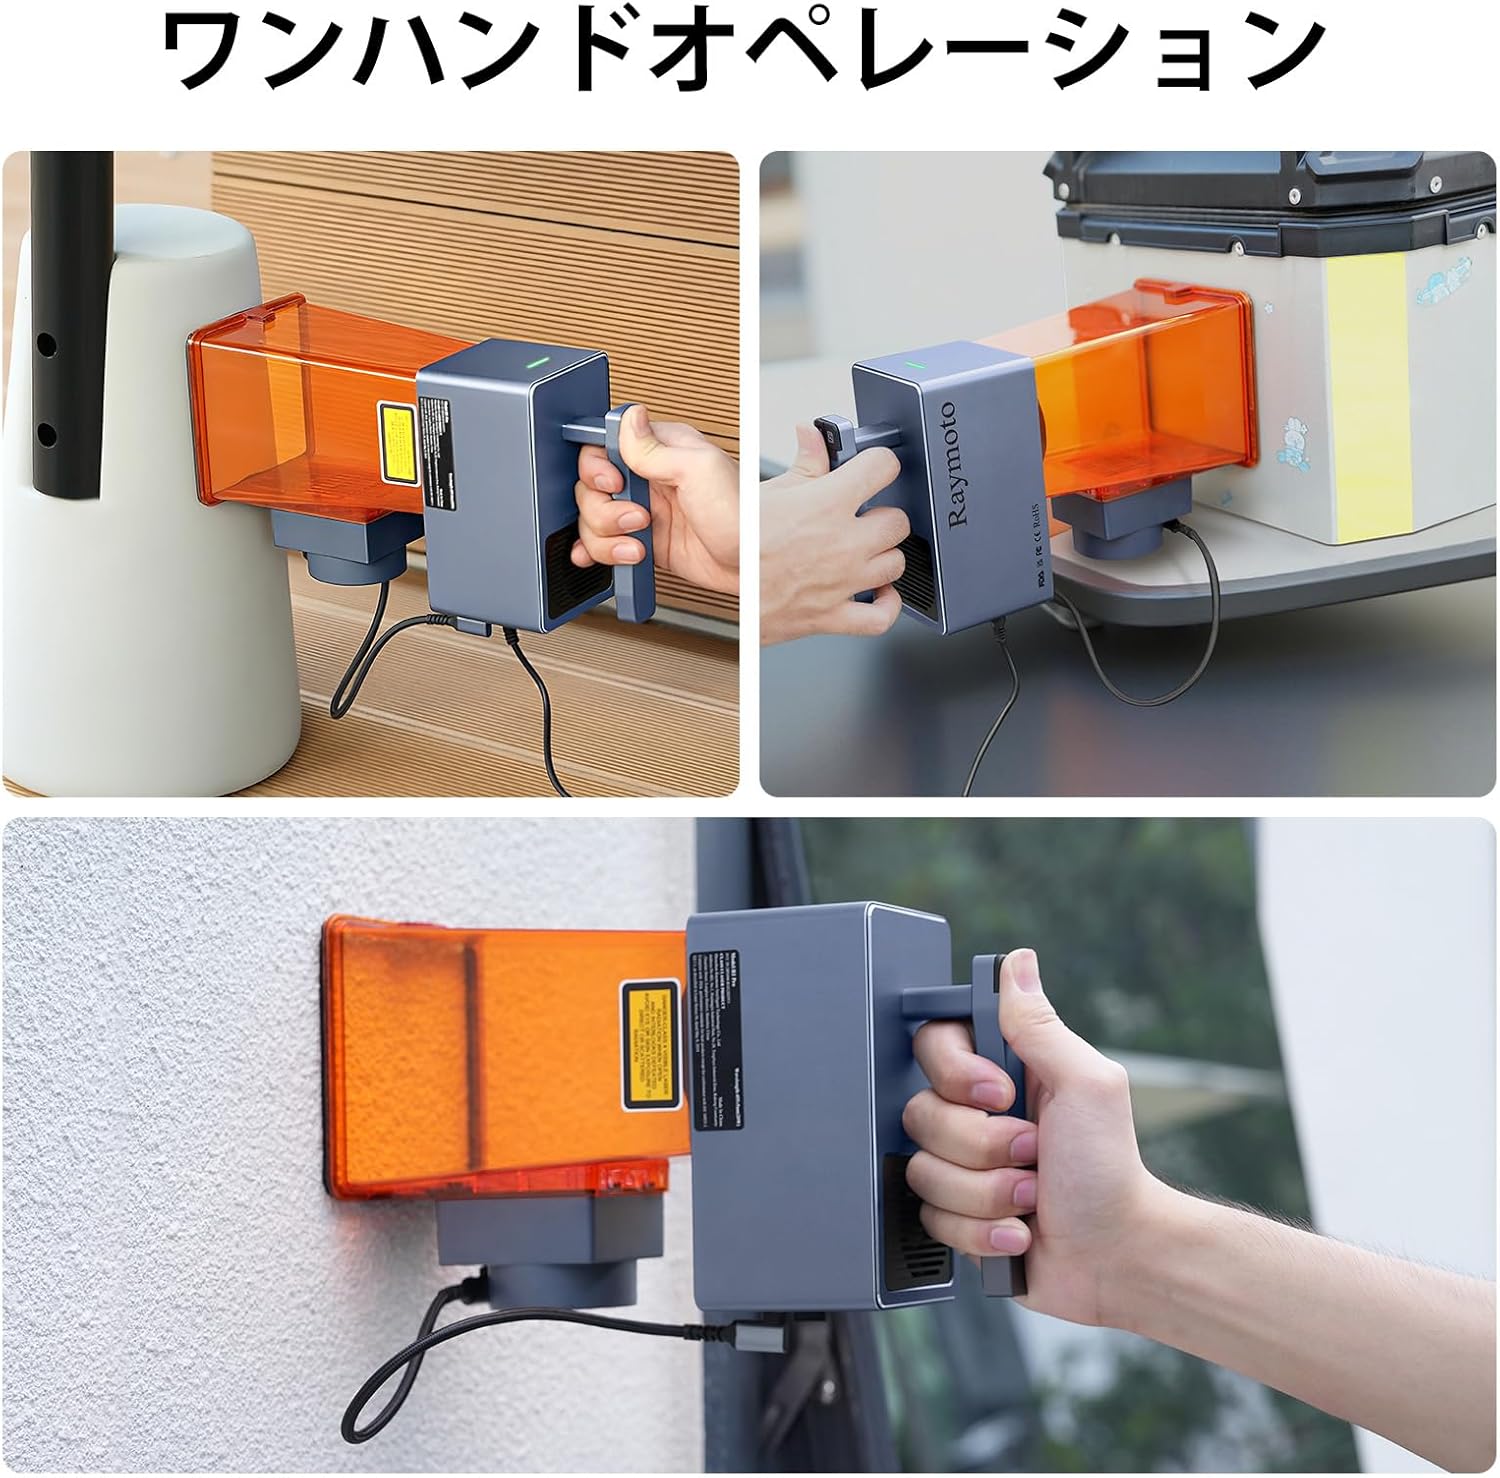
Image: Labeled diagram of the Raymoto R1 PRO 20W Laser Engraver components.
- Preview Button: Initiates a preview of the engraving area.
- Status Indicator Light: Displays the device's current status (e.g., connecting, connected).
- Pause Button: Short press pauses engraving; long press (when powered on) enters sleep mode. Long press again to wake up.
- Up Button: Moves the laser unit up by 0.5mm per press; long press for continuous upward movement.
- Electric Stand Indicator Light: Indicates the status of the electric lifting stand.
- Down Button: Moves the laser unit down by 0.5mm per press; long press for continuous downward movement.
- PC Connection USB-C Port: For connecting the device to a computer.
- DC Power Port: For connecting the power adapter.
- USB Port for Conical Protective Cover: Connects the protective cover to the main unit.
- L-shaped Measuring Rod: Used for manual focus adjustment.
- Electric Stand Power Input Port: Provides power to the electric stand.
- Fan Exhaust Port: For connecting to a ventilation system to remove fumes.
- Base Plate: The stable platform for placing materials.
6. Operation Guide
6.1 Connecting Cables
Ensure all necessary cables are connected correctly. Refer to the assembly video for visual guidance (LP2 model shown, but cable connections are similar).
Video: Cable connection and indicator status (LP2 model shown).
- Connect the conical protective cover's cable to the second USB port on the main unit.
- Connect the 0.4m USB-A to USB-C cable to the laser unit and the electric stand.
- Connect the power cable to the adapter, then plug it into the DC power port of the main unit.
- Finally, plug the power adapter into an electrical outlet.
6.2 Indicator Status
- Blue Blinking: Device is searching for a connection.
- Solid Blue: Device is successfully connected.
6.3 Software Connection (Mobile App)
To connect via mobile app (LDS App):
- Open the LDS app on your mobile device.
- Tap the '+' icon in the top right corner to add a device.
- Select