1. Introduction
This manual provides detailed instructions for the assembly, installation, operation, and maintenance of your FREDBECK 30x84 Bifold Frosted Glass Barn Door. Please read all instructions carefully before beginning installation to ensure proper function and safety. Keep this manual for future reference.

Image 1.1: The FREDBECK 30x84 Bifold Frosted Glass Barn Door in a home setting.
2. Safety Information
- Always wear appropriate safety gear, including gloves and eye protection, during assembly and installation.
- Ensure the installation surface (wall/door frame) is structurally sound and capable of supporting the door's weight.
- Keep small parts away from children to prevent choking hazards.
- Exercise caution when handling glass panels to avoid breakage or injury.
- If you are unsure about any step, consult a qualified professional.
3. Product Specifications
- Door Dimensions: 30 inches (15 inches x 2 panels) wide x 84 inches high
- Thickness: 1 3/8 inches
- Material: Wood frame with Water-Proof PVC Surface, Frosted Tempered Glass panels
- Color: Brown
- Item Weight: Approximately 45 pounds
- Style: Modern
3.1. Size Selection Guide
To ensure proper fit, consider the following:
- Track Length: 34 inches for the 30-inch door.
- Door Opening Width: The door opening width should be less than the track length minus 4 inches. For a 30-inch wide door, it is suitable for an opening width of 26-30 inches.
- Clearance: Ensure at least 6 inches of clearance is available from the top of the door frame to the ceiling for hardware installation.

Image 3.1: Detailed dimensions and clearance requirements for various door sizes.
3.2. Frosted Tempered Glass
The door features frosted tempered glass panels. Tempered glass offers increased strength compared to common glass, and the frosted finish provides enhanced privacy while allowing light diffusion.

Image 3.2: Close-up view of the frosted tempered glass, highlighting its texture and privacy features.
4. Package Contents
The package includes all necessary components for assembly and installation. Please verify all items are present before beginning.
- Barn Door Slab (multiple split boards and glass panels for assembly)
- Barn Door Hardware Kit (track, rollers, handle, etc.)
- Screws and Corks
- Installation Manual
Note: The door arrives as multiple split boards and glass panels requiring assembly. The package size will be significantly smaller than the assembled door's dimensions.

Image 4.1: Components of the bifold door as received in the package, prior to assembly.
5. Tools Required
The following tools are typically required for assembly and installation (not included):
- Measuring Tape
- Pencil
- Drill
- Level
- Screwdriver (Phillips head recommended)
- Wrench (adjustable or appropriate size for hardware)
6. Setup and Installation
Follow these steps carefully for proper assembly and installation. It is recommended to have two people for certain steps.
6.1. Door Assembly
- Unpack all components and verify against the parts list in the included manual.
- Assemble the individual door panels according to the detailed instructions provided in the package manual. This involves connecting the wood boards and securing the glass panels.
- Attach the hinges to connect the assembled door panels, forming the bifold structure.
6.2. Hardware Installation
- Measure and mark the installation points for the track above the door opening, ensuring the required 6-inch clearance from the ceiling.
- Securely mount the track to the wall using the provided screws and anchors. Ensure the track is level.
- Attach the rollers to the top of the assembled door panels as indicated in the manual.
- Hang the door onto the installed track.
- Install the floor guide and door stoppers to ensure smooth and controlled operation.
- Attach the door handle to the desired panel.

Image 6.1: Overview of the four main installation steps: door assembly, hinge attachment, hardware mounting, and final installation.
6.3. Opening Direction Configuration
The bifold door can be configured to open from left to right or right to left. This is determined by the placement of the fixed and sliding rollers on the track.
- Sliding from Left to Right: Install the fixed roller on the right side of the track and the sliding roller on the left.
- Sliding from Right to Left: Install the fixed roller on the left side of the track and the sliding roller on the right.

Image 6.2: Visual guide for configuring the door's opening direction based on roller placement.
7. Operation
The FREDBECK bifold barn door operates smoothly on its track, offering space-saving functionality. To open or close the door, gently push or pull the handle along the track. The bifold design allows the door to fold neatly, saving up to 50% of the space compared to traditional swinging doors.

Image 7.1: Demonstrates the door in fully opened, half-closed, and fully closed positions.
7.1. Smooth and Quiet Sliding
The door is designed with high-quality sliding hardware to ensure quiet and effortless movement. Avoid forcing the door if it encounters resistance.

Image 7.2: Illustration of the smooth and quiet sliding mechanism.
8. Maintenance
Regular maintenance will help prolong the life and appearance of your door.
- Cleaning: The PVC surface is waterproof and easy to clean. Use a soft, damp cloth with mild soap and water to wipe down the door panels and glass. Avoid abrasive cleaners or harsh chemicals.
- Hardware: Periodically check all screws and hardware for tightness. Lubricate the sliding track and rollers if any squeaking or stiffness occurs.
- Glass: Clean glass panels with a standard glass cleaner.
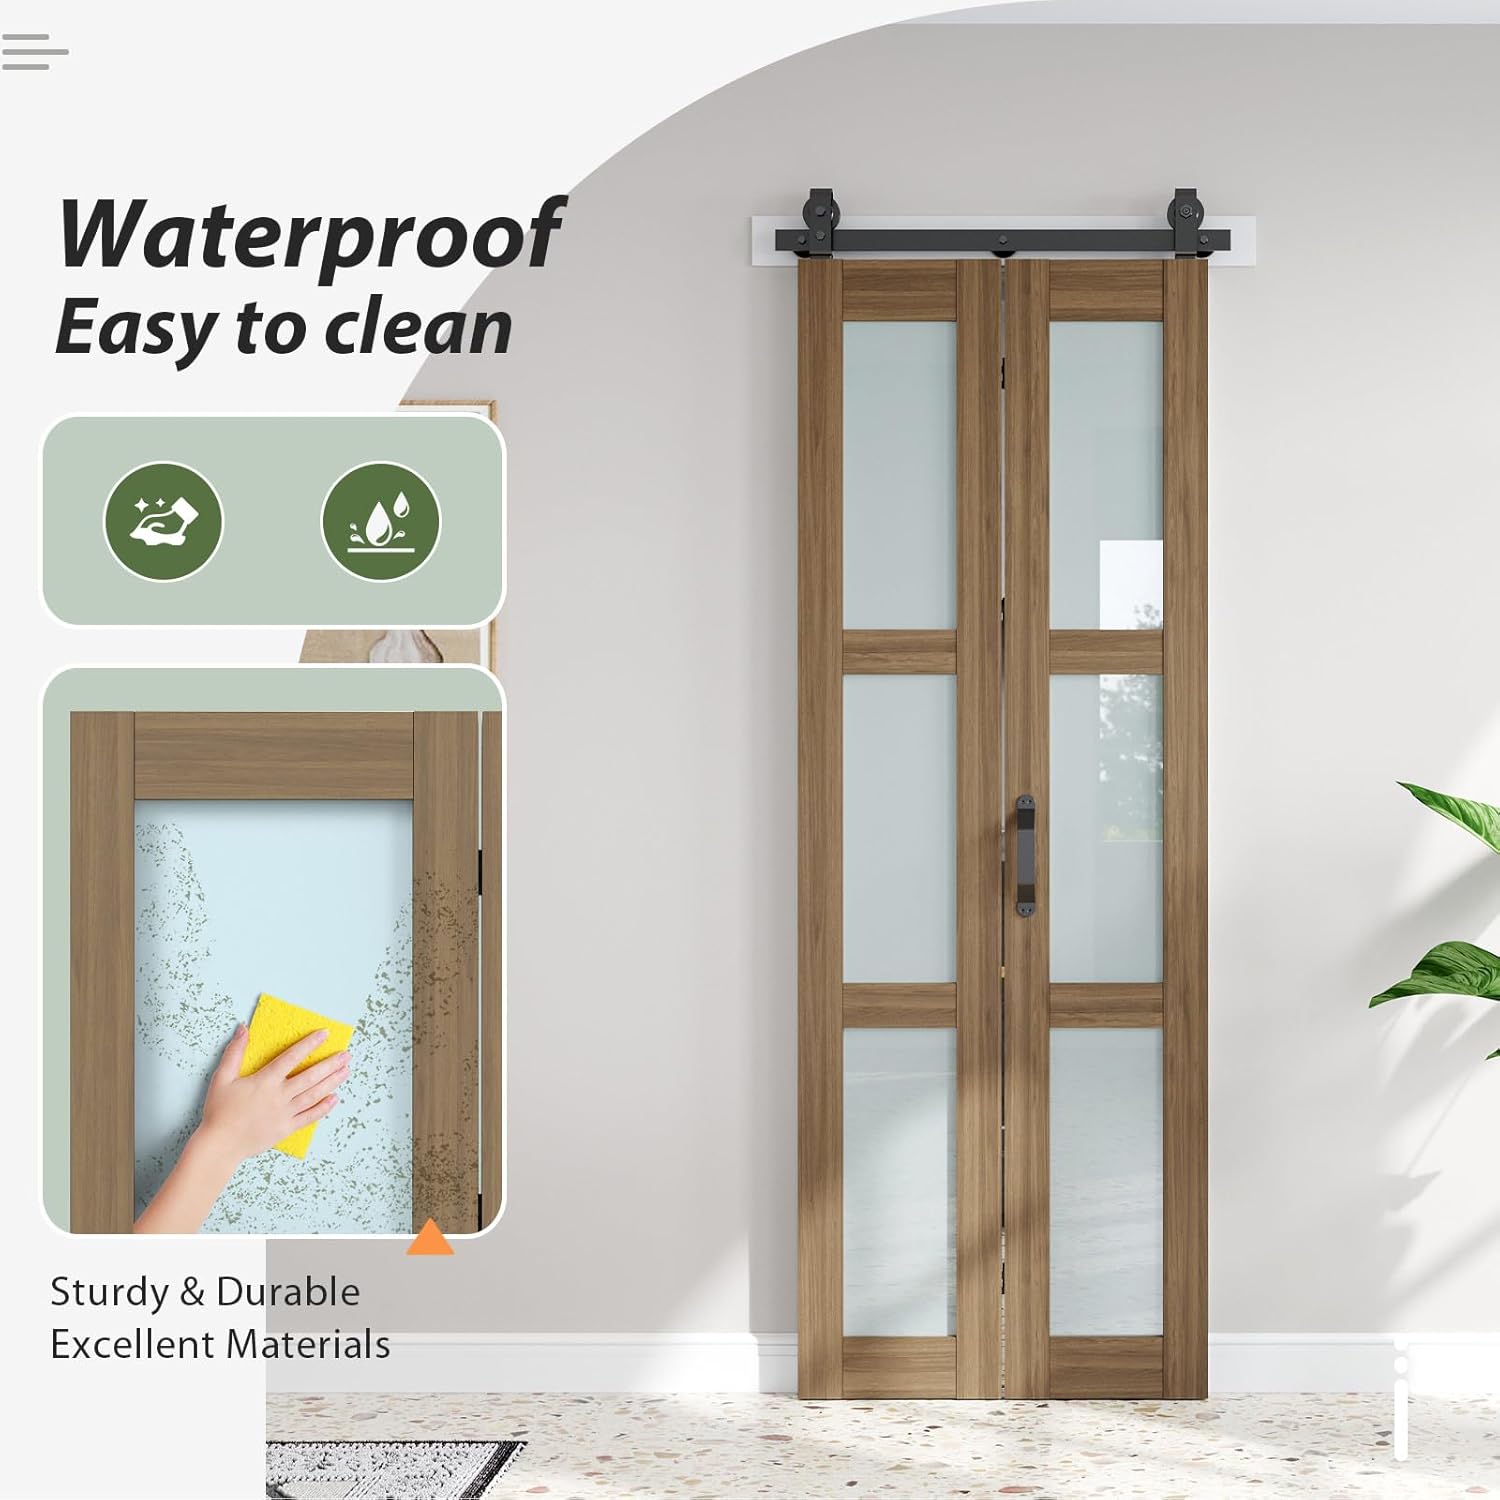
Image 8.1: The waterproof PVC surface allows for easy cleaning with a damp cloth.
9. Troubleshooting
- Door does not slide smoothly:
- Check if the track is clean and free of debris.
- Ensure the rollers are properly seated in the track.
- Verify that the track is level.
- Apply a silicone-based lubricant to the track and rollers.
- Door panels do not align properly:
- Recheck hinge connections for tightness and proper alignment.
- Ensure the floor guide is correctly installed and adjusted.
- Gaps around the door:
- Verify that the door opening dimensions are within the recommended range for the door size.
- Ensure the track is installed correctly and the door is fully closed.
- Missing or damaged parts:
- Contact FREDBECK customer service for assistance.
10. Warranty and Support
For warranty information or technical support, please refer to the contact details provided with your purchase or visit the official FREDBECK website. Keep your proof of purchase for warranty claims.


