Product Overview
The Linique 18.6" Bathroom Vanity is a compact and functional furniture piece designed for modern bathrooms. It features a ceramic sink, a cabinet with a door, and a two-tier storage shelf that can be oriented to either the left or right side. Additionally, it includes a built-in toilet paper holder for convenience. Constructed from durable MDF boards, this vanity is designed for long-lasting use and easy maintenance.

Figure 1: Fully assembled Linique 18.6" Bathroom Vanity in black, featuring the ceramic sink, cabinet, and side shelves.
Package Contents
Before beginning assembly, please ensure all components are present and undamaged. The package includes:
- Vanity cabinet panels (MDF)
- Ceramic sink
- Hardware kit (screws, hinges, toilet paper holder rod, etc.)
- Assembly instruction manual (this document)

Figure 2: Detailed dimensions of the vanity and sink components, essential for planning installation space.
Setup and Assembly
This bathroom vanity requires assembly. Please follow the steps carefully to ensure proper construction and stability. It is recommended to assemble the unit in the room where it will be installed.
Tools Required:
- Phillips head screwdriver
- Flathead screwdriver
- Adjustable wrench (for plumbing connections, not included)
- Level
Assembly Steps:
- Unpack and Identify Parts: Lay out all components on a clean, soft surface to prevent scratches. Refer to the parts list provided in the package to identify each piece.
- Assemble the Main Cabinet Frame: Follow the diagrams to connect the side panels, back panel, and base using the provided screws and connectors. Ensure all connections are secure.
- Install Cabinet Door: Attach the hinges to the cabinet door and then to the main cabinet frame. Adjust hinges for proper door alignment and smooth closing.
- Choose Shelf Orientation: The two-tier shelf and toilet paper holder can be installed on either the left or right side of the vanity. Decide your preferred orientation based on your bathroom layout.

Figure 3: The vanity's side shelf and toilet paper holder can be configured for left or right side installation.
- Attach Side Shelf and Toilet Paper Holder: Secure the two-tier shelf unit to the chosen side of the main cabinet. Insert the toilet paper holder rod into its designated slot.
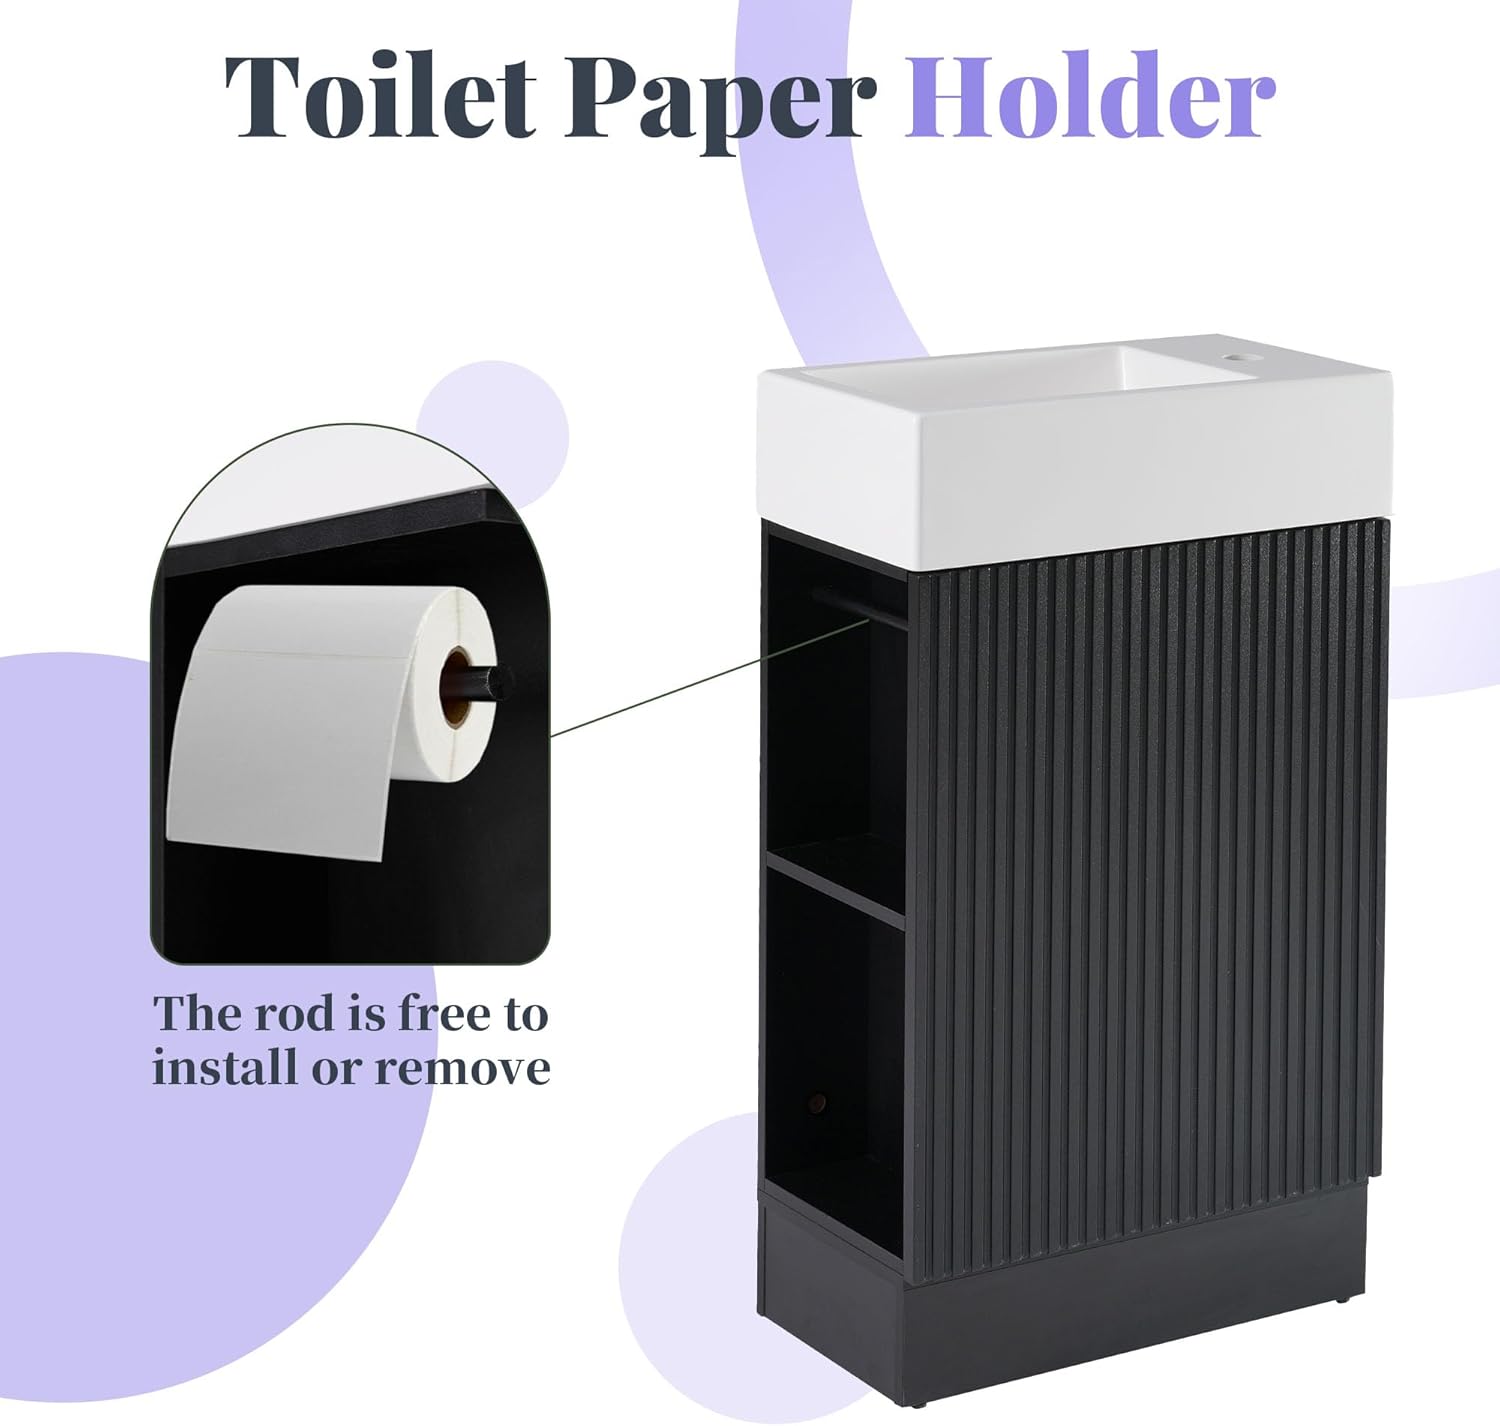
Figure 4: The toilet paper holder is easily installed or removed from the side shelf.
- Place Ceramic Sink: Carefully place the ceramic sink onto the top of the assembled vanity cabinet. Ensure it is properly aligned with the pre-drilled holes for the faucet (faucet not included).

Figure 5: Key features contributing to durability: pre-drilled holes for easy assembly, high-quality MDF board construction, and a smooth ceramic sink.
- Connect Plumbing (by qualified professional): Once the vanity is in its final position, connect the water supply lines and drain to the ceramic sink. Ensure all connections are watertight. (Note: Plumbing installation should be performed by a qualified professional if you are not experienced.)
- Level the Vanity: Use a level to ensure the vanity is perfectly level to prevent water pooling in the sink and ensure proper door operation.
Operating Instructions
The Linique Bathroom Vanity is designed for practical daily use. Its features are straightforward to operate:
- Using the Ceramic Sink: The ceramic sink is designed for standard bathroom use. Ensure the faucet (not included) is properly installed and connected to water lines.
- Accessing Cabinet Storage: The cabinet door features soft-closing hinges for quiet operation. Gently pull the handle to open and push to close.
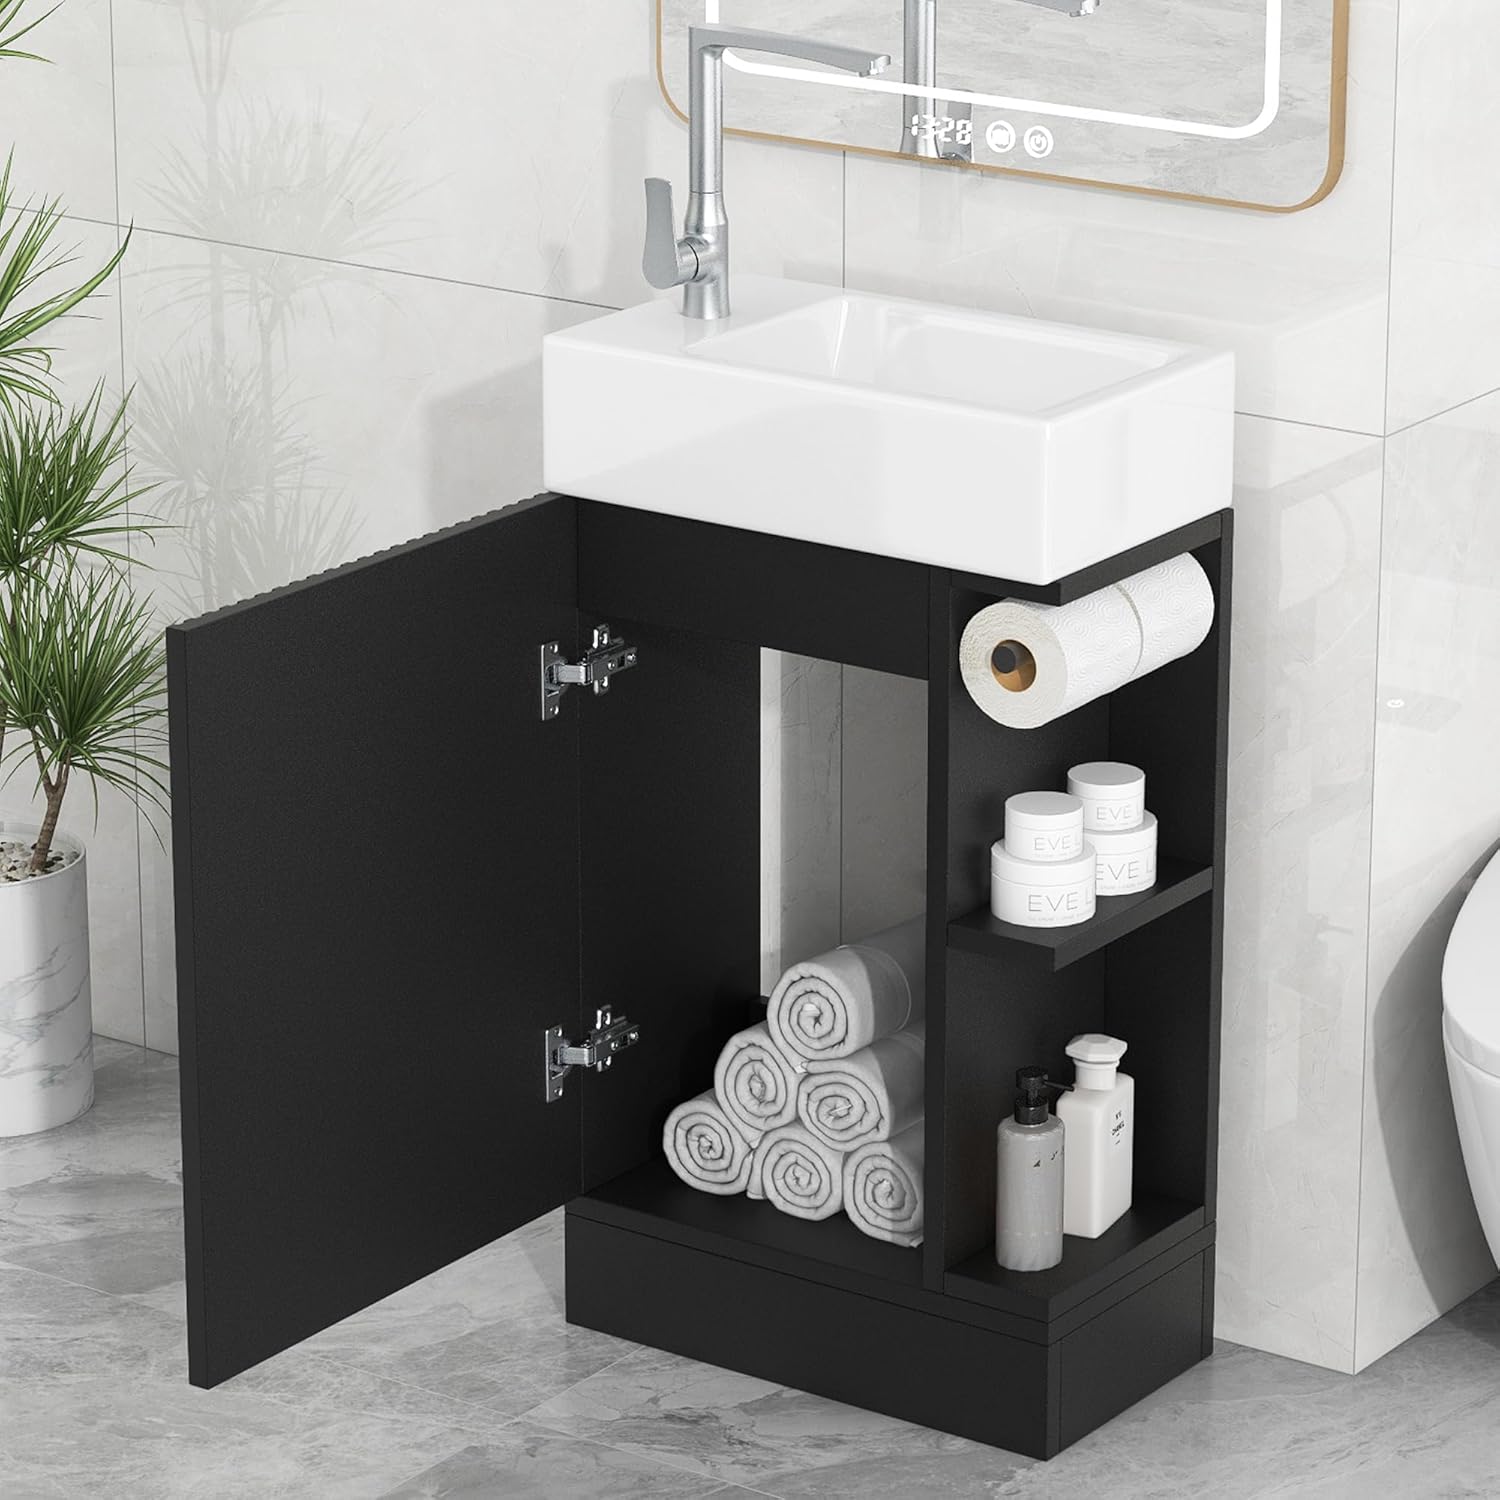
Figure 6: The vanity offers ample storage with a main cabinet and two-tier side shelves for various bathroom essentials.
- Utilizing Side Shelves: The two-tier open shelves provide convenient access to frequently used items like soaps, lotions, or small towels.
- Toilet Paper Holder: The integrated toilet paper holder is designed for standard rolls. Simply slide the roll onto the rod. The rod can be removed for easier replacement.
Maintenance and Care
Proper care will ensure the longevity and appearance of your Linique Bathroom Vanity.
- Ceramic Sink: Clean regularly with a soft cloth and mild, non-abrasive cleaner. Avoid harsh chemicals or abrasive pads that can scratch the surface. Rinse thoroughly after cleaning.
- MDF Cabinet: Wipe down the cabinet surfaces with a damp cloth and mild soap. Dry immediately with a clean, soft cloth to prevent water damage. Avoid excessive moisture.
- Spills: Wipe up any spills on the vanity surface or inside the cabinet immediately to prevent staining or water absorption.
- Hardware: Periodically check all screws and connections to ensure they remain tight. Tighten if necessary.
Troubleshooting
Here are some common issues and their potential solutions:
| Problem | Possible Cause | Solution |
|---|---|---|
| Cabinet door does not close properly or is misaligned. | Loose hinges or improper hinge adjustment. | Tighten hinge screws. Adjust hinge settings using a screwdriver to align the door. |
| Water pooling in the sink. | Vanity is not level. | Use a level to check the vanity's position. Adjust the vanity's feet or add shims underneath the base to level it. |
| Loose or wobbly structure. | Screws or connectors are not fully tightened. | Inspect all assembly points and tighten any loose screws or connectors. |
Specifications
| Feature | Detail |
|---|---|
| Brand | Linique |
| Model Number | B0FH3K9V9C |
| Color | Black |
| Product Dimensions | 18.6"D x 10.6"W x 33.2"H |
| Special Features | Left or Right Orientation, Toilet Paper Holder, Two-tier Shelf |
| Mounting Type | Freestanding |
| Room Type | Bathroom |
| Door Style | Soft closing door |
| Assembly Required | Yes |
| Material | MDF boards, Ceramic Sink |
Warranty and Support
For any questions regarding assembly, missing parts, or product defects, please contact the seller or manufacturer directly. Please have your model number (B0FH3K9V9C) and purchase information ready when contacting support.
Manufacturer: Linique
Seller: Polibi
Refer to your purchase documentation for specific warranty details and contact information.