
1. Introduction
Thank you for choosing the Passky Ceiling Fan with Lights. This modern, low-profile ceiling fan is designed to provide both efficient air circulation and adjustable LED lighting for your indoor spaces. Featuring a 50cm (42-inch) diameter and dimmable light with color temperature adjustment from 3000K to 6000K, it is an ideal solution for bedrooms, kitchens, and living rooms. Please read this manual thoroughly before installation and operation to ensure safe and correct use.
2. Safety Instructions
- Electrical Safety: Always disconnect the main power supply at the circuit breaker before attempting any installation, maintenance, or cleaning.
- Professional Installation: Installation should be performed by a qualified electrician to ensure proper wiring and safety.
- Mounting: Ensure the mounting structure (ceiling junction box) can support the weight of the fan (3.4 kg) and is securely fastened.
- Blade Clearance: Maintain a minimum clearance of 2.3 meters (7.5 feet) from the floor to the fan blades and at least 30 cm (1 foot) from walls or other obstructions.
- Do Not Modify: Do not attempt to modify the fan or its components. Use only original replacement parts.
- Water Exposure: This fan is for indoor use only. Do not expose it to water or high humidity.
- Children and Pets: Keep children and pets away from the fan during operation and installation.
3. Package Contents
Verify that all components are present before beginning installation:
- Fan Motor Housing
- Fan Blades (if separate)
- LED Lens (Integrated)
- Mounting Bracket
- Remote Control
- Hardware Pack (screws, wire nuts, washers)
- Instruction Manual
4. Specifications
| Brand | Passky |
| Model Number | KFM42PLY3B01R1 |
| Color | White |
| Style | Modern |
| Product Dimensions (L x W x H) | 43L x 43W x 13H centimeters |
| Item Weight | 3.4 Kilograms |
| Size | 42 inches (50cm low profile) |
| Voltage | 220 Volts |
| Light Color Temperature | 3000K - 6000K (Dimmable) |
| Light Source | Integrated LED |
| Power Source | Corded Electric |
| Installation Type | Ceiling Mount |
| Indoor/Outdoor Use | Indoor |
| Assembly Required | Yes |
5. Installation
Important: Ensure power is OFF at the circuit breaker before starting installation.
- Prepare the Site: Turn off power at the main circuit breaker. Remove any existing fixture.
- Mount the Bracket: Secure the mounting bracket to the ceiling junction box using the provided screws. Ensure the bracket is firmly attached and can support the fan's weight.
- Assemble the Fan: If the fan blades are separate, attach them to the motor housing according to the diagrams in the detailed manual (not provided here).
- Wire the Fan: Carefully connect the fan's electrical wires to the household wiring. Typically, black to black (live), white to white (neutral), and green/bare copper to green/bare copper (ground). Use wire nuts to secure connections.
- Attach the Fan: Lift the fan assembly and attach it to the mounting bracket. Secure it with the screws provided. Ensure all connections are tucked safely inside the canopy.
- Install Light Kit (if separate): If the LED lens is not pre-installed, attach it to the fan housing as per the specific instructions.
- Restore Power: Once installation is complete and all connections are secure, restore power at the circuit breaker.
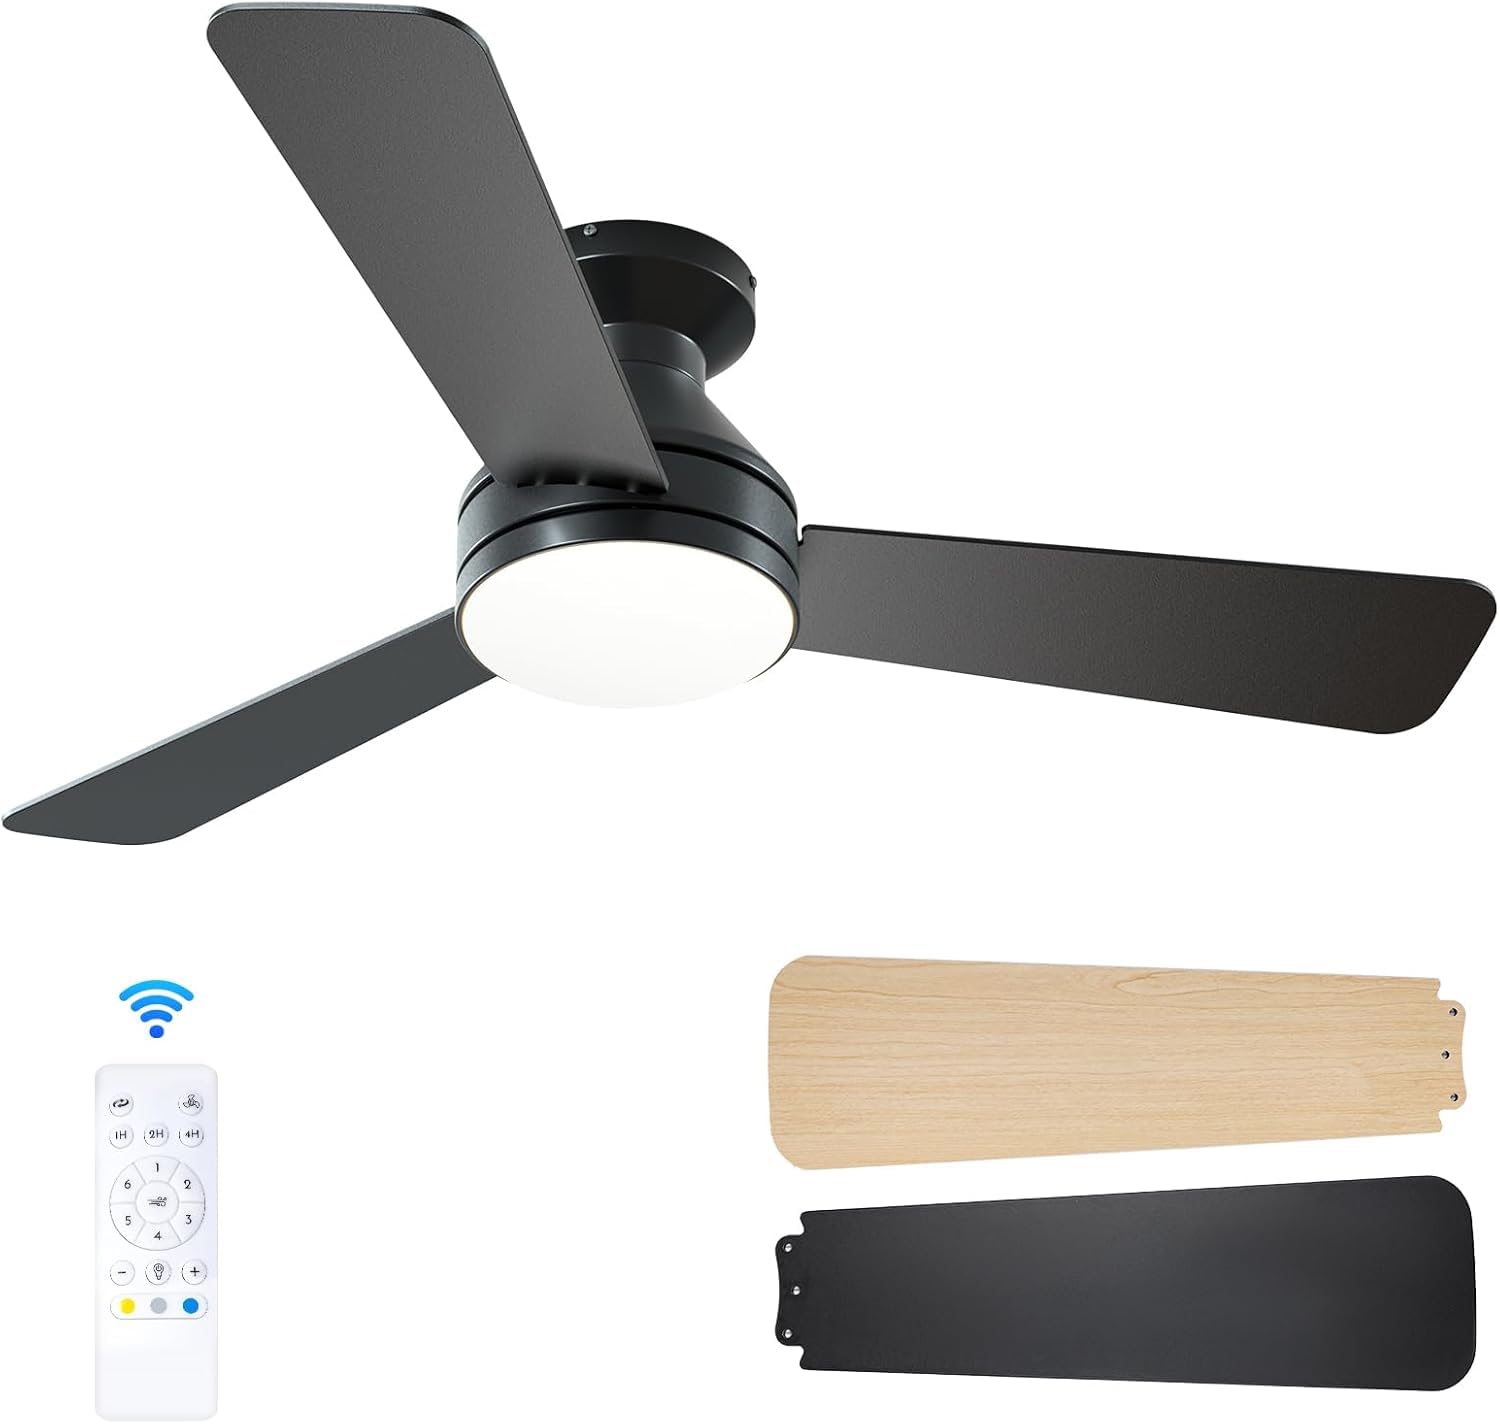
This image shows the Passky ceiling fan with integrated LED lighting, featuring a modern, low-profile design suitable for various indoor spaces.
6. Operating Instructions
The Passky Ceiling Fan with Lights is operated via the included remote control.
- Power ON/OFF: Press the ON/OFF button to turn the fan and light on or off.
- Fan Speed Control: Use the FAN SPEED buttons (e.g., 1, 2, 3, 4, 5, 6) to adjust the fan's rotation speed.
- Light ON/OFF: Press the LIGHT button to turn the light on or off independently of the fan.
- Light Dimming: Use the DIMMER buttons (e.g., + / -) to adjust the brightness of the LED light.
- Color Temperature Adjustment: Press the CCT button (or similar) to cycle through different color temperatures (e.g., 3000K Warm White, 4500K Natural White, 6000K Cool White).
- Timer Function: Some models may include a timer function. Press the TIMER button (e.g., 1H, 2H, 4H) to set the fan to turn off automatically after a specified period.
- Reverse Function: If available, a REVERSE button changes the direction of the fan blades for summer (downward airflow) or winter (upward airflow to circulate warm air).
7. Maintenance
Regular maintenance ensures optimal performance and longevity of your ceiling fan.
- Cleaning: Turn off power before cleaning. Use a soft, damp cloth to wipe down the fan blades and motor housing. Do not use abrasive cleaners or solvents, as they may damage the finish.
- Dusting: Regularly dust the fan blades and light cover to prevent dust buildup, which can affect performance and light output.
- Tighten Screws: Periodically check and tighten all screws on the fan and mounting bracket to ensure secure operation.
- No Lubrication: The motor is permanently lubricated and does not require additional oiling.
8. Troubleshooting
If you encounter issues, refer to the following common problems and solutions:
- Fan Does Not Start:
- Check if the power supply is on at the circuit breaker.
- Ensure all wire connections are secure.
- Verify the remote control batteries are working and correctly inserted.
- Light Does Not Work:
- Check power supply and wiring connections.
- Ensure the light button on the remote is pressed.
- If the LED is integrated, contact customer support for assistance if it fails.
- Fan Wobbles:
- Ensure the mounting bracket is securely fastened to the ceiling.
- Check that all blade screws are tight.
- Verify that the fan is properly attached to the mounting bracket.
- Remote Control Not Working:
- Replace the batteries.
- Ensure there are no obstructions between the remote and the fan receiver.
- Re-pair the remote with the fan if necessary (refer to specific pairing instructions in the full manual).
If problems persist after attempting these solutions, please contact customer support.
9. Warranty and Support
Passky products are designed for quality and reliability. Specific warranty information, including duration and terms, is typically provided with your purchase documentation or on the product packaging. Please retain your proof of purchase for warranty claims.
For technical support, replacement parts, or warranty inquiries, please contact Passky customer service through the retailer where you purchased the product or visit the official Passky website for contact information.