
1. Introduction
Thank you for choosing the Homtronics Dehumidifier HTNFRKDM04. This manual provides essential information for the safe and efficient operation of your new appliance. Please read it thoroughly before use and retain it for future reference.
This dehumidifier is designed to remove excess moisture from the air, creating a more comfortable and healthier indoor environment. It is suitable for areas up to 150 square meters, such as basements, bedrooms, bathrooms, living rooms, or RVs.
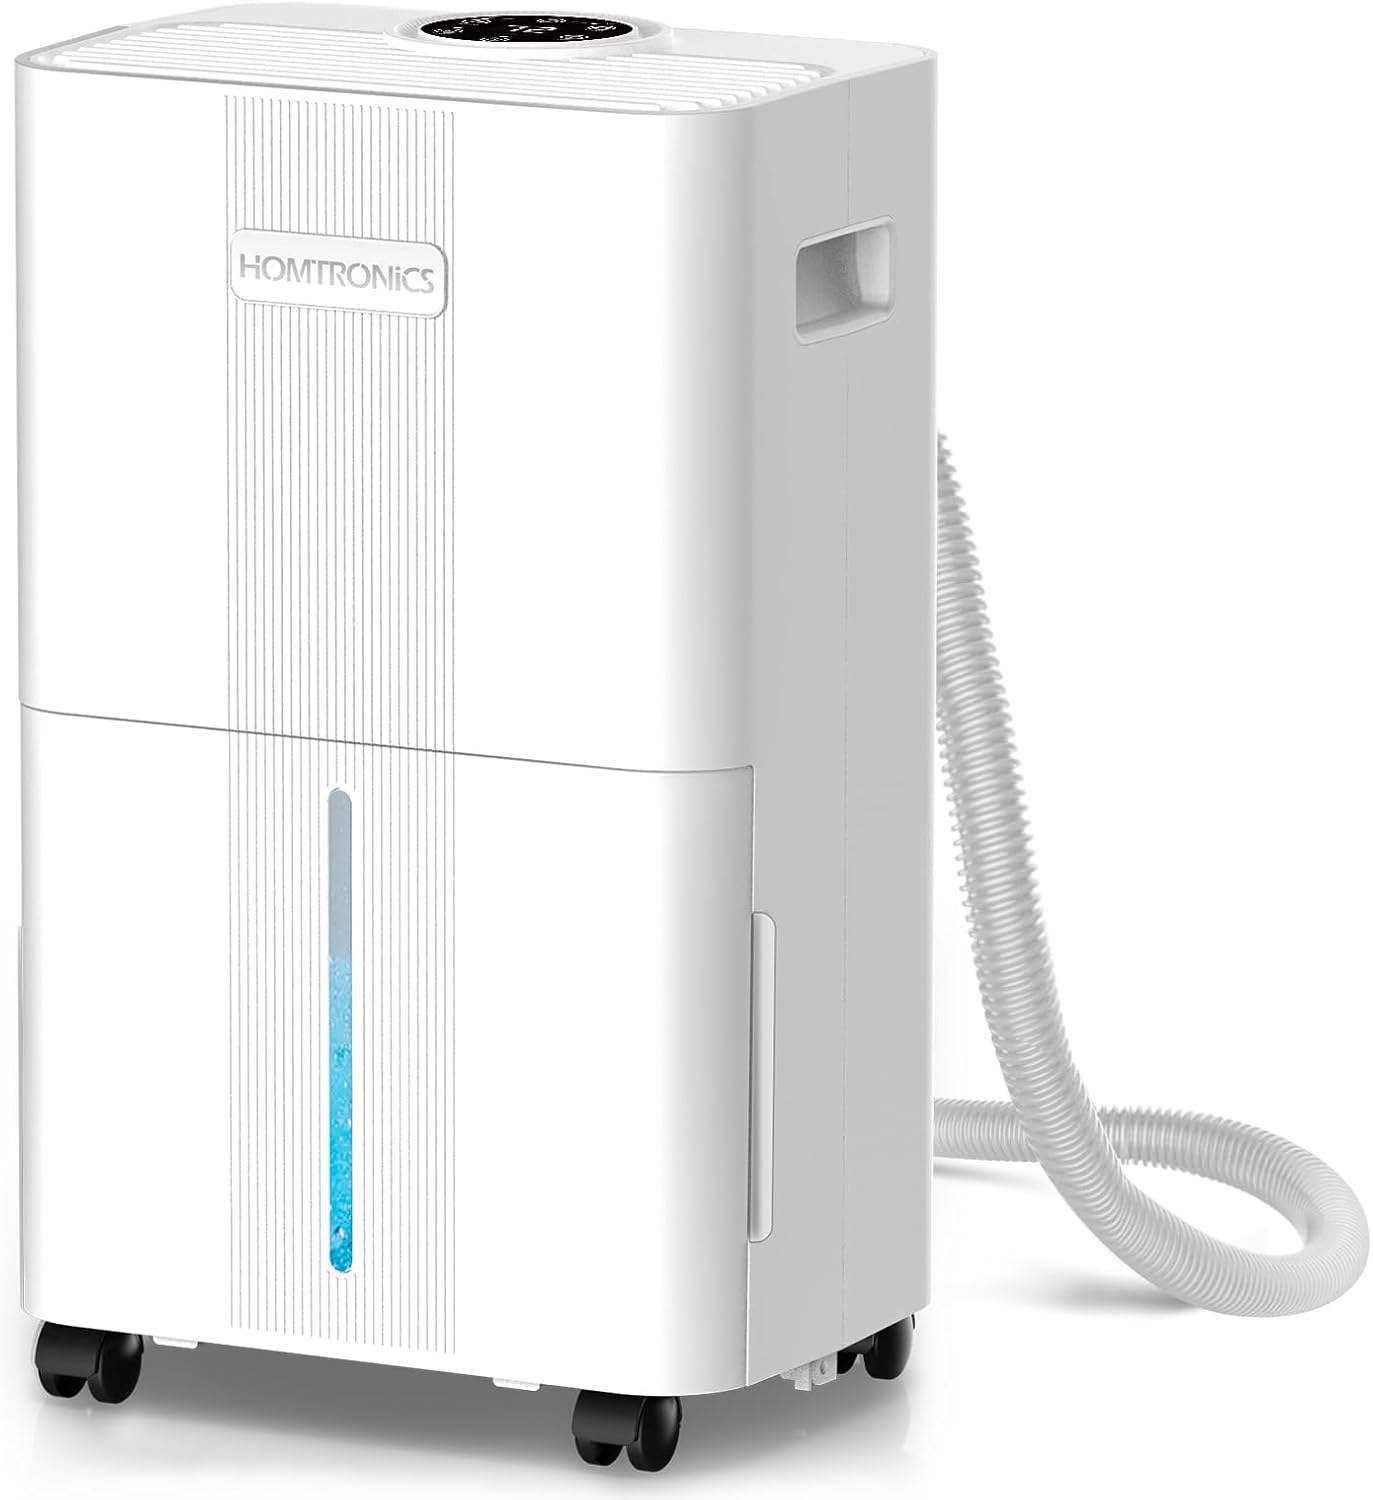
Image 1.1: Front view of the Homtronics Dehumidifier HTNFRKDM04, showcasing its compact design and the connected drain hose.
2. Safety Instructions
To reduce the risk of fire, electric shock, or injury, always follow these basic precautions:
- Read all instructions before using the appliance.
- Ensure the power supply matches the voltage specified on the rating label.
- Do not operate the dehumidifier with a damaged cord or plug.
- Keep the appliance away from heat sources and direct sunlight.
- Do not block air inlets or outlets.
- Always place the unit on a stable, level surface.
- Unplug the unit before cleaning or performing any maintenance.
- The appliance features an automatic shut-off function when the water tank is full.
- Utilize the child lock feature to prevent accidental operation by children.
3. Package Contents
Verify that all items are present in the package:
- Homtronics Dehumidifier HTNFRKDM04 Unit
- 1-meter Drain Hose for Continuous Drainage
- User Manual
4. Product Overview
Familiarize yourself with the components and control panel of your dehumidifier.
4.1. Main Components

Image 4.1: Internal view of the dehumidifier, showing the compressor and air circulation system.
- Air Inlet: Where humid air enters the unit.
- Air Outlet: Where dry air is expelled.
- Control Panel: For setting functions and monitoring status.
- Water Tank: Collects condensed water (2-liter capacity).
- Continuous Drain Outlet: For connecting the drain hose.
- Handles: Ergonomic handles for easy lifting.
- 360° Swivel Wheels: For convenient mobility.
- Washable Filter: Located at the air inlet for air purification.

Image 4.2: Detail of the 360-degree swivel wheels and portable handle for enhanced mobility.
4.2. Control Panel

Image 4.3: Close-up of the LED control panel.

Image 4.4: Detailed explanation of each button on the intelligent control panel.
- Power Button: Turns the unit on or off.
- Mode Button: Selects between Dehumidification, Quick Dry, and Continuous modes.
- Humidity Button: Adjusts the desired humidity level (30%-80%) in Dehumidification mode.
- Timer Button: Sets the 24-hour timer for automatic on/off.
- Fan Speed Button: Adjusts fan speed (Low/High) in Dehumidification mode.
- Child Lock Button: Activates/deactivates the child lock function.
- LED Display: Shows current humidity, timer settings, and mode indicators.
5. Setup
Follow these steps for initial setup:
- Unpack: Carefully remove the dehumidifier and all accessories from the packaging.
- Placement: Place the unit on a firm, level surface in the desired location. Ensure there is at least 20 cm (8 inches) of space around the air inlets and outlets for proper airflow.
- Power Connection: Plug the power cord into a grounded electrical outlet.
- Water Tank: Ensure the water tank is correctly inserted into the unit.
6. Operating Instructions
Learn how to use the various functions of your Homtronics Dehumidifier.
6.1. Power On/Off
Press the Power Button to turn the unit on or off. The LED display will illuminate when the unit is on.
6.2. Selecting Operating Modes
Press the Mode Button to cycle through the available modes:

Image 6.1: Overview of the three distinct operating modes.
- Dehumidification Mode: This is the standard mode. You can set your desired humidity level (between 30% and 80%) and fan speed. The unit will automatically turn on/off to maintain the set humidity.
- Quick Dry Mode: Ideal for drying laundry or in very humid areas like laundry rooms. In this mode, humidity levels and fan speed cannot be adjusted, as the unit operates at maximum dehumidification.
- Continuous Mode: Provides uninterrupted operation in extremely humid conditions. Humidity cannot be adjusted, but fan speed can be selected.
6.3. Setting Humidity Level (Dehumidification Mode Only)
In Dehumidification Mode, press the Humidity Button to adjust the target humidity from 30% to 80% in 5% increments. The unit will operate until the ambient humidity reaches the set level, then pause, restarting if humidity rises.

Image 6.2: Visual representation of humidity reduction from 80% to 50% after dehumidifier operation.
6.4. Adjusting Fan Speed (Dehumidification & Continuous Modes)
Press the Fan Speed Button to switch between Low and High fan speeds. A lower fan speed results in quieter operation, while a higher speed provides faster dehumidification.
6.5. Using the 24-Hour Timer
Press the Timer Button to set a desired operating time from 1 to 24 hours. This function allows you to schedule when the unit turns on or off automatically.

Image 6.3: The dehumidifier operating in a bedroom, demonstrating its quiet operation and 24-hour timer feature.
6.6. Activating Child Lock
Press and hold the Child Lock Button for a few seconds to activate or deactivate the child lock. When activated, all other buttons on the control panel will be unresponsive, preventing accidental changes to settings.

Image 6.4: The child lock feature ensures safe operation around children by disabling control panel buttons.
7. Water Drainage
Your dehumidifier offers two methods for water removal:

Image 7.1: Illustration of the two water drainage options: internal tank and continuous hose.

Image 7.2: Detailed view of both drainage methods.
7.1. Water Tank Drainage (Manual)
The dehumidifier has a 2-liter water tank. When the tank is full, the unit will automatically stop operating, and an indicator light will illuminate. To empty the tank:
- Gently pull out the water tank from the front of the unit.
- Carefully empty the collected water.
- Slide the empty tank back into the unit until it clicks into place. The unit will resume operation.
7.2. Continuous Drainage
For continuous operation without manual tank emptying, use the provided 1-meter drain hose:
- Locate the continuous drain outlet on the back or side of the unit.
- Connect one end of the drain hose to this outlet.
- Direct the other end of the hose to a suitable drain (e.g., floor drain, large bucket). Ensure the hose is sloped downwards to allow gravity drainage and is not kinked or blocked.
8. Maintenance
Regular maintenance ensures optimal performance and longevity of your dehumidifier.
8.1. Cleaning the Air Filter
The washable air filter should be cleaned regularly (every 2-4 weeks, depending on usage) to prevent dust buildup and maintain efficiency.

Image 8.1: Steps for removing and cleaning the air filter.
- Turn off the unit and unplug it from the power outlet.
- Remove the filter cover (usually located at the back or side).
- Gently pull out the air filter.
- Clean the filter with a vacuum cleaner or wash it with warm, soapy water. Rinse thoroughly.
- Allow the filter to air dry completely before reinserting it.
- Replace the filter cover.
8.2. Cleaning the Water Tank
Clean the water tank periodically to prevent mold or mildew growth.
- Remove and empty the water tank as described in Section 7.1.
- Wash the tank with mild detergent and warm water.
- Rinse thoroughly and dry before placing it back into the unit.
8.3. Exterior Cleaning
Wipe the exterior of the unit with a soft, damp cloth. Do not use harsh chemicals or abrasive cleaners.
9. Troubleshooting
Refer to this section for common issues and their solutions.
| Problem | Possible Cause | Solution |
|---|---|---|
| Unit does not turn on | No power supply Water tank full or incorrectly inserted | Check power cord and outlet Empty and reinsert water tank correctly |
| No water collected | Ambient humidity too low Air filter clogged Temperature too low | Dehumidifier will not collect water if humidity is below set level Clean the air filter Dehumidifiers are less effective in very cold environments |
| Unit is noisy | Unit not on a level surface Air filter clogged | Place unit on a flat, stable surface Clean the air filter |
| Child Lock active | Child Lock engaged | Press and hold the Child Lock button to deactivate |
If the problem persists after trying these solutions, please contact customer support.
10. Specifications
Technical details for the Homtronics Dehumidifier HTNFRKDM04:

Image 10.1: Dimensions of the Homtronics Dehumidifier HTNFRKDM04.
| Feature | Detail |
|---|---|
| Brand | Homtronics |
| Model Name | HTNFRKDM04 |
| Color | New White |
| Dehumidification Capacity | Up to 8 Liters/day (at 35°C, 90% RH) |
| Recommended Area | Up to 150 m² |
| Water Tank Volume | 2 Liters |
| Product Dimensions (L x W x H) | 44 x 19 x 33 cm (17.3 x 7.5 x 13 inches) |
| Item Weight | 7.5 Kilograms (16.5 lbs) |
| Material | Acrylonitrile Butadiene Styrene (ABS) |
| Noise Level | 35-39.3 dB |
| Special Features | Automatic Shut-off, Adjustable Humidity Control, 24H Timer, Removable Tank, Child Lock, 360° Swivel Wheels |
11. Warranty and Support
For warranty information or technical support, please refer to the warranty card included with your product or contact Homtronics customer service through the retailer where the product was purchased. Please have your model number (HTNFRKDM04) and purchase date ready when contacting support.

