
1. Introduction
Thank you for choosing the Nitemode LED Light Kit for your LEGO Home Alone House 21330 model. This kit is designed to enhance your building experience by illuminating your model with a detailed and vibrant lighting system. This manual provides essential information for safe installation, operation, and maintenance of your light kit.
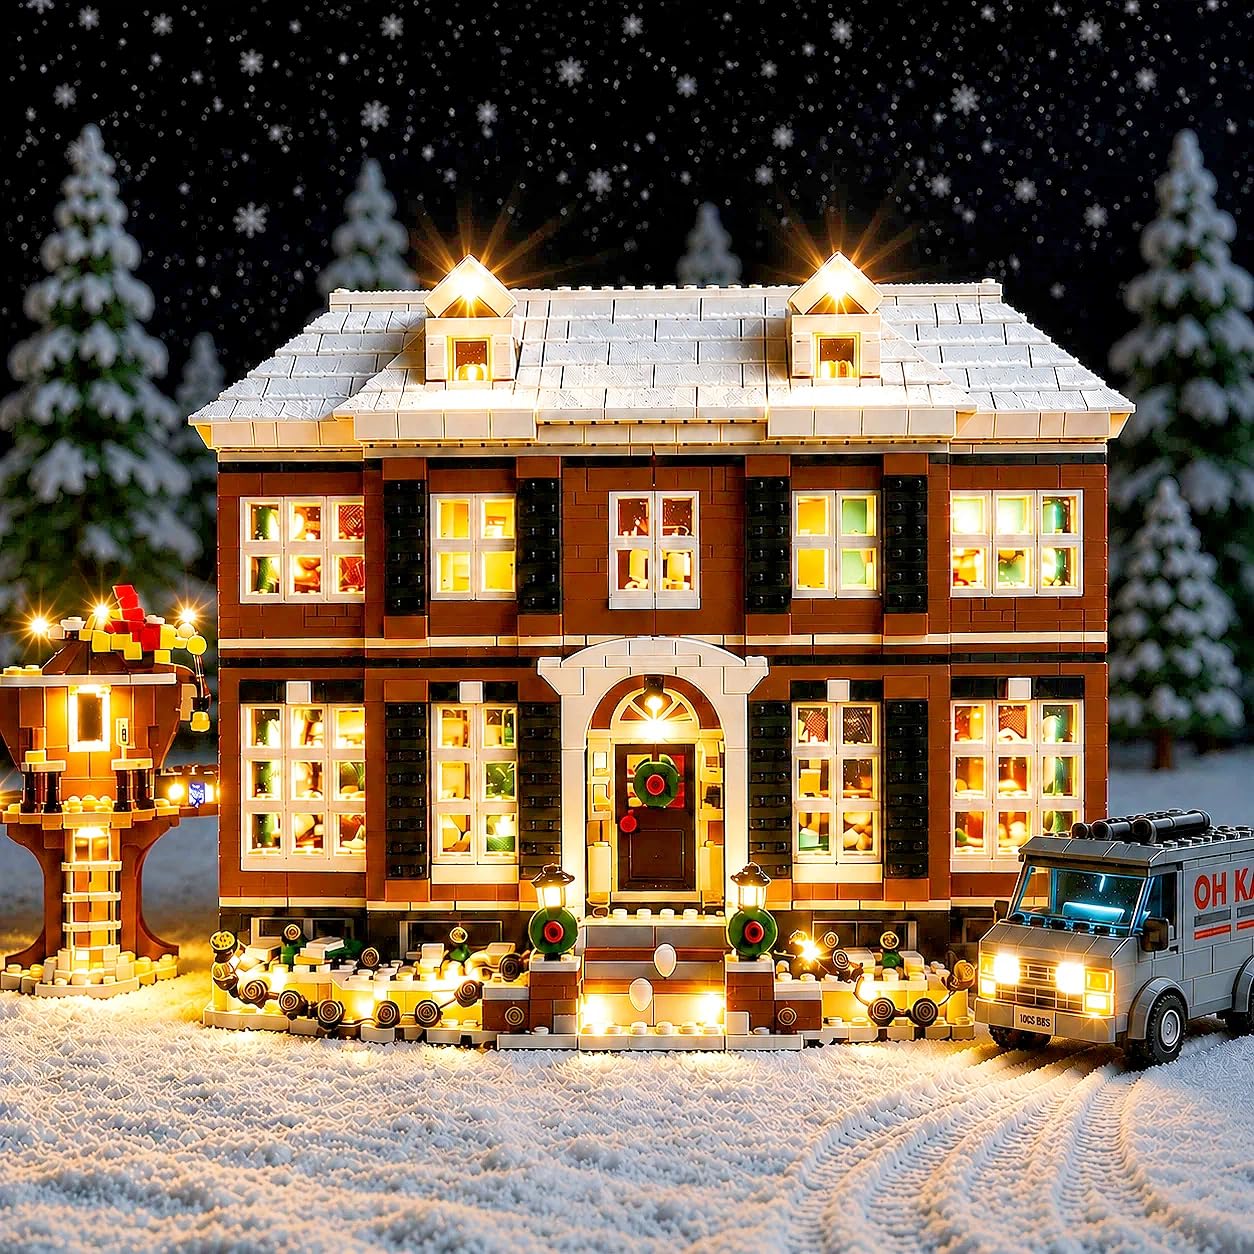
Image 1.1: Comparison of the LEGO Home Alone House 21330 with the Nitemode LED light kit turned on (top) and off (bottom), showcasing the illuminated details of the house and surrounding elements.
2. Safety Information
Please read and understand all safety instructions before installing or using this product. Failure to follow these instructions may result in electric shock, fire, or other hazards.
- This product is intended for indoor use only.
- Keep away from water and moisture. Do not expose the light kit to rain or wet conditions.
- Do not attempt to modify or disassemble the light kit components. This will void the warranty and may cause damage.
- Ensure the power source (battery box) is correctly installed and uses the specified battery type (AAA batteries, not included).
- Keep small parts and wires away from young children to prevent choking hazards.
- Handle wires and LED components carefully to avoid damage. Do not pull on wires excessively.
3. Package Contents
Before beginning installation, please verify that all components listed below are present and undamaged. If any items are missing or damaged, please contact Nitemode customer support.

Image 3.1: Contents of the Nitemode LED Light Kit packaging, including instructions, light kits, tweezers, and a battery box (AAA batteries not included).
- Instruction Manual (online version)
- LED Light Kits (various light strings and components)
- Tweezers (for precise placement of small components)
- Battery Box (requires AAA batteries, not included)
Note: This product includes only the lighting kit. The LEGO Home Alone House 21330 model is not included.
4. Setup and Installation
Installation of the Nitemode LED Light Kit requires careful attention to detail. We recommend following the step-by-step online instructions for the best results. The general process involves integrating the LED lights into your LEGO model by carefully routing wires and attaching light components.
Video 4.1: Demonstration of the Nitemode LED Light Kit installed on the LEGO Home Alone House 21330, showcasing various illuminated sections of the model.
For detailed, step-by-step installation instructions, please visit our official online support portal. This portal provides comprehensive guides and visual aids to assist you through the entire process.
Online Instructions: support.nitemodetoy.com

Image 4.2: Steps to access the electronic instruction manual: get logistics express, scan QR code, input product model query, and preview PDF instructions.
5. Operating Instructions
Once the Nitemode LED Light Kit is fully installed and connected to the battery box, operating it is straightforward.
5.1 Powering On/Off
- Insert Batteries: Open the battery compartment on the battery box and insert the required AAA batteries, ensuring correct polarity. Close the compartment securely.
- Connect: Ensure the light kit's main connector is securely plugged into the battery box.
- Power Switch: Locate the power switch on the battery box. Flip the switch to the 'ON' position to illuminate your LEGO model. Flip it to 'OFF' to turn off the lights.
5.2 Light Brightness and Effects
This light kit features an upgraded layered lighting design. If your kit includes a remote control (check product specifications), you can adjust brightness levels and potentially cycle through different lighting effects. Refer to the online instructions for specific remote control functions.

Image 5.1: Comparison showing the LEGO Home Alone House 21330 fully illuminated with the Nitemode LED kit (left) versus unlit (right), illustrating the visual impact of the lighting.
6. Maintenance
To ensure the longevity and optimal performance of your Nitemode LED Light Kit, follow these simple maintenance guidelines:
- Cleaning: Gently dust the LED components and wires with a soft, dry cloth. Do not use liquid cleaners or abrasive materials.
- Battery Replacement: Replace batteries when lights dim or stop working. Always replace all batteries at once with new ones of the same type. Remove batteries if the kit will not be used for an extended period.
- Wire Management: Ensure wires are not pinched or excessively bent, as this can damage the internal conductors.
- Storage: When not in use, store the LEGO model with the light kit in a cool, dry place away from direct sunlight and extreme temperatures.
7. Troubleshooting
If you encounter any issues with your Nitemode LED Light Kit, please refer to the following common problems and solutions:
| Problem | Possible Cause | Solution |
|---|---|---|
| Lights do not turn on | 1. Batteries are dead or incorrectly inserted. 2. Power switch is off. 3. Loose connection. 4. Damaged wire/LED. | 1. Replace batteries; check polarity. 2. Ensure power switch is 'ON'. 3. Check all connections are secure. 4. Inspect wires for damage; contact support if damaged. |
| Lights are dim | 1. Batteries are low. 2. Too many lights on one power source. | 1. Replace batteries. 2. Ensure proper power distribution as per online instructions. |
| Some lights not working | 1. Loose connection to specific light. 2. Damaged individual LED or wire segment. | 1. Check connections for the affected lights. 2. Carefully inspect for physical damage; contact support if necessary. |
If the problem persists after trying these solutions, please visit our online support portal for further assistance.
8. Specifications
| Brand | Nitemode |
| Model Number | 21330 |
| Compatibility | LEGO Home Alone House 21330 |
| Light Source Type | Light Emitting Diode (LED) |
| Power Source | Battery Powered (AAA batteries, not included) |
| Material | Plastic |
| Color | Warm White |
| Special Features | Upgraded Layered Lighting Design, Remote Control Compatibility (if included) |
9. Warranty and Support
Nitemode products are designed for quality and performance. For information regarding warranty coverage, please refer to the product listing or contact our customer support.
For any questions, technical assistance, or support needs, please visit our official support website:
Nitemode Support: support.nitemodetoy.com
Our support team is dedicated to providing you with the best possible experience.