1. Product Overview
The Zalman ZQBE is an ATX Mid Tower PC case designed for high-performance computer builds. It features a panoramic tempered glass design, offering a clear view of internal components. The case comes equipped with three pre-installed PWM ARGB fans and a multi-port fan hub with an RGB controller for dynamic lighting and optimized cooling. It supports various motherboard form factors, including ATX, mATX, and Mini-ITX, and offers modern connectivity with a USB Type-C 3.2 port.

Image: The Zalman ZQBE case showcasing its panoramic tempered glass panels and pre-installed ARGB fans with internal components.
Key Features:
- Panoramic Tempered Glass Design: Three-sided tempered glass panels (top, front, and side) for comprehensive component visibility.
- Pre-installed PWM ARGB Fans: Includes three vibrant ARGB fans and a 6-port 4-pin PWM & 6-port 3-pin ARGB 5V controller for immediate cooling and lighting.
- Broad Motherboard Compatibility: Supports ATX, mATX, and Mini-ITX motherboards.
- Component Support: Accommodates GPUs up to 330mm, radiators up to 240mm, and PSUs up to 160mm.
- Modern Front I/O: Features a USB Type-C 3.2 (5Gbps) port for fast data transfer.
2. Setup and Installation
Follow these steps for proper assembly and installation of your PC components into the Zalman ZQBE case.
2.1 Preparing the Case
- Unpacking: Carefully remove the case from its packaging.
- Panel Removal: The tempered glass panels are designed to be removable for easier access during installation. Gently detach the side, front, and top glass panels. Refer to the image below for a visual guide on the case structure without panels.

Image: An exploded view illustrating the removable glass panels of the Zalman ZQBE case, facilitating component installation.
2.2 Component Installation Order
It is recommended to install components in the following order for optimal cable management and ease of access:
- Power Supply Unit (PSU): Install the PSU into its designated compartment, typically at the rear. Ensure all necessary cables are routed through the case's cable management cutouts before securing the PSU.
- Motherboard: Secure your ATX, mATX, or Mini-ITX motherboard to the standoffs. Connect the front panel I/O cables (Power, Reset, USB, Audio) and fan cables to the motherboard before installing other large components.
- Storage Drives: Install 3.5" HDDs and 2.5" SSDs into their respective bays. The case supports 1 x 3.5" HDD + 2 x 2.5" SSD or 2 x 3.5" HDD + 1 x 2.5" SSD configurations.
- Graphics Card (GPU): Install your graphics card. The case supports GPUs up to 330mm in length. Ensure it is properly seated and secured.
- CPU Cooler / Radiator: Install your CPU air cooler (up to 168mm height) or liquid AIO radiator (up to 240mm). The case supports a 240mm radiator on the side.
- Cable Management: Organize all cables using the provided tie-down points and routing channels behind the motherboard tray. This improves airflow and aesthetics.

Image: A diagram illustrating the maximum dimensions for motherboard types (ATX, mATX, Mini-ITX), CPU cooler height, VGA card length, and fan/radiator placements within the ZQBE case.
2.3 Front I/O Port Connections
Connect the front panel cables to the corresponding headers on your motherboard. The front I/O panel includes:
- Power Button
- LED / Reset Button
- HD Audio (Stereo)
- USB 2.0 Port
- USB 3.0 Port
- USB Type-C (5Gbps) Port

Image: Detailed view of the front I/O ports on the Zalman ZQBE case, highlighting the USB Type-C (5G), USB 3.0, USB 2.0, HD Stereo, LED/Reset, and Power connections.
3. Operating Instructions
Once all components are installed and connected, reattach the tempered glass panels. Ensure they are securely fastened. Connect your peripherals and power cable, then press the power button on the front I/O panel to start your system.
3.1 ARGB Fan Control
The pre-installed ARGB fans are connected to a multi-port hub. This hub can be controlled via your motherboard's ARGB software (if connected to a compatible ARGB header) or through the case's integrated RGB controller, typically accessible via a dedicated button on the front I/O or by cycling through modes using the reset button (if configured for RGB control).
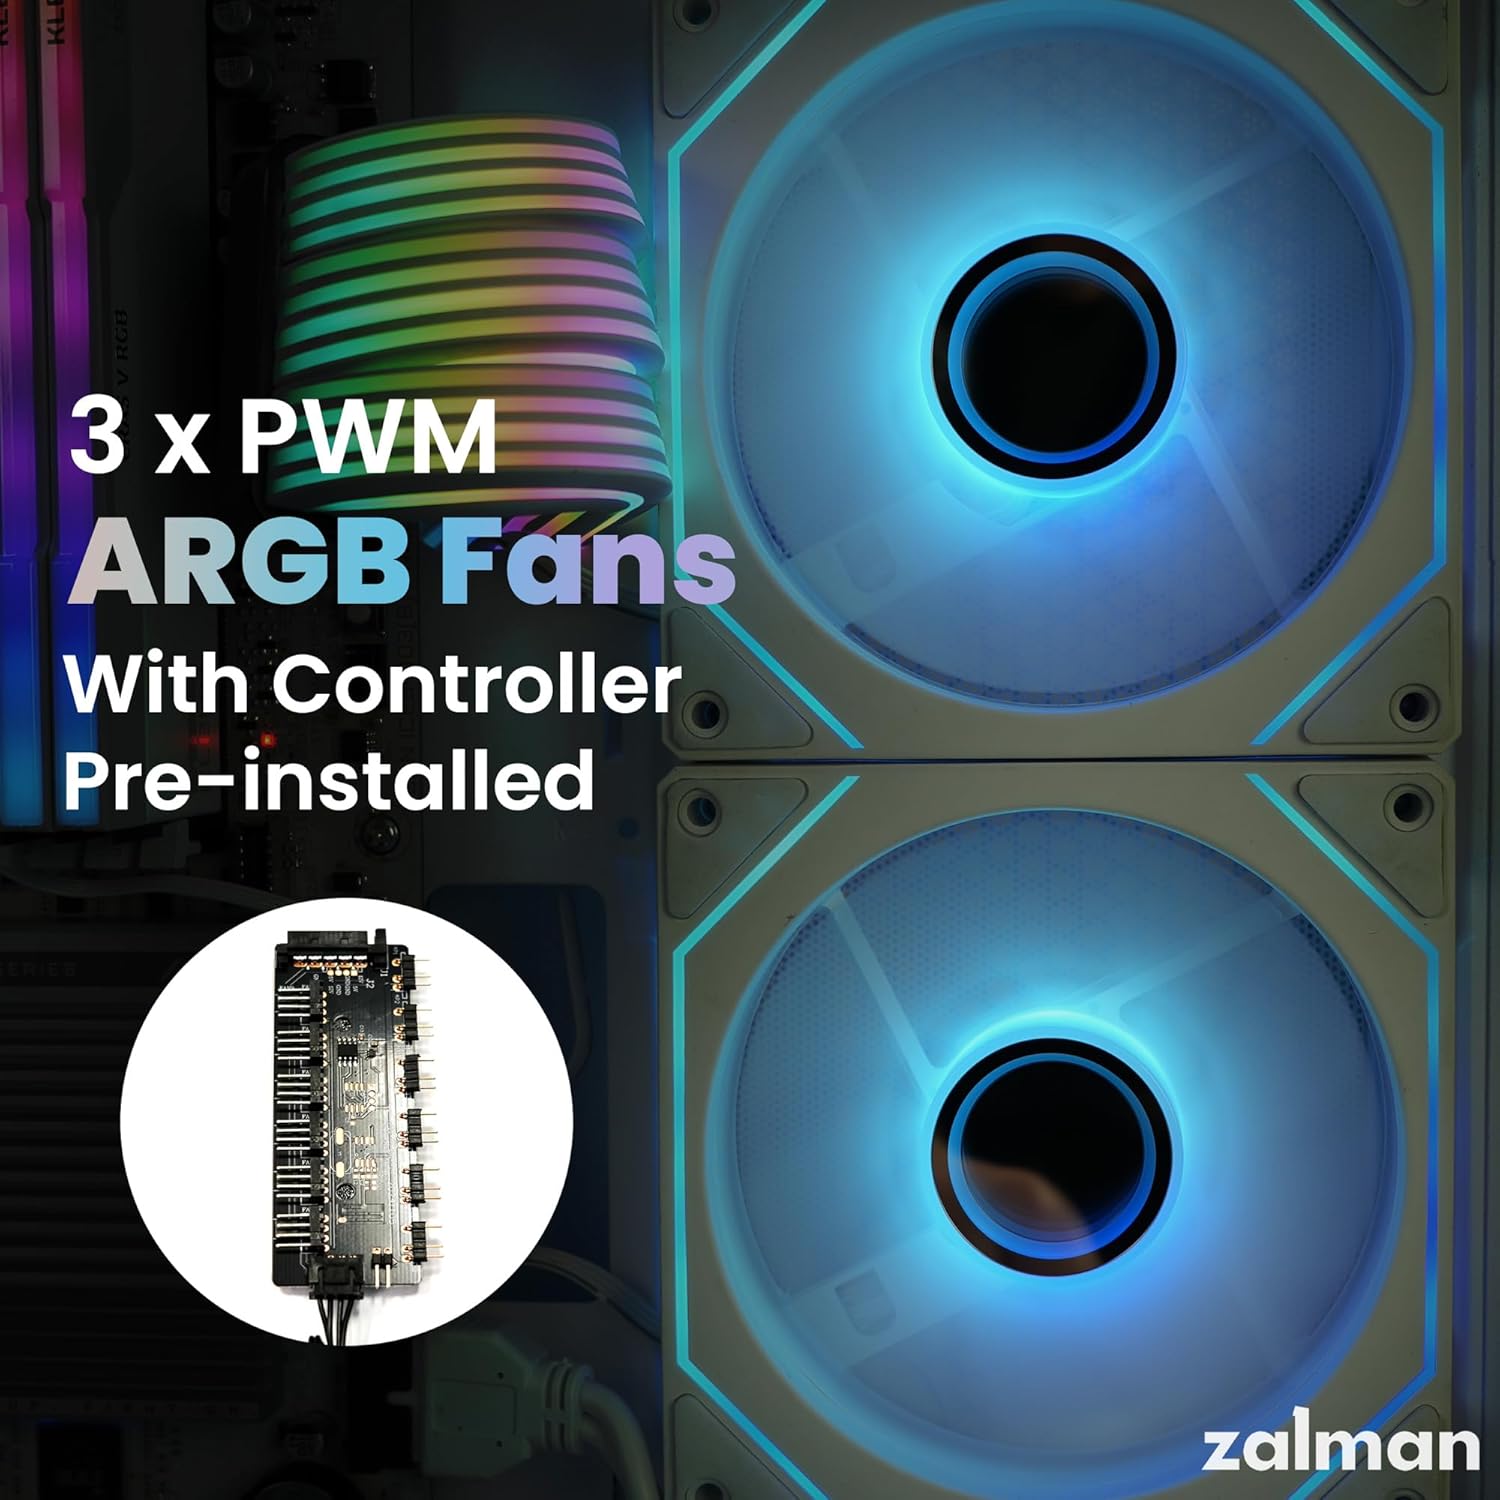
Image: Close-up of the Zalman ZQBE's pre-installed PWM ARGB fans and the included fan/RGB controller.
3.2 Case Orientation
The Zalman ZQBE case can be used in a standard vertical orientation or a horizontal orientation. If opting for horizontal placement, ensure the case feet are properly attached to the side panel that will serve as the new bottom. This provides stability and proper airflow clearance.

Image: The Zalman ZQBE PC case displayed in a horizontal orientation, showcasing its versatility.
4. Maintenance
Regular maintenance helps ensure optimal performance and longevity of your PC components.
- Dust Cleaning: Periodically clean dust filters and internal components using compressed air. The case features a perforated bottom panel for airflow, which may accumulate dust.
- Glass Panel Care: Clean tempered glass panels with a soft, lint-free cloth and a mild glass cleaner. Avoid abrasive materials that could scratch the glass.
- Fan Cleaning: Ensure the fan blades are free from dust buildup to maintain efficient cooling.
5. Troubleshooting
This section addresses common issues you might encounter.
5.1 System Not Powering On
- Power Connections: Verify that the PSU is properly connected to the wall outlet and switched on. Check all internal power connections to the motherboard, CPU, GPU, and drives.
- Front Panel Headers: Ensure the power button cable from the front I/O panel is correctly connected to the motherboard's front panel header.
5.2 High Component Temperatures
- Fan Operation: Confirm all case fans and CPU/GPU cooler fans are spinning correctly. Check fan connections to the motherboard or fan hub.
- Airflow: Ensure there are no obstructions to airflow. Verify that fans are oriented correctly for intake and exhaust. The case features optimized angled side ventilation to boost internal airflow.
- Cable Management: Poor cable management can restrict airflow. Reorganize cables for better air circulation.

Image: A diagram illustrating the optimized angled side ventilation design of the Zalman ZQBE case, intended to enhance internal airflow.
5.3 ARGB Lighting Issues
- Controller Connection: Ensure the ARGB controller is properly powered and connected to the fans.
- Motherboard Sync: If using motherboard software for control, verify the ARGB hub is connected to a compatible 3-pin 5V ARGB header on your motherboard.
6. Specifications
| Feature | Detail |
|---|---|
| Model Name | ZQBE |
| Case Type | Mid Tower |
| Motherboard Compatibility | ATX, Micro ATX, Mini ITX |
| Material | Alloy Steel, Metal, Plastic, Tempered Glass |
| Dimensions (LxWxH) | 11.26 x 13.74 x 13.98 inches (286 x 349 x 355 mm) |
| Item Weight | 10.98 pounds (4.98 kg) |
| GPU Length Support | Up to 330mm |
| CPU Cooler Height Support | Up to 168mm |
| Radiator Support | Up to 240mm (Side) |
| PSU Length Support | Up to 160mm |
| Pre-installed Fans | 3 x PWM ARGB Fans |
| Front I/O Ports | 1 x USB Type-C 3.2 (5Gbps), 1 x USB 3.0, 1 x USB 2.0, HD Audio, Power, Reset/LED |
| Drive Bays | 1 x 3.5" HDD + 2 x 2.5" SSD or 2 x 3.5" HDD + 1 x 2.5" SSD |
| Cooling Method | Air, Water |
7. Warranty Information
Zalman products are manufactured under strict quality control standards. For detailed warranty terms and conditions, please refer to the official Zalman website or contact your local distributor. Keep your proof of purchase for warranty claims.
Typical warranty coverage includes defects in materials and workmanship under normal use. Damage resulting from improper installation, accident, abuse, or unauthorized modification is generally not covered.
8. Support
For technical assistance, product inquiries, or further support, please visit the official Zalman website or contact their customer service department.
- Official Website: www.zalman.com
- Customer Service: Refer to the contact section on the official website for regional support options.