1. Introduction
This manual provides detailed instructions for the safe and efficient operation, setup, maintenance, and troubleshooting of your Jack 5559F-W Computerized Auto Thread Trimmer Single Needle Lockstitch Sewing Machine. Please read this manual thoroughly before using the machine to ensure proper function and longevity.
The Jack 5559F-W is an advanced industrial sewing machine designed for precision stitching with features like automatic thread trimming, single-needle lockstitch capability, and computerized controls for enhanced productivity and ease of use.
2. Safety Instructions
Always adhere to the following safety guidelines to prevent injury and damage to the machine:
- Power Off: Always disconnect the machine from the power supply before cleaning, lubricating, or performing any maintenance.
- Eye Protection: Wear appropriate eye protection when operating the machine, especially during high-speed sewing.
- Hand Placement: Keep hands and fingers away from the needle, presser foot, and other moving parts during operation.
- Stable Surface: Ensure the machine is placed on a stable, level surface to prevent tipping or vibration during use.
- Ventilation: Operate the machine in a well-ventilated area.
- Children and Pets: Keep children and pets away from the machine during operation and when it is plugged in.
- Original Parts: Use only original or recommended replacement parts and accessories.
- Qualified Personnel: Repairs and complex adjustments should only be performed by qualified service technicians.
3. Setup
3.1 Unpacking and Placement
Carefully remove the machine from its packaging. Place the machine on a sturdy, flat table or stand designed for industrial sewing machines. Ensure there is adequate space around the machine for comfortable operation and material handling.
3.2 Power Connection
Connect the power cord to the machine and then to a grounded electrical outlet. Verify that the voltage matches the machine's requirements. Do not use extension cords unless absolutely necessary, and ensure they are rated for the machine's power consumption.
3.3 Needle Installation
- Turn off the machine and disconnect from power.
- Loosen the needle clamp screw.
- Insert the new needle with the flat side facing the back of the machine, pushing it up as far as it will go.
- Tighten the needle clamp screw securely.
3.4 Threading the Machine
Follow the numbered thread guides on the machine. Ensure the thread passes through all tension discs, take-up lever, and needle eye correctly. Incorrect threading can lead to skipped stitches or thread breakage.
3.5 Bobbin Winding and Insertion
Wind the bobbin evenly using the bobbin winder. Insert the wound bobbin into the bobbin case, ensuring the thread feeds smoothly. Place the bobbin case into the shuttle hook assembly under the needle plate.
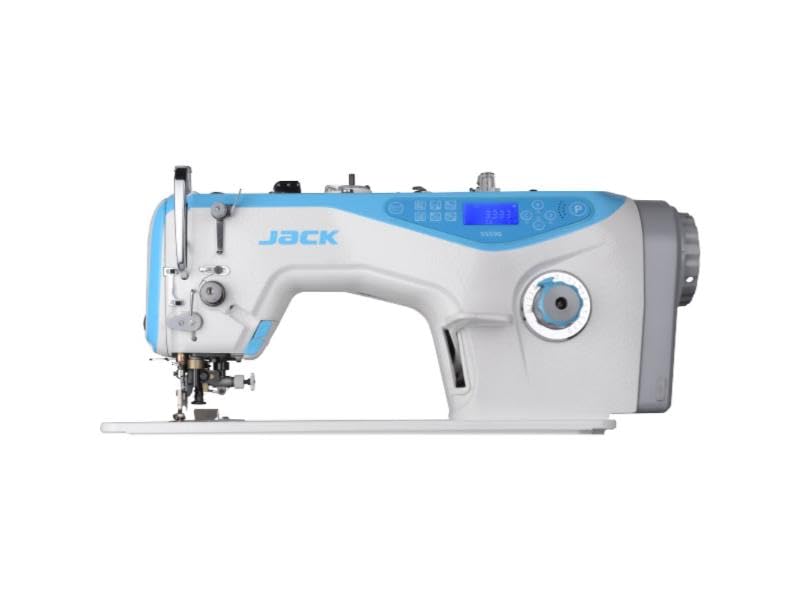
Figure 1: Overview of the Jack 5559F-W Sewing Machine. This image displays the main body of the machine, highlighting the needle area, control panel, and handwheel.
4. Operating Instructions
4.1 Basic Controls
The control panel features buttons for power, speed adjustment, stitch length, and auto thread trimming. Refer to the specific icons on the panel for their functions. The digital display shows current settings.
4.2 Starting and Stopping
Turn on the machine using the power switch. Use the foot pedal to control the sewing speed. Press the heel of your foot down on the pedal to activate the auto thread trimmer and lift the presser foot (if configured).
4.3 Stitch Length Adjustment
Adjust the stitch length using the dedicated buttons on the control panel. Increase the value for longer stitches and decrease for shorter stitches. Test on scrap fabric to find the desired length.
4.4 Auto Thread Trimming
The machine is equipped with an automatic thread trimming function. This feature can be activated via a button on the control panel or by a specific action on the foot pedal (e.g., pressing the heel down). This cuts both the needle and bobbin threads at the end of a seam.
4.5 Reverse Stitching
To reinforce seams, use the reverse stitch button. Hold the button down to sew backward, and release to resume forward stitching.
4.6 Thread Tension Adjustment
Proper thread tension is crucial for balanced stitches. Adjust the upper thread tension dial as needed. For balanced stitches, the upper and lower threads should meet evenly between the fabric layers. Adjust the bobbin tension screw slightly if the lower thread tension needs fine-tuning.
5. Maintenance
Regular maintenance ensures optimal performance and extends the life of your sewing machine.
5.1 Cleaning
- Lint and Dust: Regularly remove lint and dust from the bobbin case area, feed dogs, and needle plate using a small brush or vacuum cleaner.
- Surface Cleaning: Wipe the exterior surfaces of the machine with a soft, damp cloth. Do not use harsh chemicals or abrasive cleaners.
5.2 Lubrication
Refer to the machine's specific lubrication points indicated in the detailed diagram (if provided with the physical manual). Use only high-quality sewing machine oil. Lubricate regularly based on usage, typically every 8-10 hours of operation for industrial machines.
5.3 Needle Replacement
Replace the needle frequently, especially when sewing different types of fabric, or if it becomes bent, dull, or damaged. A dull needle can cause skipped stitches, fabric damage, and thread breakage.
6. Troubleshooting
This section addresses common issues you might encounter and their potential solutions.
| Problem | Possible Cause | Solution |
|---|---|---|
| Machine not turning on | No power, loose connection, power switch off | Check power cord, outlet, and power switch. |
| Skipped stitches | Incorrect needle, bent needle, improper threading, incorrect tension | Replace needle, re-thread machine, adjust tension. |
| Thread breakage | High tension, poor quality thread, burrs on thread path, incorrect needle | Reduce tension, use quality thread, check thread path for rough spots, replace needle. |
| Uneven stitching | Incorrect tension, dull needle, feed dog issues | Adjust tension, replace needle, clean feed dogs. |
| Noise or vibration | Lack of lubrication, loose parts, foreign object | Lubricate machine, check for loose screws, remove any obstructions. |
If the problem persists after attempting these solutions, please contact a qualified service technician or the manufacturer's support.
7. Specifications
The following table outlines the key specifications for the Jack 5559F-W Computerized Auto Thread Trimmer Single Needle Lockstitch Sewing Machine:
| Specification | Value |
|---|---|
| Model | JK-5559F-W |
| Manufacturer | Jack |
| Package Dimensions | 100 x 100 x 100 cm |
| Item Weight | 20 Kilograms |
| Color | Multicolour |
| Country of Origin | China |
| Date First Available | 7 July 2025 |
8. Warranty and Support
For warranty information, please refer to the warranty card included with your purchase or contact the seller, Sokkar Mecca for Industrial Sewing Machine. Warranty terms typically cover manufacturing defects for a specified period from the date of purchase.
For technical support, spare parts, or service inquiries, please contact your authorized Jack dealer or the seller directly. Provide your machine's model number (JK-5559F-W) and serial number (if applicable) when seeking assistance.


