
1. Product Overview
This manual provides instructions for the Roinvou Android 15 Car Radio, a 9-inch capacitive HD touch screen head unit designed for Mazda MX-5 Miata models manufactured between 2006 and 2015. This unit integrates advanced features such as Wireless CarPlay, Android Auto, 5G WiFi, GPS navigation, and Bluetooth 5.0 to enhance your driving experience.
1.1 Vehicle Compatibility
This car radio stereo is compatible with Mazda MX-5 Miata models from 2006 to 2015. For verification, please confirm your car's model, production year, and provide a picture of your car's dashboard to customer support.
1.2 Key Features
- Operating System: Android 15
- Display: 9-inch Capacitive HD Touch Screen (1280*720 resolution)
- Connectivity: Wireless CarPlay & Android Auto, Bluetooth 5.0, 5G WiFi
- Navigation: Built-in GPS
- Audio: 32-band EQ settings, FM/RDS Radio
- Additional: Support for Backup Camera, Steering Wheel Control, Mirror Link, Split Screen
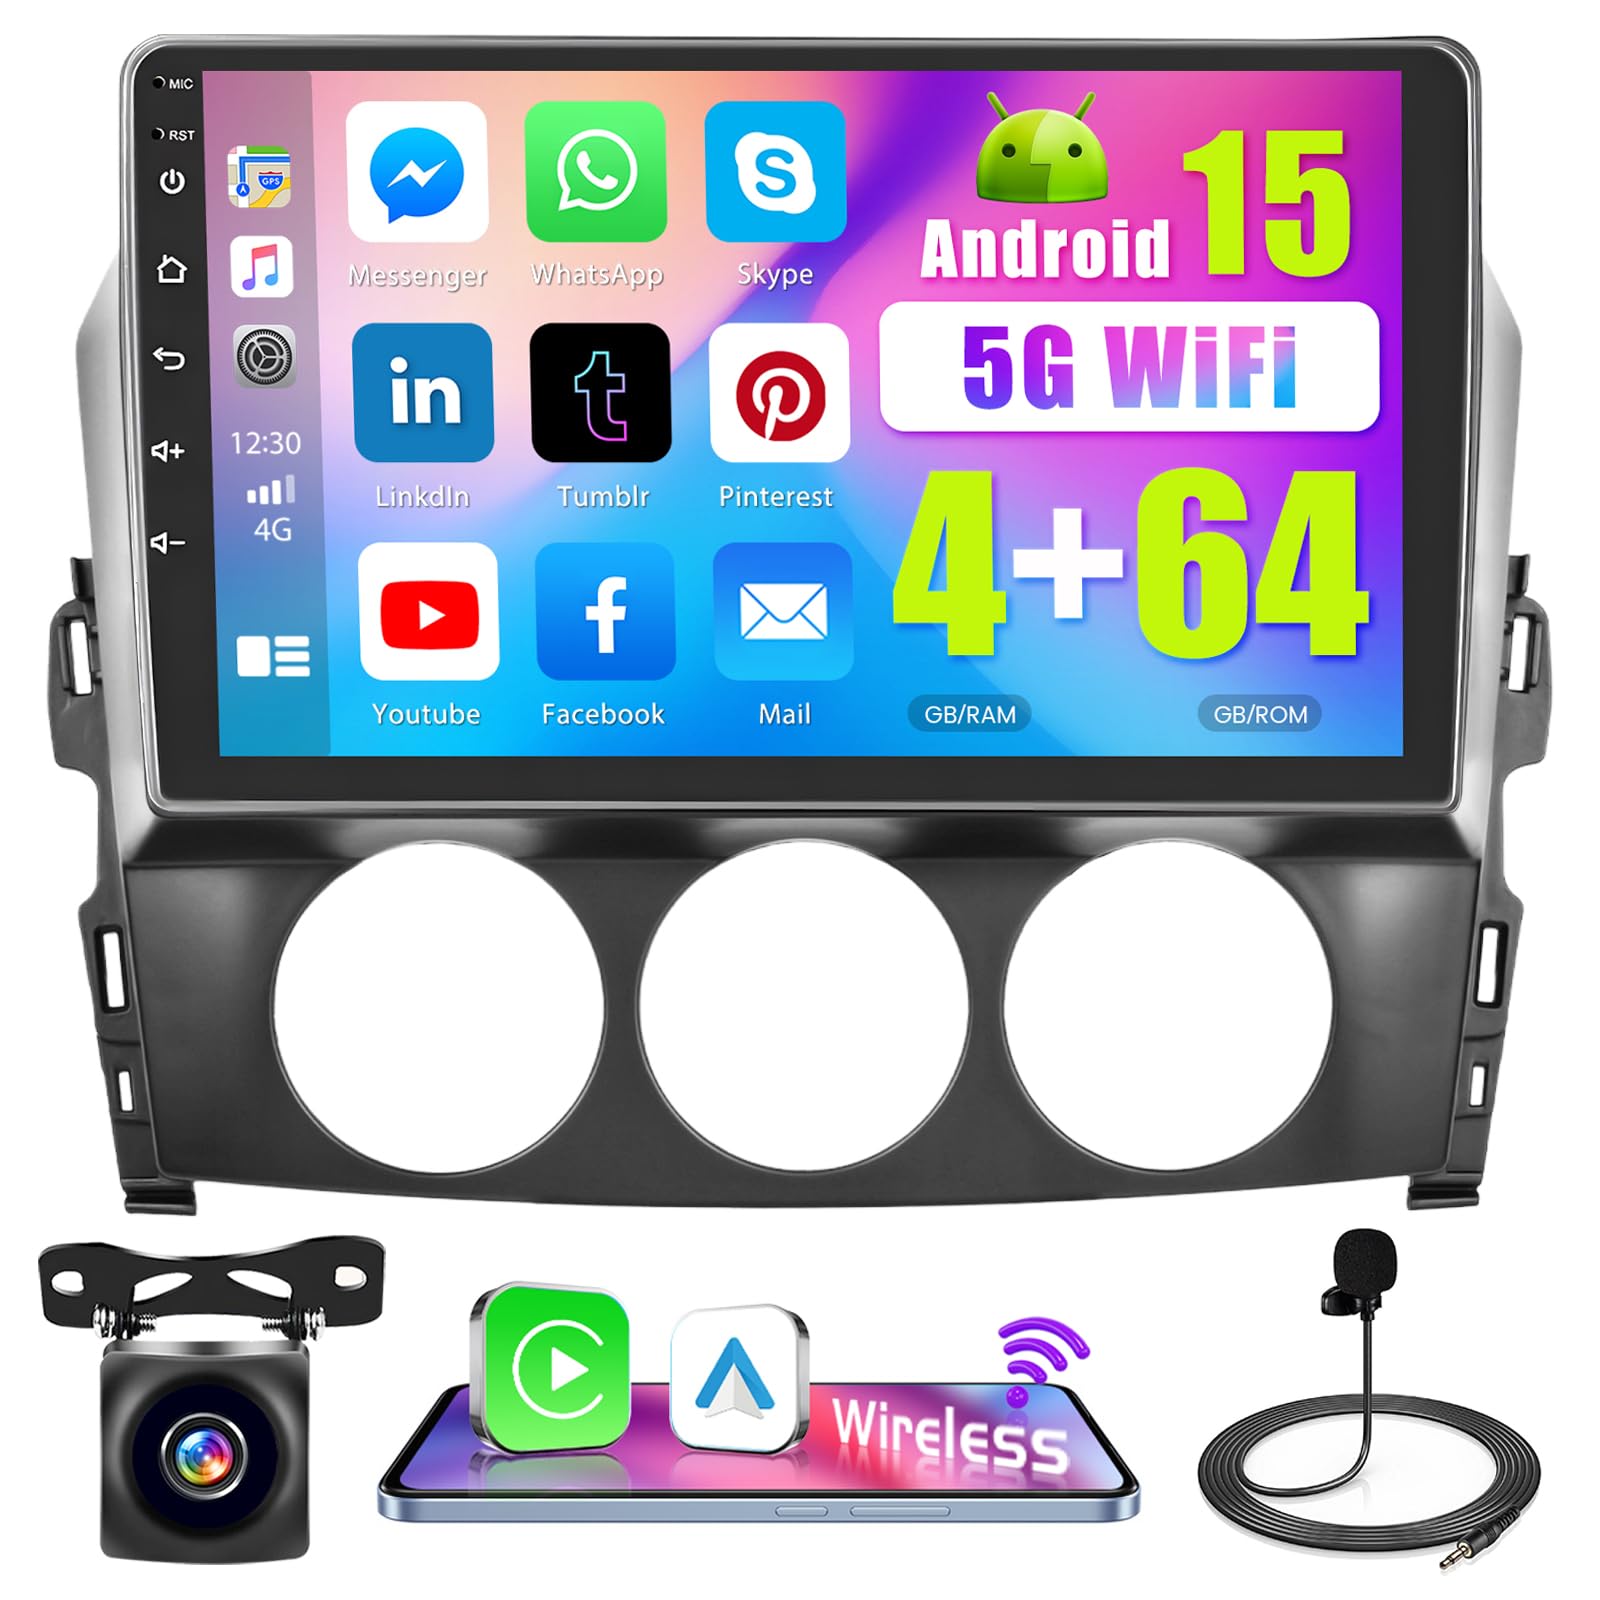
Image: Comparison of the Mazda MX-5 Miata dashboard before and after installation of the Roinvou Android 15 Car Radio. The 'After' image displays the new 9-inch screen with various app icons, while the 'Before' image shows the original factory radio unit.
2. Package Contents
Please verify that all items listed below are included in your package:
- 1 x Roinvou Car Stereo for Mazda MX-5 Miata
- 1 x Power Cable
- 1 x Original USB Cable
- 1 x RCA Harness
- 1 x GPS Antenna
- 1 x AHD Backup Camera
- 1 x External Microphone
- 1 x Rear Camera Input Cable
- 2 x USB Cables
- 1 x Installation Tool

Image: Visual representation of the Roinvou car radio's dimensions and a comprehensive list of all components included in the product package, such as cables, antennas, and the backup camera.
3. Installation Guide
Professional installation is recommended. Ensure the vehicle's battery is disconnected before beginning installation to prevent electrical damage.
3.1 Wiring Port Connections
Refer to the wiring diagram for correct connections. Each port is labeled for clarity.
- Power Cable: Connects to the vehicle's power supply. Ensure the 'AMP CTRL' wire of the power cable is connected to the red wire ACC if experiencing no sound.
- RCA Cable: For audio and video output/input.
- USB Cable: For data transfer and charging.
- Camera Input: For connecting the AHD backup camera.
- Radio Antenna: For FM/RDS radio reception.
- GPS Antenna: For GPS navigation functionality.

Image: A detailed diagram illustrating the various wiring ports on the back of the Roinvou car radio unit, along with labels for the Power Cable, RCA Cable, USB Cable, Camera Input, Radio Antenna, and GPS Antenna.
3.2 Backup Camera Wiring
The reverse input cable must be plugged in even if the reverse camera is not being used, as it affects Bluetooth and WiFi signal reception.
- Red Cable (1): Connects to the positive terminal of the car's reverse light cable.
- Black Cable (2): Connects to the negative terminal of the car's reverse light cable.
- The two red rod extension cables (3 and 4) do not need to be connected.

Image: A visual guide demonstrating the correct wiring connections for the AHD backup camera, specifically highlighting the red and black cables for power and ground.
3.3 Steering Wheel Control (SWC)
The method for connecting steering wheel controls depends on whether your vehicle has a CANBUS decoder.
- Without CANBUS Decoder: Connect the plugs or the steering wheel control wires (Key1/Key2) in the power cable to the corresponding port or wire of your original car. Then, go to "SteeringWheel Key" in the manual match settings to activate the button functions.
- With CANBUS Decoder: Connect the CANBUS before powering on the machine. Navigate to Apps > Settings > Factory Settings (password: 8888/8317) > Vehicle > Automotive type. Select the brand of the CANBUS decoder and then the matching model and year according to your vehicle's specifications.

Image: Explanations for configuring steering wheel controls, detailing steps for vehicles both with and without a CANBUS decoder, including menu navigation for settings.
4. Initial Setup
4.1 Power On and Initial Boot
After installation, turn on your vehicle's ignition. The car radio will power on automatically. The system will typically boot into Android mode.
4.2 WiFi Connection
To access online features, connect the unit to a WiFi network:
- Go to Settings on the main menu.
- Select Network & Internet.
- Turn on Wi-Fi and select your desired network.
- Enter the password if prompted.
4.3 Wireless CarPlay & Android Auto Setup
This unit supports wireless connection for both Apple CarPlay and Android Auto. Ensure Bluetooth is enabled on your smartphone.
- On the car radio, open the CarPlay or Android Auto application.
- On your smartphone, search for the car radio's Bluetooth device name and pair.
- Confirm the pairing on both devices. Your smartphone should automatically connect to CarPlay or Android Auto upon entering the vehicle in subsequent uses.

Image: A visual demonstration of the wireless CarPlay and Android Auto features, showing a smartphone wirelessly connected to the car radio display, with icons for voice control, hands-free calling, online music, and online maps.
4.4 GPS Navigation Setup
The unit comes with built-in GPS. You can download offline navigation maps directly from the Google Play Store. Once connected to WiFi, online maps will also function.

Image: The GPS navigation screen displaying a map with a highlighted route and location pins. Surrounding the main screen are icons representing various online applications accessible via WiFi.
4.5 Audio Equalizer (EQ) Settings
Customize your audio experience with the 32-band EQ settings:
- Access the EQ application from the main menu or settings.
- Adjust the frequency bands to achieve your desired sound profile.
- Pre-set options may also be available for quick selection.

Image: The 32-band equalizer interface, showing adjustable sliders for various audio frequencies and a visual representation of sound balance within the car's cabin.
5. Operating Instructions
5.1 Wireless CarPlay & Android Auto
Once paired, your smartphone will automatically connect. You can use voice commands (Siri/Google Assistant) for calls, music, navigation, and app control. This feature supports most common applications like Spotify, Waze, WhatsApp, YouTube, and Twitter.
5.2 Mirror Link Function
The Mirror Link function allows you to synchronize your smartphone screen (Android via USB/WiFi, iOS via WiFi) to the car radio display, enabling you to enjoy videos and other content on a larger screen.
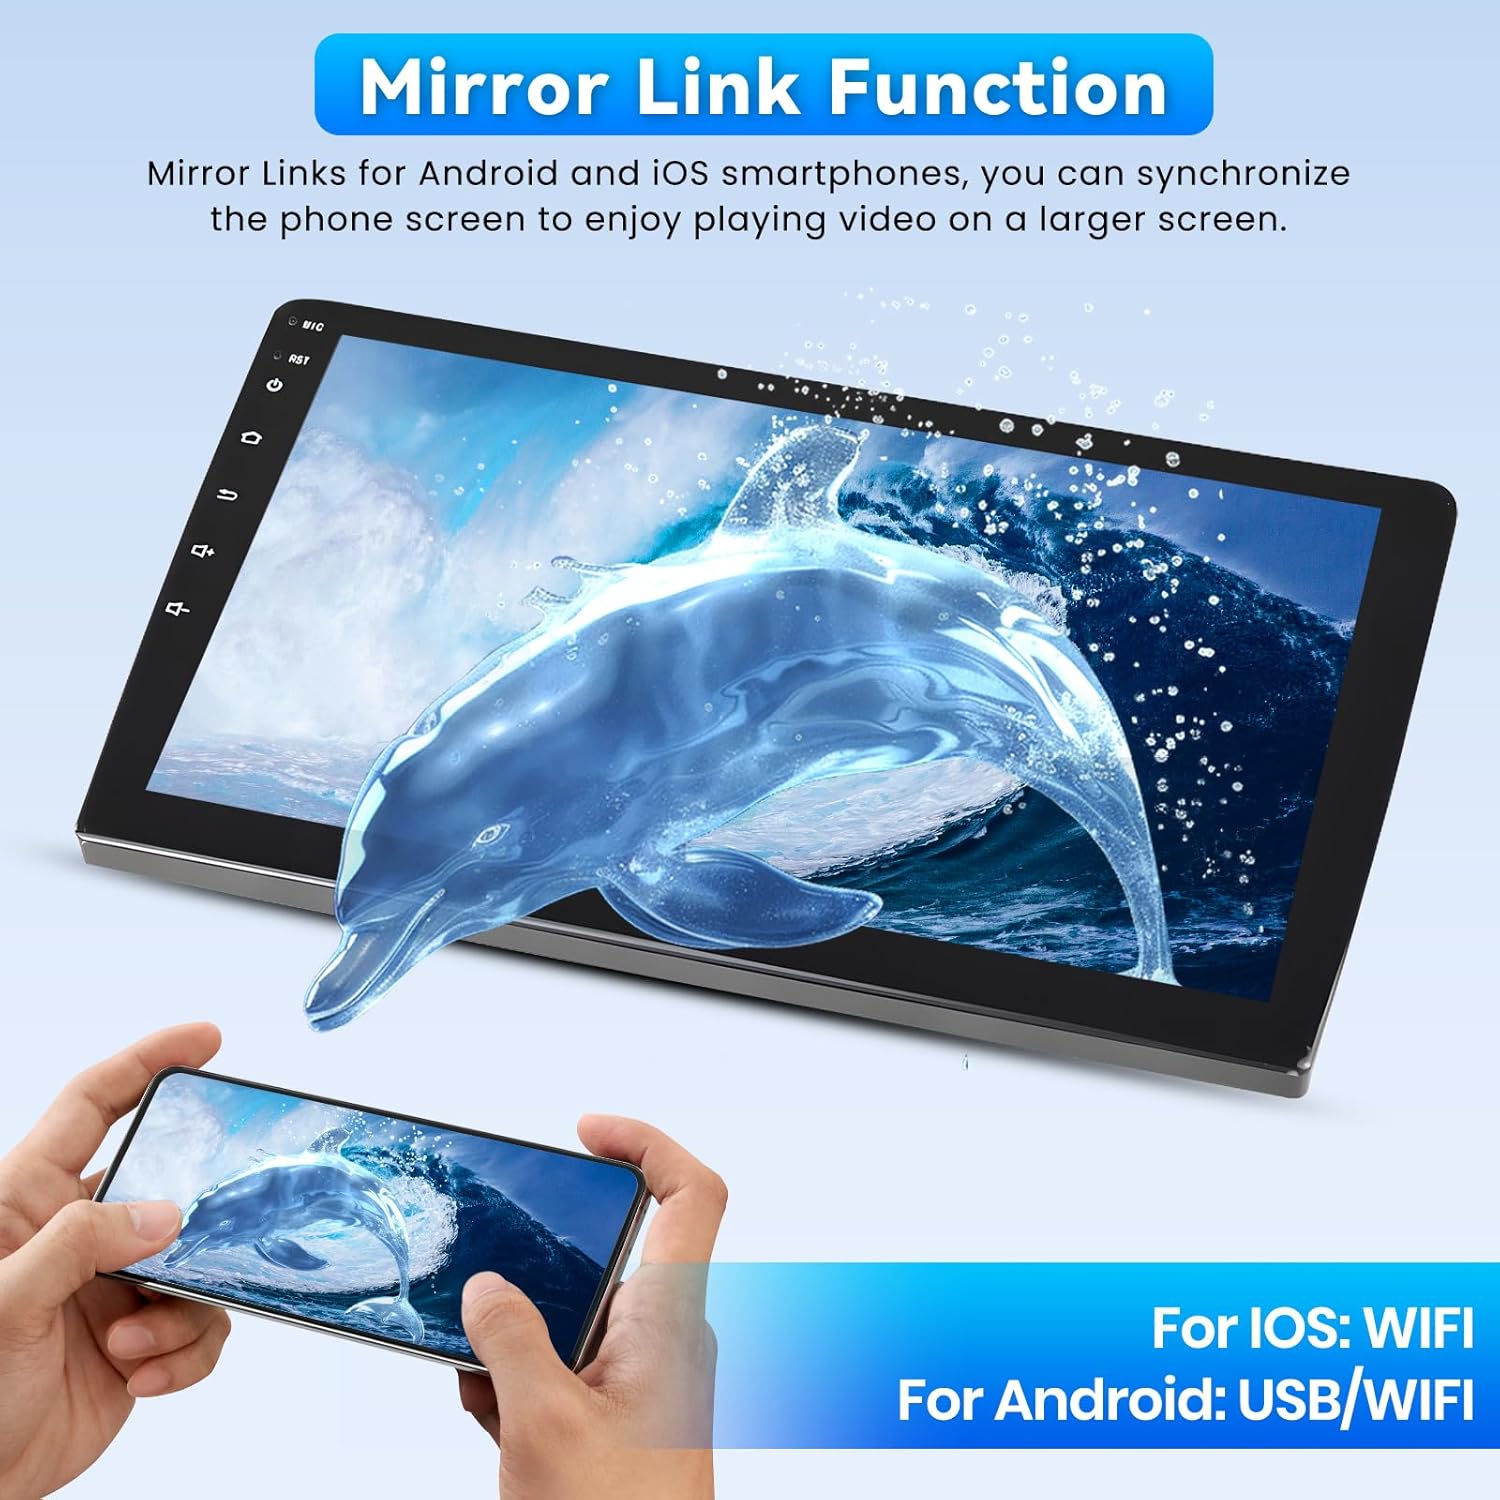
Image: A visual representation of the Mirror Link feature, where a smartphone's display is duplicated onto the larger car radio screen, showing a dolphin image.
5.3 FM/RDS Radio
The built-in FM/RDS radio allows you to listen to local broadcasts, real-time traffic updates, and weather forecasts. You can preset your favorite stations for quick access.

Image: The FM/RDS radio interface displaying various radio frequencies and controls for tuning and station selection.
5.4 Steering Wheel Control
Once configured (see Section 3.3), you can use your car's steering wheel buttons to quickly switch functions, adjust volume, answer/end calls, and control media playback without taking your hands off the wheel.

Image: A composite image showing the steering wheel controls with their corresponding functions (Previous, Next, HangUp, Answer, Volume+, Volume-) and a view from the AHD backup camera displaying parking guidelines.
5.5 Split Screen Function
The split screen feature allows you to run two applications simultaneously on the 9-inch display, such as navigation and music, or a web browser and another app.

Image: Examples of the user interface, including a three-panel homepage display and the split-screen mode showing two applications running side-by-side.
5.6 Bluetooth 5.0
Connect your phone via Bluetooth 5.0 for hands-free calling and audio streaming. The built-in microphone ensures clear communication during calls.

Image: The Bluetooth 5.1 interface displaying options for phone calls, contacts, and music playback, with a visual of a driver using the hands-free calling feature.
6. Maintenance
6.1 Cleaning the Screen
Use a soft, lint-free cloth to gently wipe the touch screen. For stubborn smudges, slightly dampen the cloth with water or a screen-safe cleaner. Avoid abrasive materials or harsh chemicals.
6.2 Software Updates
Periodically check for software updates through the unit's settings menu to ensure optimal performance and access to the latest features. Connect to a stable WiFi network for updates.
7. Troubleshooting
- No Sound: Ensure the 'AMP CTRL' wire of the power cable is correctly connected to the red wire ACC. Check all audio connections.
- Backup Camera Not Displaying: Verify that the reverse input cable is securely plugged into the unit. Check the camera's power and video connections.
- Bluetooth/WiFi Connectivity Issues: Ensure the reverse input cable is connected, as it can affect signal reception. Restart the unit and your smartphone. Check WiFi settings and password.
- Steering Wheel Controls Not Working: Review Section 3.3 for proper CANBUS or non-CANBUS wiring and software configuration.
- Unit Freezes or Responds Slowly: Try restarting the unit. If the issue persists, a factory reset may be necessary (note: this will erase all user data).
8. Specifications
| Feature | Detail |
|---|---|
| Model Name | Android 15 |
| Display Size | 9 Inches |
| Resolution | 1280*720 |
| Operating System | Android |
| Connectivity Technology | Bluetooth, USB, Wi-Fi |
| Special Features | Wireless CarPlay, Wireless Android Auto, Mirror Link, Bluetooth 5.0, Touchscreen, GPS Navigation, WiFi Connection, FM RDS Radio, Support Reverse Input, Split Screen, EQ Setting, SWC |
| Item Weight | 3.61 pounds |
| Package Dimensions | 11.02 x 9.65 x 3.94 inches |
| Mounting Type | Dashboard Mount |
| Audio Output Mode | Stereo |
| Vehicle Service Type | Car |
9. Warranty & Support
9.1 Product Warranty
This Roinvou car radio comes with a 1-Year Warranty from the date of purchase, covering manufacturing defects. Please retain your proof of purchase for warranty claims.
9.2 Customer Support
For technical assistance, troubleshooting, or warranty inquiries, please contact Roinvou customer support. You can reach them through the following methods:
- Amazon Store: Visit the Roinvou Store on Amazon and click 'Ask a question'.
- Email: roinvouservices@163.com

Image: A visual guide detailing how to access Roinvou customer support through the Amazon platform, including clicking on the Roinvou store and then the 'Ask a question' button.


