Introduction
This manual provides comprehensive instructions for the safe and efficient operation, maintenance, and troubleshooting of your SENCOR SES 1721BK Espresso & Cappuccino Coffee Maker. Please read this manual thoroughly before first use and retain it for future reference.
Important Safety Instructions
- Always ensure the appliance is connected to a grounded power outlet with the correct voltage (230 Volts).
- Do not immerse the appliance, power cord, or plug in water or any other liquid.
- Keep hands and cords away from hot surfaces, such as the steam wand and brewing head, during and after operation.
- Unplug the coffee maker from the power outlet before cleaning, maintenance, or when not in use.
- This appliance is intended for household use only. Do not use outdoors.
- Do not operate the appliance with a damaged cord or plug, or if the appliance malfunctions or has been damaged in any manner.
- Children should be supervised to ensure they do not play with the appliance.
- Use only cold, fresh water in the water tank.
Product Overview and Components
Familiarize yourself with the parts of your SENCOR SES 1721BK coffee maker before operation.

Image: Front view of the SENCOR SES 1721BK Espresso & Cappuccino Coffee Maker, showing the control panel, portafilter, and drip tray.
Key Components:
- Water Tank: Removable tank for fresh water supply.
- Control Panel: Features power switch, temperature gauge, and function buttons/dial.
- Portafilter: Holds ground coffee for brewing.
- Filter Holder: Secures the portafilter to the brewing head.
- Steam Wand: For frothing milk for cappuccinos and lattes.
- Drip Tray: Collects excess liquid and is removable for easy cleaning.
- Measuring Scoop: For accurate coffee ground measurement.
- Filters: Includes filters for single and double shots.

Image: A hand demonstrating the removal of the water tank from the back of the SENCOR SES 1721BK coffee maker.

Image: Close-up view of the removable drip tray and cup warming plate on the SENCOR SES 1721BK coffee maker.
Setup and First Use
Unpacking and Placement:
- Carefully remove all packaging materials and ensure all components are present.
- Place the coffee maker on a stable, flat, heat-resistant surface, away from water sources and heat.
- Ensure there is adequate space around the appliance for ventilation and operation.
Initial Cleaning:
- Wash the water tank, portafilter, filters, and measuring scoop with warm soapy water. Rinse thoroughly and dry.
- Wipe the exterior of the appliance with a damp cloth.
First Use (Priming the System):
- Fill the water tank with fresh, cold water up to the MAX level.
- Place an empty cup under the brewing head.
- Plug the appliance into a power outlet and turn it ON. The power indicator light will illuminate.
- Allow the machine to heat up until the temperature gauge indicates it's ready for brewing (usually in the optimal espresso range).
- Turn the function dial to the coffee brewing position and allow water to flow through the brewing head for approximately 30 seconds. This primes the pump and flushes the system.
- Turn the function dial back to the standby position.
- Repeat this process for the steam wand: place a cup under the steam wand, turn the dial to the steam position, and let steam release for a few seconds. Then turn it off.
- The machine is now ready for use.
Operating Instructions
Making Espresso:
- Ensure the water tank is filled with fresh water.
- Select the appropriate filter (single or double shot) and place it into the portafilter.
- Using the measuring scoop, add ground coffee to the filter. For a single shot, use one scoop (approx. 7g); for a double shot, use two scoops (approx. 14g).
- Lightly tamp the coffee grounds evenly. Do not over-tamp.
- Attach the portafilter to the brewing head by aligning it and twisting firmly to the right until secure.
- Place one or two espresso cups on the drip tray beneath the portafilter spouts.
- Turn the machine ON and wait for the temperature gauge to reach the optimal brewing range.
- Turn the function dial to the coffee brewing position. Espresso will begin to flow into the cups.
- Once the desired volume is reached (typically 25-30ml for a single shot, 50-60ml for a double shot), turn the function dial back to the standby position to stop brewing.
- Carefully remove the portafilter, discard the used coffee grounds, and rinse the portafilter and filter.
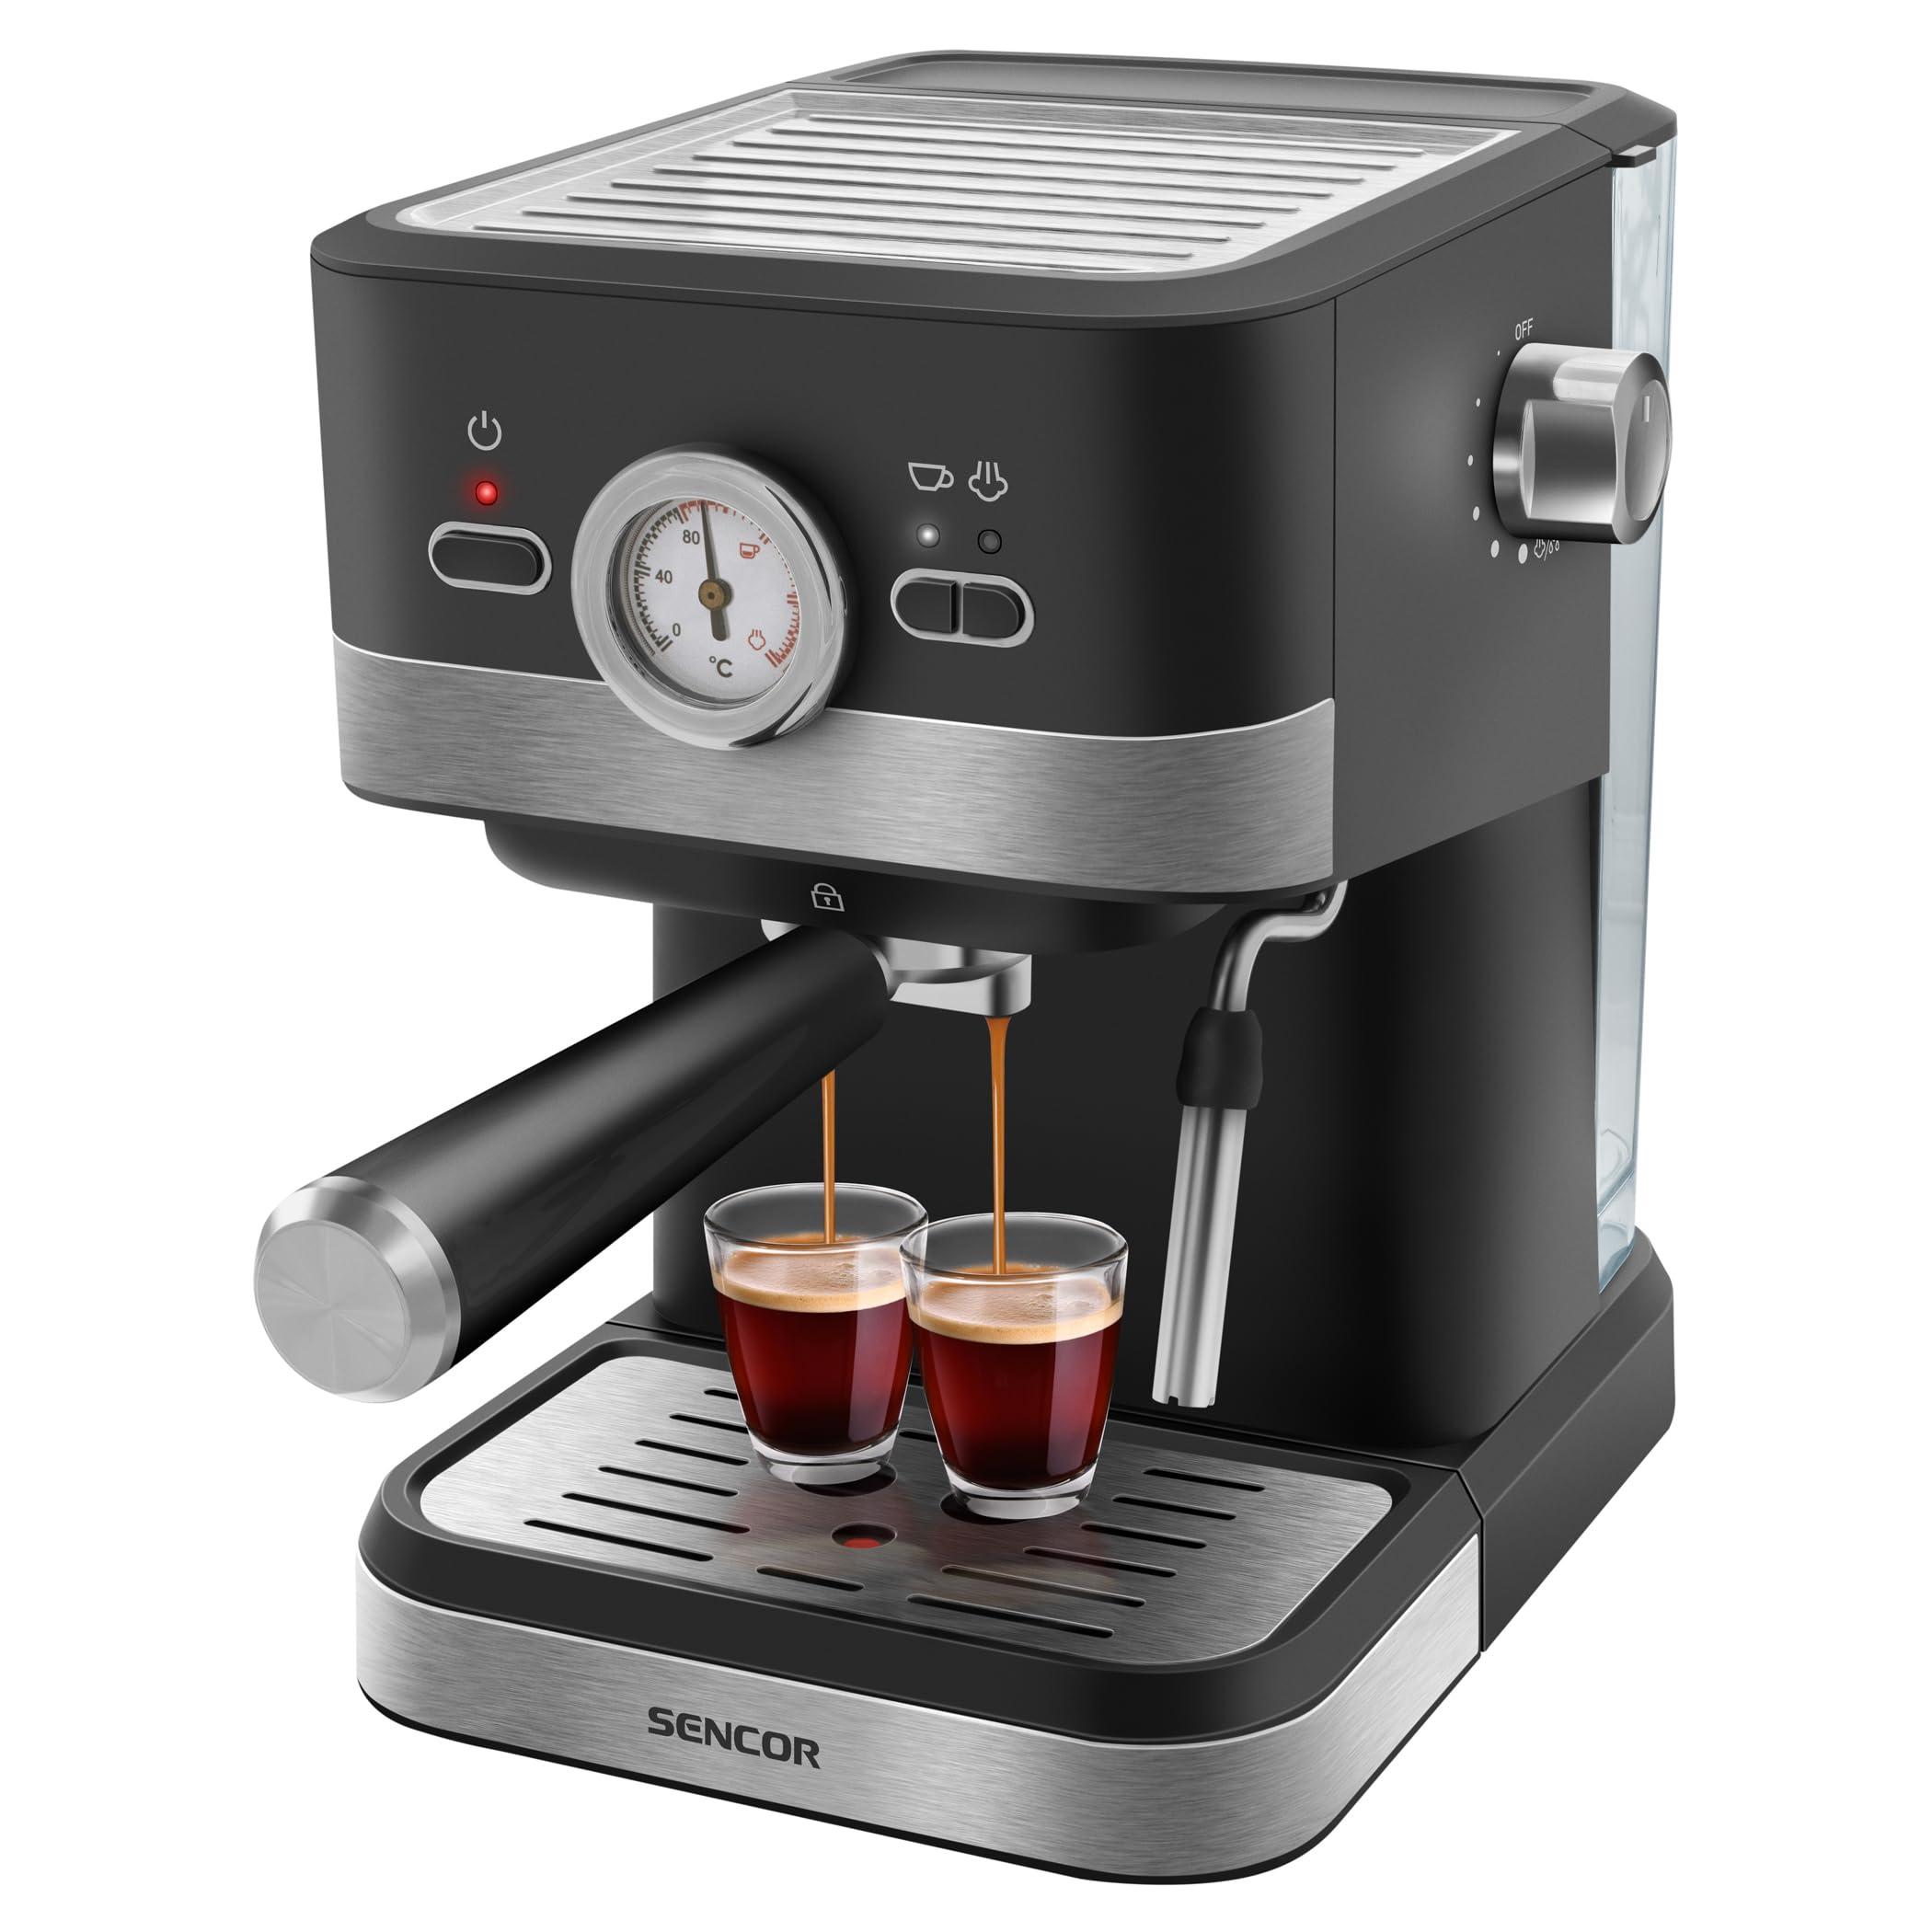
Image: The SENCOR SES 1721BK coffee maker actively brewing two shots of espresso into glass cups.
Frothing Milk for Cappuccino/Latte:
- After brewing espresso, ensure the machine is still ON and the temperature gauge is in the steam range.
- Fill a stainless steel frothing pitcher with cold milk (dairy or non-dairy) to about one-third full.
- Position the steam wand just below the surface of the milk.
- Turn the function dial to the steam position. Steam will begin to release.
- Lower the pitcher slightly to introduce air into the milk, creating foam. Move the pitcher up and down gently.
- Once the milk has doubled in volume and reached the desired temperature (around 60-70°C), turn the function dial back to the standby position.
- Immediately wipe the steam wand with a damp cloth to prevent milk residue from drying.
- Pour the frothed milk over your freshly brewed espresso to create a cappuccino or latte.

Image: A hand holding a frothing pitcher under the steam wand of the SENCOR SES 1721BK coffee maker, demonstrating milk frothing.
Cleaning and Maintenance
Regular cleaning ensures optimal performance and extends the lifespan of your coffee maker.
Daily Cleaning:
- Portafilter and Filters: After each use, remove the portafilter, discard coffee grounds, and rinse thoroughly under running water.
- Drip Tray: Empty and rinse the drip tray daily. It is removable for easy cleaning.
- Steam Wand: Immediately after frothing milk, wipe the steam wand with a damp cloth. Briefly release steam to clear any internal milk residue.
- Water Tank: Empty and rinse the water tank daily, refilling with fresh water for each use.
- Exterior: Wipe the exterior surfaces of the machine with a soft, damp cloth. Do not use abrasive cleaners or solvents.
Descaling:
Over time, mineral deposits (limescale) can build up in the machine, affecting performance. Descale your coffee maker every 2-3 months, or more frequently if you have hard water.
- Prepare a descaling solution according to the descaler manufacturer's instructions (or use a mixture of white vinegar and water, 1:1 ratio).
- Fill the water tank with the descaling solution.
- Place a large container under the brewing head and steam wand.
- Turn the machine ON and allow it to heat up.
- Run half of the solution through the brewing head by turning the function dial to the coffee brewing position.
- Turn the function dial to the steam position and release steam through the wand until half of the remaining solution is used.
- Turn off the machine and let it sit for 15-20 minutes.
- Repeat steps 5-7 with the remaining solution.
- Empty the water tank, rinse it thoroughly, and refill with fresh water.
- Run several tanks of fresh water through both the brewing head and steam wand to rinse out any descaling solution residue.
Troubleshooting
| Problem | Possible Cause | Solution |
|---|---|---|
| No coffee flows out. | Water tank empty; coffee too finely ground or over-tamped; machine not primed; clogged filter. | Fill water tank; use coarser grind or less pressure when tamping; prime the machine; clean the filter and portafilter. |
| Coffee flows too quickly/weak coffee. | Coffee too coarsely ground or under-tamped; insufficient coffee grounds. | Use finer grind or tamp more firmly; use correct amount of coffee grounds. |
| No steam from steam wand. | Steam wand clogged; machine not heated to steam temperature. | Clean steam wand nozzle; wait for temperature gauge to reach steam range. |
| Water leaking from machine. | Water tank not seated correctly; drip tray full; seals worn. | Ensure water tank is properly seated; empty drip tray; contact customer support if seals are suspected. |
| Machine not turning on. | Not plugged in; power switch off; power outage. | Check power connection; ensure power switch is ON; check household power supply. |
If you encounter problems not listed here, or if the suggested solutions do not resolve the issue, please contact SENCOR customer support.
Specifications
| Brand | SENCOR |
| Model Name | SES 1721BK |
| Item Model Number | SEC 2100BK |
| Type | Espresso & Cappuccino Coffee Maker |
| Coffee Input Type | Ground Coffee |
| Operation Mode | Manual |
| Voltage | 230 Volts |
| Material | Plastic (with Brushed Stainless Steel Accents) |
| Color | Black |
| Product Dimensions (D x W x H) | 32.5D x 32.5W x 21.5H Centimeters |
| Item Weight | 3 kg 200 g |
| Special Feature | Removable Tank, Temperature Gauge, Water Volume Indicator, Anti-Slip Base |
| Included Components | Filter Holder, Measuring Scoop, 1-2 Cup Filters |
Warranty and Support
Warranty Information:
Your SENCOR SES 1721BK Espresso & Cappuccino Coffee Maker is covered by a manufacturer's warranty. Please refer to the warranty card included with your product for specific terms, conditions, and duration. Retain your proof of purchase for warranty claims.
Customer Support:
For technical assistance, service, or spare parts, please contact SENCOR customer support. Contact details can typically be found on the SENCOR official website or on the product packaging.


