Thank you for purchasing the AMZASA AS9027-4AB Plug-in Crystal Chandelier. This manual provides essential information for the safe and correct assembly, operation, and maintenance of your new lighting fixture. Please read all instructions carefully before installation and retain this manual for future reference.
Important Safety Information
Always disconnect power before installation, cleaning, or maintenance.
This product is intended for indoor use only.
Ensure the mounting surface can support the weight of the fixture.
Use only E12 base bulbs, maximum 40W per bulb (bulbs not included).
If using a dimmer switch, ensure bulbs are dimmable and compatible with the switch.
Handle glass crystals with care to prevent breakage.
Keep packaging materials away from children.
If you are unsure about any part of the installation, consult a qualified electrician.
Package Contents
Please verify that all components are present and undamaged before beginning assembly. If any parts are missing or damaged, please contact customer support.
Chandelier Frame with 4 E12 Sockets
Glass Crystal Strings (various sizes and shapes, labeled A, B, C, D, E, F)
Glass Decorative Saucers
Power Cord with In-line ON/OFF Switch
Hanging Chain
Ceiling Hook
Cable Management Clips
Mounting Hardware (screws, anchors)
Figure 1: Chandelier Components Overview
Setup and Assembly Instructions
Follow these steps to assemble and install your AMZASA Plug-in Crystal Chandelier. It is recommended to wear the provided gloves to avoid fingerprints on the crystals. Refer to the assembly video for visual guidance on each step.
Video: AMZASA Plug-in Crystal Chandelier Assembly Guide. This video demonstrates the complete assembly process from unboxing to final installation.
Step 1: Prepare Components
Carefully unbox all components and lay them out on a clean, soft surface. Identify the different crystal types (A, B, C, D, E, F) as shown in the video.
Step 2: Assemble Crystal Saucers (A Crystals)
Attach the 'A' crystals to the small holes around the edge of the glass decorative saucers. Ensure they are securely fastened.
Step 3: Attach Top Crystal Chains (B Crystals)
Connect the 'B' crystal chains between the top center part of the chandelier frame and the light bulb sockets. There are four 'B' chains for the four arms.
Step 4: Attach Arm Crystal Chains (C Crystals)
Attach the 'C' crystal chains to the arms of the chandelier, connecting them from one arm to the central base. Ensure even distribution.
Step 5: Attach Bottom Center Crystals (E Crystals)
Secure the 'E' crystals to the bottom center of the chandelier frame. These are typically shorter, individual crystal drops.
Step 6: Attach Saucer Crystals (F Crystals)
Attach the 'F' crystals to the bottom of the glass decorative saucers that were assembled in Step 2.
Step 7: Attach Hanging Chain
Connect the provided hanging chain to the top loop of the chandelier. Ensure the connection is secure.
Step 8: Install Ceiling Hook and Hang Chandelier
Screw the ceiling hook into a secure ceiling joist or use appropriate anchors for drywall. Hang the chandelier chain from this hook. Adjust the chain length to achieve the desired hanging height.
Figure 2: Chandelier Hanging and Cable Management
Step 9: Route Power Cord and Attach Remaining Crystals (D Crystals)
Route the power cord along the ceiling to a power outlet using the provided cable management clips. Once the chandelier is hung, attach the 'D' crystal chains to the arms, connecting them to the central base or other designated points as shown in the video.
Step 10: Install Light Bulbs
Screw 4 E12 base bulbs (max 40W each, not included) into the chandelier sockets. Ensure bulbs are fully seated.
Operating Instructions
Power Connection: Plug the chandelier's power cord into a standard 110V AC wall outlet.
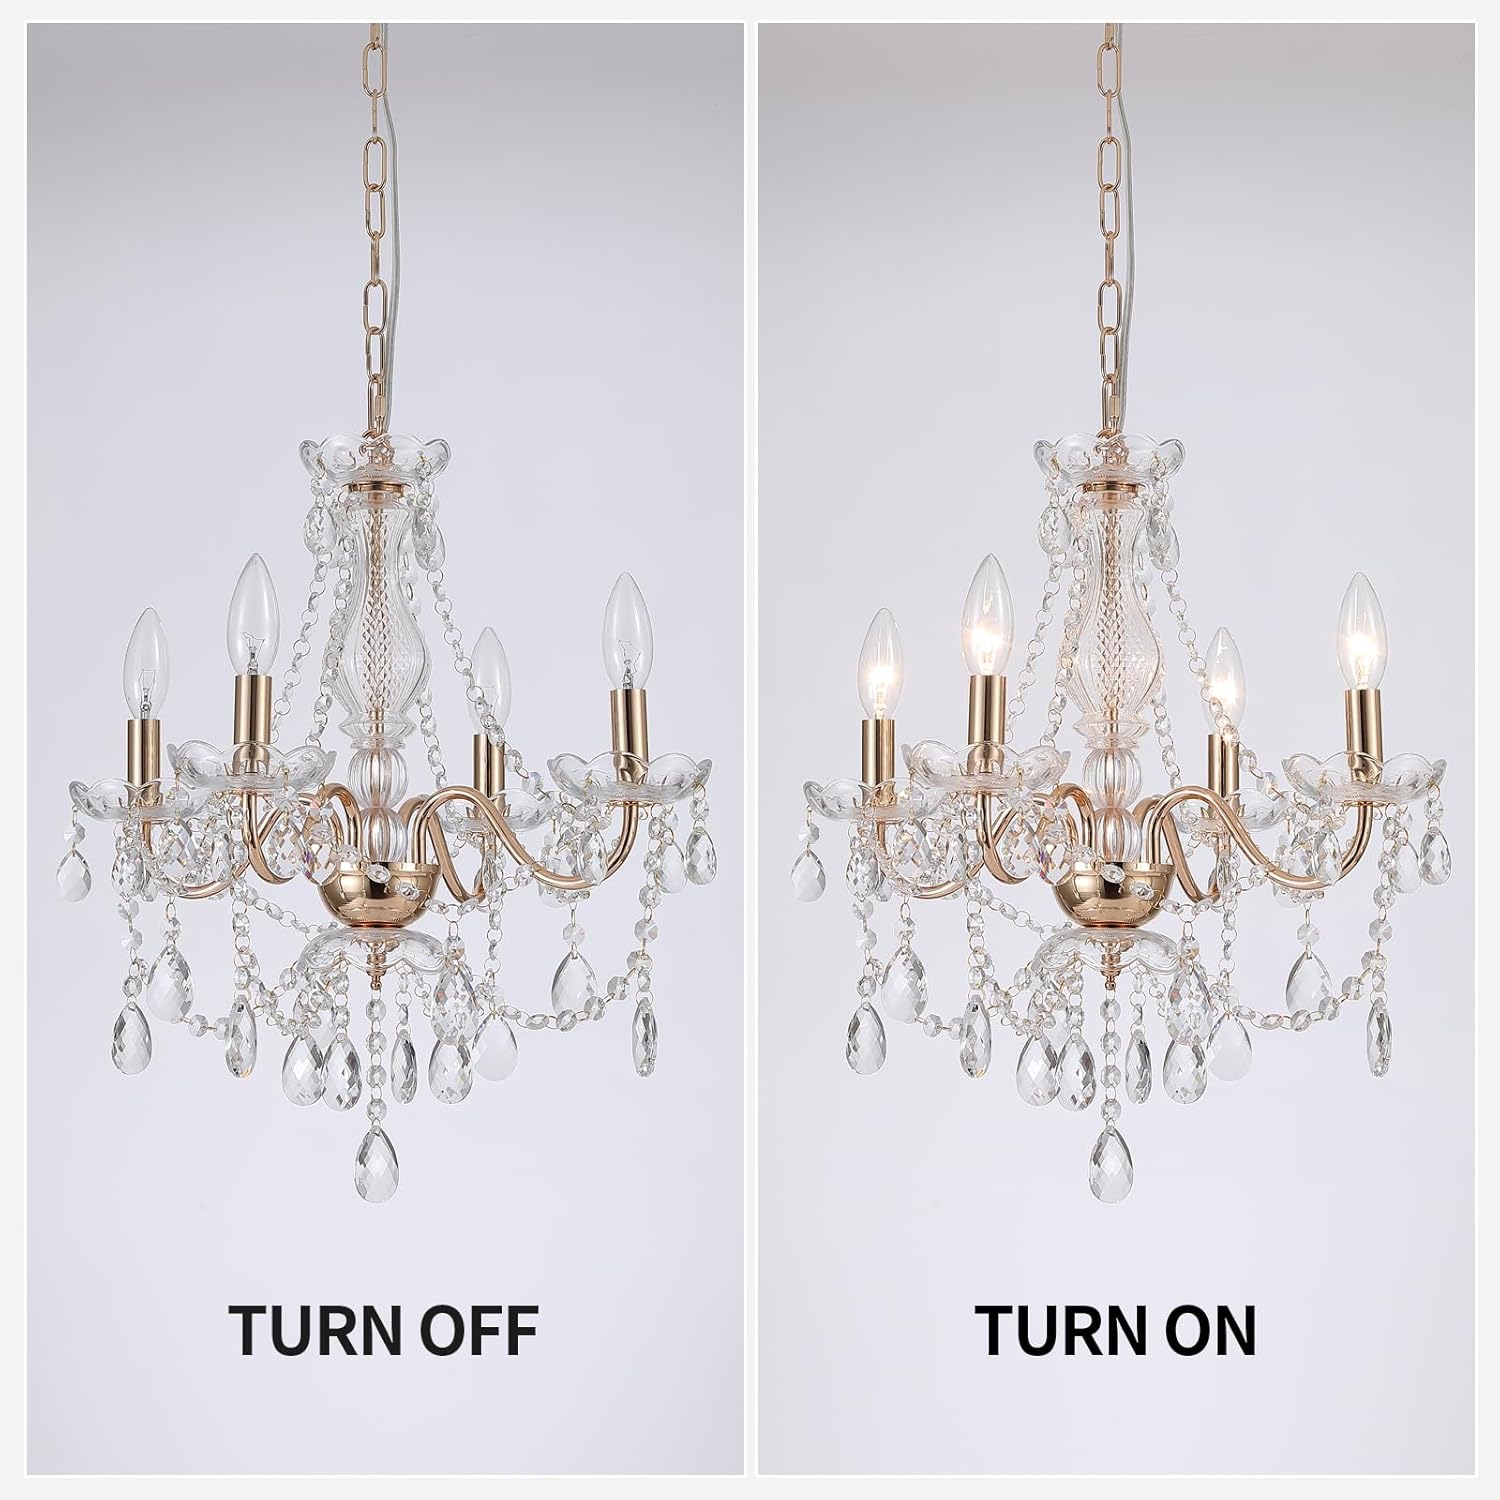
Turning On/Off: Use the in-line ON/OFF switch located on the power cord to control the light.
Dimmable Functionality: If you are using dimmable E12 bulbs and have a compatible dimmer switch installed in your wall outlet, the chandelier's brightness can be adjusted. The chandelier itself does not include a dimmer.
Figure 3: In-line ON/OFF Switch
Maintenance
Cleaning: To clean the chandelier, first ensure it is unplugged. Use a soft, dry cloth to gently wipe the metal frame and glass crystals. For stubborn dust or smudges on crystals, a slightly damp cloth with mild glass cleaner can be used, followed by a dry cloth. Avoid abrasive cleaners or harsh chemicals.
Bulb Replacement: Ensure the chandelier is unplugged and bulbs are cool before attempting to replace them. Unscrew the old bulb and screw in a new E12 base bulb (max 40W).
Crystal Care: Handle crystals with care. If any crystal strings become detached, reattach them using the small metal rings.
Troubleshooting
Problem
Possible Cause
Solution
Chandelier does not light up.
1. Power cord not plugged in. 2. ON/OFF switch is off. 3. Faulty bulb(s). 4. Power outage or tripped circuit breaker.
1. Ensure the power cord is securely plugged into a working outlet. 2. Flip the ON/OFF switch to the 'ON' position. 3. Replace bulb(s) with new E12 bulbs. 4. Check your home's circuit breaker and ensure power is restored.
AMZASA is committed to providing high-quality products and excellent customer service. If you encounter any issues such as color deviation, missing parts, or difficulties with installation, please contact us directly via email. We aim to provide a response within 24 hours.
Skar Audio RP Series Amplifiers Owner's Manual Comprehensive owner's manual for Skar Audio RP series amplifiers, covering installation, specifications, features, and troubleshooting for monoblock and multi-channel models.
Skar Audio RP Series Amplifiers Owner's Manual Owner's manual for Skar Audio RP Series car amplifiers, detailing features, specifications, and installation for monoblock and multi-channel models including RP-350.1D, RP-800.1D, RP-1200.1D, RP-1500.1D, RP-2000.1D, RP-3500.1D, RP-4500.1D, RP-75.4AB, RP-150.4AB, and RP-600.5.
Skar Audio RP Series Amplifiers Owner's Manual - High Performance Car Audio This owner's manual provides detailed information for Skar Audio RP Series high-performance car amplifiers, including digital monoblock and multi-channel models. It covers features, specifications, power and speaker connections, strappable configurations, and troubleshooting guidance for models like RP-350.1D, RP-800.1D, RP-1500.1D, RP-2000.1D, RP-3500.1D, RP-4500.1D, RP-75.4AB, RP-150.4AB, and RP-600.5.
VEVOR Magnetic Stirrer Operation Instructions Official operation instructions for VEVOR Magnetic Stirrers. This guide details product specifications, operating procedures for models with and without displays, safety precautions, and packing lists for laboratory and scientific applications.
VEVOR Magnetic Stirrer Operation Instructions and Specifications Detailed operation instructions, parameters, and safety guidelines for VEVOR Magnetic Stirrers, including models with and without liquid crystal displays. Covers setup, operation, and maintenance for laboratory use.