1. Introduction
This manual provides instructions for the LYNCAST X1BQ-US 4K Mini Projector. Please read this manual thoroughly before operating the device to ensure proper use and to prevent damage. Keep this manual for future reference.
2. Package Contents
Verify that all items listed below are included in your package:
- LYNCAST X1BQ-US 4K Mini Projector
- Remote Control
- Power Adapter
- HDMI Cable
- User Manual
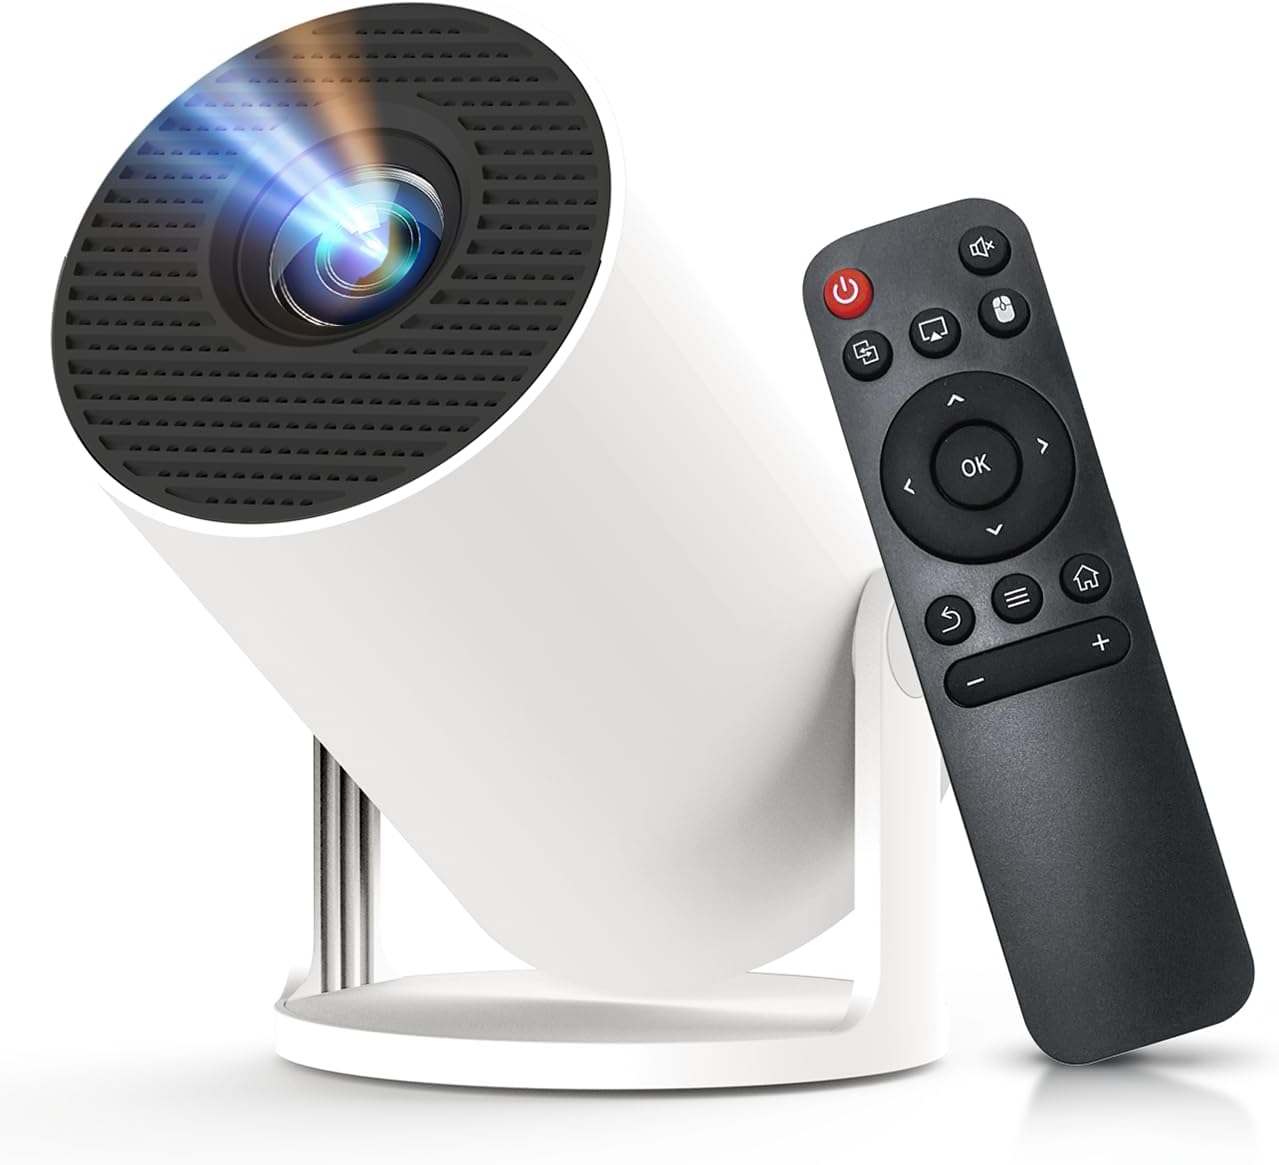
Image: The LYNCAST X1BQ-US 4K Mini Projector, a compact white cylindrical device with a lens, shown alongside its black remote control.
3. Product Features
- 4K Resolution Support: Capable of displaying content up to 3840 x 2160 pixels.
- Native 1080p Display: Provides a clear and detailed native resolution of 1920 x 1080 pixels.
- Auto Focus: Automatically adjusts the image for optimal clarity.
- Portable Design: Compact form factor for easy placement and transport.
- Android OS Integration: Built-in Android system for direct access to streaming applications and content.
- 180° Adjustable Stand: Allows for flexible projection angles, including ceiling projection.
- HDMI Connectivity: Connect external devices such as laptops, gaming consoles, and media players.

Image: The projector displaying its Android 11 interface on a wall, showing icons for Netflix, YouTube, Hulu, App Store, Screen Cast, FileManager, HDMI, and Settings.
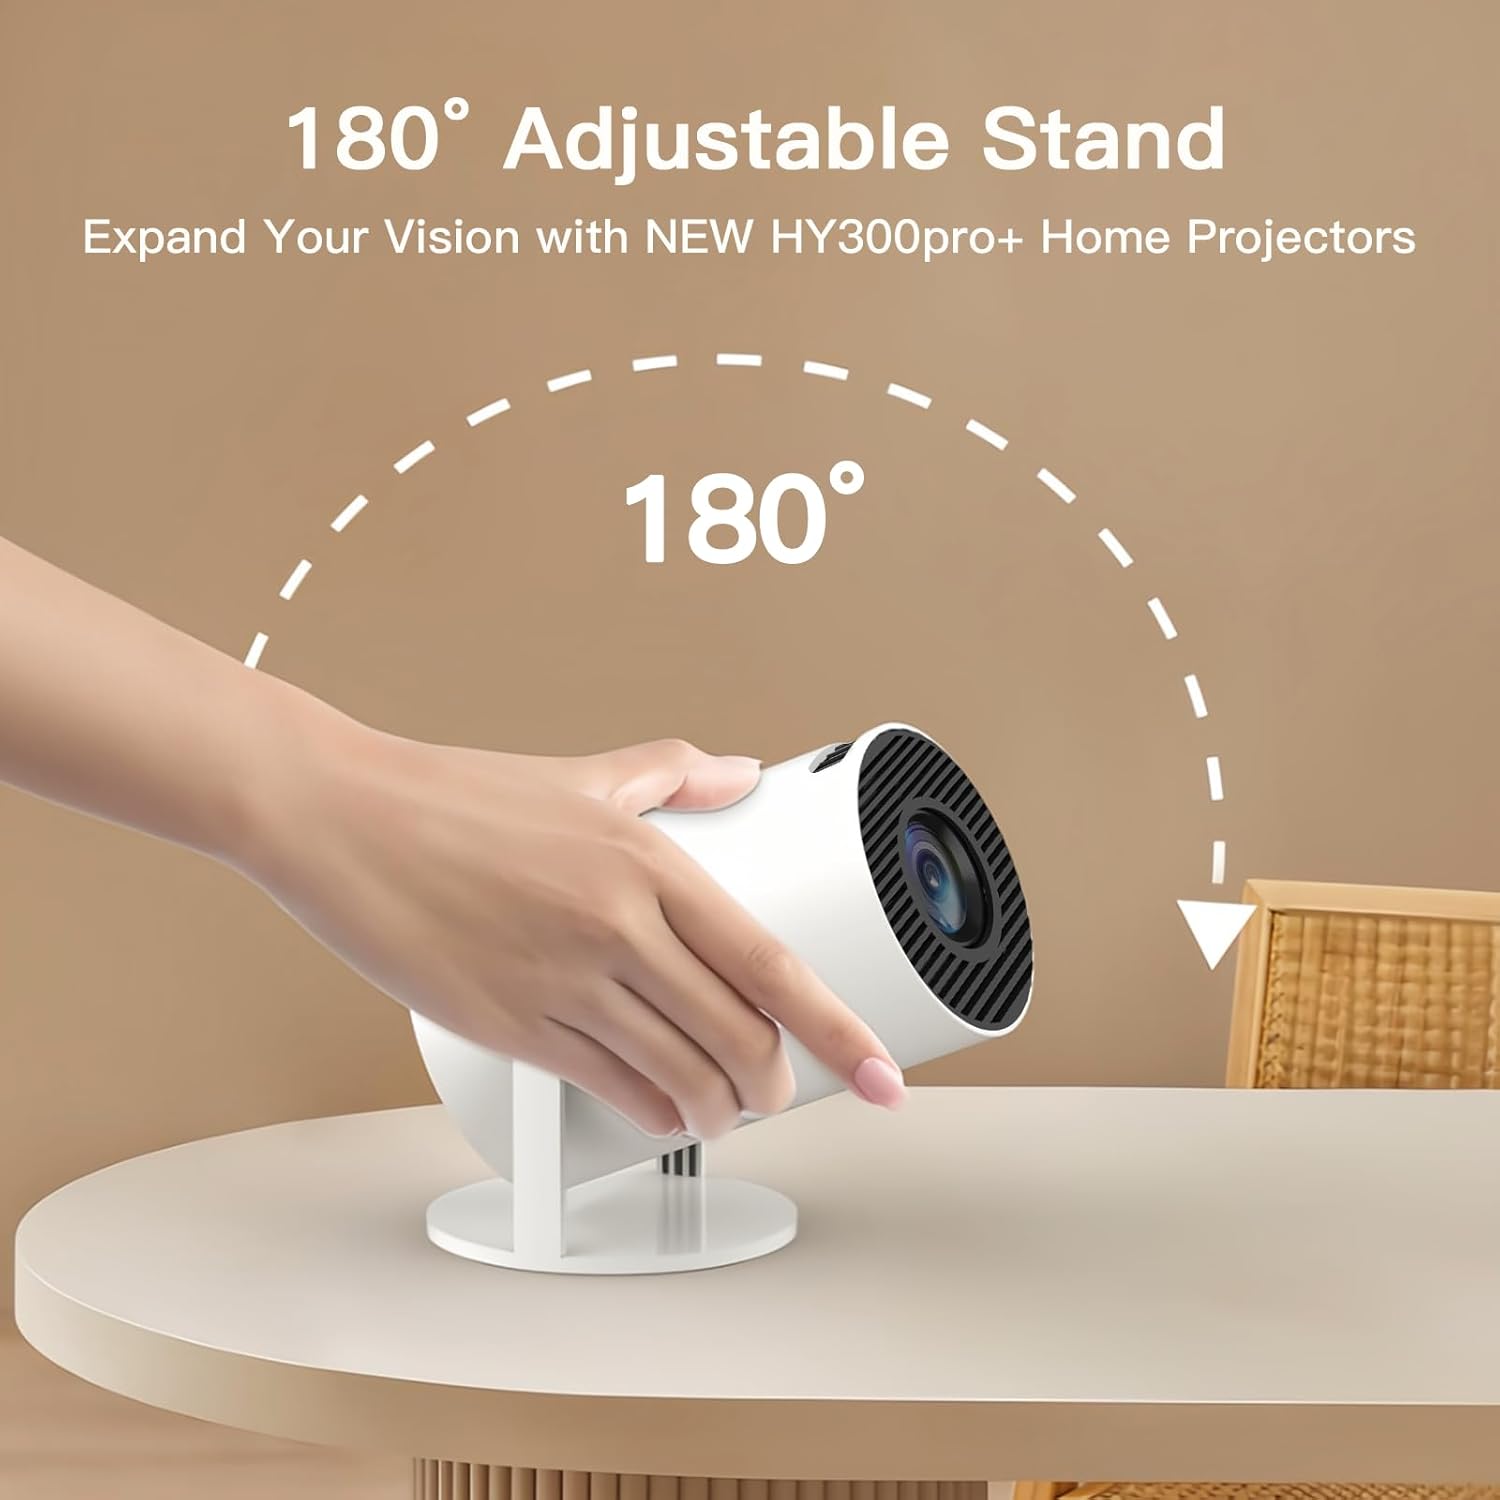
Image: A hand adjusting the LYNCAST X1BQ-US projector, demonstrating its 180-degree adjustable stand for versatile projection angles.
4. Setup
4.1 Placement
Place the projector on a stable, flat surface such as a tabletop. Ensure there is adequate ventilation around the device. The projector is designed for tabletop mounting.
4.2 Power Connection
- Connect the power adapter to the projector's power input port.
- Plug the power adapter into a suitable electrical outlet.
- The projector will enter standby mode.
4.3 Initial Power On
Press the power button on the projector or the remote control to turn on the device. The projector will boot up and display the home screen.
5. Operating Instructions
5.1 Remote Control Overview
The included remote control allows for navigation and control of the projector's functions. Ensure batteries are correctly inserted.
- Power Button: Turns the projector on or off.
- Navigation Buttons (Up/Down/Left/Right): Used to move through menus and options.
- OK Button: Confirms selections.
- Back Button: Returns to the previous screen.
- Home Button: Returns to the main home screen.
- Volume Buttons (+/-): Adjusts the audio volume.
- Menu/Settings Button: Accesses system settings.
5.2 Navigation and App Access
Use the navigation buttons on the remote to browse the Android interface. Select desired applications like Netflix, YouTube, or the App Store by pressing the OK button.
5.3 Connectivity (HDMI)
To connect an external device (e.g., laptop, game console):
- Connect one end of the HDMI cable to the HDMI output port of your external device.
- Connect the other end of the HDMI cable to the HDMI input port on the projector.
- On the projector's home screen, navigate to and select the "HDMI" input source.
5.4 Image Adjustments
- Auto Focus: The projector features automatic focus adjustment. If the image appears blurry, the projector may automatically re-adjust focus. Manual focus adjustment options may be available in the settings menu if needed.
- 180° Adjustable Stand: The integrated stand allows for tilting the projector to various angles, including upward for ceiling projection. Adjust the stand to achieve the desired projection height and angle.
6. Maintenance
6.1 Cleaning the Lens
Gently wipe the projector lens with a soft, lint-free cloth specifically designed for optical surfaces. Do not use abrasive cleaners or solvents.
6.2 Cleaning the Projector Body
Use a soft, dry cloth to clean the exterior of the projector. For stubborn marks, a slightly damp cloth can be used, followed by a dry cloth. Ensure no liquid enters the device.
6.3 Storage
When not in use for extended periods, store the projector in a cool, dry place, away from direct sunlight and excessive dust.
7. Troubleshooting
| Problem | Possible Cause | Solution |
|---|---|---|
| No power | Power cable not connected; Power outlet faulty | Ensure power cable is securely connected; Try a different power outlet. |
| No image | Incorrect input source; HDMI cable loose/faulty; Device not powered on | Select correct input source (e.g., HDMI); Check HDMI cable connection; Ensure connected device is powered on. |
| Blurry image | Out of focus; Projector too close/far from screen | Allow auto-focus to adjust; Adjust projector distance or check manual focus settings. |
| No sound | Volume too low; Muted; External device sound settings | Increase volume on projector and remote; Unmute; Check audio output settings on connected device. |
8. Specifications
| Feature | Detail |
|---|---|
| Brand | LYNCAST |
| Model | X1BQ-US |
| Display Technology | LCD |
| Native Display Resolution | 1920 x 1080 Pixels |
| Supported Resolution | Up to 3840 x 2160 Pixels (4K) |
| Refresh Rate | 60 Hz |
| Special Features | Auto Focus, Android OS, 180° Adjustable Stand |
| Connectivity | HDMI |
| Form Factor | Portable |
| Mounting Type | Tabletop Mount |
| Recommended Uses | Gaming, Home Cinema |
9. Safety Information
- Do not look directly into the projector lens when the lamp is on.
- Do not block the ventilation openings of the projector.
- Keep the projector away from water or other liquids.
- Do not attempt to disassemble or repair the projector yourself. Refer all servicing to qualified personnel.
- Use only the power adapter supplied with the projector.
- Keep the projector away from heat sources and direct sunlight.
10. Warranty and Support
LYNCAST provides a limited warranty for this product. For detailed warranty terms and conditions, please refer to the warranty card included in your package or visit the official LYNCAST website. For technical support or customer service inquiries, please contact LYNCAST customer support through the contact information provided on the product packaging or website.


