
1. Introduction
This manual provides essential instructions for the safe and efficient operation, maintenance, and care of your WantJoin 6 Quart Stainless Steel Pressure Cooker, Model 24CM6L. Please read all instructions thoroughly before first use and retain this manual for future reference.
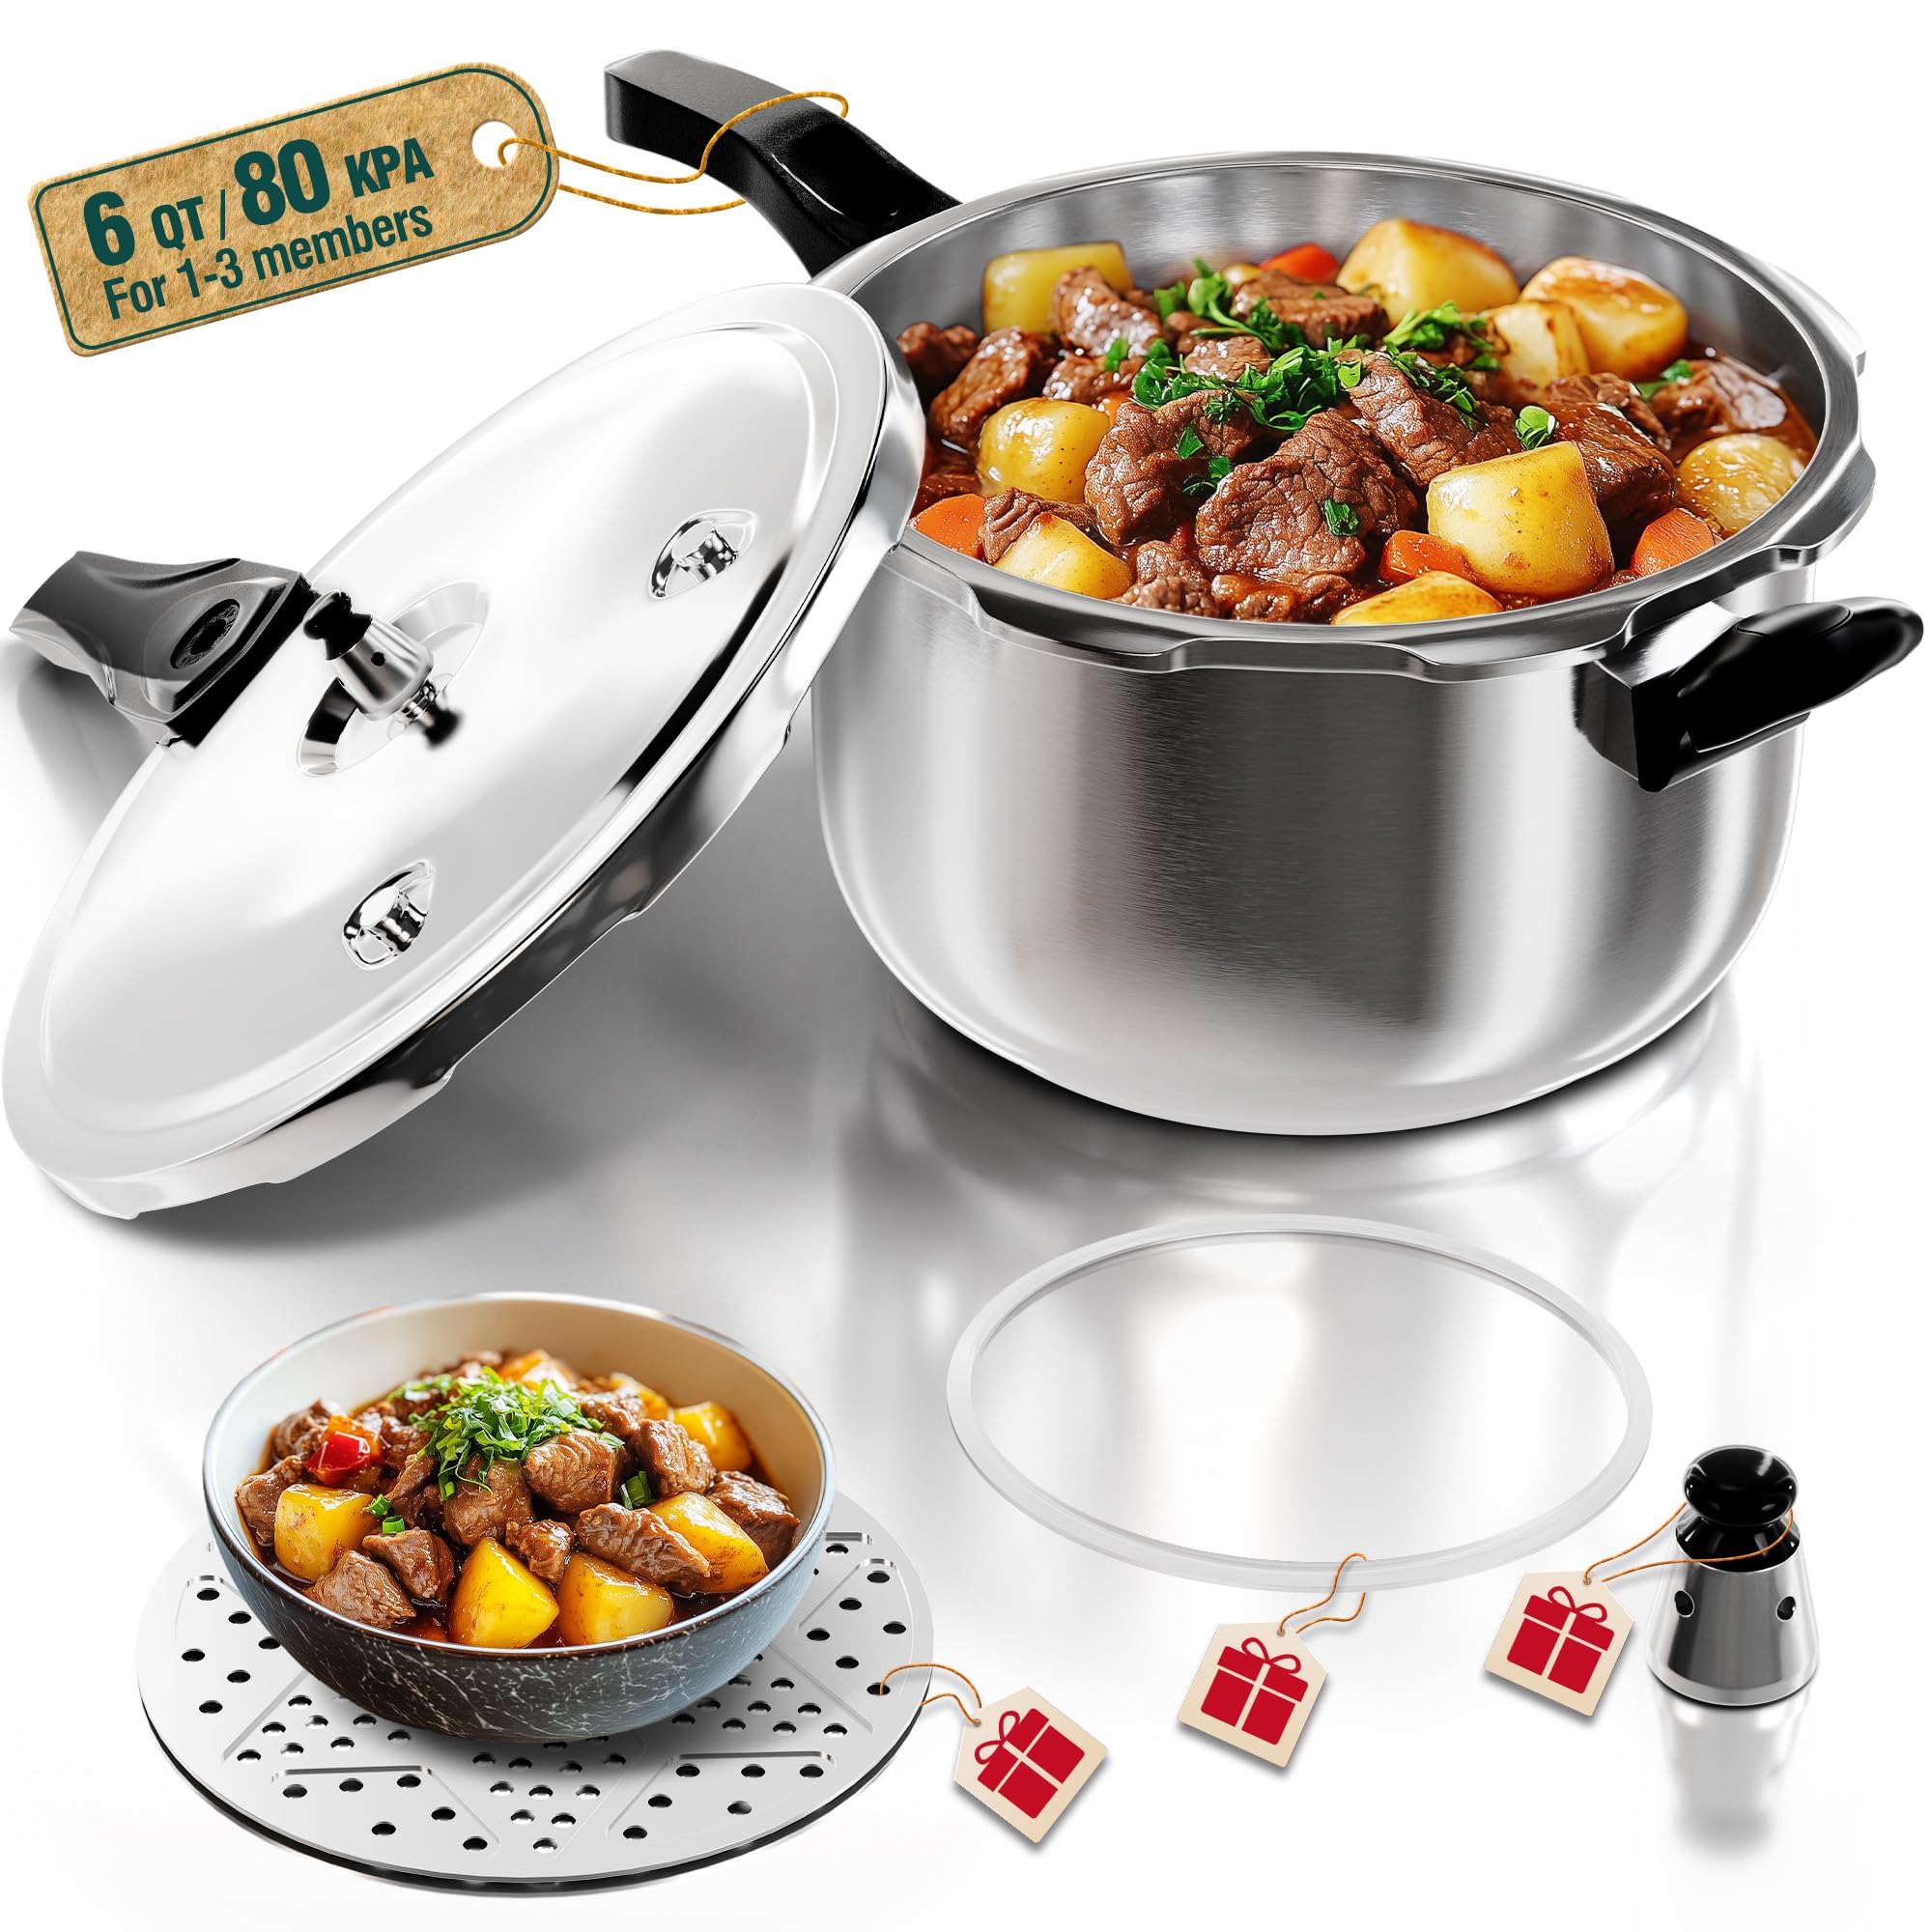
Image: The WantJoin 6 Quart Stainless Steel Pressure Cooker, showcasing its sleek design and robust construction.
2. Important Safety Information
WARNING: Failure to follow these safety instructions may result in serious injury or property damage.
- Always ensure the pressure cooker lid is properly sealed before applying heat.
- Do not open the pressure cooker until all internal pressure has been safely released. Refer to the pressure release instructions.
- Never fill the pressure cooker beyond 2/3 full. For foods that expand during cooking (e.g., rice, dried vegetables), do not fill beyond 1/2 full.
- Regularly inspect the sealing ring, safety valve, and anti-block vent for wear or damage. Replace components as needed.
- Keep hands and face clear of the steam release valve when releasing pressure.
- Do not use the pressure cooker for deep frying with oil.
- This appliance is not intended for use by persons with reduced physical, sensory, or mental capabilities, or lack of experience and knowledge, unless they have been given supervision or instruction concerning use of the appliance by a person responsible for their safety.
- Keep out of reach of children.

Image: Diagram illustrating the enhanced safety features including the safety valve, anti-block vent, sealing ring, and self-locking valve.
3. Product Components
Your WantJoin Pressure Cooker consists of several key parts designed for safe and effective cooking:
- Pot Body: Made from high-intensity stainless steel with a thickened 3-ply composite bottom for even heat distribution.
- Lid: Features multiple safety mechanisms.
- Main Safety Valve (Spring Valve): Indicates pressure status and automatically releases excess pressure.
- Anti-Block Vent: Prevents food particles from blocking the pressure release.
- Sealing Ring: Creates an airtight seal between the lid and the pot body.
- Reinforced Handles: Heat-resistant bakelite handles for secure grip.
- Steamer Basket (if included): For steaming vegetables or other foods.

Image: Diagram showing the main components of the pressure cooker, including the safety valve, sealing ring, and steamer, along with key dimensions.
4. Setup and First Use
- Unpacking: Carefully remove all packaging materials and inspect the pressure cooker for any damage.
- Initial Cleaning: Before first use, wash the pot body, lid, and sealing ring with warm, soapy water. Rinse thoroughly and dry completely.
- Sealing Ring Installation: Ensure the silicone sealing ring is correctly seated inside the lid rim. It should fit snugly and evenly.
- Test Run (Optional but Recommended):
- Add 2-3 cups of water to the pot.
- Close the lid securely according to the operating instructions.
- Place on a heat source and bring to full pressure.
- Allow pressure to maintain for 5 minutes, then release pressure using the natural release method (allow to cool) or quick release (if applicable and safe for your model).
- This helps to clean the interior and familiarize you with the cooker's operation.
5. Operating Instructions
5.1. Preparing for Cooking
- Add Ingredients: Place your food and the required amount of liquid into the pressure cooker pot. Ensure the liquid level is at least 1 cup (250ml) unless specified otherwise by a recipe. Do not exceed the maximum fill lines (2/3 full for most foods, 1/2 full for expanding foods).
- Close the Lid: Align the lid with the pot body. Rotate the lid clockwise until it locks securely into place. The handles should align, and the lid should feel firm and not wobble.
- Check Valves: Ensure the main safety valve is clear and the anti-block vent is free from obstructions.
5.2. Cooking Under Pressure
- Apply Heat: Place the pressure cooker on a suitable heat source (gas, electric, induction, ceramic). Use a burner size appropriate for the cooker's base.
- Building Pressure: Heat the cooker on high. Steam will begin to escape from the main safety valve, and the indicator rod will rise, signaling that pressure is building.
- Maintain Pressure: Once the indicator rod is fully raised and a steady stream of steam is released (or the regulator begins to jiggle/hiss, depending on model), reduce the heat to the lowest setting that maintains pressure. Begin timing your recipe.
- Cooking Time: Follow your recipe's recommended pressure cooking times.

Image: The pressure cooker containing a stew, illustrating typical cooking times for various foods like beans, soup, meat, sauces, and rice.
5.3. Releasing Pressure
There are two primary methods for releasing pressure:
- Natural Release: Remove the pressure cooker from the heat source and allow it to cool down naturally. The pressure indicator will drop on its own. This method is ideal for foods that benefit from a longer cooking time or that might foam, such as stews, soups, and beans.
- Quick Release (Cold Water Release): For faster pressure release, carefully place the pressure cooker under a cold water tap, allowing cold water to run over the lid (avoiding the steam vent). The pressure indicator will drop rapidly. This method is suitable for delicate foods like vegetables and fish to prevent overcooking. Caution: Do not use quick release for foamy foods or if the recipe advises against it.
Opening the Lid: Once the pressure indicator has fully dropped and no steam is escaping, you can safely open the lid. Rotate the lid counter-clockwise and lift it away from you to avoid residual steam.
6. Maintenance and Cleaning
Proper maintenance ensures the longevity and safe operation of your pressure cooker.
- After Each Use:
- Wash the pot body and lid with warm, soapy water. The pot body is dishwasher safe.
- Remove and wash the sealing ring, main safety valve, and anti-block vent. Ensure all food particles are removed.
- Rinse all parts thoroughly and dry completely before reassembling or storing.
- Sealing Ring Care: The sealing ring is crucial for proper pressure. Inspect it regularly for cracks, tears, or hardening. Replace it every 1-2 years, or sooner if signs of wear are visible.
- Valve Maintenance: Ensure the main safety valve and anti-block vent are always clean and free of debris. A small brush can be used to clear any blockages.
- Storage: Store the pressure cooker with the lid inverted or slightly ajar to prevent the sealing ring from compressing and losing its elasticity.

Image: Close-up of the interior of the pressure cooker, highlighting its food-grade 304 stainless steel construction, which is corrosion-resistant and easy to clean.
7. Troubleshooting
| Problem | Possible Cause | Solution |
|---|---|---|
| Pressure not building | Lid not sealed properly; insufficient liquid; sealing ring damaged or misplaced. | Ensure lid is locked correctly. Add more liquid. Inspect and reposition/replace sealing ring. |
| Steam leaking from lid edge | Sealing ring dirty, damaged, or improperly seated; lid not closed correctly. | Clean or replace sealing ring. Re-seat the lid firmly. |
| Food undercooked | Insufficient cooking time; pressure not maintained consistently. | Increase cooking time. Ensure heat is consistent to maintain pressure. |
| Food overcooked | Excessive cooking time; pressure released too slowly. | Reduce cooking time. Use quick release method for delicate foods. |
| Main safety valve not rising | Insufficient pressure; valve blocked by food particles. | Ensure enough liquid and heat. Clean the valve thoroughly. |
8. Specifications
| Brand | WantJoin |
| Model Number | 24CM6L |
| Capacity | 6 Quarts (6 Liters) |
| Material | Stainless Steel (Food-Grade 304 SS) |
| Color | Silver |
| Product Dimensions (D x W x H) | 9.5"D x 9.5"W x 6.2"H |
| Item Weight | 3.98 Kilograms |
| Compatible Stovetops | Electric, Gas, Induction, Ceramic |
| Control Method | Manual (Push Button / Mechanical Knob) |
| Dishwasher Safe | Yes (Pot body) |
| UPC | 723747188298 |

Image: Illustration of the pressure cooker's 3-layer composite bottom and its compatibility with induction, gas, butane, and ceramic stovetops.
9. Warranty and Support
WantJoin products are manufactured to high-quality standards. For specific warranty details, please refer to the warranty card included with your purchase or visit the official WantJoin website. In case of any issues or questions regarding your pressure cooker, please contact WantJoin customer support through their official channels.
Contact Information: Please refer to the packaging or the official WantJoin website for the most current customer support contact details.
