
Introduction
This manual provides detailed instructions for the safe installation, operation, and maintenance of your Maxax Nickel 12" Ceiling Light. Please read this manual thoroughly before installation and retain it for future reference. This fixture features a nickel finish, hammered glass shades, and accommodates three E26 bulbs.
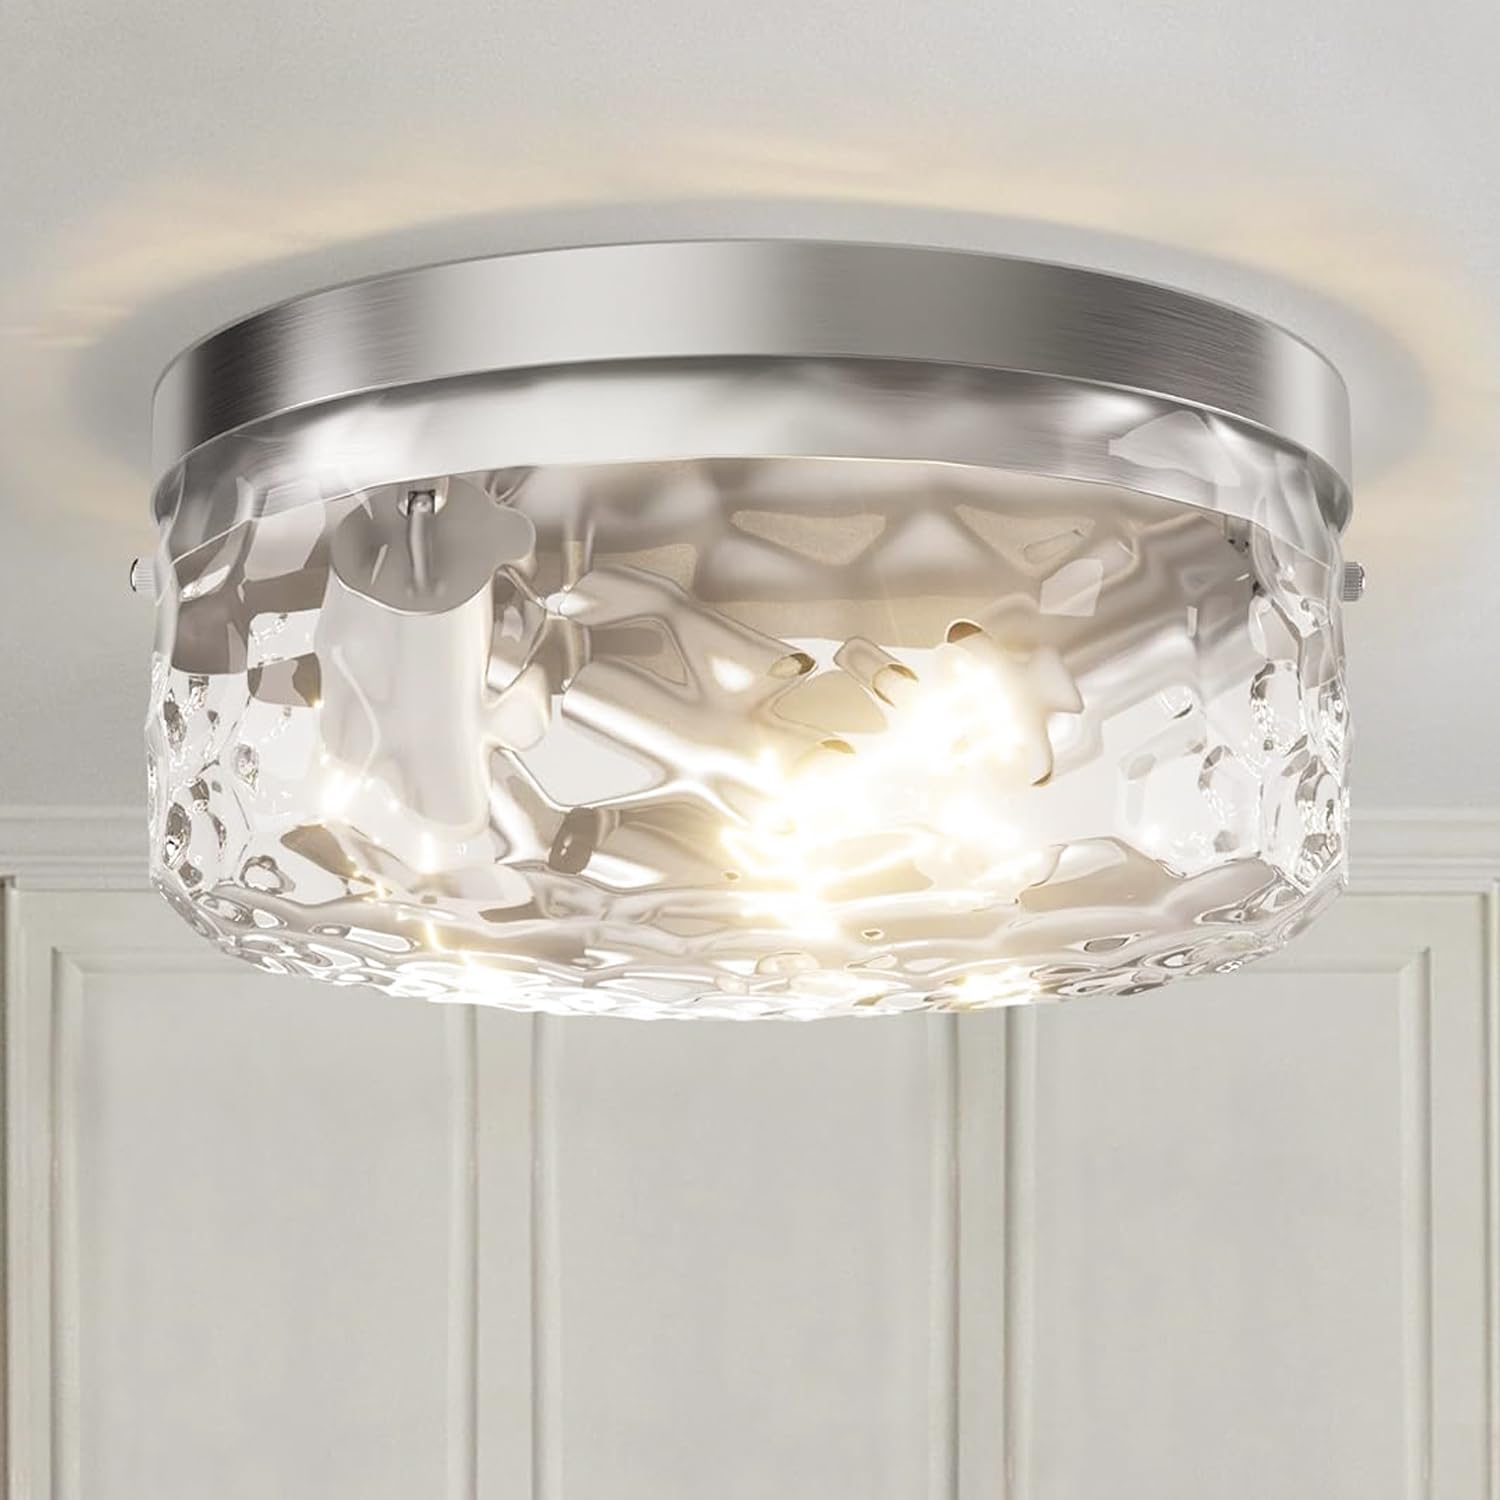
Image: Front view of the Maxax Nickel 12" Ceiling Light, showcasing its hammered glass and nickel finish.
Safety Information
WARNING: Risk of electric shock. Disconnect power at the fuse box or circuit breaker before installation or servicing.
- Ensure all electrical connections comply with local codes and ordinances, as well as the National Electric Code (NEC).
- Consult a qualified electrician if you are unfamiliar with electrical wiring.
- Do not install this fixture in wet locations. It is designed for indoor use only.
- Use only E26 base bulbs, maximum 60 watts per bulb.
- Do not exceed the recommended wattage.
- Handle glass components with care to prevent breakage.
Package Contents
Verify that all components are present before beginning installation. If any parts are missing or damaged, contact customer support.
- 1 x Maxax Nickel 12" Ceiling Light Fixture
- 1 x Glass Lampshade
- 1 x Mounting Hardware Kit (screws, wire nuts, mounting bracket)
- 1 x Instruction Manual (this document)

Image: Components of the ceiling light, including the glass lampshade, metal frame, and E26 bulb bases.
Setup (Installation)
- Turn Off Power: Before starting, ensure the power to the circuit is turned off at the main fuse box or circuit breaker to prevent electrical shock.
- Prepare Mounting: Attach the mounting bracket to the junction box in the ceiling using the provided screws. Ensure the bracket is securely fastened.
- Wire Connections:
- Connect the black wire from the fixture to the black (live) wire from the ceiling using a wire nut.
- Connect the white wire from the fixture to the white (neutral) wire from the ceiling using a wire nut.
- Connect the ground wire from the fixture to the ground wire from the ceiling (or to the green ground screw on the mounting bracket) using a wire nut.
- Mount Fixture: Carefully push the wired fixture up towards the ceiling, aligning the fixture's base with the mounting bracket. Secure the fixture to the mounting bracket using the provided screws.
- Install Bulbs: Screw three E26 base bulbs (not included, max 60W each) into the sockets.
- Attach Glass Shade: Carefully place the hammered glass lampshade onto the fixture and secure it according to the design (typically with small screws or a twist-lock mechanism, refer to visual cues on the product).
- Restore Power: Once installation is complete and all components are secure, restore power at the fuse box or circuit breaker.

Image: Dimensional diagram of the ceiling light, indicating a 12-inch diameter and 5.7-inch height.
Operating Instructions
The Maxax Nickel 12" Ceiling Light is designed for simple operation.
- Power On/Off: Operate the light using a standard wall switch connected to the fixture's circuit.
- Dimmable Functionality: This fixture is dimmable. To utilize dimming capabilities, ensure you use dimmable E26 bulbs and a compatible dimmer switch (both sold separately).
- Bulb Replacement: To replace bulbs, first turn off power at the circuit breaker. Allow bulbs to cool, then carefully unscrew old bulbs and replace with new E26 bulbs (max 60W each).

Image: The ceiling light depicted in both off and illuminated states, showing the effect of the hammered glass when lit.
Maintenance
Regular maintenance will help preserve the appearance and functionality of your light fixture.
- Cleaning: Disconnect power before cleaning. Wipe the fixture with a soft, dry cloth. Do not use abrasive cleaners, solvents, or polishes as they may damage the finish or glass.
- Glass Care: The hammered glass shade can be gently wiped with a damp cloth and then dried with a soft, lint-free cloth.
- Inspection: Periodically check all connections and mounting hardware for tightness.
Troubleshooting
| Problem | Possible Cause | Solution |
|---|---|---|
| Light does not turn on. |
|
|
| Light flickers. |
|
|
| Glass shade is loose. |
|
|
Specifications
| Brand | Maxax |
| Model Name | 27007A-3NT-P |
| Color | Nickel |
| Material | Glass, Metal |
| Product Dimensions | 12"L x 12"W x 5.5"H |
| Light Fixture Form | Close to Ceiling |
| Number of Light Sources | 3 |
| Bulb Base | E26 |
| Max Wattage per Bulb | 60 Watts |
| Voltage | 110 Volts |
| Installation Type | Flush Mount |
| Special Feature | Anti-Rust |
| Indoor/Outdoor Usage | Indoor |
| Specification Met | ETL |
Warranty and Support
This Maxax product comes with a Limited Warranty. Specific terms and conditions of the warranty are typically provided with your purchase documentation or can be obtained by contacting the manufacturer directly.
For technical assistance, missing parts, or warranty inquiries, please contact Maxax customer support through their official channels. Please have your model number (27007A-3NT-P) and purchase information ready when contacting support.


