
1. Product Overview
The DreamQuest Mini PC W-11 Pro is a compact and powerful desktop computer designed for home, business, and office use. It features a 12th Gen Intel N95 processor, 16GB DDR4 RAM, and a 512GB M.2 SSD, providing efficient performance for various tasks. Its small form factor allows for versatile placement, including VESA mounting behind a monitor.

Image 1.1: Overview of DreamQuest Mini PC W-11 Pro key features, including 4 cores, 3.4GHz CPU, Windows 11 Pro, 512GB SSD, 16GB DDR4 memory, USB 3.2, Dual-Band Wi-Fi, Bluetooth 4.2, and smart fan cooling.
Key Features:
- Processor: 12th Gen Intel N95 (up to 3.4GHz) for efficient multitasking.
- Memory & Storage: 16GB DDR4 RAM and 512GB M.2 SSD for fast boot-up and application loading.
- Connectivity: WiFi 5, Bluetooth 4.2, multiple USB 3.2 ports, and dual Gigabit Ethernet.
- Display Support: Three HDMI ports supporting 4K@60Hz for multi-monitor setups.
- Compact Design: Small footprint (139mmx139mmx39mm) with VESA mount capability.
2. Package Contents
Before proceeding with the setup, please ensure all items are present in the package:
- DreamQuest Mini PC W-11 Pro
- Power Adapter (12V/3A)
- HDMI Cable(s)
- VESA Mount Bracket and Screws
- User Manual

Image 2.1: The DreamQuest Mini PC, power adapter, HDMI cables, and user manual included in the package.
3. Hardware Setup
3.1 Connecting Peripherals
Refer to the port diagram below to connect your devices:

Image 3.1: Diagram illustrating the various ports on the DreamQuest Mini PC, including DC 12V, LAN, HDMI, Audio, USB 3.2 Type-A, and TF card slot. A USB-C port is also visible on the side.
- Power: Connect the 12V/3A power adapter to the DC IN port (01).
- Display: Connect your monitor(s) to the HDMI ports (03). The Mini PC supports up to three 4K displays.
- Keyboard & Mouse: Connect your USB keyboard and mouse to the USB 3.2 Type-A ports (05).
- Network: For a wired connection, connect an Ethernet cable to one of the LAN ports (02).
- Audio: Connect headphones or speakers to the 3.5mm audio jack (04).
- Storage Expansion: Insert a TF card into the TF slot (06) if desired.
3.2 VESA Mounting (Optional)
The DreamQuest Mini PC can be mounted on the back of a VESA-compatible monitor or on a wall to save desk space.

Image 3.2: Examples of how the DreamQuest Mini PC can be mounted, including on a desk, behind a monitor using a VESA mount, or on a wall.
- Attach the VESA mount bracket to the back of your monitor or desired wall location using the provided screws.
- Slide the Mini PC onto the bracket until it clicks securely into place.
4. Operating Instructions
4.1 First Boot-Up
- After connecting all necessary peripherals and power, press the power button located on the front of the Mini PC.
- The system will boot into Windows 11 Pro. Follow the on-screen instructions to complete the initial setup, including language, region, and network configuration.
4.2 Connecting to Networks
- Wired Connection: If an Ethernet cable is connected, the system should automatically detect and connect to the network.
- Wireless Connection (Wi-Fi):
- Click the Wi-Fi icon in the system tray.
- Select your desired Wi-Fi network from the list.
- Enter the network password and click "Connect".
4.3 Bluetooth Device Pairing
The Mini PC supports Bluetooth 4.2 for connecting wireless peripherals.
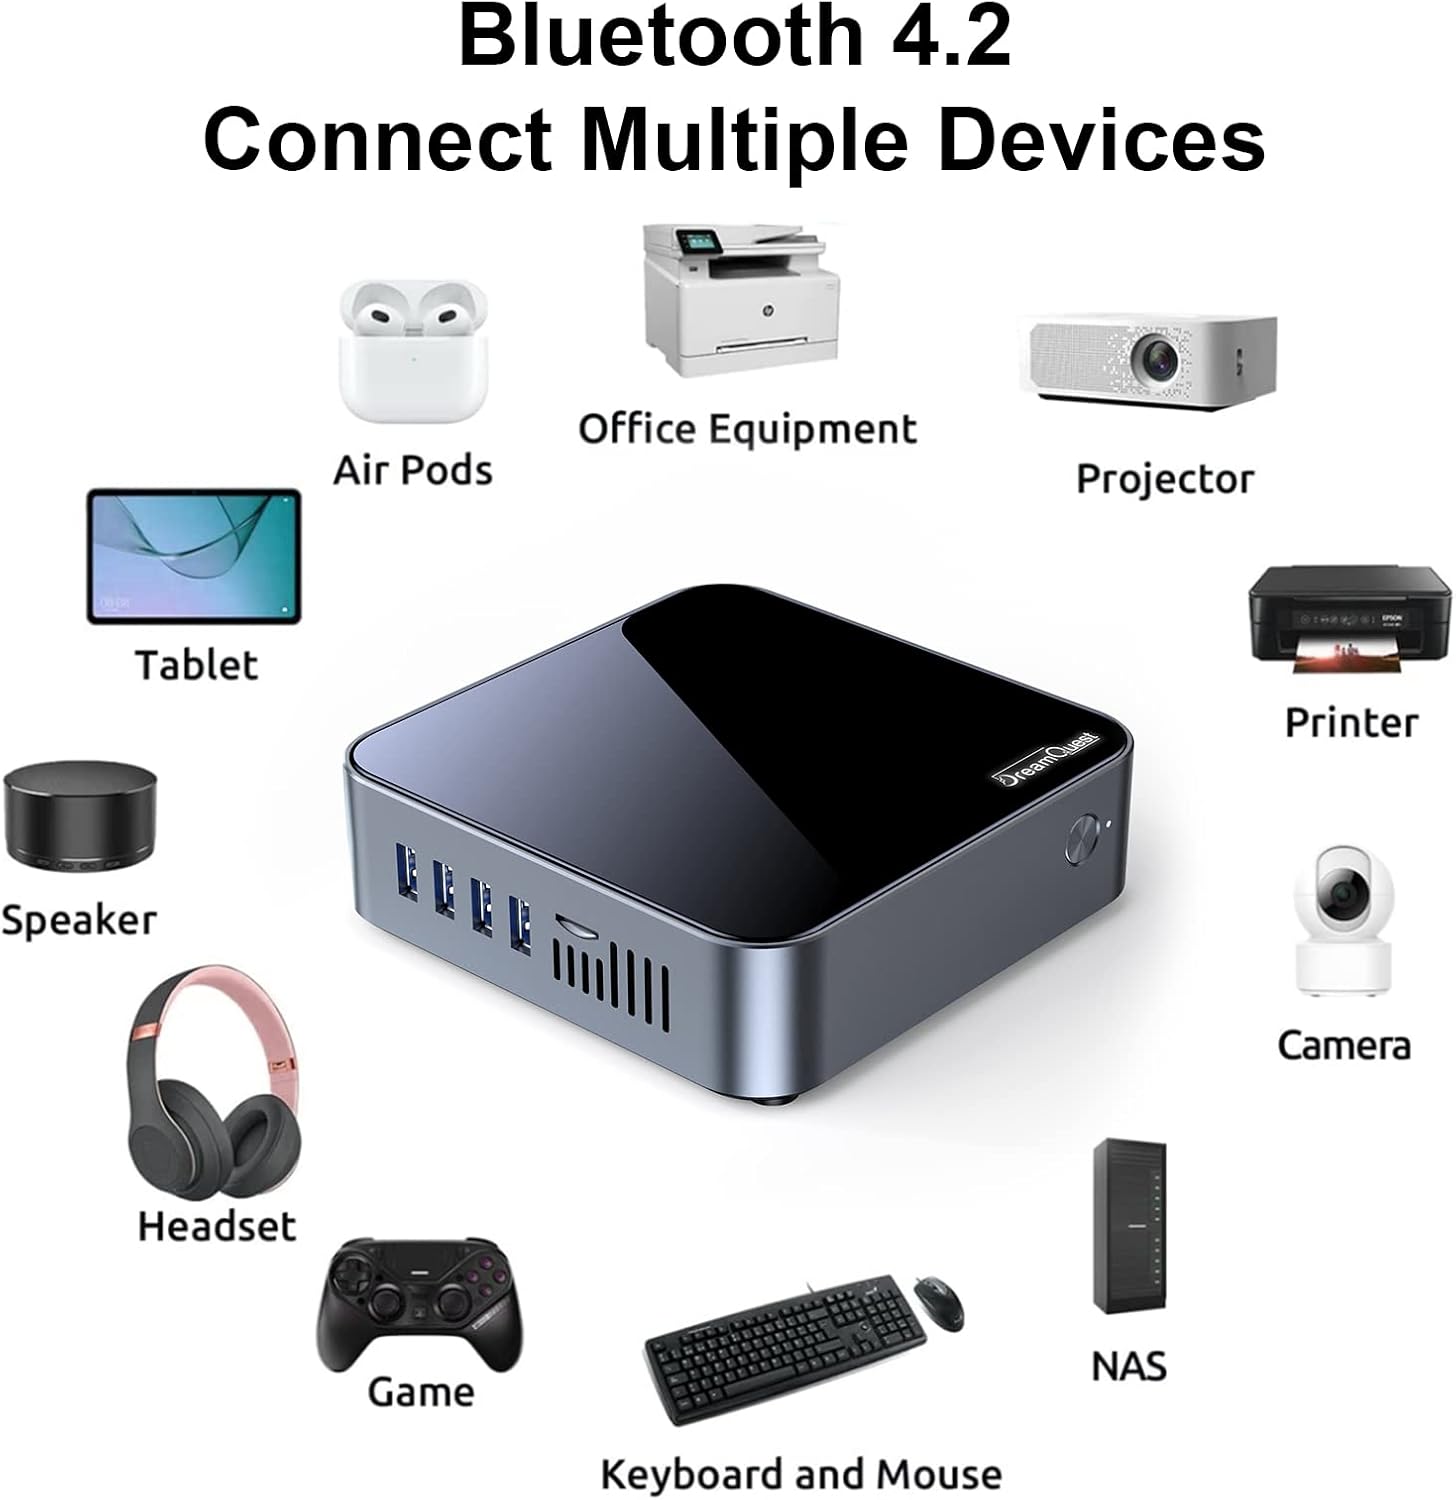
Image 4.1: The DreamQuest Mini PC connecting to various Bluetooth devices such as headphones, speakers, game controllers, and office equipment.
- Ensure your Bluetooth device is in pairing mode.
- On the Mini PC, go to Settings > Bluetooth & devices > Add device.
- Select "Bluetooth" and choose your device from the list to pair.
4.4 Multi-Display Setup
The Mini PC supports up to three independent 4K displays via its HDMI ports.
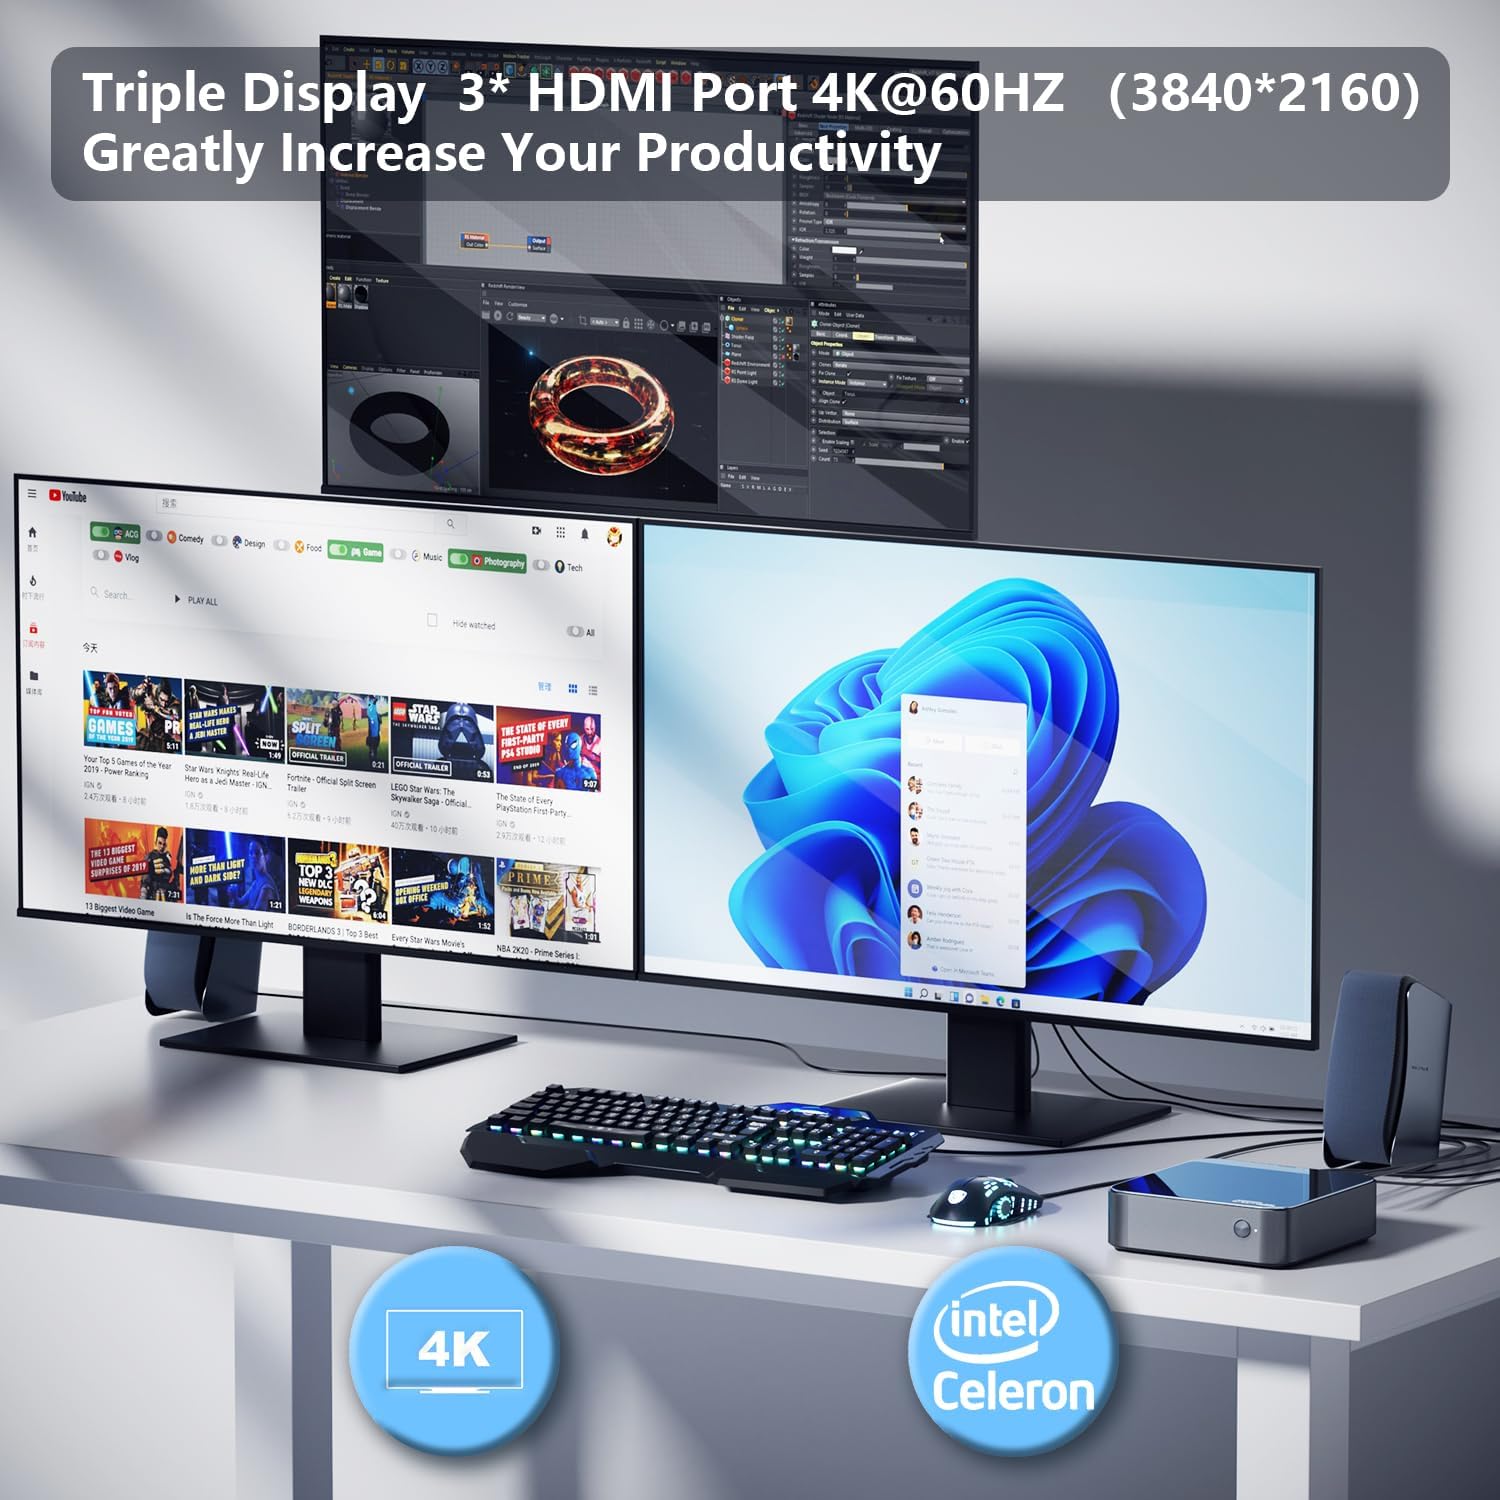
Image 4.2: A DreamQuest Mini PC connected to three monitors, demonstrating its triple display capability for enhanced productivity.
- Connect your monitors to the available HDMI ports.
- Right-click on the desktop and select "Display settings".
- From here, you can arrange your displays, change resolution, and set display modes (e.g., Extend, Duplicate).
5. Maintenance
5.1 Cleaning
- Use a soft, dry cloth to clean the exterior of the Mini PC.
- For stubborn marks, slightly dampen the cloth with water. Avoid harsh chemicals.
- Periodically use compressed air to clear dust from ventilation openings to ensure optimal cooling.
5.2 Storage Expansion
The Mini PC comes with a 512GB M.2 SSD and supports expansion up to 2TB SSD via a built-in 2.5" SATA interface (SSD not included).

Image 5.1: Illustration of the 512GB M.2 PCIe SSD and the built-in 2.5" SATA interface for additional storage expansion (2.5" SSD not included).
Consult a qualified technician or the DreamQuest support team for guidance on installing additional storage to avoid voiding your warranty.
6. Troubleshooting
- No Power:
- Ensure the power adapter is securely connected to both the Mini PC and a working power outlet.
- Verify the power outlet is functional by plugging in another device.
- No Display:
- Check that the HDMI cable(s) are firmly connected to both the Mini PC and the monitor(s).
- Ensure the monitor is powered on and set to the correct input source (HDMI).
- Try connecting to a different HDMI port or using a different HDMI cable.
- No Internet Connection:
- For wired connections, check the Ethernet cable and router status.
- For Wi-Fi, ensure the Wi-Fi adapter is enabled and you have entered the correct password.
- Restart your router/modem and the Mini PC.
- Slow Performance:
- Close unnecessary applications running in the background.
- Check for available Windows updates and install them.
- Ensure there is sufficient free space on the SSD.
- Run a system scan for malware or viruses.
- Peripheral Not Detected:
- Try connecting the peripheral to a different USB port.
- Ensure the peripheral's drivers are installed and up to date.
- Restart the Mini PC.
7. Specifications
| Feature | Detail |
|---|---|
| Processor | Intel N95 (12th Gen Alder Lake), up to 3.4 GHz |
| RAM | 16GB DDR4 SDRAM |
| Storage | 512GB M.2 SSD (Expandable up to 2TB via 2.5" SATA) |
| Operating System | Windows 11 Pro |
| Graphics | Intel UHD Graphics 630 (Integrated) |
| Video Output | 3 x HDMI (4K@60Hz max resolution 3840x2160) |
| USB Ports | 4 x USB 3.2 Type-A, 1 x USB-C |
| Network | Dual Gigabit Ethernet, WiFi 5 (2.4G+5.0G dual-band) |
| Bluetooth | Bluetooth 4.2 |
| Audio | 3.5mm Headphone Jack |
| Dimensions | 139mm x 139mm x 39mm (approx. 5.47 x 5.47 x 1.54 inches) |
| Weight | 950 g (approx. 2.09 lbs) |

Image 7.1: Detailed view of the Intel N95 processor, highlighting 16GB Max Memory, 4K 60Hz UHD Graphics, 3.40GHz Burst Frequency, and 6M Smart Cache.

Image 7.2: Cinebench R23 multi-core performance data comparing the Alder Lake N95 with other Intel processors like N100, N5105, and N5095.
8. Warranty and Support
DreamQuest provides comprehensive support for its products:
- Technical Support: Lifetime technical support is available for all DreamQuest Mini PCs.
- Satisfaction Guarantee: A 12-month satisfaction guarantee is offered from the date of purchase.
- Contact: For technical assistance or warranty claims, please refer to the contact information provided in your product packaging or visit the official DreamQuest support website.