
1. Important Safeguards
Please read all instructions before using your OXO Brew 8-Cup Coffee Maker. Failure to follow these safeguards may result in injury or damage to the appliance.
- Do not touch hot surfaces. Use handles or knobs.
- To protect against fire, electric shock, and injury to persons, do not immerse cord, plugs, or appliance in water or other liquid.
- Close supervision is necessary when any appliance is used by or near children.
- Unplug from outlet when not in use and before cleaning. Allow to cool before putting on or taking off parts, and before cleaning the appliance.
- Do not operate any appliance with a damaged cord or plug or after the appliance malfunctions, or has been damaged in any manner. Return appliance to the nearest authorized service facility for examination, repair, or adjustment.
- The use of accessory attachments not recommended by the appliance manufacturer may result in fire, electric shock, or injury to persons.
- Do not use outdoors.
- Do not let cord hang over edge of table or counter, or touch hot surfaces.
- Do not place on or near a hot gas or electric burner, or in a heated oven.
- Always attach plug to appliance first, then plug cord into the wall outlet. To disconnect, turn any control to “off”, then remove plug from wall outlet.
- Do not use appliance for other than intended use.
- Do not use a cracked carafe or a carafe having a loose or weakened handle.
- Do not clean carafe with cleansers, steel wool pads, or other abrasive material.
- This appliance is for household use only.
2. Product Overview
The OXO Brew 8-Cup Coffee Maker is designed to deliver a better-tasting cup of coffee, whether you're brewing a single mug or a full pot. It features BetterBrew™ precision brewing technology and a Rainmaker™ showerhead for optimal flavor extraction.

Image: The OXO Brew 8-Cup Coffee Maker with its glass carafe, showcasing its sleek design and brewing process.
3. Setup
3.1 Included Components
- 8-cup coffee maker
- Glass carafe with lid
- Brew basket
- Single-serve accessory
- Coffee scoop
- Drip tray/mug riser
- 5 basket style small coffee filters
- 5 large filters
3.2 Initial Cleaning
Before first use, wash all removable parts (carafe, lid, brew basket, single-serve accessory, coffee scoop, and mug riser) with warm, soapy water. Rinse thoroughly and dry. Wipe the exterior of the coffee maker with a damp cloth.
4. Operating Instructions
4.1 General Brewing Principles
The coffee maker preheats water to the SCA-preferred temperature of 194°F to 205°F for a fast, flavorful brew. The Rainmaker™ showerhead evenly distributes water over coffee grounds for optimal flavor extraction.
4.2 Single-Serve Brewing
- Remove the drip tray from the small brew basket and set it aside.
- Insert the small brew basket directly into the coffee maker. Fold the handle forward so the basket rests flat.
- Add a number 2 paper filter.
- Add one level OXO scoop of coffee grounds per 5-ounce cup.
- Add filtered water to the water tank, using the fill line as your guide. The coffee maker will brew all the water you put in the tank, so be precise.
- Place the drip tray on the base, then place your mug on top.
- Press any button to wake up the machine. By default, "Brew Now" will be highlighted.
- Press to select. You're ready to brew.
- Press the Brew button. The display will show "Preheat" while the water is heating, "Brewing" while the coffee is brewing, and "Ready" once it's finished.

Image: The coffee maker configured for single-serve brewing, with a mug placed on the drip tray.
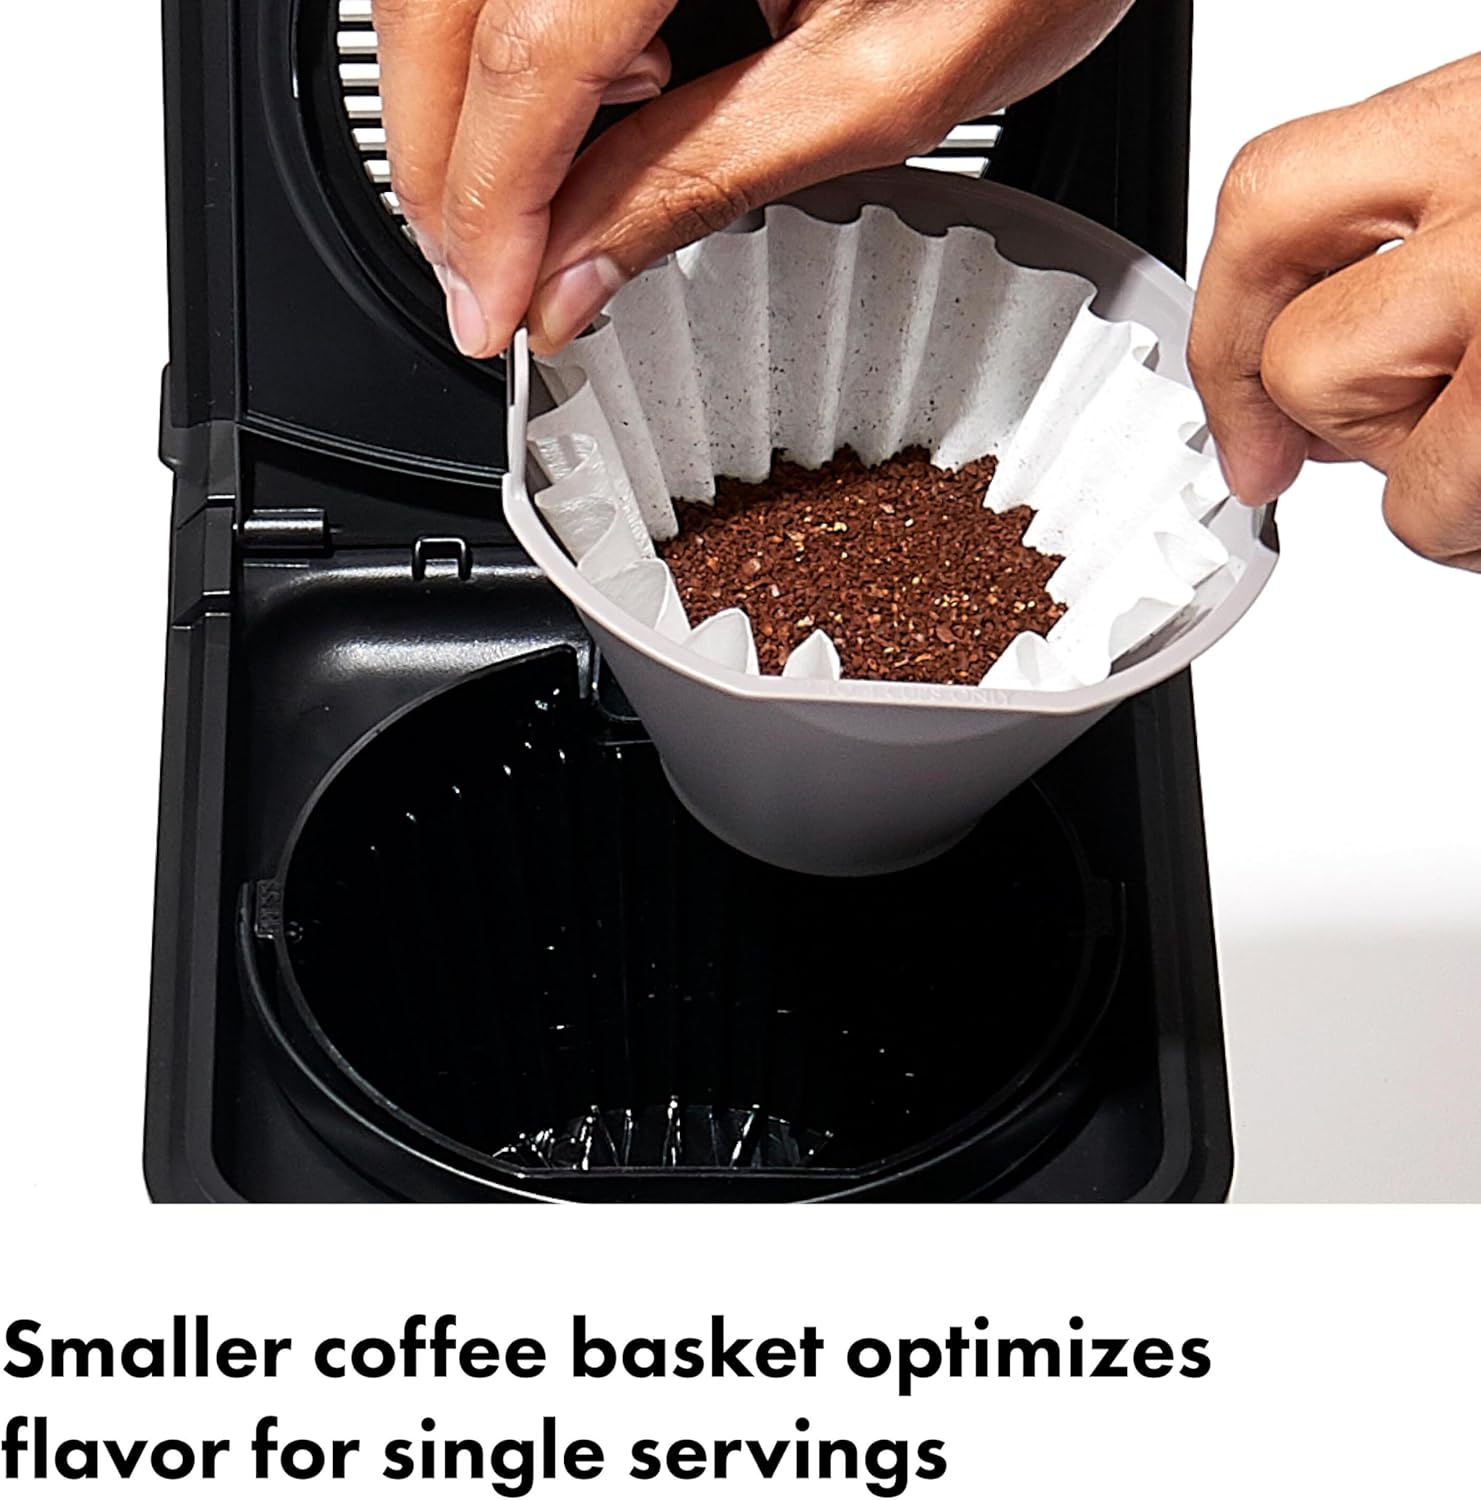
Image: Close-up of the smaller coffee basket designed for optimizing flavor for single servings.
4.3 Carafe Brewing
- Insert the large brew basket directly into the coffee maker. Snap the basket rest under the lid of the machine. Fold the handle forward so the basket rests flat.
- Add a commercial basket large paper filter.
- Add one level OXO scoop of coffee grounds per 5-ounce cup. Never use more than four level scoops to avoid overflow.
- Add filtered water to the water tank, using the fill line as your guide. The coffee maker will brew all the water you put in the tank, so be precise.
- Add the mixing tube to the carafe's lid, then secure the lid tightly in place.
- Place the carafe in position.
- Press any button to wake up the machine. By default, "Brew Now" will be highlighted.
- Press to select. Select brew range: either 5-8 cups or 9-12 cups.
- Press the Brew button. The display will show "Preheat" while the water is heating, "Brewing" while the coffee is brewing, and "Ready" once it's finished.
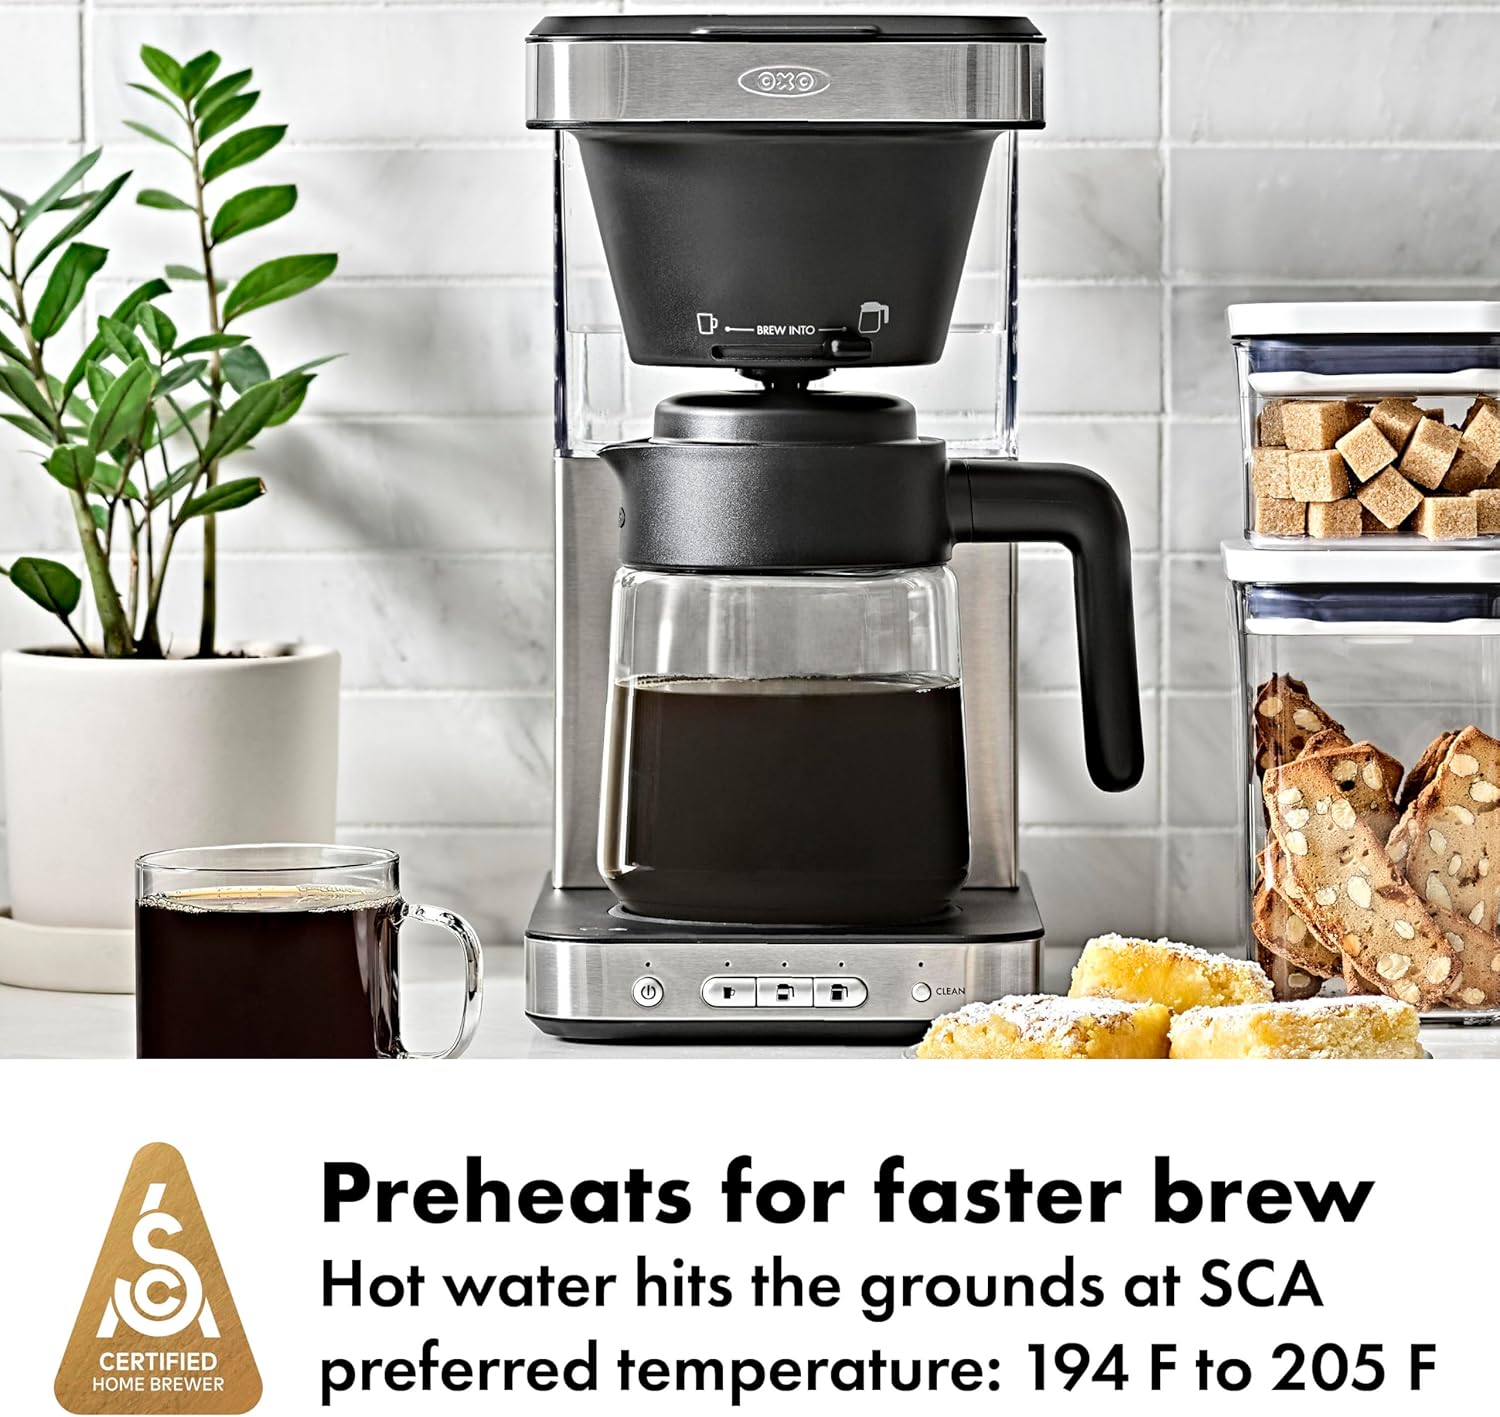
Image: The coffee maker with the SCA Certified Home Brewer label, indicating precise temperature control for optimal brewing.
4.4 Programming Brew Later
The coffee maker can be programmed up to 24 hours in advance. When programming, only add as much water as you plan to brew to avoid overflow.
- Prepare the coffee maker for brewing (add water, filter, and grounds).
- Press any button to wake up the machine.
- Turn the knob until "Brew Later" is highlighted and press to select.
- Turn the knob to highlight the desired cup range (e.g., 5-8 cups).
- Turn the knob to highlight the preferred time for brewing. Press to select.
- The programmed time will appear in the right corner of the screen.
4.5 Setting the Clock
- Press any button to wake up the machine.
- Turn the knob to select "Set Clock" and press to select.
- Turn the knob to select 12 or 24-hour mode and press to select.
- Turn the knob again to select AM or PM.
- Turn the knob and press to select the current time in hours and minutes.
5. Maintenance
5.1 Regular Cleaning
To maintain your OXO coffee maker, clean the outside regularly with a damp cloth and wipe dry. Keep the water tank and brew basket lids open after brewing for quick drying.
Hand wash the glass carafe and lid with mild dish detergent after each use. Rinse and dry thoroughly.
The Rainmaker™ showerhead, brew basket, single-serve accessory, coffee scoop, and mug riser are all top-rack dishwasher safe.
5.2 Descaling
Your coffee maker will tell you when it needs to be descaled. The clean button light will turn on after every 90 cycles as a helpful reminder.
- Prepare a mixture of water and OXO descaling solution as directed on the packaging.
- Add the mixture to the machine's water tank.
- Wake up the machine by pressing any knob.
- Turn the knob until "Clean" is highlighted and press to select.
- Allow the cycle to finish. This takes about 25 minutes.
- Then, rinse the machine by adding filtered water to the 12-cup fill line and run a water-only 9-12 cup cycle.
Video: General guide on how to use and clean an OXO coffee maker (demonstrated with a 12-cup model, but principles apply to the 8-cup model).
6. Troubleshooting
If you encounter any issues with your OXO Brew 8-Cup Coffee Maker, please refer to the following general troubleshooting tips:
- Coffee not brewing: Ensure the power cord is securely plugged in and the water tank is filled to the appropriate level. Check that the brew basket and carafe are correctly positioned.
- Weak coffee: Verify that the correct amount of coffee grounds is used for the desired number of cups. Ensure the coffee is fresh and ground to the appropriate coarseness.
- Overflowing brew basket: Do not exceed the recommended maximum of four level scoops of coffee grounds. Ensure the filter is properly seated in the brew basket.


