
JmGO PicoPlay
JMGO PicoPlay 1080P Smart Portable Projector User Manual
Model: PicoPlay
1. Introduction
This manual provides comprehensive instructions for the setup, operation, maintenance, and troubleshooting of your JMGO PicoPlay 1080P Smart Portable Projector with Projector Floor Stand. Please read this manual thoroughly before using the product to ensure proper functionality and longevity.
The JMGO PicoPlay is a versatile 1080P smart portable projector designed for various entertainment and presentation needs. It features advanced display technology and comes with a dedicated floor stand for flexible placement.

Figure 1: JMGO PicoPlay Projector with Floor Stand.
2. Product Components
The JMGO PicoPlay package includes the following main components:
- JMGO PicoPlay 1080P Smart Portable Projector
- Projector Floor Stand
- Power Adapter
- Remote Control
- User Manual (this document)

Figure 2: Close-up view of the JMGO PicoPlay Projector unit.
3. Setup Guide
3.1 Assembling the Floor Stand
- Unpack all components of the floor stand. Identify the base, the main pole, and the projector mounting plate.
- Attach the main pole to the weighted base. Ensure it is securely tightened to provide stable support.
- Secure the projector mounting plate to the top of the main pole. The stand features a 1/4" universal screw mount.

Figure 3: The weighted base of the floor stand, designed for stability.

Figure 4: The 1/4" universal screw mount at the top of the stand, compatible with various devices.
3.2 Placing the Projector
- Carefully place the JMGO PicoPlay projector onto the mounting plate of the assembled stand. Align the projector's mounting hole with the screw on the stand.
- Tighten the screw to secure the projector firmly to the stand.
- Position the projector and stand in your desired viewing area. Ensure there is adequate space for the projected image and proper ventilation around the projector.

Figure 5: The JMGO PicoPlay projector seamlessly integrated with its stand in a modern interior.
3.3 Power Connection
- Connect the power adapter to the projector's power input port.
- Plug the other end of the power adapter into a wall outlet.
- The projector will typically indicate power status with an LED light.
4. Operating Instructions
4.1 Initial Power On and Setup
- Press the power button on the projector or the remote control to turn on the device.
- Follow the on-screen prompts for initial setup, including language selection, Wi-Fi connection, and account login (if applicable).
4.2 Image Adjustment
The JMGO PicoPlay features automatic image correction capabilities:
- Auto Focus: The projector automatically adjusts the focus for a clear image.
- Auto Keystone Correction: Corrects trapezoidal distortion to ensure a rectangular image, even if the projector is not perfectly aligned.
- Smart Screen Alignment: Automatically adjusts the image to fit the screen or wall.
- Eye Protection: Features designed to reduce eye strain during prolonged viewing.

Figure 6: The projector's automatic correction features, including auto focus and keystone correction, ensuring a perfect display.
4.3 Content Playback
The PicoPlay supports various content sources and modes:
- Streaming Apps: Access pre-installed streaming services (e.g., Netflix, YouTube TV, Google TV) via Wi-Fi.
- External Devices: Connect devices via available input ports (e.g., HDMI, USB - check specific model ports).
- Bluetooth Speaker Mode: Use the PicoPlay as a standalone Bluetooth speaker.
- Aurora Light Creator: Engage the projector's ambient light features for a unique atmosphere.
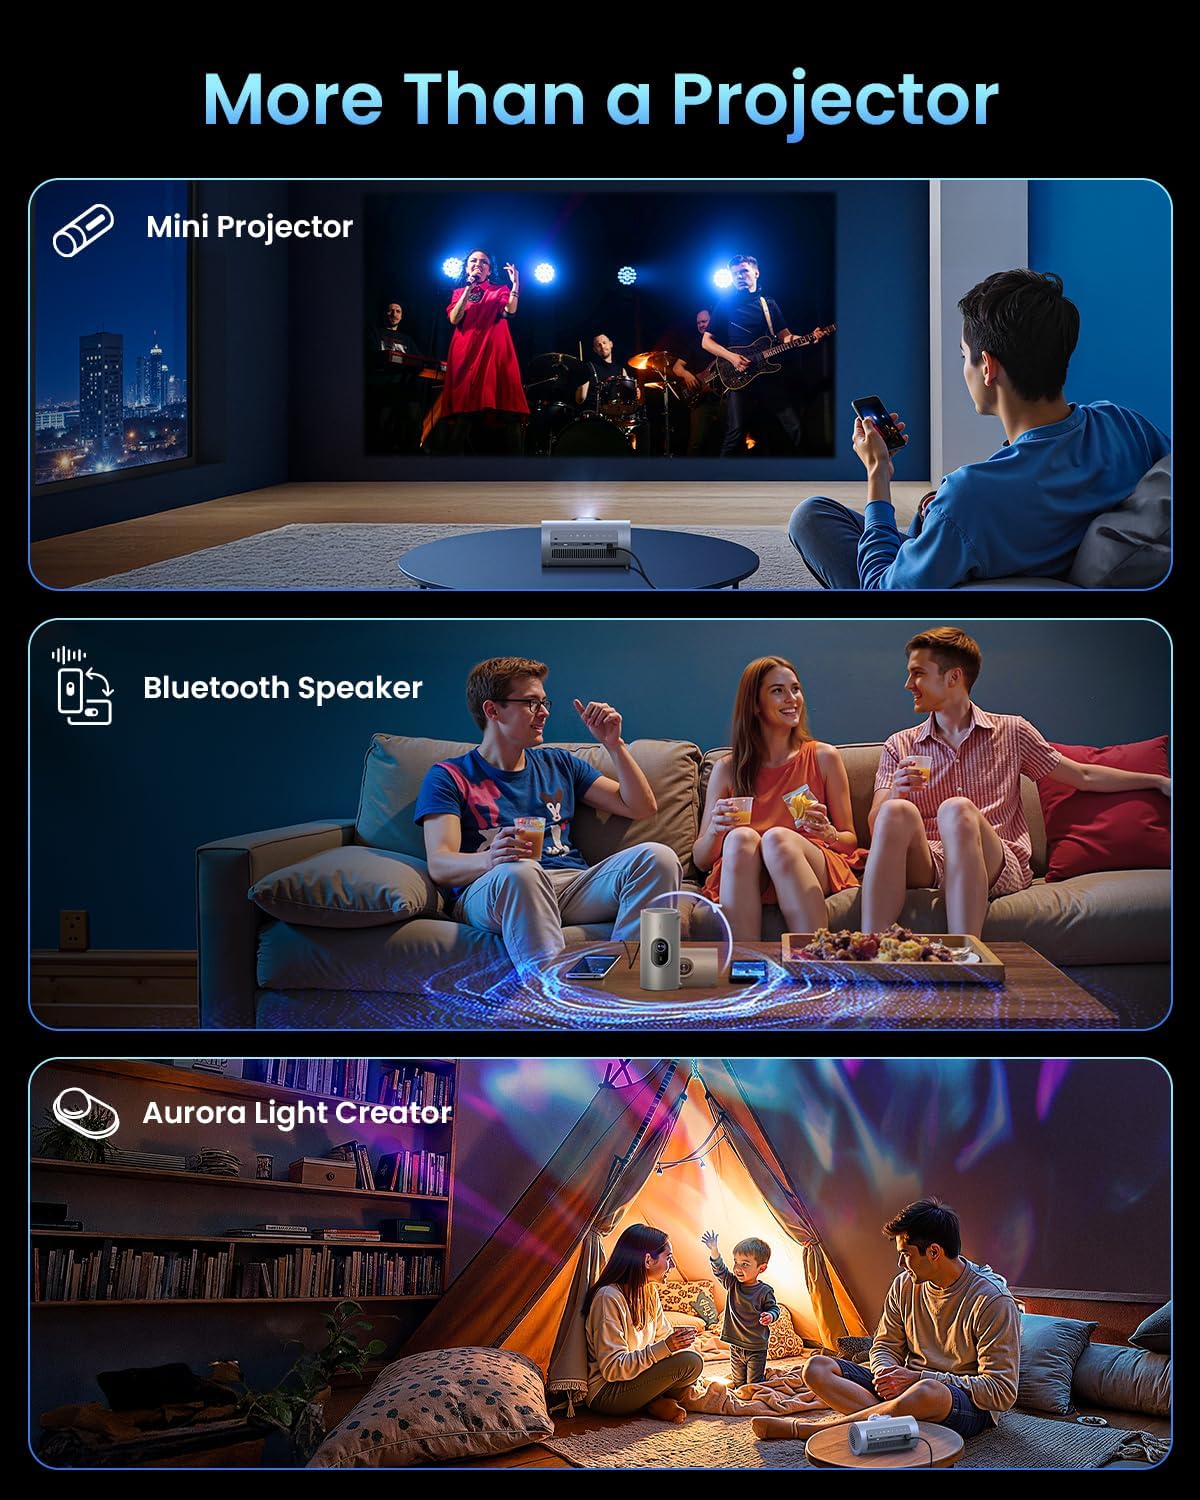
Figure 7: The PicoPlay's multi-functional capabilities, serving as a mini projector, Bluetooth speaker, and an aurora light creator.
4.4 Portrait Full-Screen Mode
The projector supports a unique portrait full-screen mode, ideal for viewing vertical content such as social media feeds or specific video formats.
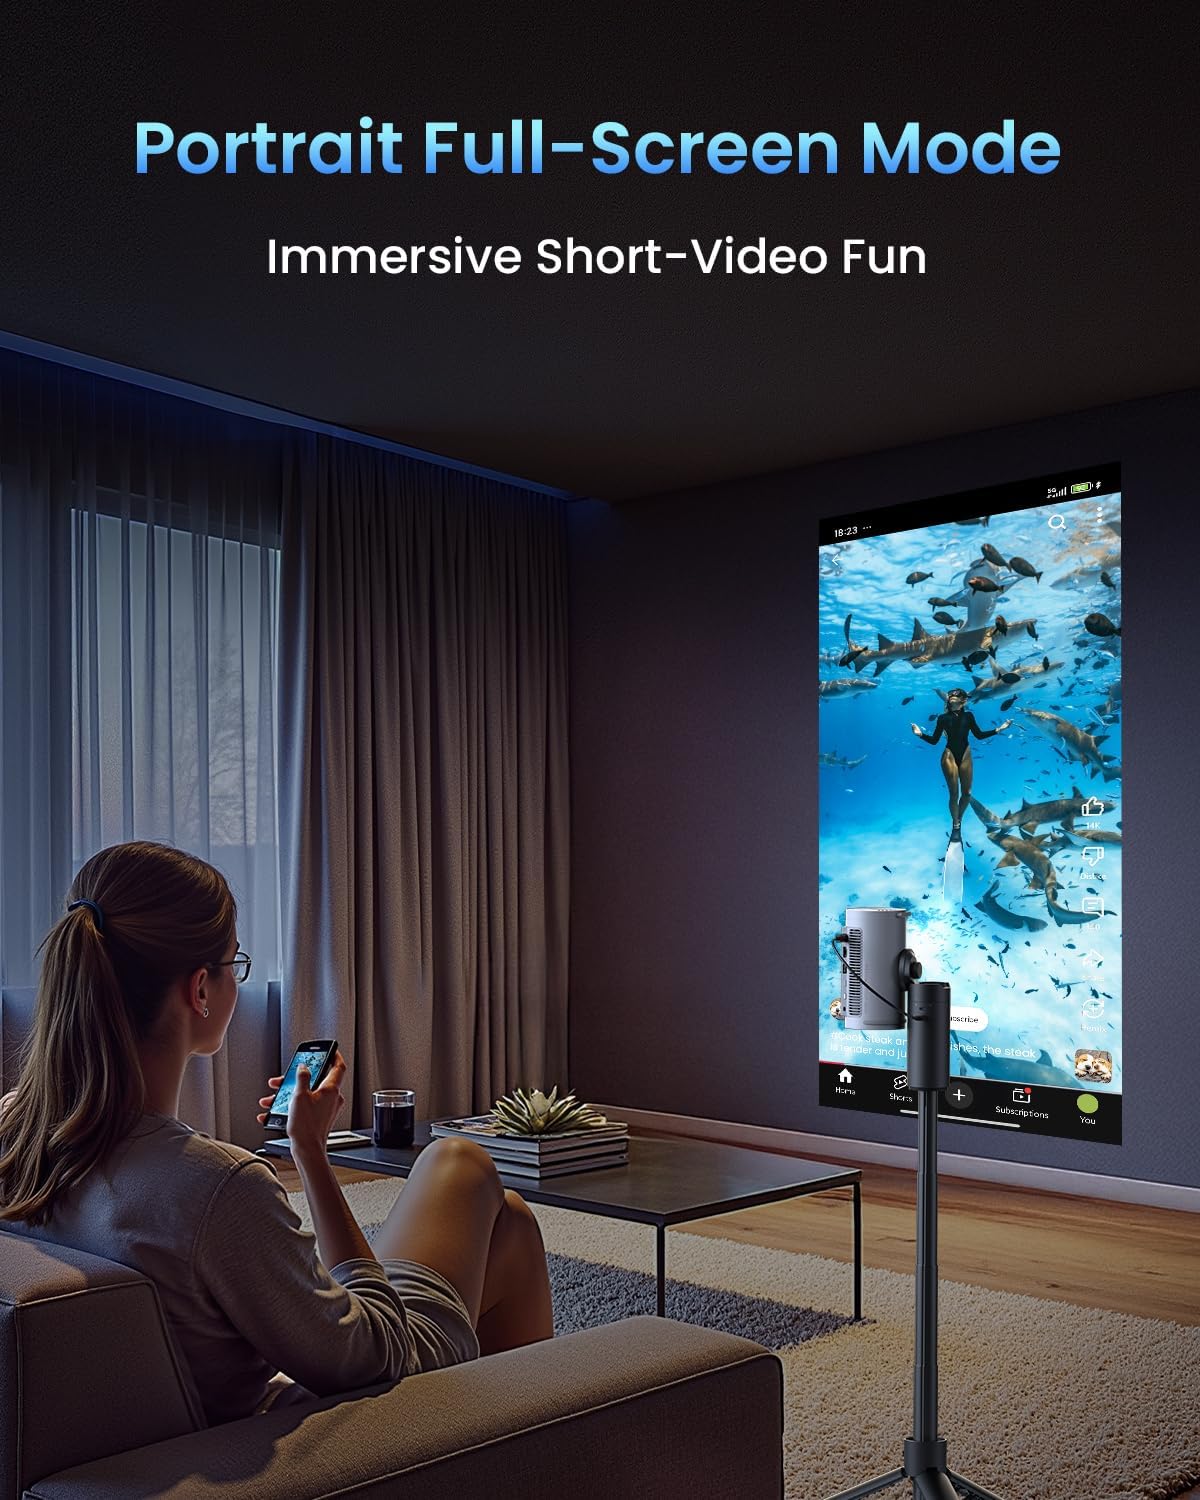
Figure 8: The projector displaying content in portrait full-screen mode, suitable for vertical video formats.
5. Maintenance
5.1 Cleaning the Projector
- Lens: Use a soft, lint-free cloth specifically designed for optical lenses. Do not use abrasive cleaners or excessive force.
- Exterior: Wipe the projector's exterior with a dry, soft cloth. For stubborn marks, slightly dampen the cloth with water, then wipe dry.
5.2 Storage
When not in use for extended periods, store the projector in a cool, dry place, away from direct sunlight and extreme temperatures. It is recommended to use the original packaging for storage to protect against dust and physical damage.
6. Troubleshooting
| Problem | Possible Cause | Solution |
|---|---|---|
| No Power | Power cable not connected; Power outlet faulty. | Ensure power cable is securely connected. Try a different power outlet. |
| No Image Displayed | Input source not selected; Lens cap on; Projector in standby. | Select correct input source. Remove lens cap. Press power button to wake from standby. |
| Blurred Image | Out of focus; Projector too close/far from screen. | Allow auto-focus to adjust. Adjust projector distance from screen. |
| No Sound | Volume too low; Muted; External audio device not connected. | Increase volume. Unmute. Check external audio connections. |
If the issue persists after attempting these solutions, please contact customer support.
7. Specifications
The following are key specifications for the JMGO PicoPlay 1080P Smart Portable Projector:
- Model: PicoPlay
- Resolution: 1080P Full HD
- Brightness: 400 ISO Lumens
- Color Gamut: 90% DCI-P3
- HDR Support: HDR10
- Focus: Auto Focus
- Keystone Correction: Auto Keystone Correction
- Connectivity: Wi-Fi, Bluetooth (for speaker mode)
- Stand Material: Aerospace-Grade Aluminum
- Stand Mount: 1/4" Universal Screw Mount
- Stand Weight Limit: Up to 10kg

Figure 9: Visual representation of PicoPlay's display clarity and key specifications.
8. Warranty and Support
For warranty information and customer support, please refer to the warranty card included with your product or visit the official JMGO website. Keep your purchase receipt as proof of purchase for warranty claims.
JMGO Direct Seller Information:
- Seller Name: JMGO Direct
- Return Policy: 30-day refund/replacement
For technical assistance or service inquiries, please contact JMGO customer support through their official channels.
Related documentsPicoPlay


Ask a question about this manual
Ask about setup, troubleshooting, compatibility, parts, safety, or missing instructions. Manuals+ will review the question and use this page’s manual context to help answer it.