1. Introduction
This manual provides essential information for the proper installation, operation, and maintenance of your Ecomoment GT802 4K+1080P Dual Dash Camera. Please read it thoroughly before using the device to ensure optimal performance and safety.
Package Contents:
- 1 x GT802 Dash Cam
- 1 x Rear Camera
- 2 x Adhesive Pads
- 1 x Easy Pry Tool
- 1 x 32GB SD Card (pre-installed into GT802)
- 1 x Car Charger
- 1 x User Manual
- 1 x Installation Guide

Image 1.1: Ecomoment GT802 Dash Camera and accessories.
2. Product Overview
The Ecomoment GT802 is a dual-channel dash camera system designed to record both front and rear views of your vehicle. It features a 2.4-inch IPS display for clear viewing and intuitive controls.
Key Components:
- Front Camera: Records in Ultra HD 4K (3840*2160P) with a 170° wide-angle lens.
- Rear Camera: Records in Full HD 1080P with a 140° wide-angle lens.
- 2.4" IPS Display: For live view, playback, and settings adjustment.
- Built-in GPS: Records driving location and speed.
- Built-in WiFi: For app control and video transfer to smartphones.
- G-Sensor: Automatically locks footage upon collision detection.
- WDR Technology: Enhances night vision by balancing exposure.

Image 2.1: Front view of the Ecomoment GT802 Dash Camera with key features.
3. Setup and Installation
Proper installation ensures optimal recording and functionality. Follow these steps for a secure setup.
3.1 Front Camera Installation
- Clean the windshield area where the dash cam will be mounted.
- Attach the suction cup mount to the front camera.
- Secure the suction cup mount to the windshield, ensuring it does not obstruct your view.
- Connect the car charger to the Type-C port on the dash cam.
- Route the power cable neatly along the windshield edge and down to the cigarette lighter socket using the easy pry tool to tuck it into gaps.
- Plug the car charger into the vehicle's cigarette lighter socket.

Image 3.1: Front camera installation and cable routing.
3.2 Rear Camera Installation
The rear camera provides additional coverage for the back of your vehicle.
- Connect the rear camera cable to the AV Out port on the main dash cam unit.
- Route the rear camera cable from the front dash cam to the rear windshield. Conceal the cable along the vehicle's headliner and side panels using the pry tool.
- Clean the desired installation area on the rear windshield.
- Attach the rear camera using the provided adhesive pad to the rear windshield, ensuring a clear view.
Video 3.1: Official Ecomoment installation guide for the GT802 4K Dash Cam Front Rear.
This video demonstrates the step-by-step process of installing the Ecomoment GT802 dash camera, including mounting the front unit and routing cables for both front and rear cameras.
4. Operating Instructions
4.1 Basic Operation
- Power On/Off: The dash cam automatically powers on and begins recording when the vehicle engine starts. It powers off when the engine is turned off.
- Manual Recording: Press the 'OK' button to manually start or stop recording.
- Display Modes: Use the 'M' button to switch between front view, rear view, and picture-in-picture display modes on the 2.4" IPS screen.
4.2 WiFi-APP Control
Connect your smartphone to the dash cam via Wi-Fi for convenient control and file management.
- Download the 'VeeCar' App from your smartphone's app store (iOS/Android).
- On the dash cam, activate Wi-Fi mode (refer to the on-screen menu or user manual for specific steps).
- On your smartphone, connect to the dash cam's Wi-Fi network (SSID and password usually displayed on the dash cam screen).
- Open the VeeCar App to view live footage, manage recordings, adjust settings, and download videos directly to your phone.

Image 4.1: Built-in WiFi and App Control via the VeeCar App.
5. Features
5.1 4K and 1080P Dual Recording
The GT802 records in Ultra HD 4K (3840*2160P) for the front camera and Full HD 1080P for the rear camera, capturing clear details of your journey. The front camera features a 170° wide-angle lens, and the rear camera has a 140° wide-angle lens, providing extensive coverage.

Image 5.1: Dual channel recording capabilities.
5.2 Built-in GPS
The integrated GPS module accurately records your vehicle's driving location and speed. This data can be viewed on Google Maps through the VeeCar App or a dedicated GPS Player on a computer, providing a comprehensive record of your routes.

Image 5.2: GPS tracking and route playback.
5.3 Super Night Vision with WDR
Equipped with an ultra-large F1.6 aperture and a 6-layer lens, the dash cam increases light intake by 60%. Wide Dynamic Range (WDR) technology automatically balances exposure in low-light conditions, ensuring clear and sharp footage even at night.
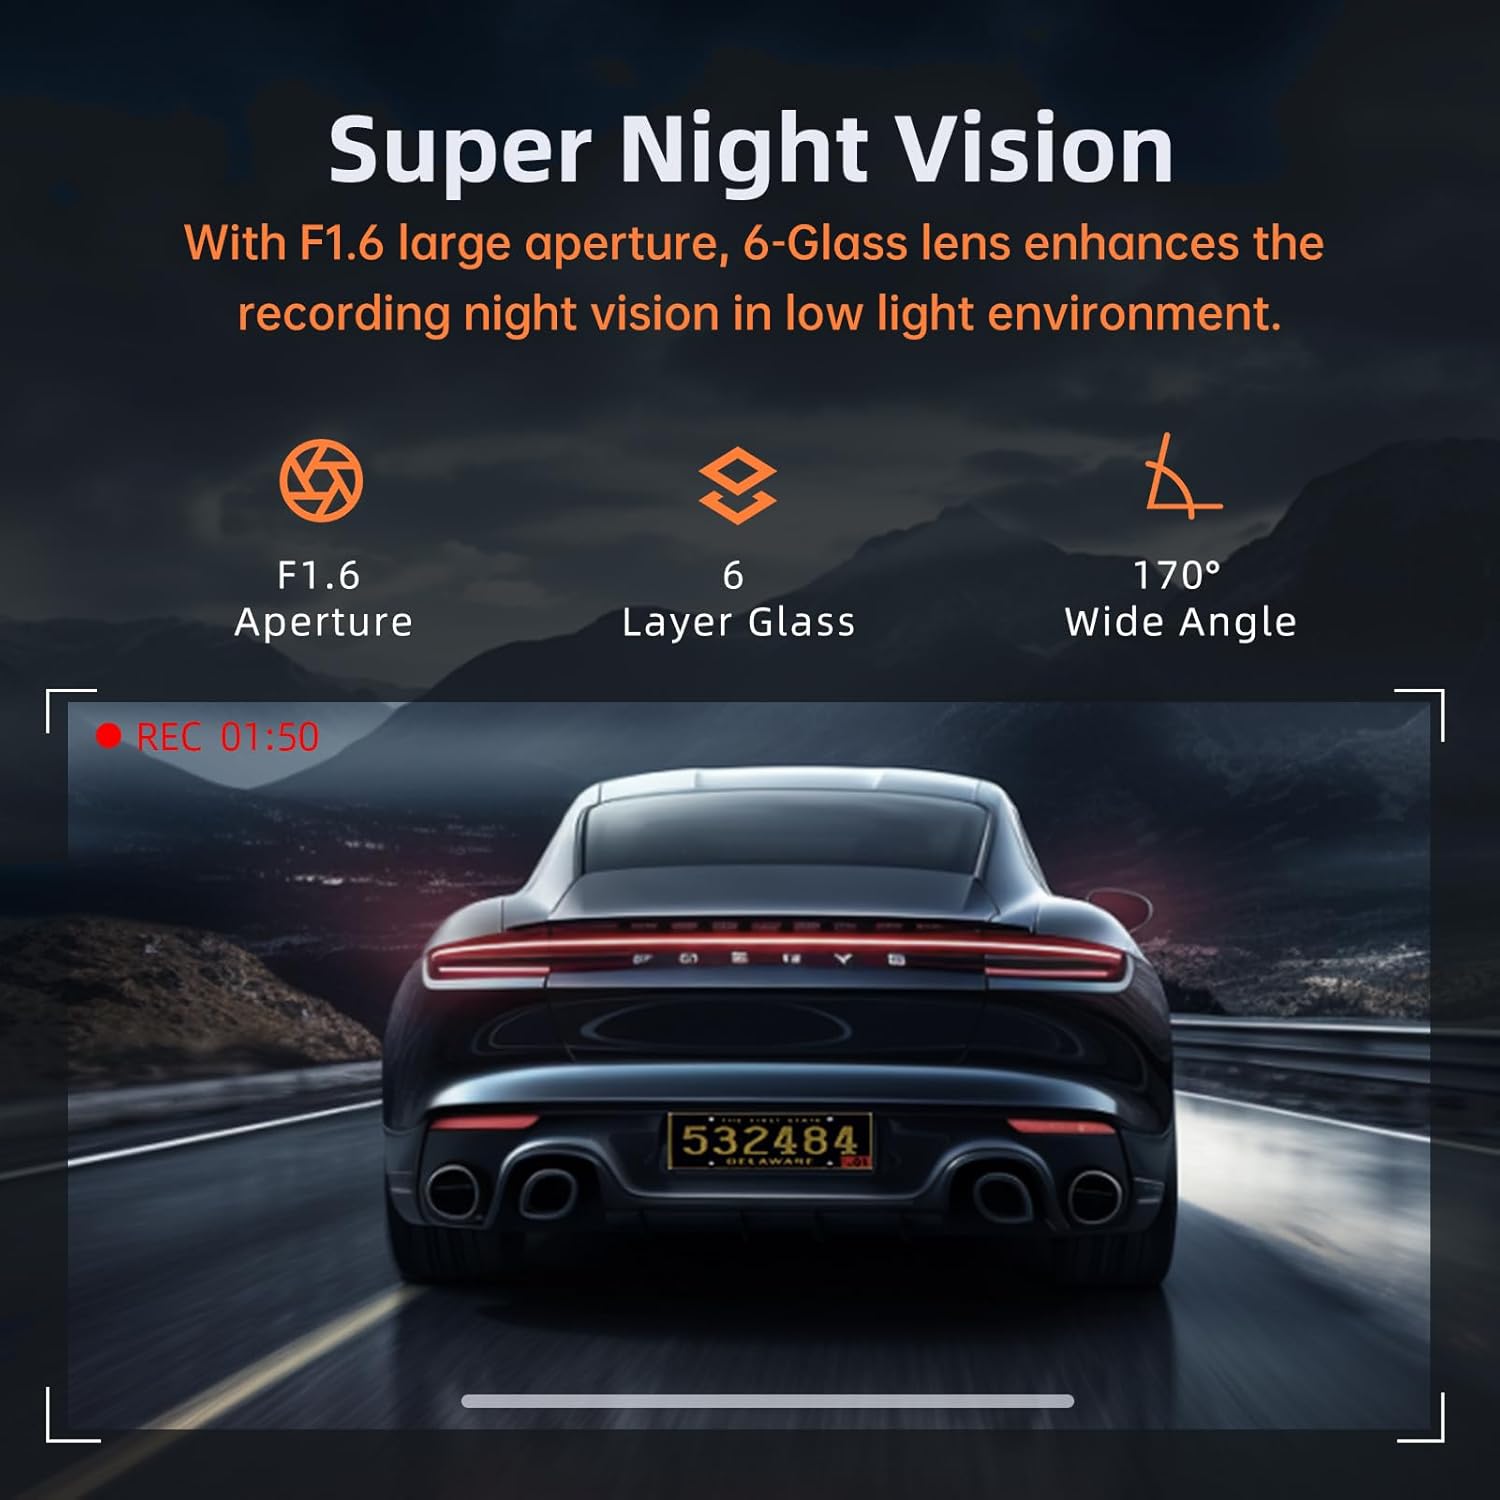
Image 5.3: Super Night Vision capabilities.
5.4 G-Sensor & Loop Recording
The built-in G-Sensor detects sudden shakes or collisions and automatically locks the current footage to prevent it from being overwritten. Loop recording ensures continuous recording by overwriting the oldest unlocked files when the memory card is full.

Image 5.4: G-Sensor locking footage during a collision.
5.5 24-Hour Parking Monitor & Time Lapse
With the optional hardwire kit (ASIN: B0D93KLNJR), the parking monitor activates automatically to record emergency videos if collisions are detected while parked. Time-lapse recording compresses 30 minutes of video into 1 minute, providing continuous surveillance with reduced storage consumption.

Image 5.5: Parking security features including G-Sensor, Loop Recording, and Time-Lapse.
6. Maintenance
6.1 SD Card Management
The dash cam comes with a pre-installed 32GB SD card. For optimal performance, it is recommended to format the SD card regularly (e.g., once a month) through the dash cam's settings menu. This helps maintain recording quality and prevents data corruption. The device supports up to 256GB SD cards.
6.2 Firmware Upgrades
Ecomoment provides firmware upgrades for the GT802, which can be performed over-the-air via the VeeCar App. Regularly checking for and installing updates ensures you have the latest features and performance enhancements.
7. Troubleshooting
If you encounter any issues with your Ecomoment GT802 dash cam, please refer to the following common troubleshooting tips:
- Dash Cam Not Powering On: Ensure the car charger is securely plugged into both the dash cam and the vehicle's cigarette lighter socket. Check the vehicle's fuse for the cigarette lighter.
- Recording Issues: Format the SD card through the dash cam's settings. Ensure the SD card is not full (loop recording should manage this, but manual check is advised). Use a high-speed (Class 10 or U1/U3) SD card.
- Wi-Fi Connection Problems: Ensure Wi-Fi is enabled on the dash cam and your smartphone. Try restarting both devices. Verify the correct Wi-Fi password.
- GPS Not Tracking: Ensure the dash cam has a clear view of the sky to receive GPS signals. Check GPS settings in the menu.
- Suction Cup Not Sticking: Clean both the windshield and the suction cup thoroughly. Ensure the suction cup is free of dust or debris. Apply slight moisture to the suction cup before attaching.
For further assistance, please contact Ecomoment customer support.
8. Specifications
| Feature | Specification |
|---|---|
| Product Dimensions | 1.3 x 2.6 x 4.09 inches |
| Item Weight | 11.2 ounces |
| Item Model Number | GT802 |
| Connectivity Technologies | Wi-Fi |
| Special Features | Built-in WiFi and APP Control, 24H Parking Monitor (Additional Hardwire Kit Needed), G-Sensor, Loop Recording, Super Night Vision, 12-Month Replacement Service & 45-Day Refund Guarantee, Type-C Port, Compact Design, UHD 3840*2160P@30fps, 2.4” Display |
| Color | Black |
| Video Capture Resolution | 1080p, 2160p |
| Mounting Type | Windshield Mount |
| Field Of View | 170 Degrees |
9. Warranty and Support
Ecomoment offers a 12-month replacement service and a 45-day refund guarantee for the GT802 Dash Camera. For any product-related inquiries, technical support, or warranty claims, please contact Ecomoment customer service at service-vip@customerafter-sales.com.
Video 9.1: Ecomoment official product video showcasing the 4K Dual Dash Camera for Cars.
This video provides an overview of the Ecomoment GT802 dash camera's features, including its 4K resolution, night vision, G-sensor, and app connectivity.


