Introduction
This manual provides instructions for the safe and efficient operation of your CREWORKS Manual Wire Stripper Machine, Model Manual 2 Plates. Please read this manual thoroughly before use and retain it for future reference.
Safety Information
- Always wear appropriate personal protective equipment, including safety glasses and gloves, when operating the machine.
- Keep hands and fingers clear of the blade and rollers during operation.
- Ensure the machine is securely mounted to a stable workbench before use to prevent movement and potential injury.
- Do not attempt to strip live wires. Only strip de-energized cables.
- Keep children and unauthorized personnel away from the machine during operation.
- Use the correct feed hole plate and blade adjustment for the wire size to prevent damage to the machine or improper stripping.
Package Contents
Verify that all items listed below are included in your package:
- 1 x Manual Wire Stripper Machine
- 1 x Hand Crank
- 2 x Hex Wrenches
- 2 x Adjustment Screws
- 4 x Self-Tapping Screws (for mounting)
- 2 x Feed Hole Plates (various sizes)
- 1 x Pair of Gloves
- 1 x Instruction Manual (this document)
Specifications
| Feature | Detail |
|---|---|
| Brand | CREWORKS |
| Model | Manual 2 Plates |
| Compatible Wire Gauge | 0.06 to 1 inch (1.5-25 mm) |
| Operation Mode | Manual or Automated (with drill) |
| Material | Alloy Steel (Frame), 60SiMn Spring Steel (Blade) |
| Color | Black |
| Product Dimensions | Approximately 3.9"L x 2.5"W x 8.5"-10"H |
| Item Weight | Approximately 4.77 pounds |
| Grip Type | Non-slip (for rollers) |
Setup
1. Mounting the Machine
For stable and safe operation, it is crucial to securely mount the wire stripper to a workbench or other stable surface. Use the provided self-tapping screws for this purpose.

Image: The CREWORKS Manual Wire Stripper Machine shown with its components, including the hand crank, hex wrenches, feed hole plates, and mounting screws. This illustrates the items included for setup.
Video: This video demonstrates the assembly and initial setup of the wire stripper, including attaching the hand crank and securing the unit to a workbench. It also shows the blade and roller mechanisms.
2. Attaching the Hand Crank or Drill
The machine can be operated manually or with a power drill.
- For Manual Operation: Insert the hand crank into the hexagonal shaft on the side of the machine and secure it with the provided hex wrench.
- For Automated Operation: Insert the hexagonal shaft directly into the chuck of a power drill. Ensure the drill is securely fastened.
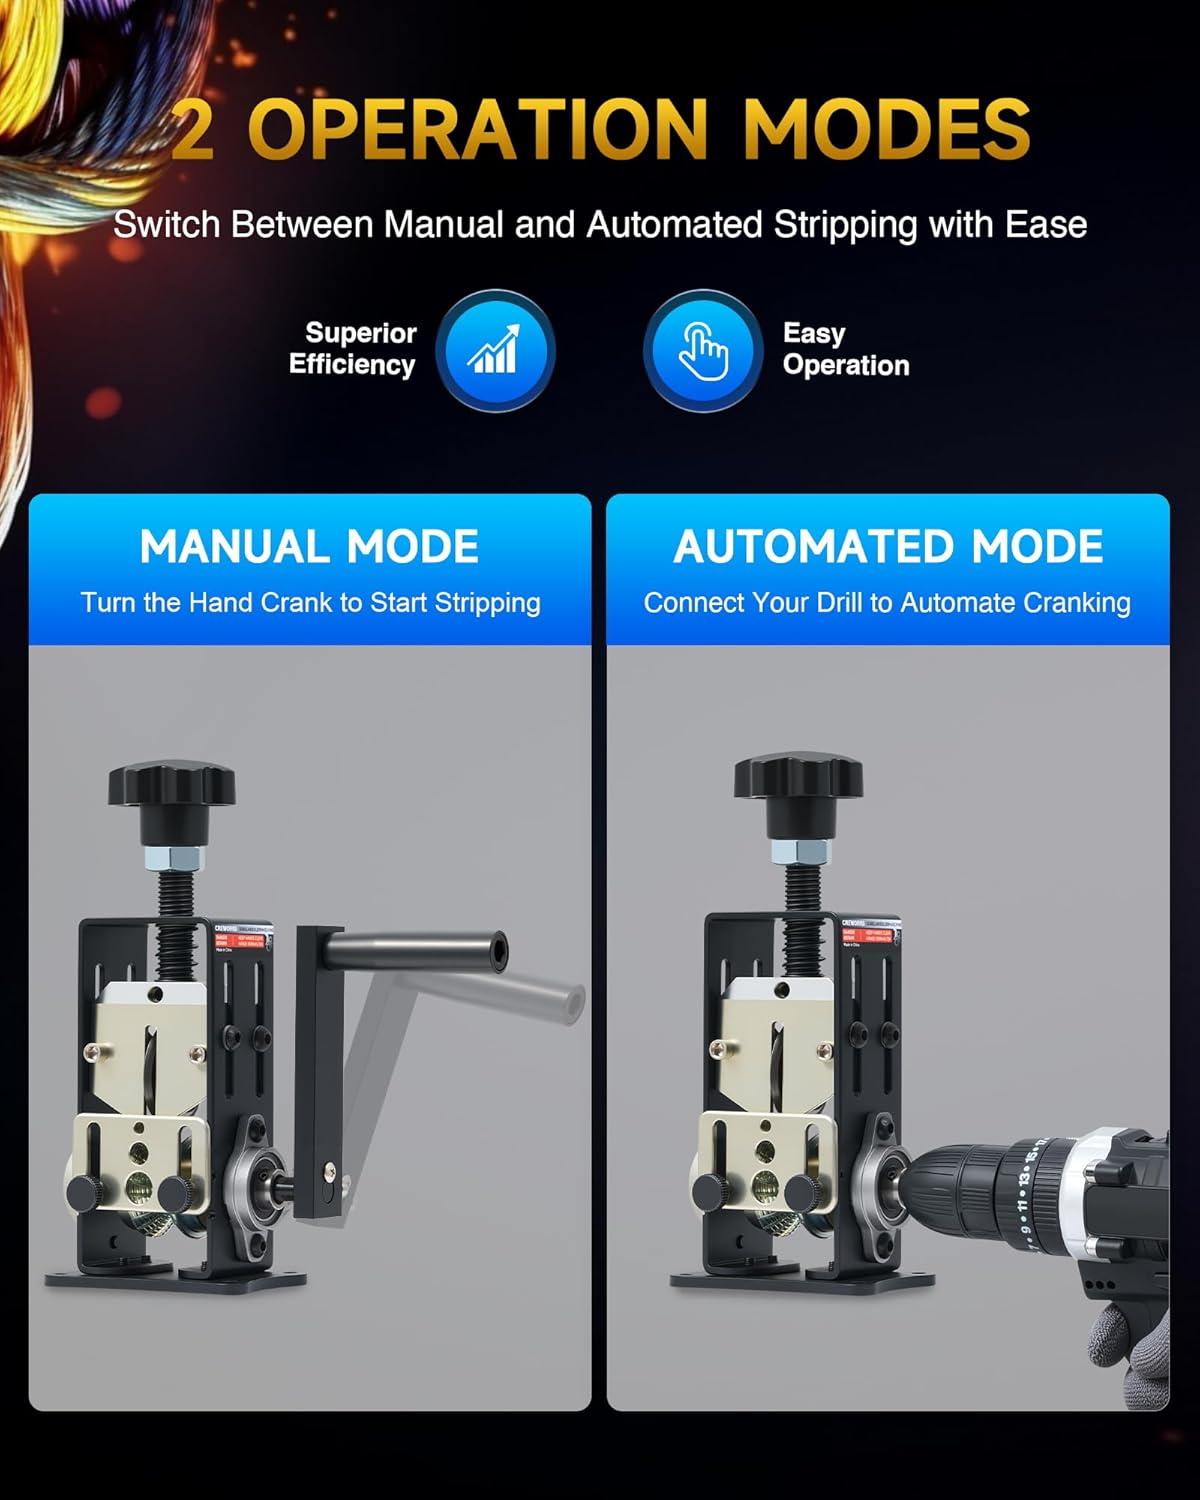
Image: This image displays the two operational modes: manual operation using the hand crank and automated operation by connecting a power drill to the machine's shaft.
3. Selecting and Installing Feed Hole Plates
The machine comes with two interchangeable feed hole plates to accommodate various wire sizes. Select the plate that best matches the diameter of the wire you intend to strip.
- Loosen the two knurled screws holding the current feed plate in place.
- Remove the current plate.
- Align the desired feed plate with the mounting holes.
- Secure the new plate by tightening the knurled screws.

Image: Close-up view of the two interchangeable feed hole plates, showing different hole sizes for various wire diameters (e.g., 1 inch, 0.6 inch, 0.5 inch, 0.4 inch, 0.2 inch).
Operation
1. Adjusting Blade Height
The blade height must be adjusted to match the insulation thickness of the wire. This ensures a clean cut without damaging the inner conductor.
- Rotate the large black knob at the top of the machine clockwise to lower the blade, or counter-clockwise to raise it.
- Adjust until the blade just scores the insulation without cutting into the copper wire. A test strip on a scrap piece of wire is recommended.

Image: A visual guide demonstrating the four steps of operation: adjusting blade height, positioning the feed hole plate, feeding insulated wire, and collecting stripped wire.
2. Feeding the Wire
Once the blade height is set and the correct feed plate is installed:
- Insert the end of the insulated wire into the appropriate hole on the feed plate.
- Feed the wire at a slight angle (10 to 25 degrees) for smoother entry and consistent stripping.
- Begin turning the hand crank or activate the power drill. The V-shaped rollers will grip the wire and pull it through, while the blade scores the insulation.
- Collect the stripped wire from the rear outlet.

Image: A detailed view of the high-efficiency V-shaped roller with non-slip grooves, designed to securely hold and feed cables without slipping or jamming.
3. Wire Compatibility
This machine is designed to strip various types of insulated wires within the 0.06 to 1 inch diameter range, including:
- Copper Wires
- Multi-Conductor Wires
- Electrical Wires
- Automotive Wires
- Stranded Wires

Image: An illustrative diagram showcasing the wide range of wire types compatible with the CREWORKS stripper, including copper, multi-conductor, electrical, automotive, and stranded wires.
Maintenance
- Blade Inspection: Regularly inspect the 60SiMn spring steel blade for sharpness and damage. A dull blade can lead to inefficient stripping and damage to the wire. Replace the blade if it becomes dull or chipped.
- Cleaning: After each use, clean any accumulated insulation debris from the rollers and blade area. Use a brush or compressed air.
- Lubrication: Periodically apply a light lubricant to the moving parts, such as the adjustment screw and roller bearings, to ensure smooth operation and prevent rust.
- Storage: Store the machine in a dry, clean environment when not in use to prevent corrosion.
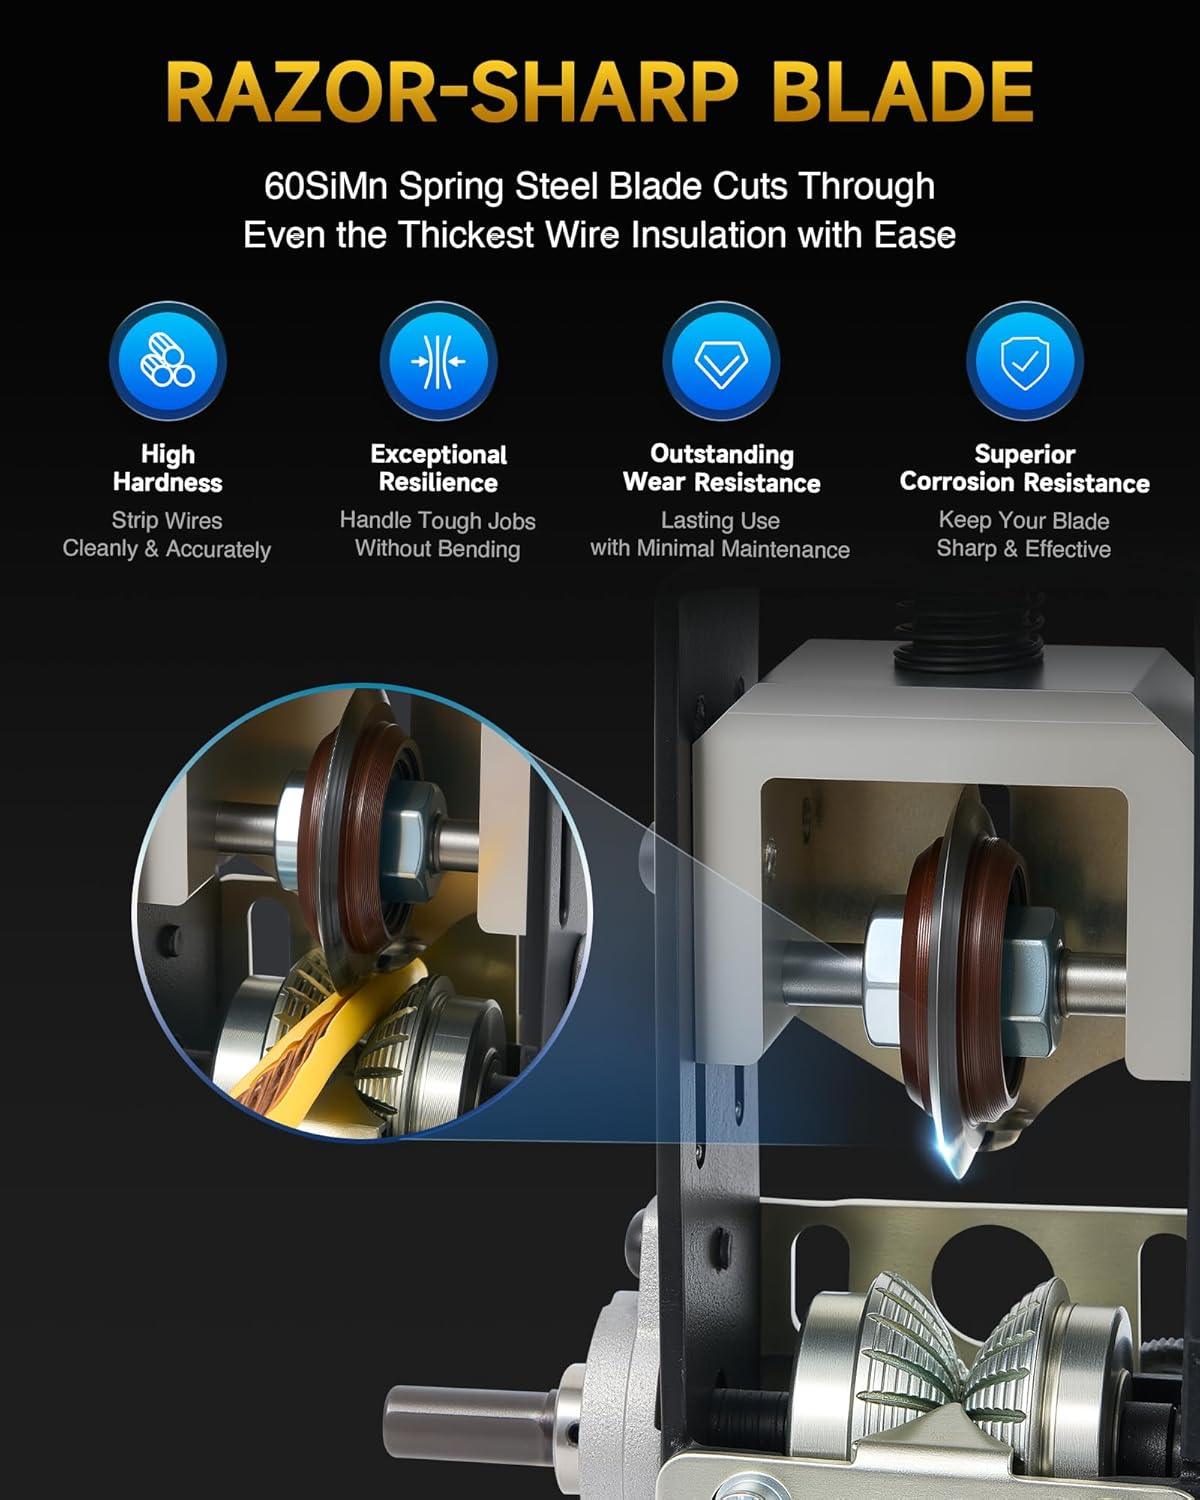
Image: A close-up view highlighting the razor-sharp 60SiMn spring steel blade, emphasizing its high hardness, resilience, wear resistance, and corrosion resistance for precise cuts.
Troubleshooting
| Problem | Possible Cause | Solution |
|---|---|---|
| Wire not stripping cleanly or insulation is tearing. | Blade height incorrect; dull blade; incorrect feed plate. | Adjust blade height (lower slightly); inspect and replace blade if dull; ensure correct feed plate is used for wire size. |
| Wire not feeding through or jamming. | Incorrect feed hole size; wire is bent or kinked; rollers are dirty. | Use the appropriate feed hole; straighten the wire before feeding; clean rollers of debris. |
| Blade cutting into the copper conductor. | Blade height too low. | Raise the blade height slightly using the adjustment knob. |
| Machine is difficult to operate manually. | Lack of lubrication; very thick wire. | Lubricate moving parts; consider using a power drill for thicker wires. |
Warranty and Support
For warranty information and customer support, please refer to the documentation provided with your purchase or contact CREWORKS customer service directly. Keep your purchase receipt as proof of purchase.


