
Introduction
Thank you for choosing the monTEK Ultra Slim Fixed TV Wall Mount. This manual provides essential instructions for safe and proper installation, operation, and maintenance of your TV wall mount. Please read all instructions carefully before beginning installation to ensure a secure and successful setup.
Safety First: Improper installation can lead to serious injury or damage. If you are unsure about any part of the installation process, please consult a qualified professional.
Package Contents
Verify that all components are present before installation. If any parts are missing or damaged, do not proceed with installation and contact customer support.
- Wall Plate Assembly
- TV Brackets (2)
- Hardware Kit (various screws, washers, spacers, anchors)
- Bubble Level
- Instruction Manual
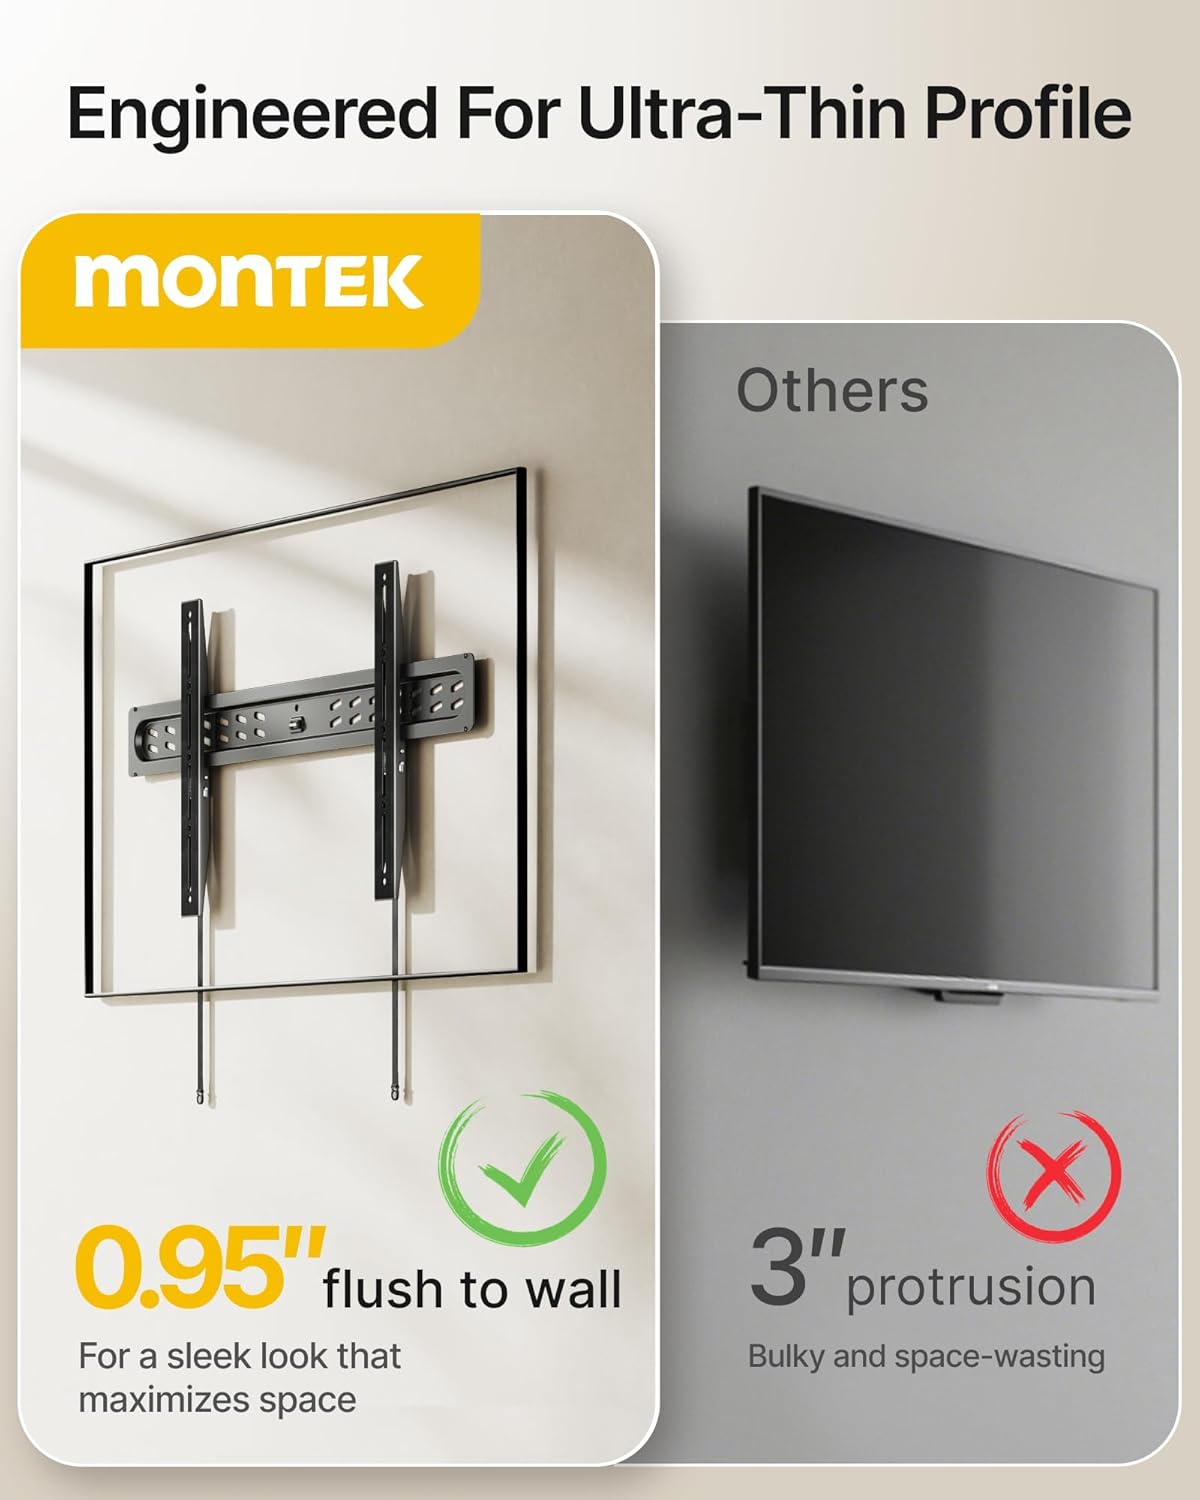
Figure 1: Included Components
Pre-Installation Checklist
Before proceeding with installation, confirm the following:
- TV Size & Weight: Ensure your TV is between 43 and 95 inches and weighs no more than 150 lbs.
- VESA Pattern: Verify your TV's VESA mounting pattern is compatible (200x200mm to 800x400mm).
- Wall Type: Identify your wall type (wood studs, concrete, or brick). This mount is compatible with 16", 18", and 24" wood studs (including dual- or triple-stud setups up to 32" apart), concrete, or brick walls.
- Cable Outlet Placement: Check the location of your TV's cable outlets to ensure they will not be obstructed by the mount. Consider using right-angle adapters if space is limited.
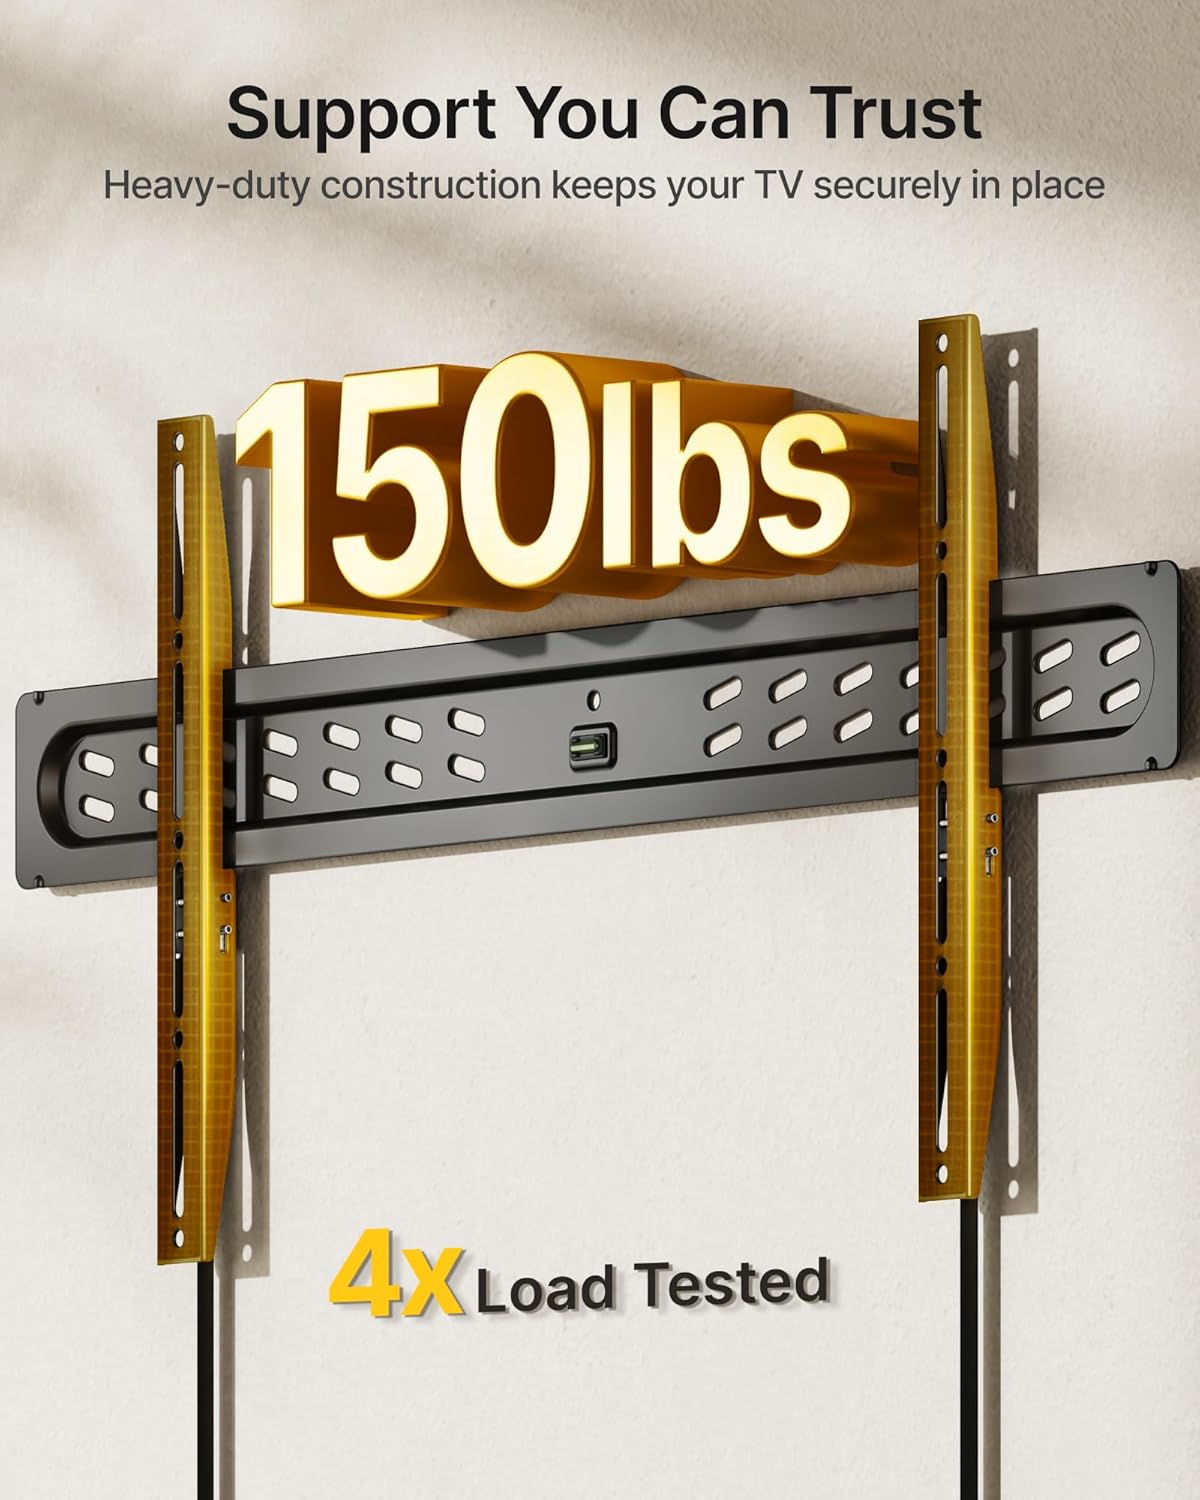
Figure 2: VESA Compatibility Diagram
Setup and Installation Instructions
Follow these steps carefully for a secure installation.
Step 1: Attach TV Brackets to TV
- Carefully place your TV face down on a soft, clean surface to prevent scratches.
- Align the TV brackets with the mounting holes on the back of your TV. Ensure the quick-release straps are accessible from the bottom of the TV.
- Select the appropriate screws, washers, and spacers from the hardware kit that fit your TV's VESA holes. Use spacers if the TV back is uneven or if cables need more clearance.
- Securely fasten the brackets to the TV using a screwdriver. Do not overtighten.
Step 2: Mount Wall Plate to Wall
- Determine the desired height for your TV. Mark the center of where the TV will be.
- Use a stud finder to locate wood studs if installing on a wood stud wall. Mark the edges of the studs. For concrete/brick walls, proceed to drill pilot holes directly.
- Position the wall plate against the wall at the marked height, ensuring it is level using the included bubble level. Mark the drilling locations.
- Drill pilot holes at the marked locations. For wood studs, drill 7/32" (5.5mm) holes. For concrete/brick, drill 3/8" (10mm) holes and insert concrete anchors.
- Attach the wall plate to the wall using the lag bolts and washers. Tighten all bolts securely.

Figure 3: Wall Plate Installation
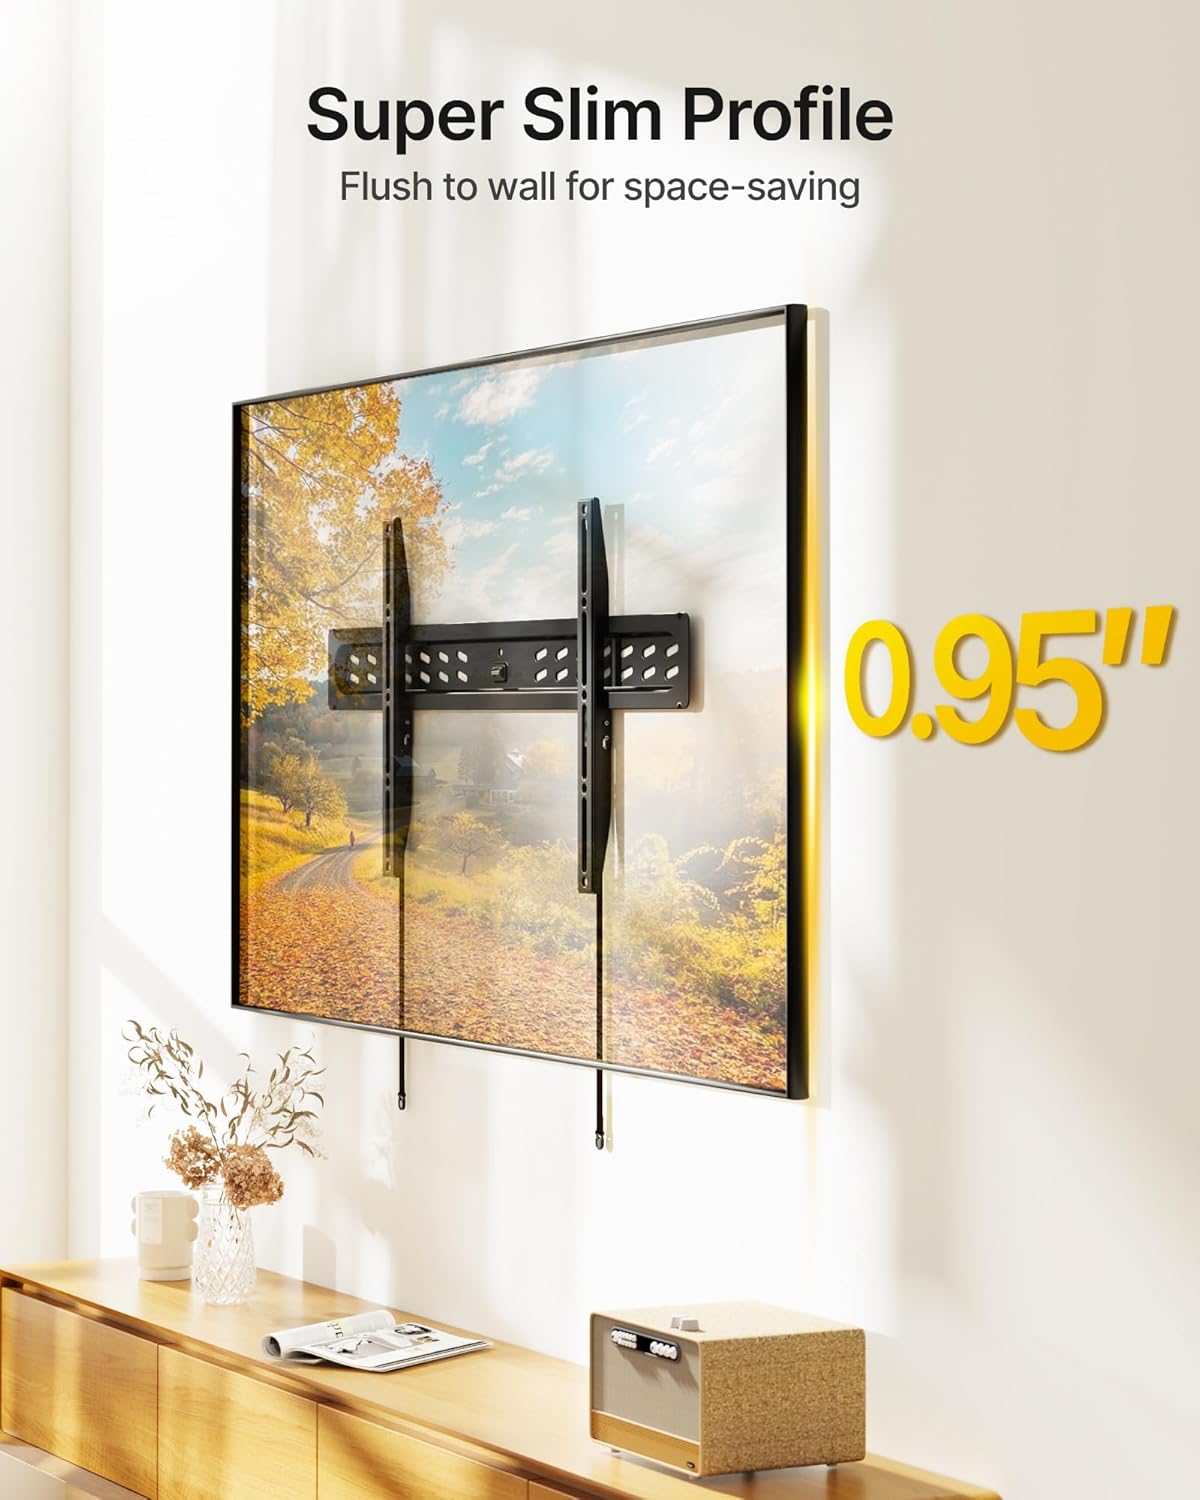
Figure 4: Stud Spacing Compatibility
Step 3: Hang TV on Wall Plate
- With assistance, carefully lift the TV and hook the TV brackets onto the top edge of the wall plate.
- Gently lower the TV until the brackets engage with the bottom of the wall plate. You should hear a click as the safety locks engage.
- Pull the quick-release straps to ensure the TV is securely locked onto the wall plate.
- Connect all necessary cables to your TV. Due to the ultra-slim profile, it is recommended to connect cables before hanging the TV if possible, or use right-angle connectors.
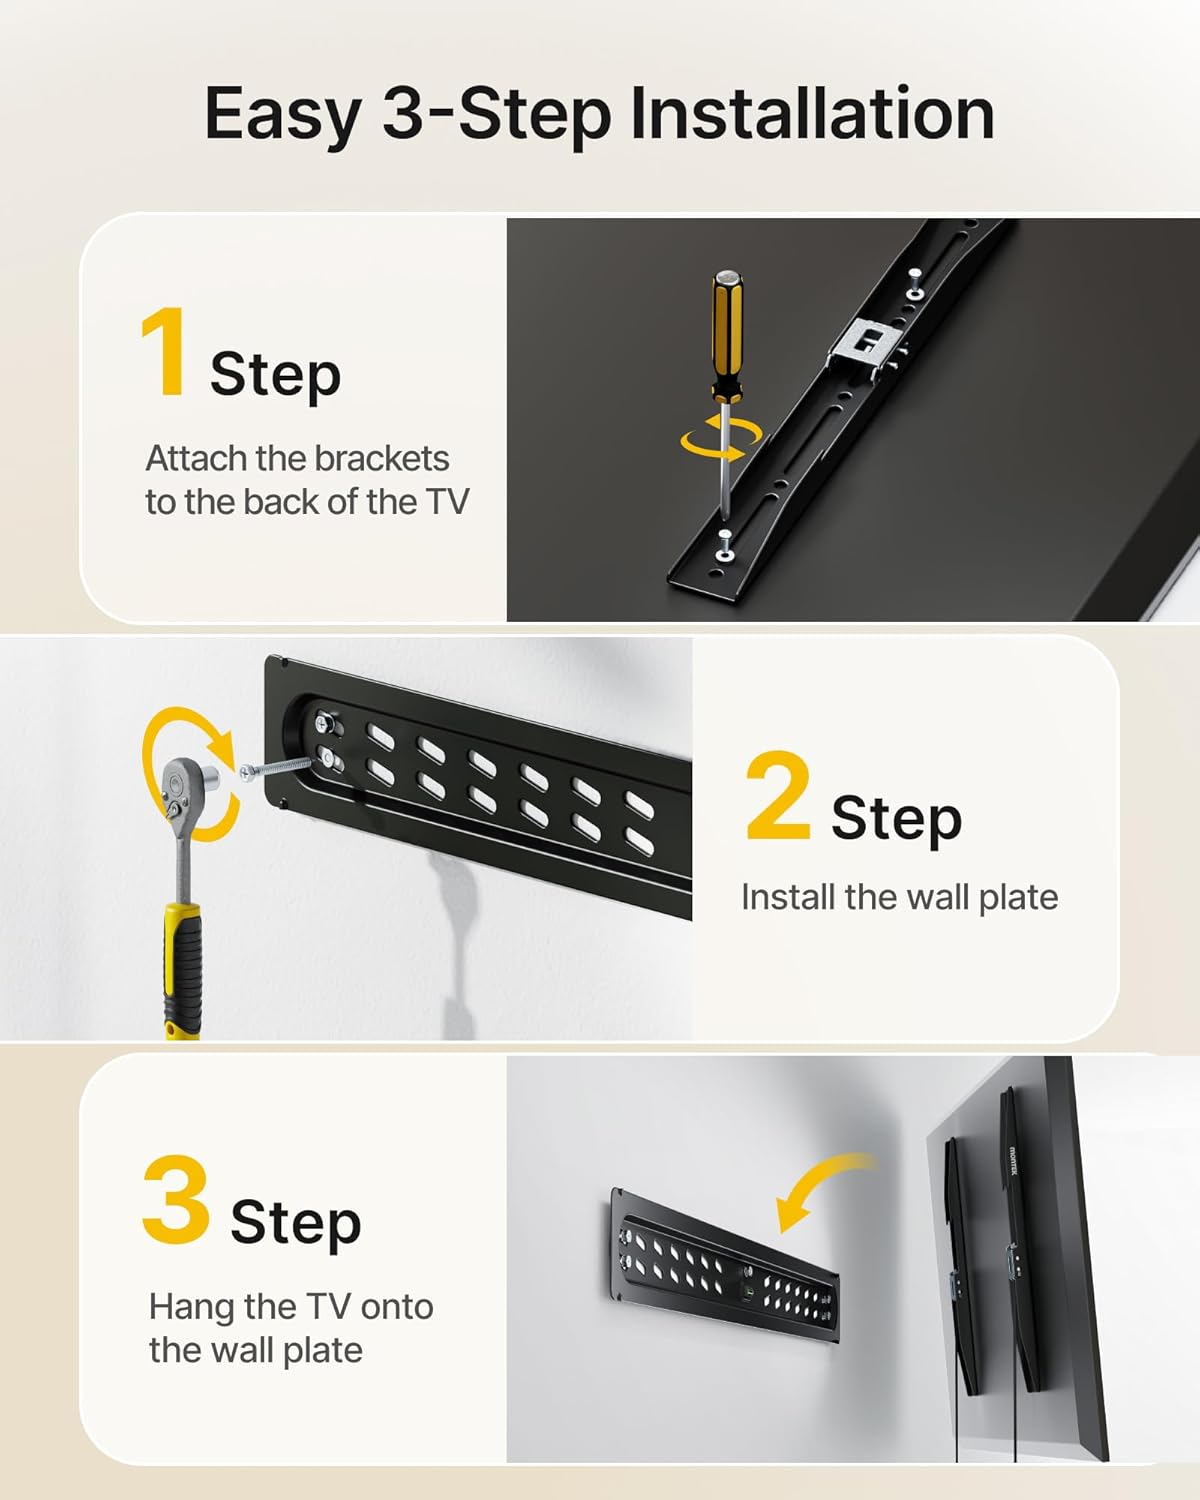
Figure 5: TV Mounted on Wall

Figure 6: Ultra-Slim Profile
Installation Video
Video 1: Official monTEK Ultra Slim Fixed TV Wall Mount Installation Guide. This video demonstrates the installation process for the monTEK Ultra Slim Fixed TV Wall Mount, covering key steps from attaching brackets to mounting the TV on the wall.
Operating Instructions
Once installed, the monTEK Ultra Slim Fixed TV Wall Mount requires minimal operation. The primary operational feature is the quick-release mechanism for detaching the TV from the wall.
Removing the TV from the Wall Mount
- Locate the quick-release pull straps hanging below the TV.
- Gently pull both straps downwards to disengage the safety locks.
- With assistance, carefully lift the TV upwards and away from the wall plate.

Figure 7: Quick-Release Pull Straps
Horizontal Adjustment
The mount allows for a ±1° horizontal adjustment to ensure perfect TV alignment after installation.

Figure 8: Horizontal Adjustment
Maintenance
The monTEK TV wall mount is designed for durability and requires minimal maintenance.
- Periodic Checks: Annually, inspect all mounting screws and bolts to ensure they remain tight. Do not overtighten.
- Cleaning: Wipe the mount with a soft, dry cloth. Avoid abrasive cleaners or solvents.
- Damage: If any part of the mount appears damaged or worn, discontinue use and contact customer support for assistance.
Troubleshooting
Refer to the following common issues and solutions:
| Problem | Possible Cause | Solution |
|---|---|---|
| TV not level after installation | Wall plate not perfectly level; minor adjustments needed. | Utilize the ±1° horizontal adjustment feature. Loosen the adjustment screws slightly, level the TV, and retighten. |
| TV does not sit flush against the wall (too tight) | TV cables/plugs are protruding too far. | Use included spacers between the TV and brackets to create more clearance. Consider using right-angle HDMI/power adapters or an in-wall power receptacle. |
| Quick-release straps are difficult to pull or do not release | Mechanism might be stiff or misaligned. | Ensure the TV is lifted slightly to relieve pressure on the locks. Apply gentle, firm pressure to the straps. If issues persist, contact support. |
| Mount feels unstable | Screws not fully tightened; incorrect wall anchors used; wall not suitable. | Re-check all mounting hardware for tightness. Ensure correct anchors were used for your wall type. If unsure, consult a professional. |
Specifications
| Feature | Detail |
|---|---|
| Model Number | TM1006W-LF |
| Mounting Type | Fixed Wall Mount |
| Movement Type | Fixed |
| Material | Heavy-Duty Steel |
| Color | Black |
| Compatible TV Sizes | 43 - 95 inches |
| Maximum Load Capacity | 150 lbs (68 kg) |
| VESA Compatibility | 200x200mm to 800x400mm |
| Profile from Wall | 0.95 inches (2.4 cm) |
| Horizontal Adjustment | ±1° |
| Compatible Wall Types | Wood Studs (16", 18", 24" spacing), Concrete, Brick |
| Item Weight | 3.4 Pounds (1.54 kg) |
Warranty Information
This monTEK TV Wall Mount (Model TM1006W-LF) comes with a 2-Year Manufacturer Warranty from the date of purchase. This warranty covers defects in materials and workmanship under normal use. It does not cover damage caused by improper installation, misuse, accidents, or unauthorized modifications.
To make a warranty claim, please retain your proof of purchase and contact monTEK customer support.
Customer Support
For technical assistance, missing parts, or warranty inquiries, please contact monTEK customer support through the following channels:
- Website: Visit the official monTEK website for FAQs and support resources.
- Email: Refer to your product packaging or the monTEK website for customer service email.
- Phone: Refer to your product packaging or the monTEK website for customer service phone number.
Please have your model number (TM1006W-LF) and proof of purchase ready when contacting support.


