1. Introduction
Thank you for choosing the KAWA 2K Tiny Dash Cam. This manual provides detailed instructions for the installation, operation, and maintenance of your device. Please read this manual thoroughly before use to ensure proper functionality and to maximize your driving safety and recording experience.
The KAWA Tiny Dash Cam features 2K 1296P QHD recording, voice control, built-in WiFi for app control, G-sensor for emergency recording, WDR/3D DNR for enhanced image quality, and 24-hour parking mode capabilities. A 32GB TF card is included to get you started.
2. Package Contents
Please verify that all items are present in your package:
- KAWA 2K Tiny Dash Cam (Model CJ5512) x 1
- 32GB Micro SD Card x 1
- User Manual x 1
- 3M Adhesive Tape x 1
- Electrostatic Stickers x 1
- Split Car Charger x 1

Image: KAWA 2K Tiny Dash Cam and its accessories, including a 32GB Micro SD card.
3. Product Overview
The KAWA Tiny Dash Cam is designed for discreet installation and powerful performance. Below are its key features and physical dimensions.
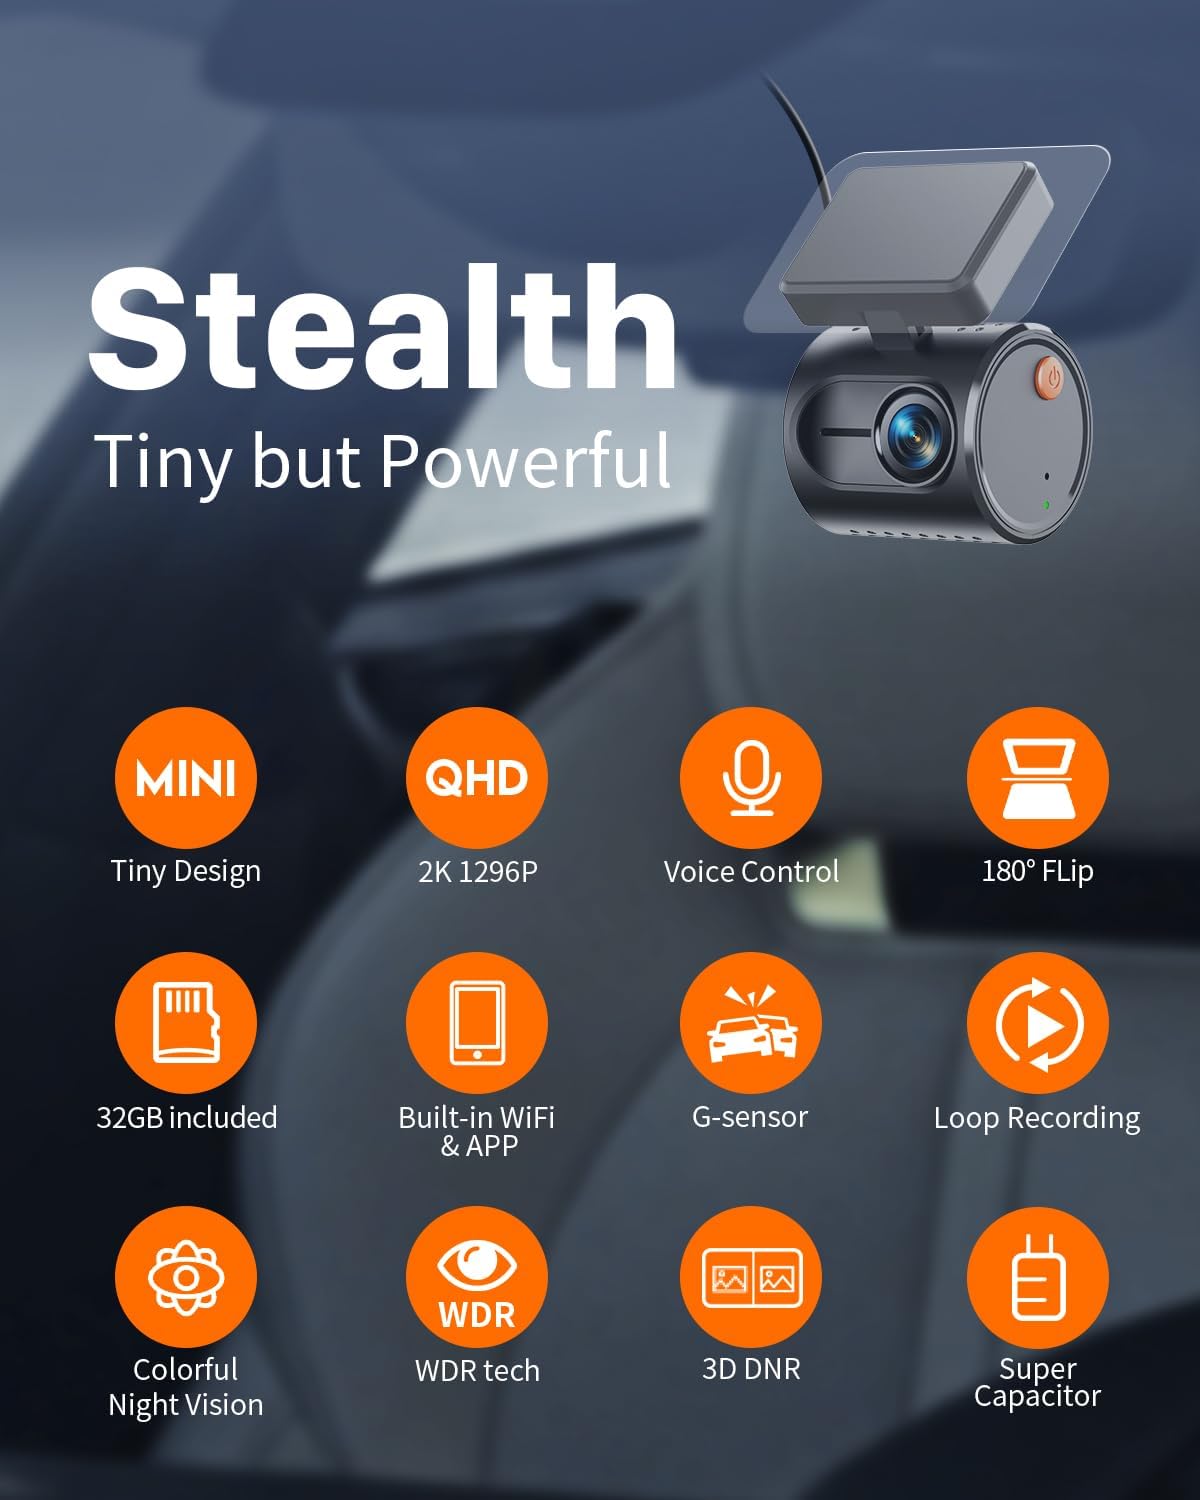
Image: Overview of the KAWA Tiny Dash Cam's features, including its compact size, 2K resolution, voice control, and various recording technologies.

Image: The compact size of the dash cam, illustrated with dimensions and examples of discreet placement within a vehicle.
4. Setup & Installation
4.1 Inserting the Micro SD Card
- Ensure the dash cam is powered off.
- Locate the Micro SD card slot on the dash cam.
- Insert the provided 32GB Micro SD card (or another Class 10 or higher card, up to 128GB) into the slot until it clicks into place.
- To remove, gently push the card in until it clicks, then release.
4.2 Mounting the Dash Cam
- Clean the chosen area on your windshield, preferably behind the rearview mirror, to ensure a clear view and minimal obstruction.
- Apply an electrostatic sticker to the cleaned area. This helps protect your windshield and makes removal easier.
- Attach the 3M adhesive tape to the dash cam mount.
- Press the dash cam firmly onto the electrostatic sticker for at least 30 seconds.
- Adjust the camera angle to ensure it captures the road ahead effectively.
4.3 Power Connection
Connect the dash cam to your vehicle's power source using the provided split car charger cable. Route the cable discreetly along the windshield edge and pillar to avoid obstructing your view.

Image: Discreet cable routing for the dash cam power supply and the KAWA app interface on a smartphone.
4.4 App Download and WiFi Connection
- Download the KAWA app from the App Store (iOS) or Google Play Store (Android).
- Power on the dash cam.
- Open the KAWA app on your smartphone.
- Follow the in-app instructions to connect to the dash cam's built-in WiFi network. The default WiFi name and password can usually be found on the device or in the app.
5. Operating Instructions
5.1 Automatic Recording
Once powered on, the dash cam will automatically begin continuous loop recording. Older files will be overwritten when the Micro SD card is full, ensuring continuous operation.
5.2 Voice Control
The dash cam supports smart voice commands for hands-free operation. Speak clearly and directly to the device.
- "Take photo": Captures a still image.
- "Lock the video": Saves the current recording segment to the emergency folder, preventing it from being overwritten.
- "Turn on WiFi": Activates the dash cam's WiFi for app connection.
- "Turn off WiFi": Deactivates the dash cam's WiFi.
- "Turn on audio": Enables audio recording.
- "Turn off audio": Disables audio recording.

Image: Illustration of voice control functionality while driving, showing various commands.
5.3 Emergency Recording (G-Sensor)
The built-in G-sensor detects sudden impacts or sharp turns. When triggered, it automatically locks the current video segment, protecting it from being overwritten by loop recording.
5.4 App Control
Once connected via WiFi, the KAWA app allows you to:
- View live footage from the dash cam.
- Playback recorded videos.
- Download videos to your smartphone.
- Share videos to social media or other platforms.
- Adjust dash cam settings.
6. Advanced Features
6.1 2K Ultra-Clear Resolution
The dash cam records in 2K 1296P QHD resolution, providing clear and detailed footage, essential for capturing license plates and other critical information.
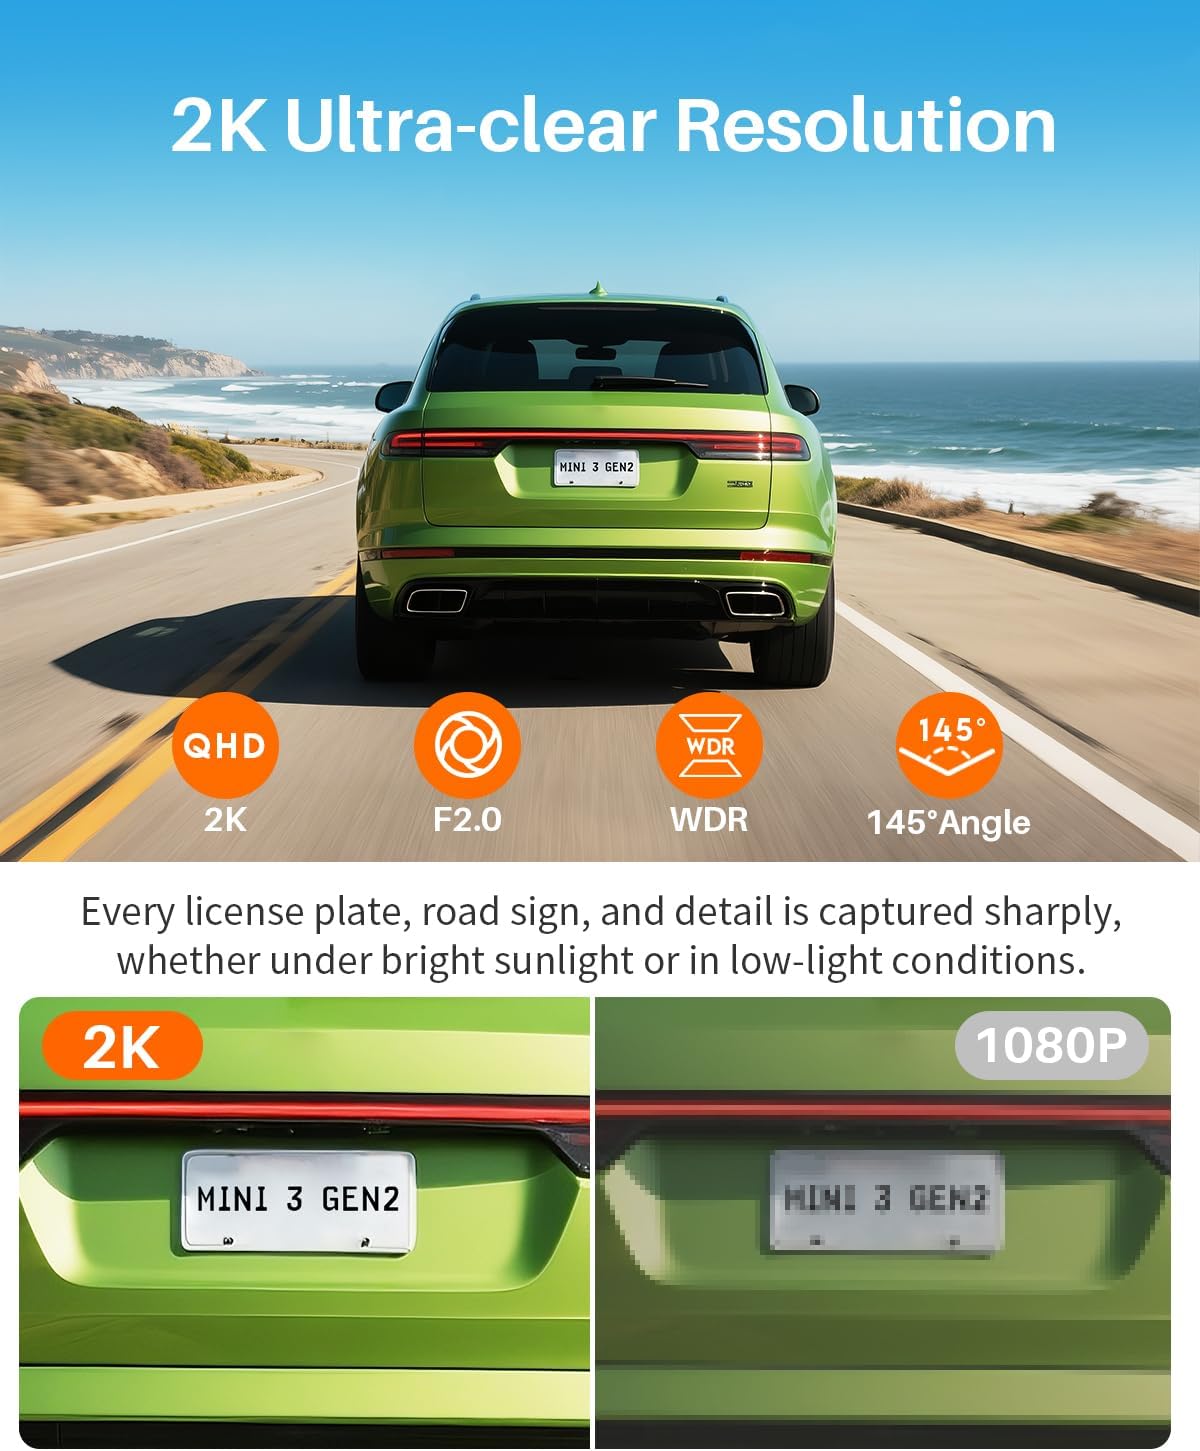
Image: Visual comparison highlighting the clarity of 2K resolution versus 1080P, particularly for license plate readability.
6.2 WDR (Wide Dynamic Range) & 3D DNR (Digital Noise Reduction)
These technologies enhance image quality in challenging lighting conditions, such as bright sunlight, tunnels, or low-light environments, ensuring balanced exposure and reduced noise.
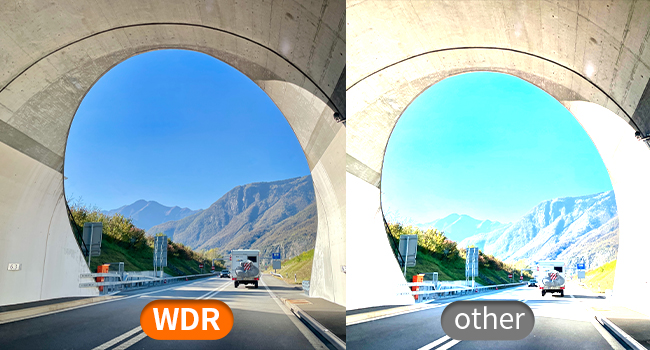
Image: Demonstration of WDR technology providing balanced exposure in high-contrast scenes, such as entering or exiting a tunnel.
6.3 Super Night Vision
Equipped with advanced sensors, the dash cam provides enhanced visibility and detail in low-light and nighttime driving conditions.
6.4 24-Hour Parking Monitoring
When your vehicle is parked, this feature detects unusual motion or impacts and automatically starts recording, providing surveillance for your car. This feature requires a hardwire kit (sold separately) for continuous power.

Image: Visual explanation of 24-hour parking monitoring, highlighting the need for a hardwire kit and its benefit in recording incidents while parked.
6.5 Time-lapse Recording
In parking mode, time-lapse recording compresses long parking sessions into shorter video files, saving storage space while retaining critical event footage. For example, 30 minutes of recording can be compressed into 1 minute.
6.6 180° Video Flip
This feature allows for flexible installation. If the dash cam is mounted upside down, the video can be flipped 180° via the app to ensure correct image display.

Image: Demonstration of the 180-degree video flip feature, allowing for flexible mounting orientations.
7. Maintenance
7.1 Micro SD Card Management
It is recommended to format the Micro SD card regularly (e.g., once a month) through the dash cam's settings via the app. This helps maintain optimal recording performance and prevents data corruption.
7.2 Cleaning the Lens
Gently wipe the dash cam lens with a soft, lint-free cloth to ensure clear video quality. Avoid using abrasive cleaners.
7.3 Operating Environment
The dash cam is designed to operate within a working temperature range of -4°F (-20°C) to 149°F (65°C) and a storage temperature range of -22°F (-30°C) to 176°F (80°C). Avoid exposing the device to extreme temperatures outside these ranges to prevent damage.
8. Troubleshooting
- Dash cam not powering on: Ensure the power cable is securely connected to both the dash cam and the car charger, and that the car charger is properly inserted into the vehicle's power outlet. Check if the vehicle's power outlet is active.
- Recording issues: Ensure a Micro SD card is inserted and formatted. Check if the card is full; if so, format it. If issues persist, try a different Micro SD card (Class 10 or higher).
- WiFi connection failure: Ensure the dash cam's WiFi is enabled (can be activated via voice command or app if previously connected). Restart both the dash cam and your smartphone. Try reconnecting through the KAWA app.
- Voice control not responding: Speak clearly and ensure there is minimal background noise. Verify that the voice control feature is enabled in the app settings.
- Poor video quality: Clean the dash cam lens. Ensure the protective film has been removed from the lens. Check app settings for resolution and WDR options.
- Parking monitoring not working: Ensure a hardwire kit is installed correctly and providing continuous power to the dash cam. Verify parking mode settings in the app.
For further assistance, please refer to the support section or contact KAWA customer service.
9. Specifications
| Feature | Detail |
|---|---|
| Brand | KAWA |
| Model Name | CJ5512 |
| Video Resolution | 2K 1296P QHD |
| Special Features | Voice control, Built-in WiFi, G-sensor, 24h Parking Monitoring, Time-lapse, WDR, Night vision, Loop recording, 180° Video Flip |
| Connectivity Technology | Wi-Fi |
| Compatible Devices | Smartphone, PC |
| Item Weight | 6.4 ounces |
| Product Dimensions | 7 x 14 x 11 inches (Packaging), Device: 1.82 x 1.53 x 1.42 inches |
| Included Components | Dash Cam, 32GB Micro SD Card, User Manual, 3M adhesive tape, Electrostatic Stickers, Split Car Charger |
| Operating Temperature | -4°F (-20°C) to 149°F (65°C) |
| Storage Temperature | -22°F (-30°C) to 176°F (80°C) |
10. Warranty & Support
KAWA provides a 1-year free replacement warranty for this product. Our customer service team is committed to responding to all inquiries within 24 hours.
For support, please contact us at: support@kawa-in.com


