1. Introduction
This manual provides detailed instructions for the installation, operation, and maintenance of your Suptek MD9442 Dual Monitor Arm Desk Mount and MD9401 Single Monitor Mount Stand. Please read this manual thoroughly before installation to ensure correct setup and safe operation. Keep this manual for future reference.
2. Safety Information
- Ensure all components are present and undamaged before installation. Do not use if any parts are missing or defective.
- Verify that the mounting surface (desk) can safely support the combined weight of the mount and your monitors.
- Do not exceed the maximum weight capacity specified for each mount.
- Tighten all screws firmly, but do not overtighten to avoid stripping threads or damaging the desk.
- Keep children away from the installation area. Small parts may be a choking hazard.
- If you have any doubts about the installation process, consult a qualified professional.
3. Package Contents
Please check that all parts are included in your package. Components may vary slightly between the dual (MD9442) and single (MD9401) monitor mounts.
- Monitor Arm(s)
- Desk Clamp (C-clamp)
- Grommet Base (optional installation)
- Mounting Pole
- VESA Plates
- Hardware Kit (screws, washers, Allen keys)
- Cable Management Clips
4. Setup and Installation
Both the MD9442 Dual Monitor Arm and MD9401 Single Monitor Mount Stand offer two installation options: C-clamp and Grommet Base. Ensure your desk thickness is suitable (up to 4 inches for C-clamp).
4.1. Choose Your Installation Method
Determine whether to use the C-clamp for edge mounting or the grommet base for through-hole mounting. The grommet base requires a minimum desk hole diameter of 1.65 inches (42mm).

This image illustrates the dimensions of the dual monitor mount, including the minimum desk hole diameter of 1.65 inches (42mm) required for grommet installation.
4.2. C-Clamp Installation (Recommended for most desks)
- Attach the C-clamp to the bottom of the mounting pole.
- Position the C-clamp on the edge of your desk and tighten the knob until the mount is securely fastened.
- Ensure the mount is stable and does not wobble.

This image shows the dual monitor arm securely installed on a desk using the C-clamp method.
4.3. Grommet Base Installation (For desks with a pre-drilled hole)
- Disassemble the C-clamp if it's already attached to the pole.
- Insert the mounting pole through the grommet hole in your desk.
- Secure the grommet base plate and tighten the nut from underneath the desk until the mount is stable.
4.4. Attaching Monitor Arms and VESA Plates
- Slide the monitor arm(s) onto the mounting pole at your desired height. Tighten the height adjustment screw.
- Attach the VESA plate to the back of your monitor using the provided screws. Ensure the VESA pattern (75x75mm or 100x100mm) matches your monitor.
- Carefully slide the monitor with the attached VESA plate onto the arm's mounting head. Secure it with the locking mechanism.
- Repeat for the second monitor if using the MD9442 dual arm.

This image demonstrates two monitors mounted on the dual arm, highlighting VESA compatibility (75x75mm/100x100mm) and maximum weight capacity of 22lbs per monitor.
5. Operating Instructions
Once installed, your Suptek monitor mount allows for various adjustments to achieve an ergonomic viewing experience.
5.1. Height Adjustment
Loosen the clamp on the mounting pole to slide the monitor arm(s) up or down. Retighten the clamp firmly at the desired height.

This image shows a single monitor being adjusted vertically along the pole to an ergonomic height.
5.2. Tilt Adjustment
The monitor can be tilted up or down to reduce glare and optimize viewing angles.
- MD9442 (Dual): Tilt range of ±90° (up and down).
- MD9401 (Single): Tilt range of ±45° (up and down).

This image provides a visual overview of the various adjustments, including tilt, rotation, and swivel.
5.3. Swivel Adjustment
Swivel the monitor left or right to share your screen or adjust your viewing position.
- MD9442 (Dual): Swivel range of ±90° (left and right).
- MD9401 (Single): Swivel range of ±45° (left and right).
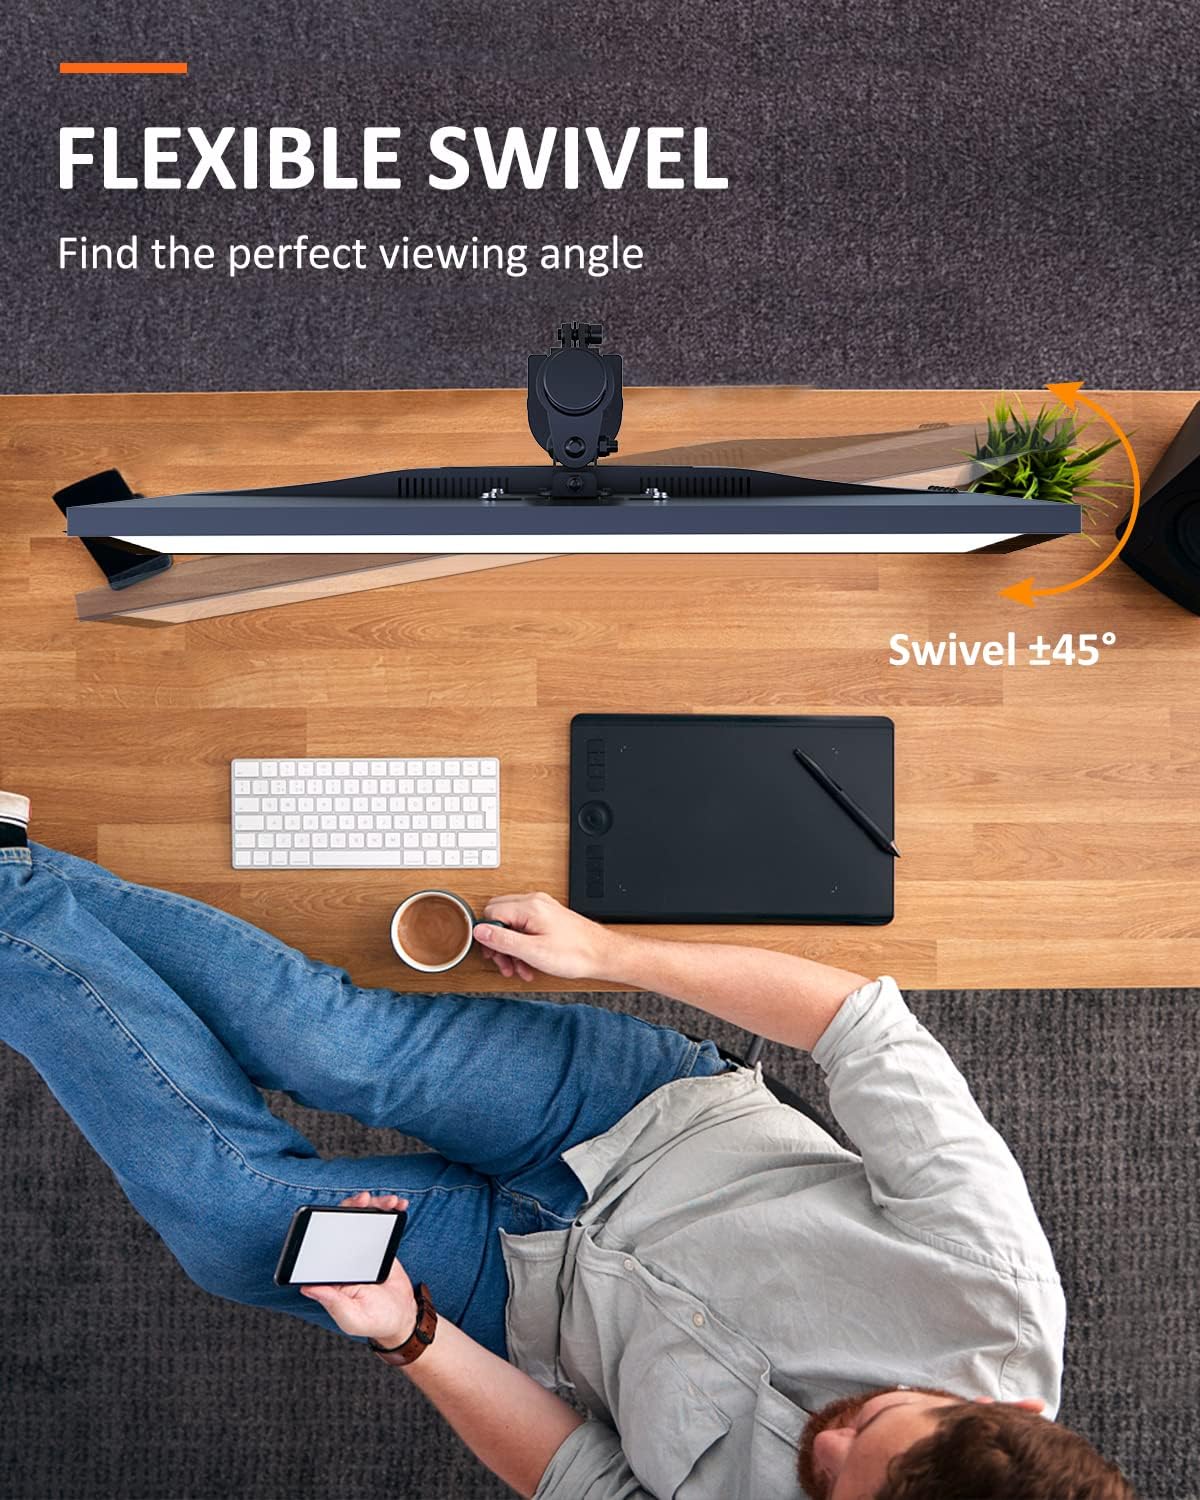
This image shows the flexible swivel capability of the single monitor mount, allowing for easy adjustment of the viewing angle.
5.4. Screen Rotation
Rotate your monitor 360° for landscape or portrait orientation.
- MD9442 (Dual): 360° rotation.
- MD9401 (Single): 360° rotation.

This image illustrates the 360° screen rotation feature, allowing monitors to be used in both landscape and portrait modes.
5.5. Cable Management
Utilize the integrated cable management clips or channels on the arm(s) and pole to route and organize your monitor cables for a tidy workspace.
6. Maintenance
- Periodically check all screws and connections to ensure they remain tight and secure.
- Clean the mount with a soft, damp cloth. Avoid abrasive cleaners or solvents.
- Ensure that cables are not pinched or under excessive tension.
7. Troubleshooting
- Mount is unstable: Ensure the C-clamp or grommet base is tightened securely to the desk. Verify the desk surface is flat and sturdy.
- Monitor sags or won't hold position: Check that the VESA plate is properly attached to the monitor and the arm. Ensure the weight of the monitor does not exceed the mount's capacity. Adjust tension screws on the arm joints if available (refer to specific model diagrams if provided).
- Difficulty adjusting: Loosen adjustment screws slightly before attempting to move the monitor, then retighten. Do not force adjustments.
8. Specifications
| Feature | MD9442 (Dual Monitor Arm) | MD9401 (Single Monitor Mount) |
|---|---|---|
| Screen Size Compatibility | Up to 27 inches per screen | 13 to 32 inches |
| Weight Capacity | Up to 22 lbs (10 kg) per screen | Up to 22 lbs (10 kg) |
| VESA Compatibility | 75x75mm, 100x100mm | 75x75mm, 100x100mm |
| Rotation | 360° | 360° |
| Tilt | ±90° (up/down) | ±45° (up/down) |
| Swivel | ±90° (left/right) | ±45° (left/right) |
| Installation Options | C-clamp, Grommet Base (fits desk up to 4" thickness) | |
9. Warranty and Support
Suptek products are designed for durability and performance. For warranty information or technical support, please refer to the product packaging or contact Suptek customer service through their official website. Please have your model number (MD9442 or MD9401) and purchase information ready when contacting support.


