1. Introduction
Thank you for choosing the Gawfolk 32-inch 4K UHD Computer Monitor, Model GF320F. This manual provides essential information to help you set up, operate, and maintain your new monitor. Please read these instructions carefully before use and retain them for future reference.
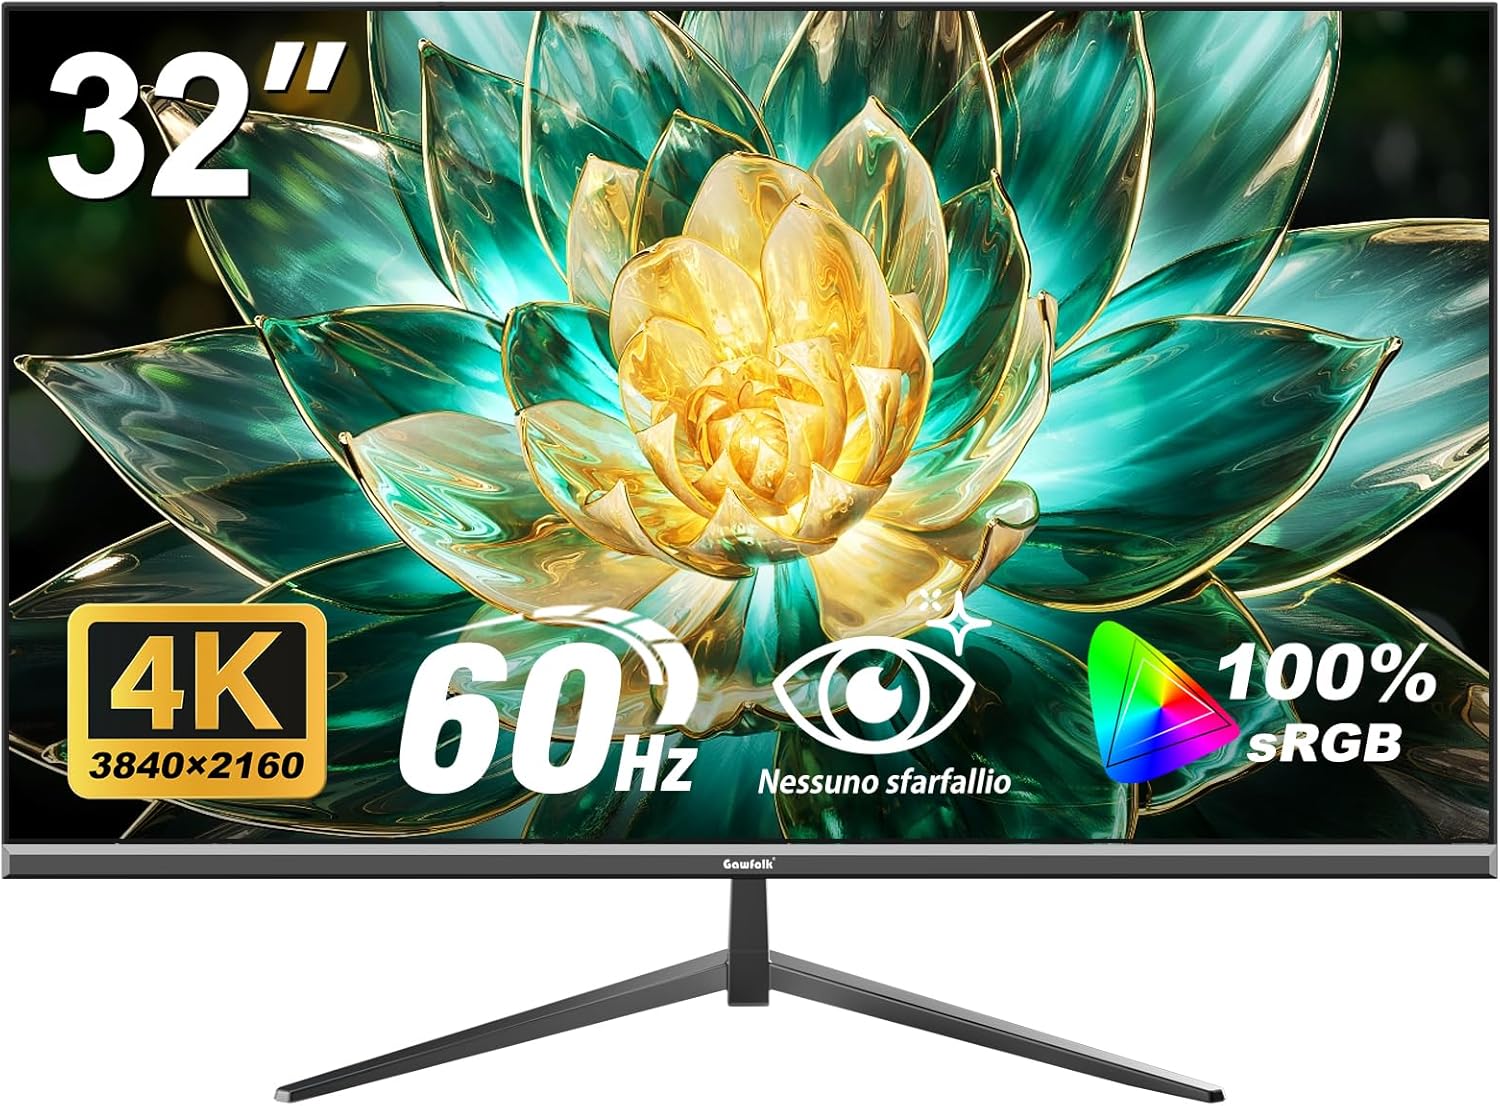
Image 1.1: Front view of the Gawfolk 32-inch 4K UHD Monitor.
The Gawfolk GF320F monitor features a 32-inch 4K UHD (3840x2160) display with a VA panel, offering a 178° wide viewing angle. It supports 8-bit color depth for 16.7 million colors and 100% sRGB coverage, providing clear and accurate visuals.

Image 1.2: Visual representation of 4K UHD resolution and wide viewing angles provided by the VA panel.
2. Package Contents
Please check the package contents carefully. If any items are missing or damaged, contact customer support.
- Gawfolk 32-inch 4K UHD Monitor (Model GF320F)
- Monitor Stand (Base and Neck)
- Power Adapter and Cable
- HDMI Cable
- DisplayPort (DP) Cable
- User Manual (this document)
- Screws for Stand Assembly

Image 2.1: Overview of the 32-inch Ultra HD Monitor and its key specifications.
3. Setup
3.1. Monitor Assembly
Follow these steps to assemble the monitor stand or prepare for wall mounting.
3.1.1. Attaching the Stand
- Carefully place the monitor face down on a soft, clean surface to prevent screen damage.
- Attach the stand neck to the back of the monitor, aligning the mounting holes.
- Secure the neck with the provided screws.
- Attach the stand base to the bottom of the neck and tighten the thumb screw or secure with screws.
- Carefully lift the monitor and place it on a stable, flat surface.
3.1.2. VESA Wall Mounting (Optional)
The monitor supports VESA mounting standard 100mm x 100mm. Ensure your wall mount is compatible and can support the monitor's weight (approximately 13.27 pounds or 6.02 kg).
- Carefully place the monitor face down on a soft, clean surface.
- Remove the stand if it is already attached.
- Attach your VESA-compatible wall mount bracket to the four screw holes on the back of the monitor.
- Secure the bracket using appropriate screws (typically M4 x 10mm, but refer to your wall mount's instructions).
- Mount the monitor to the wall according to your wall mount's instructions.

Image 3.1: Rear view of the monitor, highlighting the VESA 100x100mm mounting points and input ports.
3.2. Connecting to a Computer
Connect the monitor to your computer using one of the available video input ports.
- Power Connection: Connect the power adapter to the monitor's power input port, then plug the power cable into a power outlet.
- Video Connection (HDMI): Connect one end of the HDMI cable to the HDMI port on your computer's graphics card and the other end to an HDMI port on the monitor.
- Video Connection (DisplayPort): Connect one end of the DisplayPort cable to the DP port on your computer's graphics card and the other end to the DisplayPort on the monitor.
- Ensure all connections are secure.

Image 3.2: Detailed view of the monitor's input ports, including HDMI and DisplayPort.
4. Operating Instructions
4.1. Power On/Off
Locate the power button, typically on the back or bottom edge of the monitor. Press it to turn the monitor on or off. The power indicator light will illuminate when the monitor is on.
4.2. On-Screen Display (OSD) Menu Navigation
The OSD menu allows you to adjust various monitor settings. The control buttons are usually located on the back or bottom right side of the monitor.
- Press one of the OSD buttons to activate the menu.
- Use the navigation buttons (often a joystick or directional buttons) to move through menu options.
- Press the select button to enter a sub-menu or confirm a setting.
- Use the exit button to go back or close the OSD menu.
4.3. Picture Settings
Adjust the display quality to your preference using the OSD menu:
- Brightness: Adjusts the overall luminance of the screen.
- Contrast: Adjusts the difference between light and dark areas.
- Color Temperature: Selects preset color modes (e.g., Warm, Cool, User).
- Aspect Ratio: Changes the display ratio (e.g., 16:9, 4:3).
- Sharpness: Adjusts the clarity of image details.
4.4. Input Selection
To switch between connected devices (e.g., a computer connected via HDMI and another via DisplayPort):
- Access the OSD menu.
- Navigate to the "Input Source" or "Input Select" option.
- Select the desired input (HDMI 1, HDMI 2, DisplayPort).
4.5. Low Blue Light and Flicker-Free Technology
This monitor incorporates DC global dimming technology to achieve flicker-free operation and a low blue light mode to reduce eye strain during prolonged use.
- Flicker-Free: The monitor is designed to minimize screen flickering, providing a more comfortable viewing experience.
- Low Blue Light Mode: Activate this mode via the OSD menu to filter out harmful short-wave blue light, which can help reduce eye fatigue.

Image 4.1: Illustration of the benefits of DC Dimming and Low Blue Light technology.
5. Maintenance
Proper maintenance ensures the longevity and optimal performance of your monitor.
- Cleaning the Screen:
- Turn off the monitor and unplug the power cable.
- Gently wipe the screen with a soft, lint-free cloth.
- For stubborn marks, lightly dampen the cloth with water or a specialized screen cleaner (do not spray directly onto the screen).
- Avoid using alcohol, ammonia, or abrasive cleaners.
- Cleaning the Casing: Wipe the monitor casing with a soft, dry cloth.
- Ventilation: Ensure the monitor's ventilation openings are not blocked to prevent overheating.
6. Troubleshooting
If you encounter issues with your monitor, refer to the following common problems and solutions.
| Problem | Possible Cause | Solution |
|---|---|---|
| No image on screen |
|
|
| Image is blurry or distorted |
|
|
| Screen flickering |
|
|
| Monitor randomly sets resolution to 1080p |
|
|
7. Specifications
Key technical specifications for the Gawfolk 32-inch 4K UHD Monitor (Model GF320F).
| Feature | Specification |
|---|---|
| Model Number | GF320F |
| Screen Size | 32 Inches |
| Resolution | 3840 x 2160 (4K UHD) |
| Refresh Rate | 60Hz |
| Panel Type | VA Panel |
| Viewing Angle | 178° |
| Color Depth | 8-Bit (16.7 Million Colors) |
| sRGB Coverage | 100% |
| Contrast Ratio | 3500:1 |
| Brightness | 200 cd/m² |
| Input Ports | DisplayPort, HDMI |
| Wall Mount Compatibility | VESA 100mm x 100mm |
| Product Dimensions (with stand) | 7.48 x 28.15 x 19.96 inches |
| Item Weight | 13.27 pounds (6.02 kg) |
8. Warranty and Support
Gawfolk provides a 12-month after-sales service for this monitor. If you encounter any issues or require assistance, please contact Gawfolk customer support. Details for contacting support are typically found on the product packaging or the official Gawfolk website.

Image 8.1: Gawfolk's commitment to customer support, including 365 days easy replacement and 24-hour solution response.


