
1. Introduction
This manual provides comprehensive instructions for the setup, operation, and maintenance of your FLYRUIT Dementia Clock Set. This set includes both a 7-inch black and a 10.1-inch white digital day clock, designed to display time, date, and day of the week clearly. Key features include auto-dimming, six customizable alarms, and remote control operation.
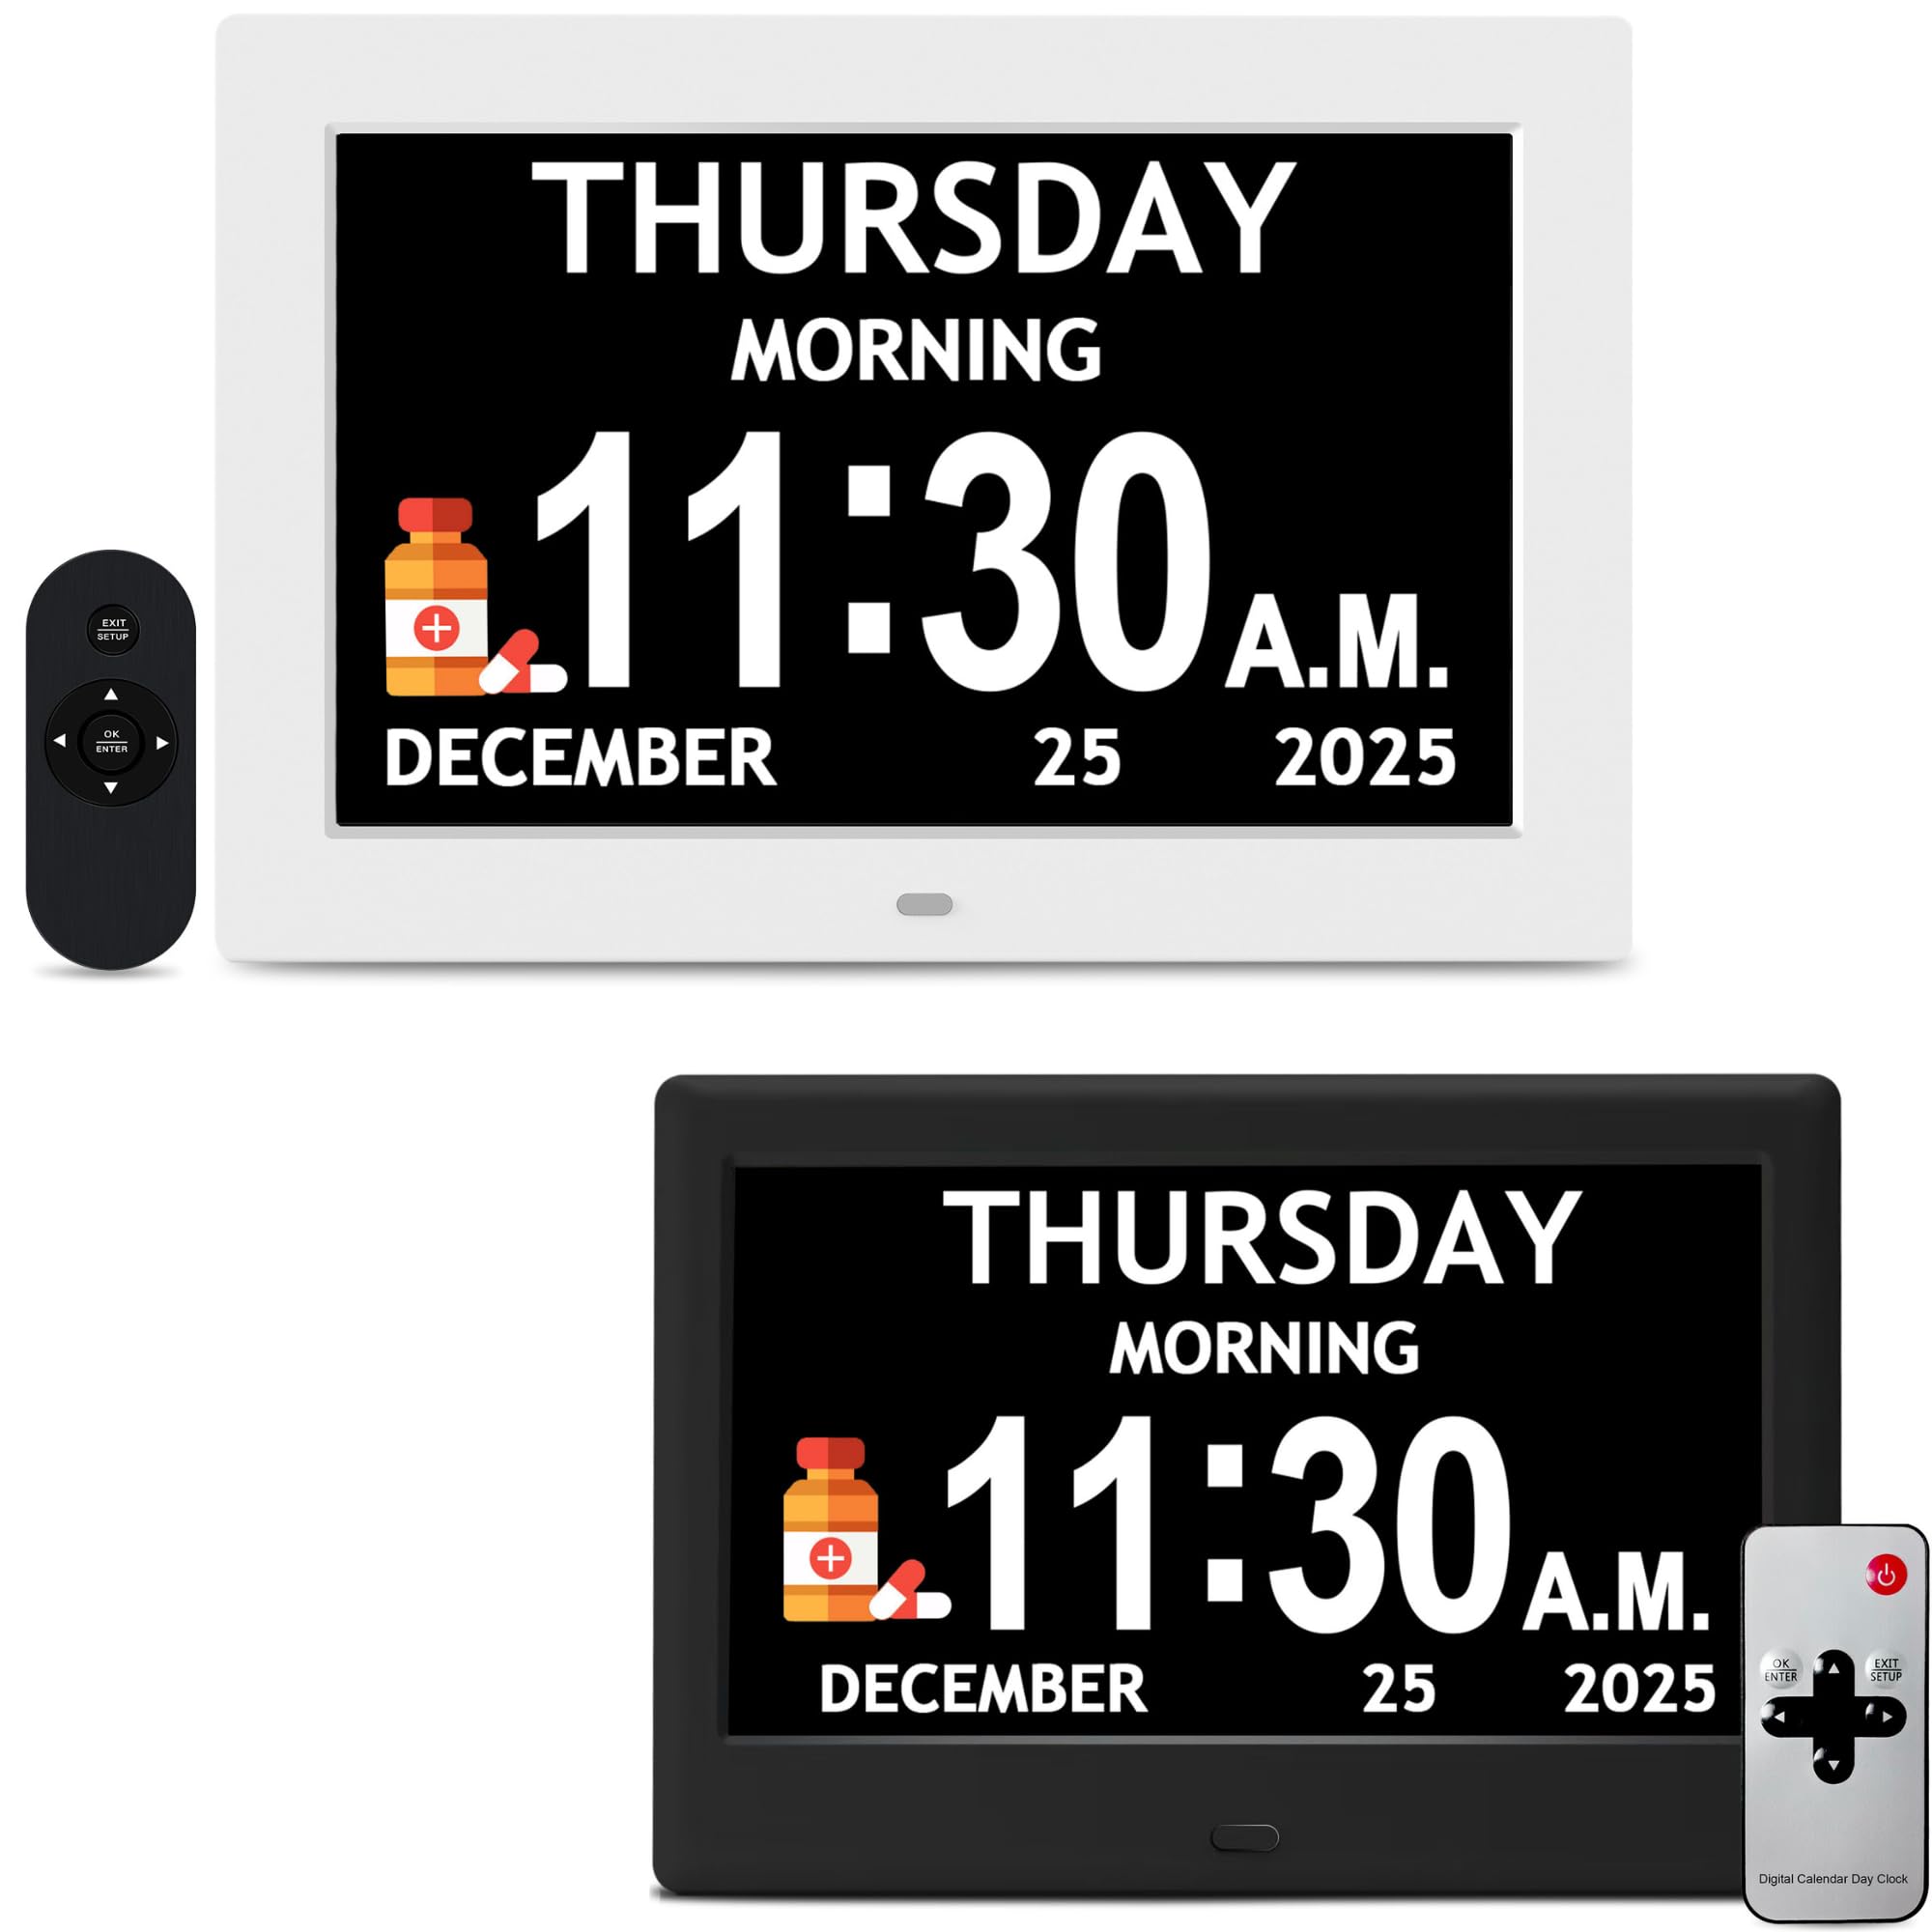
Image 1.1: The 7-inch black digital day clock with its remote control.
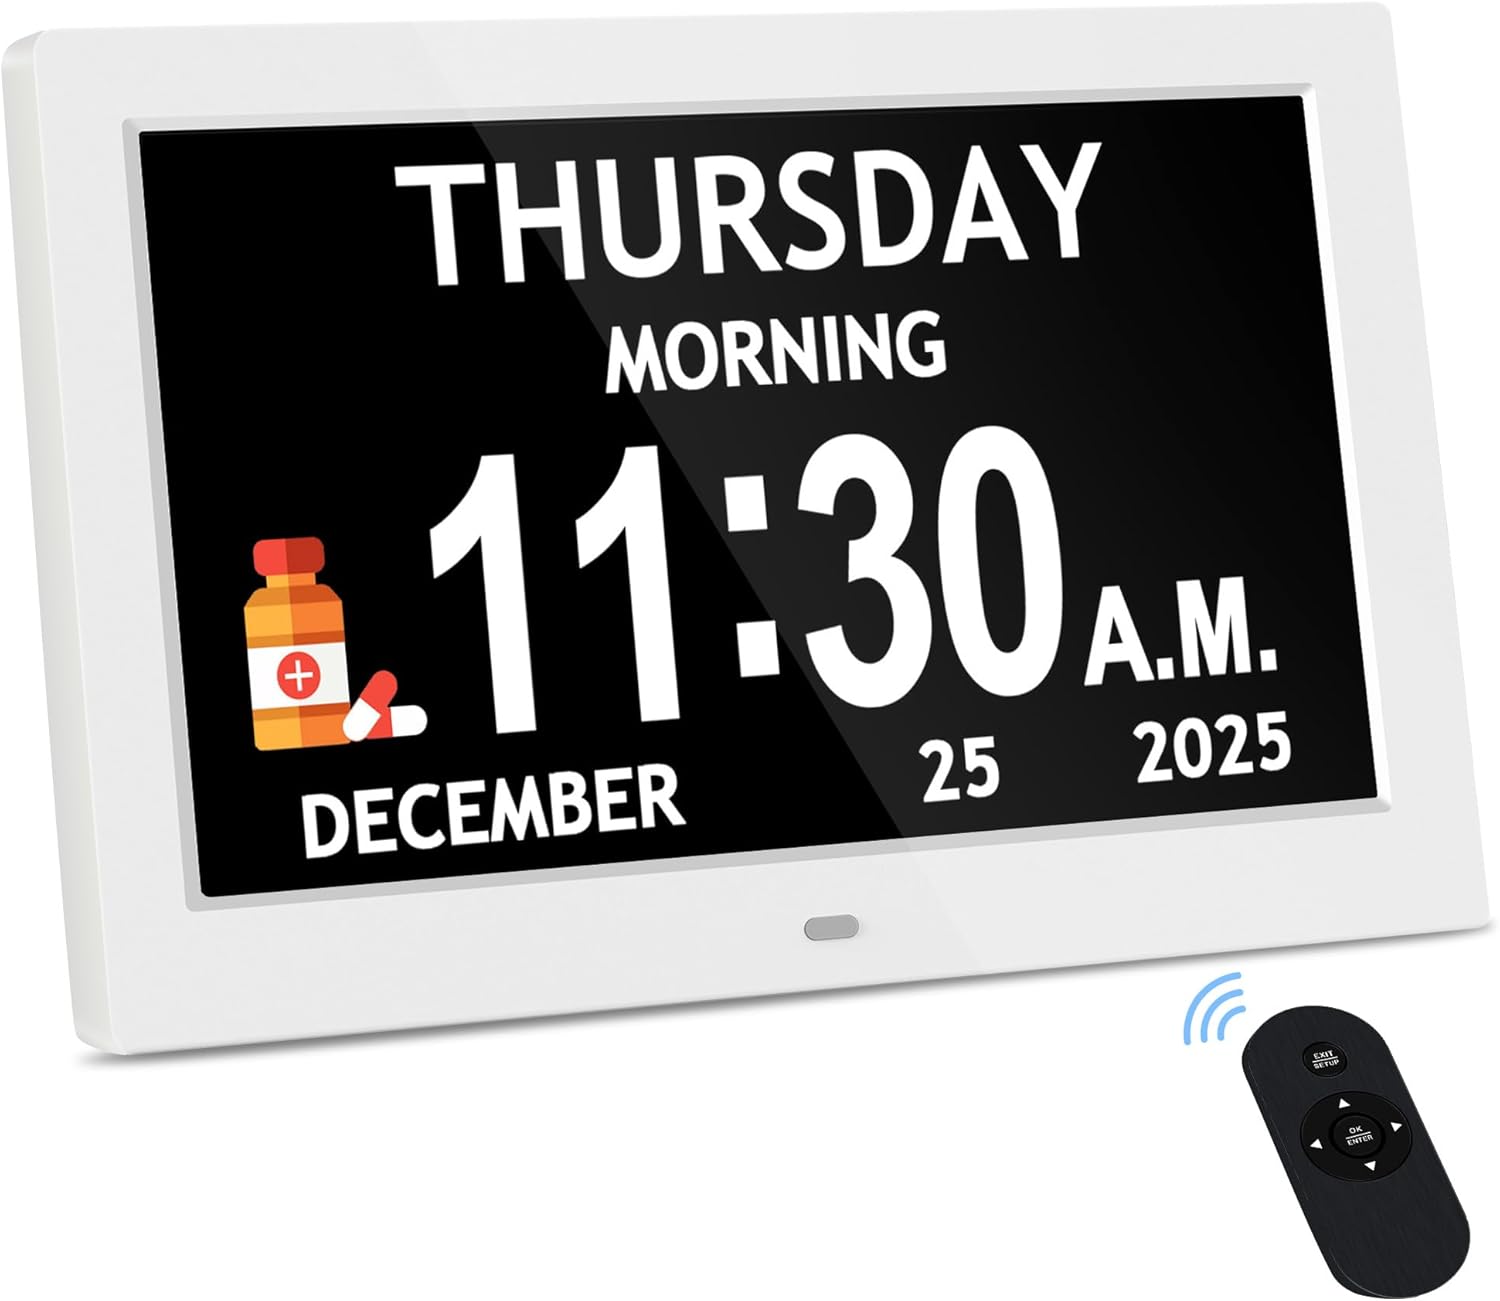
Image 1.2: The 10.1-inch white digital day clock with its remote control.
2. Package Contents
Please verify that all items are present in your package:
- 1 x 7-inch Digital Day Clock (Black)
- 1 x 10.1-inch Digital Day Clock (White)
- 2 x Power Adapters
- 2 x Remote Controls
- 2 x User Manuals (this document)
3. Setup
Follow these steps to set up your FLYRUIT Dementia Clock:
- Unpack the Clock: Carefully remove the clock and all accessories from the packaging.
- Connect Power: Insert the power adapter cable into the DC IN port on the back of the clock. Plug the other end of the adapter into a standard electrical outlet. The clock will power on automatically.
- Initial Display: Upon first power-on, the clock will display the default time and date. You may need to adjust these settings using the remote control.
- Placement: Place the clock on a stable, flat surface or mount it on a wall using the integrated mounting holes (mounting hardware not included). Ensure it is in a location where the display is clearly visible.

Image 3.1: The back of the clock with the power input and a view of the remote control for setup.
4. Operating Instructions
4.1. Basic Operation with Remote Control
The included remote control allows for easy adjustment of settings. Point the remote directly at the clock's sensor for optimal response.
- Power Button: Turns the clock display on or off.
- Menu Button: Accesses the main settings menu.
- Arrow Buttons (Up/Down/Left/Right): Navigate through menu options and adjust values.
- ENTER Button: Confirms selections.
- EXIT/STOP Button: Exits the current menu or stops an alarm.
4.2. Setting Time and Date
- Press the MENU button on the remote control.
- Navigate to 'Time Settings' or 'Date Settings' using the arrow buttons and press ENTER.
- Use the arrow buttons to adjust the hour, minute, year, month, and day. Press ENTER after each adjustment to move to the next field.
- Once all settings are correct, navigate to 'Save' or press EXIT to confirm and exit the menu.
4.3. Setting Alarms and Reminders
The clock supports 6 separate alarms and 10 customizable reminders.
- Press the MENU button.
- Navigate to 'Alarm Settings' or 'Reminder Settings' and press ENTER.
- Select an alarm slot (e.g., Alarm 1, Alarm 2) or reminder slot.
- Set the desired time for the alarm/reminder using the arrow buttons and ENTER.
- Choose the alarm type (e.g., once, daily, weekdays, weekends) and the reminder text (if applicable).
- Ensure the alarm/reminder is set to 'ON'.
- Save your settings and exit the menu.

Image 4.1: The clock displaying a 'Take Medicine' reminder, illustrating the utility of the 6 alarms and 10 reminders for daily routines.
4.4. Auto Dimming and Brightness Adjustment
The clock features smart auto-brightness by default, adjusting the display intensity based on ambient light. You can also manually select from 5 adjustable brightness levels.
- Press the MENU button.
- Navigate to 'Display Settings' or 'Brightness' and press ENTER.
- Select 'Auto' for automatic adjustment or choose a specific level from 1 to 5.
- Save your settings and exit.

Image 4.2: Illustration of the Smart Auto Brightness feature and the 5 adjustable manual brightness levels.
4.5. Day/Night Clarity Display
The clock's display is designed for optimal readability throughout the day and night, clearly indicating periods like 'Morning', 'Afternoon', 'Evening', 'Night', and 'Before Dawn'.

Image 4.3: Examples of the clock's display for various times of day, ensuring clear readability.
5. Maintenance
Proper care ensures the longevity and optimal performance of your clock.
- Cleaning the Display: Use a soft, dry, lint-free cloth to gently wipe the screen. For stubborn smudges, slightly dampen the cloth with water or a screen-safe cleaner. Avoid abrasive materials or harsh chemicals.
- General Cleaning: Wipe the clock's casing with a soft, dry cloth.
- Remote Control: If the remote control's response becomes sluggish, replace its batteries (typically 2x AAA, not specified in product details, check remote for battery type).
- Avoid Liquids: Do not expose the clock to water or excessive moisture.
- Temperature: Operate the clock within normal room temperature ranges. Avoid extreme heat or cold.
6. Troubleshooting
If you encounter issues with your FLYRUIT Dementia Clock, refer to the following common problems and solutions:
| Problem | Possible Cause | Solution |
|---|---|---|
| Clock does not power on. | Power adapter not connected or faulty outlet. | Ensure the power adapter is securely plugged into the clock and a working electrical outlet. Try a different outlet. |
| Remote control is unresponsive. | Low or dead batteries; obstruction between remote and clock sensor. | Replace remote control batteries. Ensure there is a clear line of sight between the remote and the clock's sensor. |
| Alarm does not sound. | Alarm not set correctly or volume too low. | Verify alarm settings in the menu. Ensure alarm volume is not muted or set too low. |
| Display is too dim or too bright. | Brightness settings need adjustment. | Adjust brightness settings manually or select 'Auto' mode in the 'Display Settings' menu. |
| Incorrect time or date displayed. | Time/date not set correctly. | Access 'Time Settings' and 'Date Settings' via the menu and adjust as needed. |
7. Specifications
Key technical specifications for the FLYRUIT Dementia Clock Set:
- Display Sizes: 7-inch and 10.1-inch
- Display Type: Digital IPS Screen
- Resolution: 1280 x 800 HD (for 10.1-inch model, typical for similar 7-inch models)
- Features: Large Digital Display, Date/Time, Auto Dimming, 6 Alarms, 10 Reminders, Remote Control, Extra Large Font, Dual Controls
- ASIN: B0FF51TDXS
- First Available: May 5, 2025

Image 7.1: The 10.1-inch clock showcasing its display size, resolution, and other features.

Image 7.2: Size comparison between the 10.1-inch and 7-inch digital day clocks.
8. Warranty Information
Specific warranty details for the FLYRUIT Dementia Clock Set are typically provided with the product packaging or available directly from the manufacturer or seller. Please refer to the documentation included with your purchase or contact FLYRUIT customer support for detailed warranty terms and conditions.
9. Customer Support
For further assistance, technical support, or inquiries regarding your FLYRUIT Dementia Clock Set, please contact the seller or manufacturer through the platform where the product was purchased. Have your product model and ASIN (B0FF51TDXS) ready when contacting support.
10. Official Product Videos
No official product videos from the seller were available for embedding at this time.