1. Introduction
The Uniclife 32-Position Key Lock Box is designed for efficient and secure organization of keys in various environments such as office buildings, service teams, car fleets, car dealerships, repair shops, and warehouses. Crafted from heavy-duty steel, this robust key cabinet offers enhanced security and ease of use for managing up to 32 key sets.
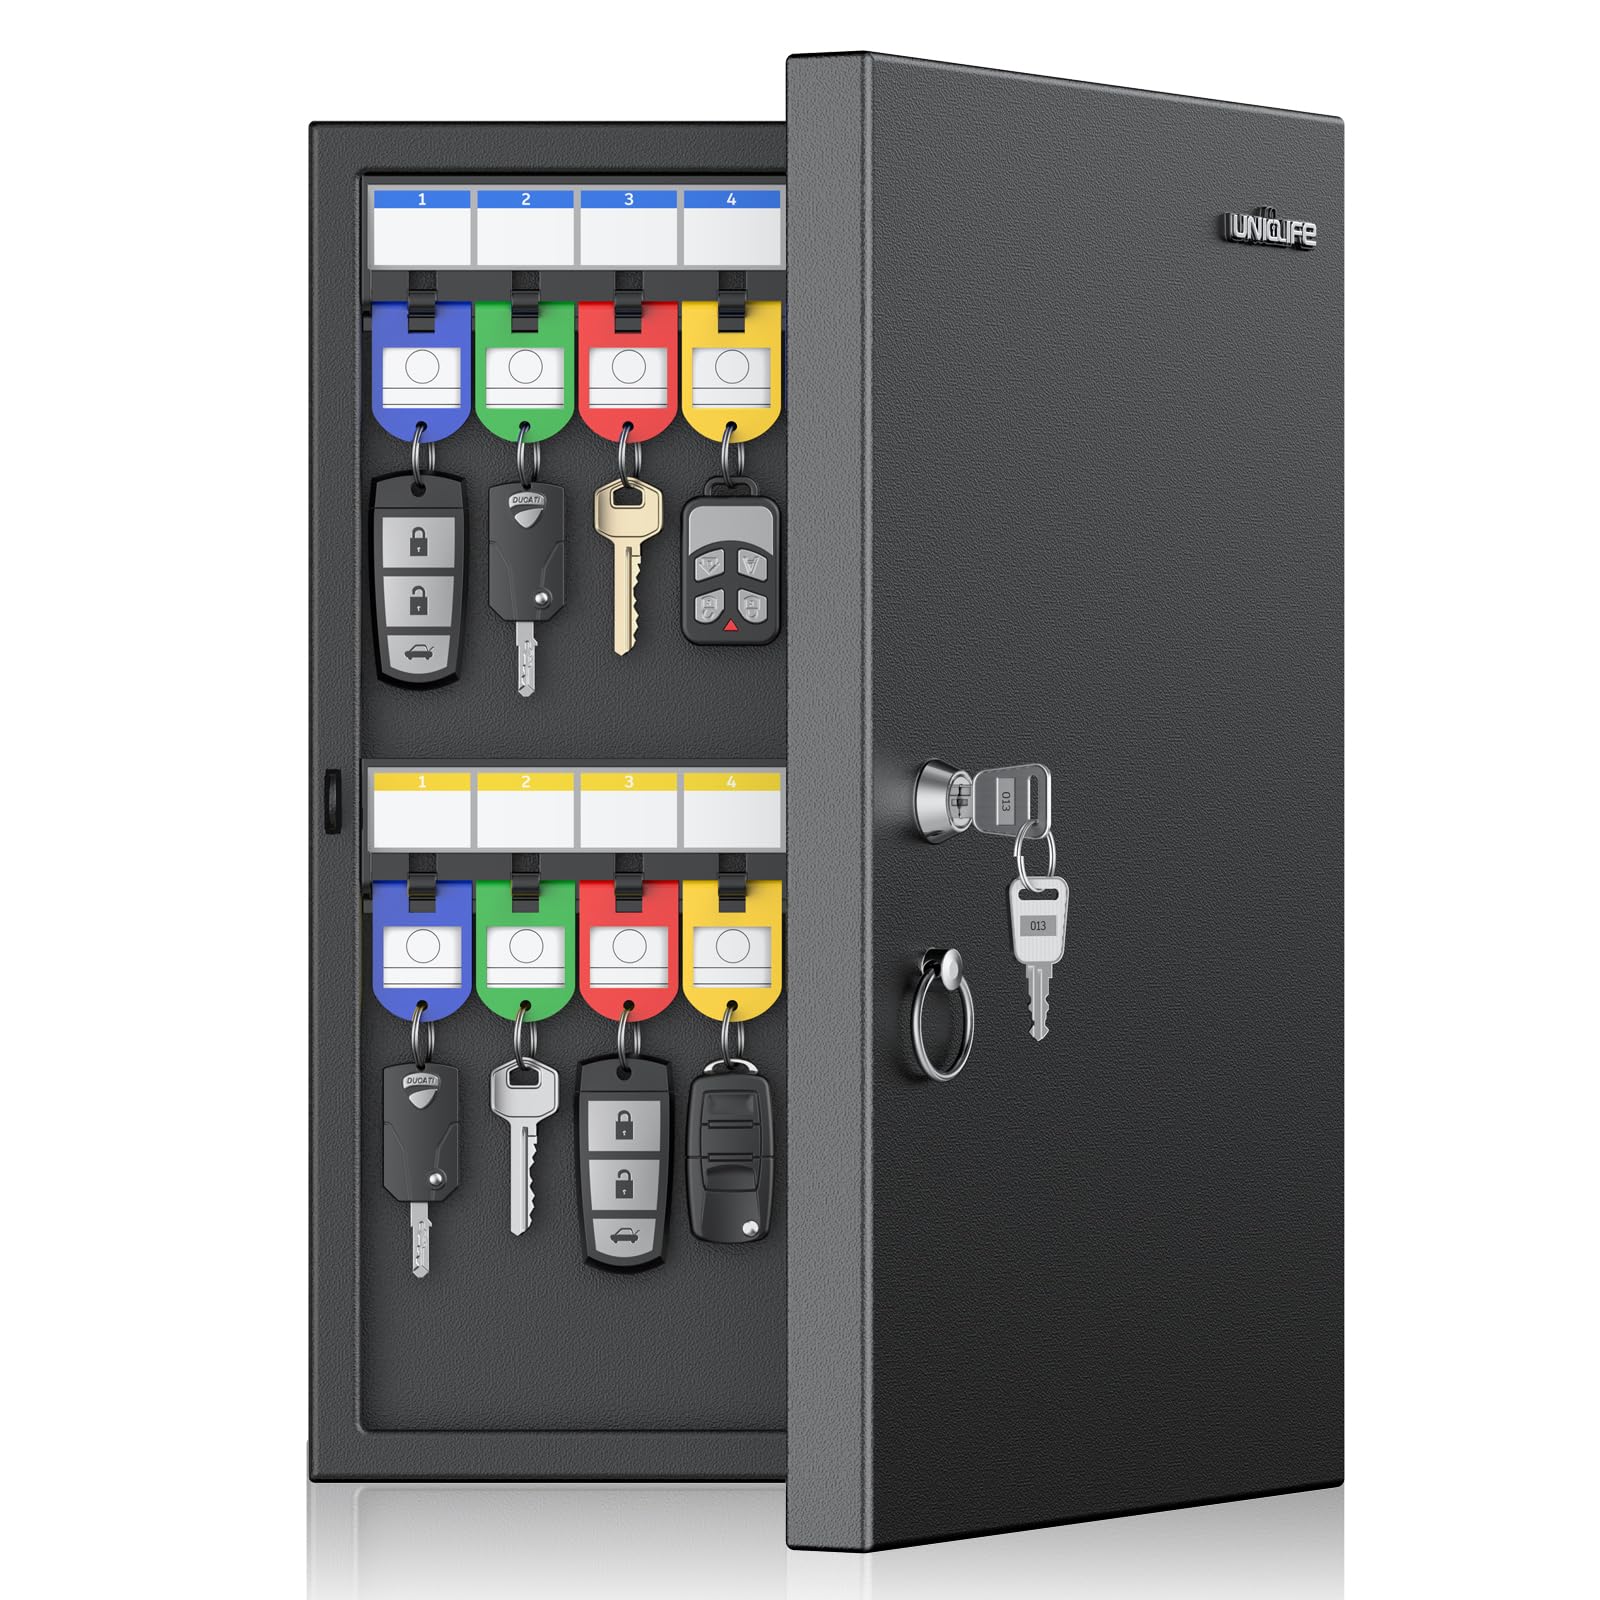
Image: Uniclife 32-Position Key Lock Box showing its dimensions (10.3" L x 2" W x 15" H).
2. Setup and Installation
2.1 Unpacking
Carefully unpack the Uniclife 32-Position Key Lock Box. Ensure all components are present:
- Key Box
- 32 Writable Key Tags (in 4 colors)
- Mounting Hardware (screws and wall anchors)
- Keys for the lock mechanism
2.2 Wall Mounting
The key box is designed for secure wall mounting. Follow these steps for installation:
- Choose a suitable, sturdy wall surface that can support the weight of the cabinet and its contents.
- Open the key box to access the pre-drilled mounting holes on the back panel.
- Position the key box against the wall at the desired height and mark the locations for drilling through the pre-drilled holes.
- Drill pilot holes at the marked locations. For drywall, insert the provided wall anchors.
- Align the key box with the drilled holes and secure it to the wall using the provided screws. Ensure it is firmly attached and level.

Image: Illustration of the key box's pre-drilled mounting holes and included hardware (4 screws, 4 wall anchors) for effortless wall mounting.
2.3 Initial Unlocking (Key Lock Model)
To open the key box for the first time:
- Insert one of the provided keys into the lock cylinder on the front of the cabinet.
- Turn the key clockwise to unlock the mechanism.
- Pull the door open using the easy-grip metal ring.
Video: Demonstrates the process of unlocking and locking the Uniclife Key Lock Box using the provided key.
3. Operating Instructions
3.1 Organizing Keys with Writable Tags
The included key tags are essential for efficient key management:
- Each key tag comes with a writable paper insert. To label, remove the metal ring from the tag.
- Slide out the paper insert from the tag.
- Write the key's identification (e.g., room number, vehicle model) on the paper insert.
- Slide the labeled paper insert back into the tag and reattach the metal ring.
- Attach your keys to the metal rings of the labeled tags.

Image: Step-by-step guide on how to write on the key tags for easy labeling and organization.

Image: Close-up view of the 32 writable key tags provided in blue, green, yellow, and red colors.
3.2 Placing Keys in the Cabinet
The key box features 4 fixed plastic racks with 32 hooks, each with pre-attached number stickers:
- Hang the labeled key tags onto the corresponding numbered hooks.
- The wider hook spacing is designed to comfortably hold bulky car keys without crowding or tangling.
- Ensure keys are hung securely to prevent them from falling off when the door is opened or closed.

Image: The interior of the key box showing keys neatly organized on the numbered hooks with colored tags.

Image: Detail showing the optimized wider hook spacing designed to accommodate larger and bulkier car keys without tangling.
3.3 Securing the Cabinet
To ensure the security of your keys:
- Close the cabinet door firmly. A built-in magnet will help keep the door shut.
- Insert the key into the lock cylinder and turn it counter-clockwise to the locked position.
- Remove the key and store it in a safe, separate location.
4. Maintenance
Proper maintenance ensures the longevity and functionality of your key lock box:
- Cleaning: Regularly wipe the exterior and interior surfaces of the key box with a soft, damp cloth. Avoid using harsh chemicals or abrasive cleaners, which can damage the finish.
- Lock Mechanism: Keep the key lock mechanism clean and free from dust or debris. If the lock becomes stiff, a small amount of graphite lubricant can be applied to the keyhole.
- Mounting: Periodically check the wall mounting screws to ensure they remain tight and secure.
4.1 Safety Information
Always use appropriate safety gear when handling and assembling the cabinet. Ensure the cabinet is securely mounted to the wall to prevent it from tipping over. Do not attempt to force open the cabinet door as it is designed to resist tampering and forced entry. Always follow the manufacturer's instructions for safe use and maintenance.
5. Troubleshooting
If you encounter any issues with your Uniclife Key Lock Box, refer to the following common troubleshooting tips:
- Door not closing properly: Check for any keys or tags obstructing the door's path. Ensure the cabinet is mounted level on the wall.
- Key difficult to turn in lock: Ensure the key is fully inserted. Check for any debris in the keyhole. Apply a small amount of graphite lubricant if necessary.
- Keys crowding or tangling: Utilize the wider hook spacing for larger keys. Ensure each key is placed on its designated hook.
If the problem persists, please contact Uniclife customer support for further assistance.
6. Specifications
| Feature | Detail |
|---|---|
| Brand | Uniclife |
| Model Name | Uniclife-5163 |
| Color | Black |
| Product Dimensions | 10.3"D x 2"W x 15"H |
| Material | Alloy Steel |
| Special Feature | Adjustable, Sturdy |
| Mounting Type | Wall Mount |
| Door Style | Flat Panel |
| Included Components | Key Box, Key Tags |
| Finish Type | Painted |
| Size | 32-Key(Key Lock) |
| Number of Shelves | 4 |
| Number of Pieces | 1 |
| Item Weight | 2 Pounds |
| Installation Type | Wall Mount |
| Assembly Required | Yes |
| Number of Compartments | 4 |
| Storage Options | Key Storage |
7. Warranty and Support
The Uniclife 32-Position Key Lock Box is covered by a return policy allowing for refund or replacement within 30 days of purchase. For detailed warranty information, product support, or any inquiries not covered in this manual, please refer to the official Uniclife website or contact Uniclife customer service directly.


