
Introduction
This manual provides detailed instructions for the setup, operation, and maintenance of your HANNspree HT240CUA 23.8-inch Multitouch Monitor. Please read this manual thoroughly before using the product to ensure proper functionality and to prevent damage.
Package Contents
Verify that all items listed below are included in your product package. If any items are missing or damaged, please contact your retailer.
- HANNspree HT240CUA Multitouch Monitor
- Power Supply
- Power Cable (1.5 m)
- HDMI Cable
- USB A-C Cable
- Warranty Card
- Quick Start Guide
Product Overview
The HANNspree HT240CUA is a 23.8-inch multitouch monitor designed for versatile use in various environments. It features PCAP touch technology with 10 touch points, Full HD resolution, optical bonding, and a durable 7H tempered glass surface.
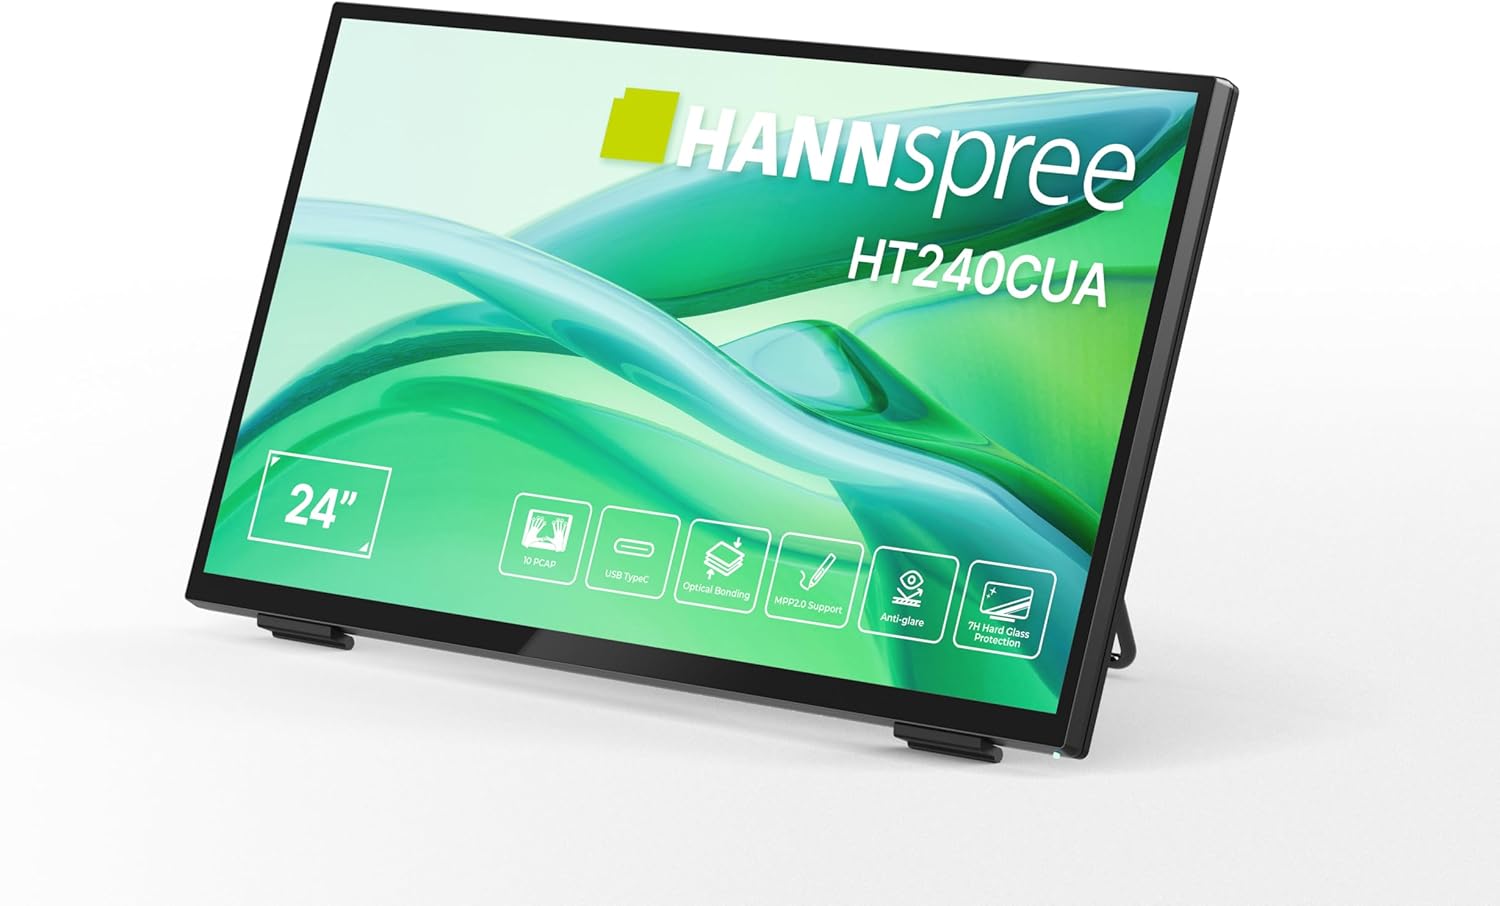
Front view of the HANNspree HT240CUA monitor, showcasing its sleek design and 24-inch display.

Rear view of the HANNspree HT240CUA monitor, highlighting the various input/output ports including USB Type-C, HDMI, and DisplayPort.
Setup
- Unpacking the Monitor: Carefully remove the monitor and all accessories from the packaging. Place the monitor on a stable, flat surface.
- Connecting the Power:
- Connect the power cable to the power supply.
- Plug the power supply into the DC IN port on the back of the monitor.
- Plug the other end of the power cable into a grounded electrical outlet.
- Connecting to a Computer:
- USB Type-C Connection: For video, audio, and touch functionality with a single cable, connect the supplied USB A-C cable to the USB Type-C port on the monitor and to a compatible USB Type-C port on your computer.
- HDMI Connection: Connect one end of the HDMI cable to the HDMI port on the monitor and the other end to the HDMI output port on your computer.
- DisplayPort Connection: Connect a DisplayPort cable (not included) to the DP port on the monitor and to the DisplayPort output on your computer.
- VGA Connection: Connect a VGA cable (not included) to the VGA port on the monitor and to the VGA output on your computer.

Diagram illustrating the versatile connectivity options available on the HANNspree HT240CUA monitor, including USB-C, DisplayPort, HDMI, and VGA.
- Adjusting the Stand: The monitor features an ergonomically adjustable stand with a tilt angle of 15-70 degrees. Adjust the stand to your preferred viewing angle.
- VESA Mounting (Optional): The monitor supports VESA mount 100 x 100 mm for alternative mounting solutions, such as wall mounts or mini PC attachments.
Operating Instructions
Power On/Off
Press the power button located on the side of the monitor to turn it on or off.
Using the Multitouch Functionality
The HT240CUA supports 10-point PCAP multitouch. Ensure your operating system is configured for touch input.

Image showing the HANNspree HT240CUA monitor in use with 10-point multitouch functionality, allowing for smooth and precise interactions.
MPP 2.0 Stylus Support
The monitor supports MPP 2.0 compatible styluses (pen not included) for a pen-like writing and drawing experience with precise accuracy and low latency.
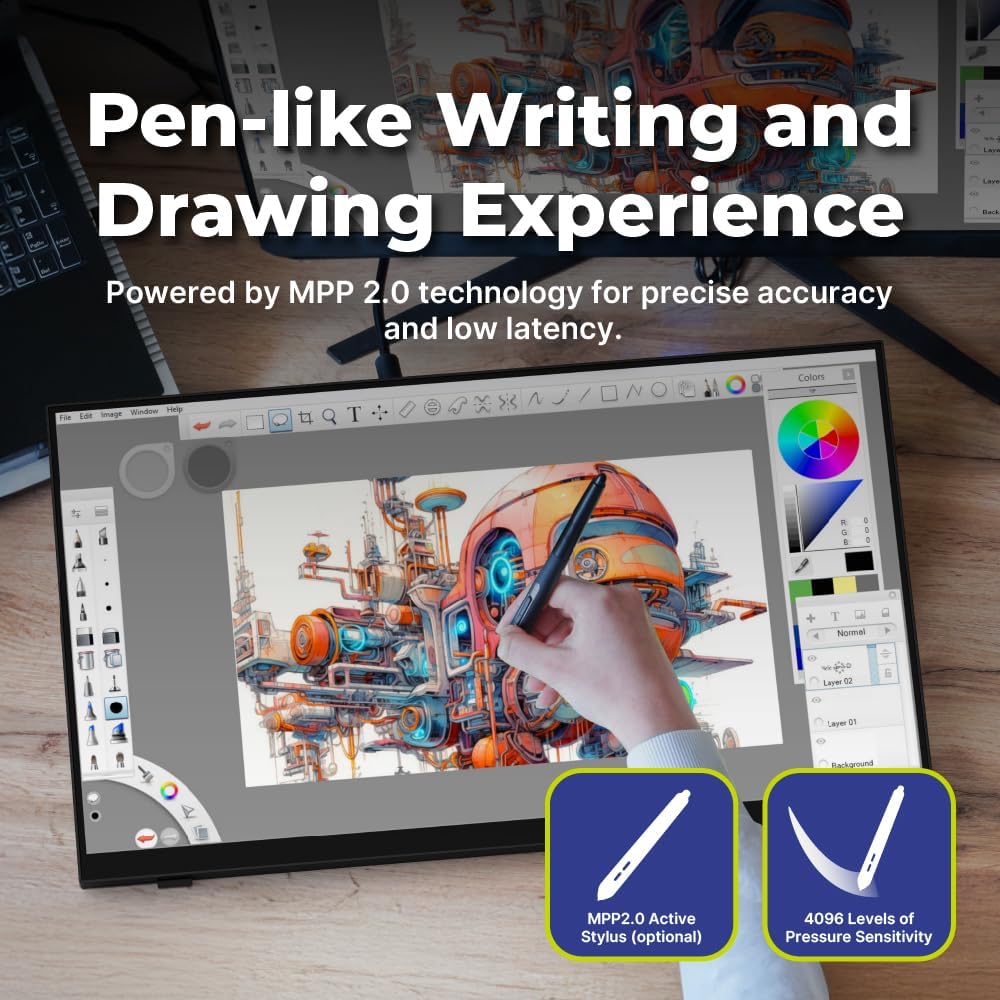
Illustration of the HANNspree HT240CUA monitor's support for MPP 2.0 styluses, enabling a natural writing and drawing experience.
On-Screen Display (OSD) Menu
Use the buttons on the side of the monitor to navigate and adjust settings in the OSD menu. Common settings include brightness, contrast, input source selection, and color temperature.
- MENU Button: Opens the OSD menu.
- UP/DOWN Buttons: Navigate through menu options.
- ENTER Button: Selects an option or confirms a setting.
- EXIT Button: Exits the current menu or the OSD.
Maintenance
Cleaning the Monitor
To clean the monitor screen and casing:
- Turn off the monitor and unplug the power cable.
- Use a soft, lint-free cloth lightly dampened with water or a non-abrasive screen cleaner.
- Gently wipe the screen and casing. Avoid applying excessive pressure.
- Do not use alcohol, benzene, thinners, or other harsh chemicals, as these may damage the screen surface or casing.
Storage
When storing the monitor for an extended period, ensure it is powered off, unplugged, and stored in a cool, dry place away from direct sunlight and extreme temperatures.
Troubleshooting
If you encounter issues with your monitor, refer to the following common problems and solutions.
No Power
- Ensure the power cable is securely connected to the monitor and the electrical outlet.
- Verify that the power outlet is functioning correctly by plugging in another device.
- Check the power adapter for any visible damage.
No Image on Screen
- Confirm that the monitor is powered on.
- Check the video cable (HDMI, DisplayPort, USB-C, VGA) connections at both the monitor and the computer.
- Ensure the correct input source is selected in the monitor's OSD menu.
- Test the monitor with another computer or video source if possible.
Touch Functionality Not Working
- For USB Type-C connections, ensure the cable supports data transfer for touch.
- If using HDMI/DP/VGA, ensure a separate USB cable is connected from the monitor's USB upstream port to your computer for touch data.
- Check your computer's operating system settings for touch screen calibration or driver issues.
- Restart both the monitor and the computer.
Image Quality Issues
- Adjust brightness, contrast, and color settings via the OSD menu.
- Ensure the display resolution on your computer is set to the monitor's native resolution (1920 x 1080).
- Check for any physical damage to the screen or cables.
Specifications
| Feature | Specification |
|---|---|
| Screen Size | 23.8 Inches |
| Resolution | 1920 x 1080 (Full HD) |
| Aspect Ratio | 16:9 |
| Touch Technology | PCAP, 10-point multitouch |
| Surface Hardness | 7H Tempered Glass |
| Brightness | 270 cd/m² |
| Connectivity | USB Type-C (Video/Audio/Touch), HDMI, DisplayPort, VGA, USB Hub 3.0 (2x) |
| Speakers | Integrated |
| Tilt Angle | 15-70 degrees |
| VESA Mount | 100 x 100 mm |
| Stylus Support | MPP 2.0 (pen not included) |
| Product Dimensions (L x W x H) | 21.65 x 13.12 x 1.94 inches |
| Item Weight | 12.39 pounds |
Warranty and Support
For warranty information, please refer to the included Warranty Card in your package. For technical support or service inquiries, please visit the official HANNspree website or contact their customer service department.
Keep your purchase receipt and product serial number (found on the back of the monitor) readily available when contacting support.


