
1. Introduction
Thank you for choosing the ZZA 32-inch 1080P 240Hz Curved Gaming Monitor. This manual provides essential information for setting up, operating, and maintaining your monitor. Please read this manual thoroughly before use to ensure proper functionality and to maximize your viewing experience.

Image 1.1: ZZA 32-inch Curved Gaming Monitor. This image displays the front view of the ZZA 32-inch curved gaming monitor with its stand, showcasing the immersive display.
2. Safety Information
- Always place the monitor on a stable, flat surface to prevent it from falling.
- Do not block ventilation openings. Ensure adequate space around the monitor for proper airflow.
- Use only the power adapter and cables supplied with the monitor.
- Keep the monitor away from water, moisture, and extreme temperatures.
- Avoid exposing the screen to direct sunlight or strong artificial light for extended periods.
- Do not attempt to repair the monitor yourself. Refer all servicing to qualified personnel.
- Unplug the monitor from the power outlet before cleaning.
3. Package Contents
Verify that all items are present in your package:
- ZZA 32-inch Curved Gaming Monitor
- Monitor Stand (Base and Neck)
- Power Adapter and Power Cable
- DisplayPort (DP) Cable
- HDMI Cable
- User Manual
4. Setup
4.1 Attaching the Stand
- Carefully remove the monitor from its packaging, keeping the screen protected.
- Attach the stand neck to the monitor panel.
- Secure the stand base to the stand neck using the provided screws.
- Place the assembled monitor on a stable, flat surface.
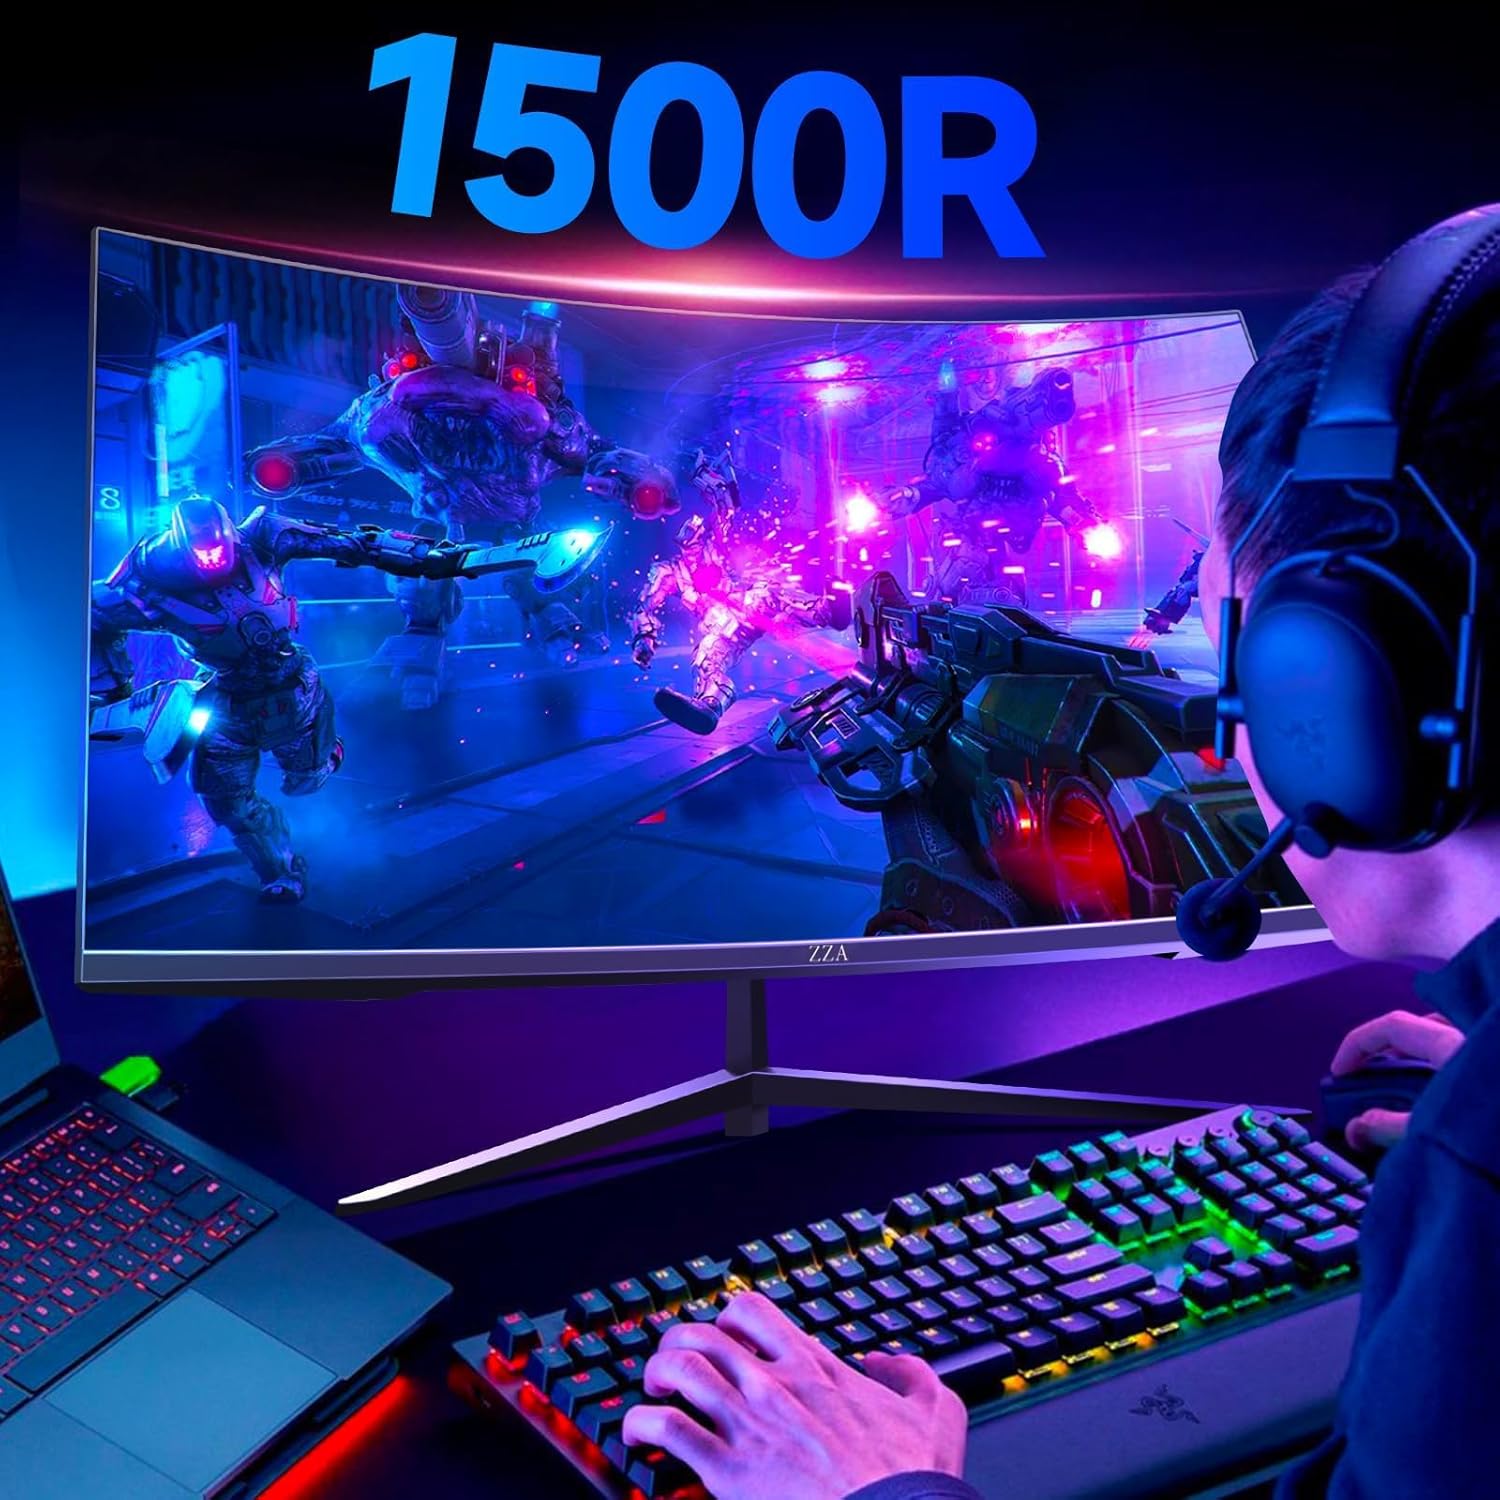
Image 4.1: Monitor with stand and user. This image shows the monitor fully assembled on a desk, with a user interacting with it, illustrating the monitor's curvature and stand design.
4.2 VESA Mounting
The monitor supports VESA mounting (100x100mm) for wall mounts or monitor arms (sold separately).
- Remove the stand from the monitor if it is already attached.
- Attach your VESA-compatible mount to the four screw holes on the back of the monitor.
- Ensure the mount is securely fastened before releasing the monitor.

Image 4.2: Monitor back with VESA mount and ports. This image highlights the VESA mounting points (100x100mm) on the back of the monitor, along with the various input ports and tilt adjustment range.
4.3 Connecting Cables
Connect the necessary cables to the corresponding ports on the monitor and your computer:
- Power: Connect the power adapter to the monitor's DC IN 12V port, then plug the power cable into a power outlet.
- DisplayPort (DP): For optimal performance (240Hz refresh rate), connect one end of the DP cable to the monitor's DP port and the other end to your computer's graphics card DP port.
- HDMI: Connect one end of the HDMI cable to the monitor's HDMI port and the other end to your computer's graphics card HDMI port.
- Audio Out: Connect external speakers or headphones to the Audio Out port if desired.
5. Operating Instructions
5.1 Powering On/Off
Press the power button located on the monitor to turn it on or off. The power indicator light will illuminate when the monitor is on.
5.2 Input Selection
If you have multiple devices connected, use the monitor's OSD menu or a dedicated input button (if available) to switch between DisplayPort and HDMI inputs.
5.3 High Refresh Rate and Response Time
This monitor features a 240Hz refresh rate and 1ms (GTG) response time for smooth and fluid visuals, especially beneficial for fast-paced gaming. Ensure your graphics card and display settings are configured to utilize the 240Hz refresh rate.

Image 5.1: Refresh rate comparison. This image visually compares the smoothness of 75Hz, 100Hz, and 240Hz refresh rates, demonstrating the enhanced fluidity at 240Hz.
5.4 Adaptive Sync Technology
The monitor supports Adaptive Sync (FreeSync & G-Sync compatible) to eliminate screen tearing and stuttering, providing a smoother gaming experience. Enable this feature in your graphics card control panel and the monitor's OSD menu.

Image 5.2: FreeSync ON vs OFF comparison. This image illustrates the difference between FreeSync enabled and disabled, showing how it prevents screen tearing and stuttering for a smoother visual experience.
6. On-Screen Display (OSD) Menu
6.1 Navigating the OSD
The OSD menu allows you to adjust various monitor settings. Use the buttons on the back or bottom of the monitor to navigate and select options.
6.2 Common OSD Settings
- Brightness/Contrast: Adjust the overall luminance and contrast of the display.
- Color Settings: Modify color temperature, gamma, and individual RGB levels.
- Picture Mode: Select from preset modes (e.g., Standard, Game, Movie, Text) or customize your own.
- Input Select: Manually switch between DisplayPort and HDMI inputs.
- Adaptive Sync: Enable or disable Adaptive Sync technology.
- HDR: Adjust High Dynamic Range settings.
- OSD Settings: Configure OSD language, transparency, and timeout.
7. Features Overview
7.1 Immersive 1500R Curved Display
The 1500R curvature closely matches the natural curve of the human eye, providing a more immersive viewing experience and reducing eye strain during extended use.

Image 7.1: 178-degree wide viewing angle and 1500R curvature. This image illustrates the wide viewing angles and the immersive effect of the 1500R curved screen, designed to extend the line of sight naturally.
7.2 Color Accuracy and Visuals
Experience true color excellence with 122% sRGB color gamut coverage and a 4000:1 contrast ratio, ensuring vibrant and true-to-life colors with deep blacks and bright whites. The monitor also supports HDR 600 for enhanced dynamic range.

Image 7.2: Color gamut, sRGB, and contrast ratio details. This image highlights the monitor's color capabilities, including 8-bit color depth, 16.7 million colors, 100% sRGB coverage, and a 4000:1 contrast ratio.
7.3 Eye Care Technology
The monitor incorporates low blue light technology and flicker-free mode to reduce eye fatigue and enhance comfort during prolonged viewing sessions, whether for work, entertainment, or gaming.
8. Maintenance
- Cleaning the Screen: Gently wipe the screen with a soft, lint-free cloth. For stubborn marks, lightly dampen the cloth with water or a non-ammonia, non-alcohol based screen cleaner. Never spray liquid directly onto the screen.
- Cleaning the Casing: Use a soft, dry cloth to wipe the monitor casing. Avoid abrasive cleaners.
- Storage: If storing the monitor for an extended period, unplug it and cover it to protect from dust. Store in a cool, dry place.
9. Troubleshooting
Refer to the table below for common issues and their solutions:
| Problem | Possible Cause | Solution |
|---|---|---|
| No power | Power cable not connected; Power outlet faulty | Ensure power cable is securely connected to monitor and outlet. Test outlet with another device. |
| No signal | Video cable not connected; Incorrect input selected; Computer not outputting signal | Check DP/HDMI cable connections. Select correct input via OSD. Restart computer. |
| Flickering screen | Faulty cable; Graphics card issue; Refresh rate mismatch | Replace video cable. Update graphics drivers. Ensure refresh rate is set correctly in OS display settings. |
| Image distortion or blur | Incorrect resolution; Cable issue | Set display resolution to 1920x1080. Check video cable for damage. |
| Dead pixels | Manufacturing defect | Contact customer support if the number of dead pixels exceeds manufacturer's specifications. |
10. Specifications
| Feature | Detail |
|---|---|
| Model Number | Z32D |
| Screen Size | 32 inches |
| Panel Type | Curved |
| Curvature | 1500R |
| Resolution | 1920 x 1080 (Full HD) |
| Refresh Rate | 240Hz (via DisplayPort) |
| Response Time | 1ms (GTG) |
| HDR Support | HDR 600 |
| Color Gamut | 122% sRGB |
| Viewing Angle | 178° (Horizontal/Vertical) |
| Adaptive Sync | FreeSync & G-Sync Compatible |
| Connectivity | 1x DisplayPort, 1x HDMI, 1x Audio Out, DC IN 12V |
| VESA Mount | 100 x 100mm |
| Product Dimensions (with stand) | Approx. 0.39 x 16.54 x 27.95 inches (Monitor panel only, stand adds depth) |
| Item Weight (with stand) | Approx. 14.27 pounds |
11. Warranty and Support
ZZA products are designed for reliability and performance. If you encounter any issues during use, our after-sales service team is available to provide support. This includes troubleshooting assistance, warranty inquiries, and parts replacement.
For warranty claims or technical support, please contact ZZA customer service through the retailer where you purchased the product or visit the official ZZA website for contact information. Please have your model number (Z32D) and purchase details ready when contacting support.
We are committed to ensuring your monitor operates optimally, providing you with peace of mind.