
Introduction
Thank you for choosing the OlarHike Portable Air Compressor. This device is designed for efficient and convenient inflation of various items, including car tires, bicycle tires, motorcycle tires, and sports balls. Featuring dual power modes (cordless battery and 12V DC), an auto shut-off function, and a digital pressure gauge, it provides reliable performance for your inflation needs. Please read this manual thoroughly before use to ensure proper operation and safety.
Safety Information
- Always ensure the inflator is fully charged or connected to a stable power source before use.
- Do not leave the inflator unattended while in operation.
- Keep out of reach of children.
- Avoid over-inflating items; always refer to the recommended pressure for your specific item.
- The air hose may become hot during prolonged use. Allow it to cool before handling.
- Do not operate the inflator in wet conditions or near flammable liquids or gases.
- Use only the provided accessories and charging cables.
Package Contents
Verify that all items are present in your package:
- 1 × OlarHike Tire Inflator
- 1 × Long Air Hose
- 1 × Type-C Charging Cable
- 1 × Long Nozzle
- 1 × Ball Needle
- 1 × French Valve Adapter
- 1 × Storage Bag
- 1 × DC Power Cord

Image: All components included in the OlarHike Tire Inflator package, laid out neatly.
Setup
1. Charging the Device
Before first use, fully charge the OlarHike Tire Inflator. Connect the Type-C charging cable to the inflator and a 5V 2A or 5V 3A adapter (not included). The battery indicator on the display will show charging progress. A full charge ensures optimal performance and battery life.
Note: Avoid using unbranded or high-power chargers to prevent damage to the battery.
2. Connecting the Air Hose
Screw the long air hose securely into the inflation port at the top of the inflator. Ensure it is tightened to prevent air leakage during operation.

Image: The OlarHike tire inflator connected to a car tire, demonstrating the air hose connection.
Operating Instructions
1. Powering On and Selecting Mode
Press and hold the power button for 2 seconds to turn on the device. The digital display will illuminate. Press the mode button to cycle through the four preset inflation modes: Car, Motorcycle, Bicycle, and Ball. Each mode has a default pressure setting, which can be adjusted.
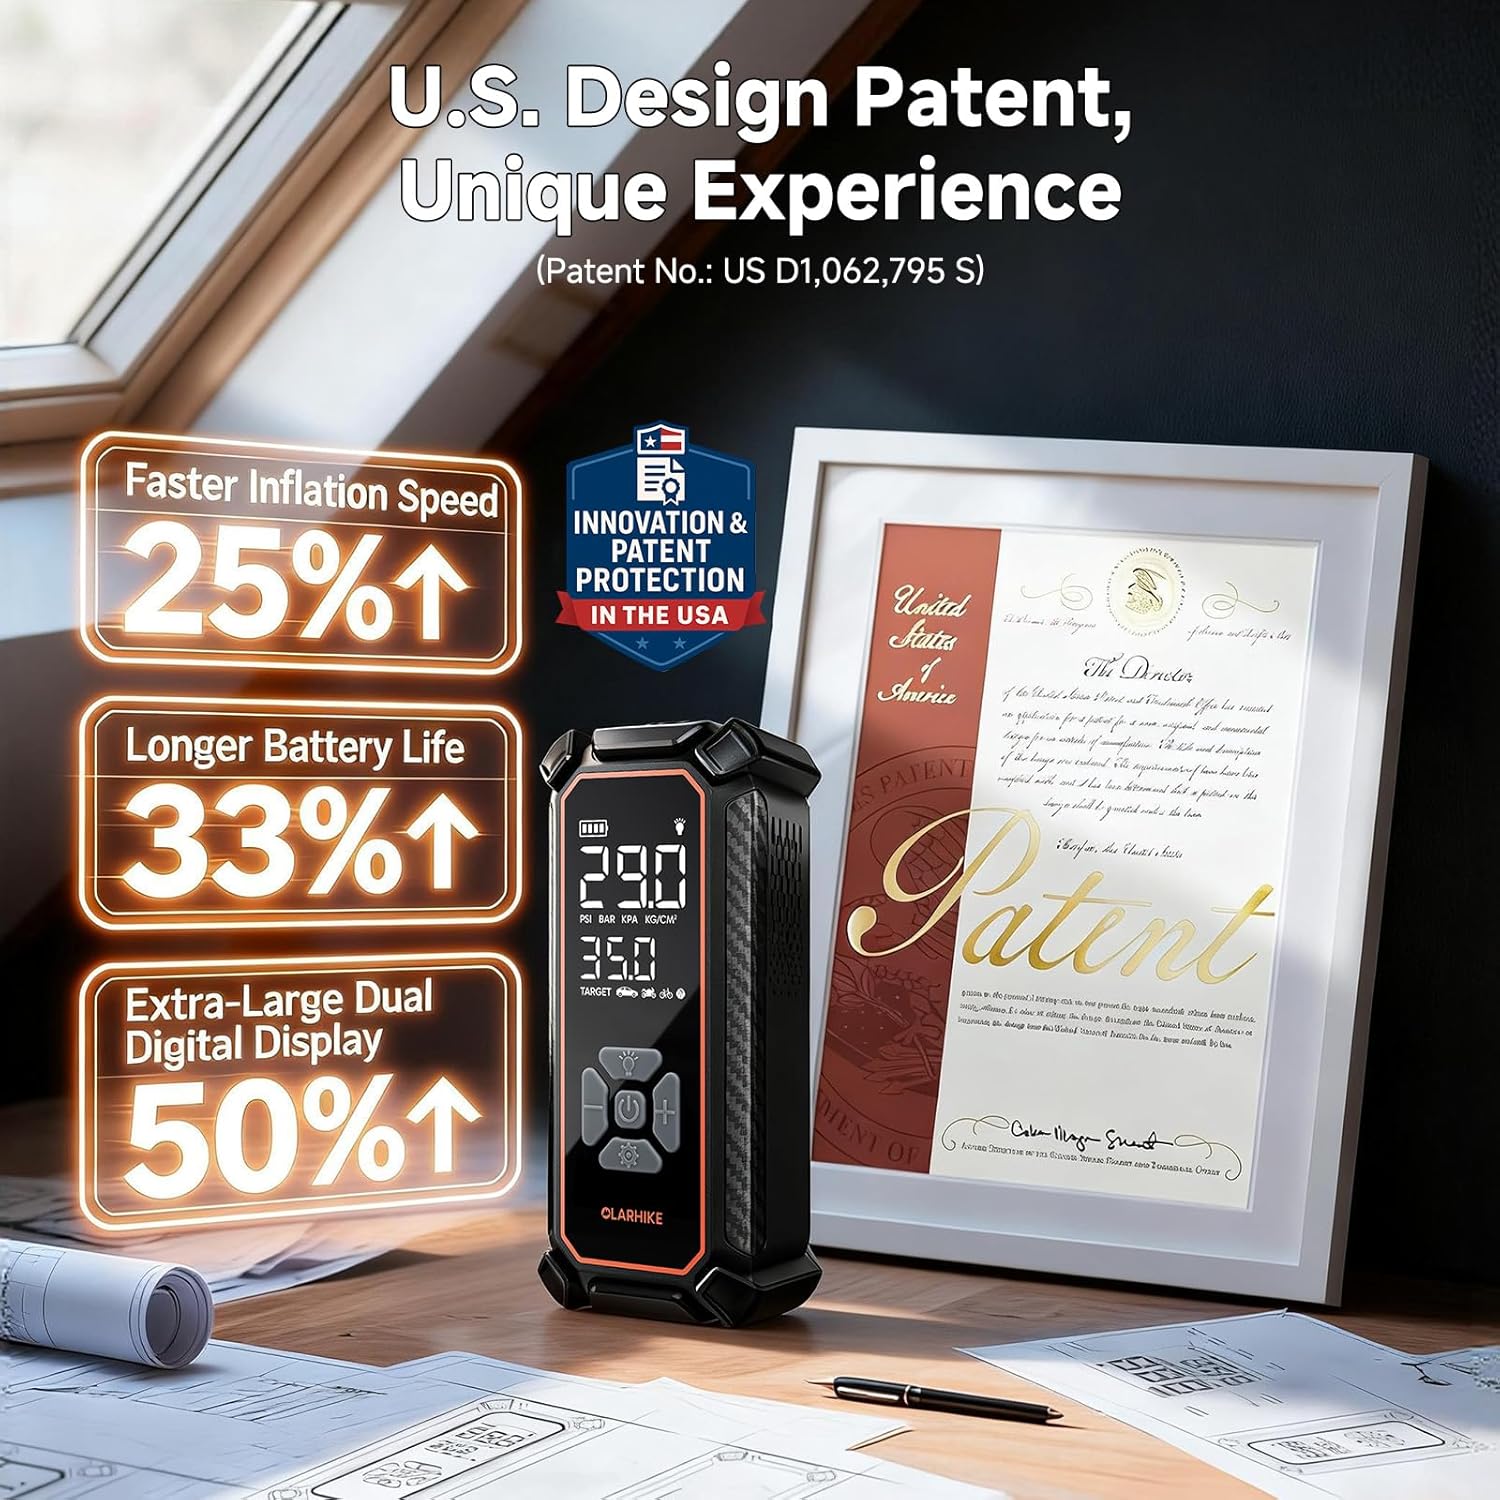
Image: The OlarHike tire inflator's digital display showing various preset modes for different items.
2. Setting Desired Pressure
Once a mode is selected, use the '+' and '-' buttons to adjust the target pressure. The display shows both the current pressure and the target pressure. You can also switch between pressure units (PSI, BAR, KPA, and KG/CM²) by pressing the unit button.
3. Connecting to Item and Starting Inflation
Attach the air hose nozzle to the valve stem of the item you wish to inflate. For car and motorcycle tires, use the standard Schrader valve connector. For bicycles, use the appropriate adapter (French valve adapter included if needed). For balls, attach the ball needle. Once connected, press the power button to start inflation. The inflator will automatically stop once the preset target pressure is reached.
Pressure Memory Function: The device remembers your last used pressure setting for each mode, making subsequent inflations faster.

Image: A visual guide demonstrating the four easy steps to use the OlarHike tire inflator, from powering on to automatic shut-off.
4. Dual Power Operation
The inflator can be used cordlessly with its built-in battery or by connecting it to a 12V DC car cigarette lighter socket using the provided DC power cord for continuous operation.
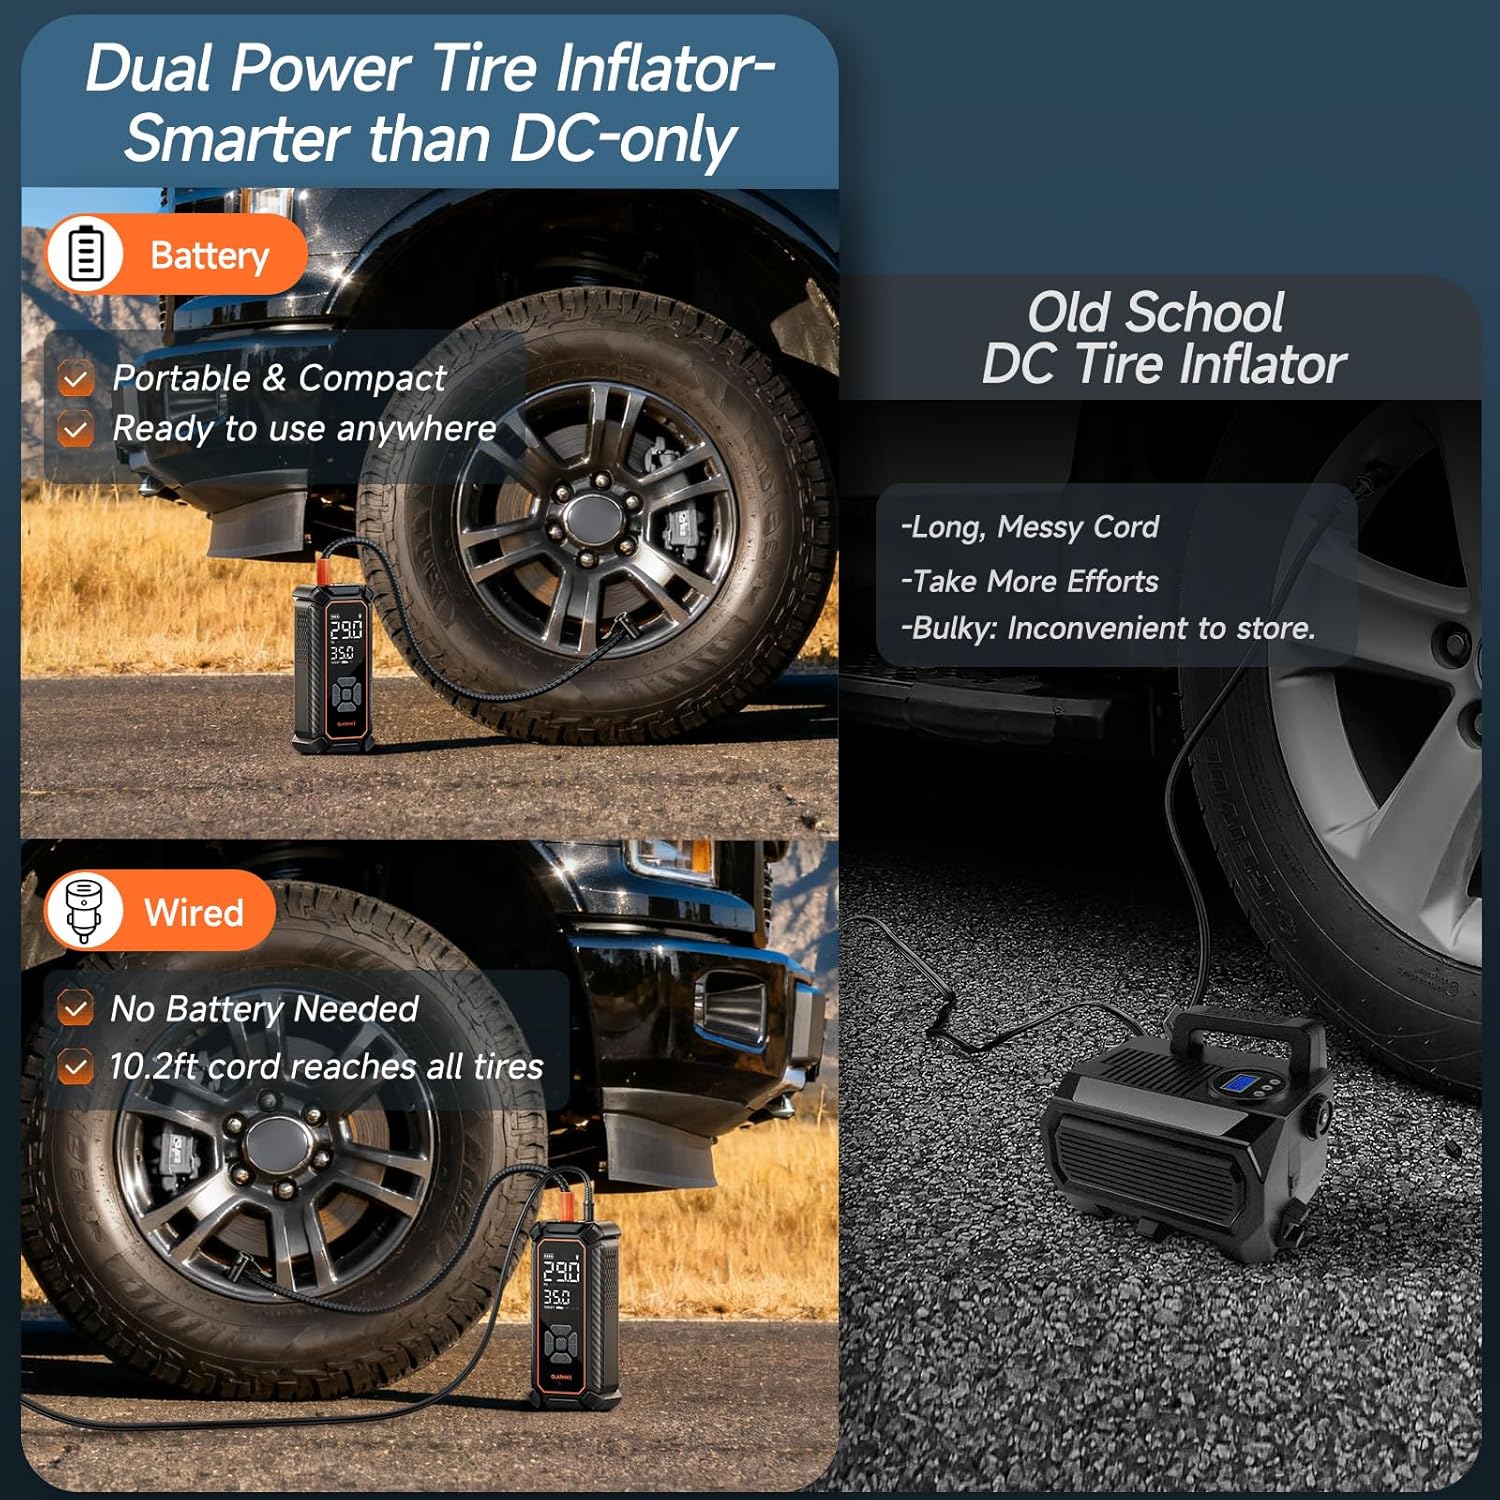
Image: Comparison showing the OlarHike tire inflator operating in both cordless (battery) and wired (12V DC) modes, highlighting its versatility.
5. Using the LED Flashlight and Power Bank Function
Press the flashlight button to turn on the built-in LED light. Cycle through different light modes (steady, fast flash, slow flash) for emergencies or nighttime use. The inflator also features a USB output port, allowing it to function as a power bank to charge your mobile devices.

Image: The OlarHike tire inflator being used to charge a phone and as an LED light under a car hood, demonstrating its emergency functions.
Maintenance
- Cleaning: Wipe the inflator with a soft, damp cloth. Do not use harsh chemicals or abrasive cleaners.
- Storage: Store the inflator and its accessories in the provided storage bag in a cool, dry place, away from direct sunlight and extreme temperatures.
- Battery Care: For optimal battery life, charge the device at least once every three months if not in regular use.
- Hose Inspection: Regularly check the air hose for any signs of wear, cracks, or damage. Replace if necessary.
Troubleshooting
| Problem | Possible Cause | Solution |
|---|---|---|
| Device does not turn on. | Low battery or no power. | Charge the device using the Type-C cable or connect to a 12V DC power source. |
| Inflator not inflating. | Hose not securely connected; target pressure already reached; incorrect mode selected. | Ensure hose is tightly screwed. Check target pressure setting. Verify correct inflation mode. |
| Air leaks during inflation. | Loose hose connection or damaged valve stem. | Tighten the air hose connection. Inspect the valve stem for damage. |
| Device gets hot during use. | Normal during prolonged operation. | Allow the device to cool down before continuing or storing. This is normal for air compressors. |
| Inaccurate pressure reading. | Loose connection or sensor issue. | Ensure the hose is firmly attached. If the issue persists, contact customer support. |
Specifications
| Feature | Detail |
|---|---|
| Brand | OlarHike |
| Model Number | TIC3V401 |
| Voltage | 12 volts |
| Power Source | Battery Powered / 12V DC |
| Battery Capacity | 3 * 2000mAh (6000mAh total) |
| Maximum Pressure | 160 PSI |
| Air Flow Capacity | 24 liters per minute |
| Noise Level | 75 dB |
| Hose Length | 23.6 inches |
| Item Weight | 0.85 kg (1.87 lbs) |
| Dimensions (L x W x H) | 6.5" x 2.76" x 2.17" |
| Material | Aluminum, Copper, Plastic (ABS+PC) |
| Additional Features | Automatic Shut-Off, Cordless and Corded, Digital Display, Portable, Quick Inflation, LED Flashlight, Power Bank Function |
Official Product Videos
Portable Air Compressor Unboxing - Ideal for Car & Bike Tires
Video: An unboxing video demonstrating the contents and initial look at the OlarHike Portable Air Compressor, highlighting its suitability for car and bike tires.
Inflating Tires with OlarHike Portable Air Compressor
Video: A demonstration of how to inflate tires using the OlarHike Portable Air Compressor, showing the connection and inflation process.
Portable Air Compressor in Action - Tire Inflation Made Easy
Video: This video showcases the OlarHike Portable Air Compressor actively inflating a tire, emphasizing the ease of use and efficiency.
Warranty and Support
OlarHike products are manufactured to high-quality standards. For specific warranty details, please refer to the warranty card included in your package or visit the official OlarHike website. If you encounter any issues or have questions regarding your product, please contact OlarHike customer support for assistance. Your feedback is important to us as we continuously strive to improve our products and services.
Contact Information: Please refer to the contact details provided in your product packaging or on the official OlarHike website.


