1. Introduction
Thank you for choosing the Jigayao H2 Hidden Camera Power Bank. This device combines a portable power bank with a discreet 1080P camera, offering a versatile solution for surveillance and recording. This manual provides essential information for proper setup, operation, and maintenance of your device. Please read it thoroughly before use.
Note: This device does not record audio.
2. Safety Precautions
- Ensure the device is used in compliance with all local laws and regulations regarding surveillance and recording.
- Do not expose the device to extreme temperatures, direct sunlight, or moisture.
- Avoid dropping or subjecting the device to strong impacts.
- Keep out of reach of children.
- Do not attempt to disassemble or modify the device, as this will void the warranty and may cause damage.
- This device is designed for video recording only and does not capture audio.
3. Package Contents
Please check the package for the following items:
- 1 x Jigayao H2 5000mAh Power Bank Camera
- 1 x Data Cable
- 1 x User Manual
4. Product Overview
The Jigayao H2 is designed to resemble a standard portable power bank, ensuring discreet operation. It features a 1080P camera and night vision capabilities.

Image: Front view of the Jigayao H2 Hidden Camera Power Bank, showing its sleek design, USB port, and indicator lights.

Image: The Jigayao H2 device held in a hand, illustrating its compact and portable size.
Key Features:
- 1080P Video Resolution: Records clear video footage.
- 5000mAh Battery: Provides extended recording time and can charge other devices.
- Night Vision: Equipped with 2 invisible IR lights for recording in low-light conditions.
- Loop Recording: Automatically overwrites older files when the memory card is full.
- Portable Design: Compact and lightweight for easy carrying.
- No Audio Recording: The device records video only.
5. Setup
5.1. Inserting the TF Card
Before using the camera function, a TF (MicroSD) card (not included) must be inserted. The device supports up to a 128GB TF card.
- Locate the TF card slot on the side of the device.
- Gently insert the TF card into the slot until it clicks into place. Ensure the card is oriented correctly.
- To remove, push the card in slightly until it springs out.

Image: Diagram showing the correct way to insert a MicroSD card into the device.
5.2. Initial Charging
It is recommended to fully charge the device before its first use. Connect the provided data cable to the device's charging port and then to a USB power adapter (not included) or a computer's USB port. The charging indicator lights will show the charging status.
6. Operating Instructions
6.1. Power On/Off
- Power On: Long press the camera button for a few seconds until the indicator light turns on.
- Power Off: Long press the camera button again until the indicator light turns off.
6.2. Recording Video (1080P)
Once the device is powered on and a TF card is inserted:
- Long press the camera button to start video recording. The indicator light will flash to indicate recording is in progress.
- To stop recording, short press the camera button. The indicator light will stop flashing and return to standby mode.

Image: Illustrates the 1080P video recording capability, showing a clear indoor scene.
6.3. Taking Photos
While the device is in standby mode:
- Short press the camera button once to take a photo. The indicator light will flash briefly to confirm the photo has been taken.
6.4. Night Vision
The device is equipped with 2 invisible IR lights for night vision. Night vision activates automatically in low-light conditions, allowing for recording in the dark within a range of 3 meters.

Image: Depicts the device's night vision capability, showing a comparison between day and night views in a living room setting.
6.5. Loop Recording
When the TF card's memory is full, the device will automatically overwrite the oldest video files with new ones. This ensures continuous recording without manual deletion of files.

Image: Illustrates the loop recording function, showing a filmstrip with older footage being replaced by new recordings.
7. Charging the Device and External Devices
7.1. Charging the Power Bank Camera
Connect the device to a USB power source using the provided data cable. The indicator lights will show the battery level during charging. A full charge typically takes 6-8 hours and provides up to 10 hours of continuous recording.
7.2. Charging External Devices
The Jigayao H2 can also function as a standard 5000mAh power bank. Connect your mobile phone or other USB-powered device to the power bank's USB output port using your device's charging cable.
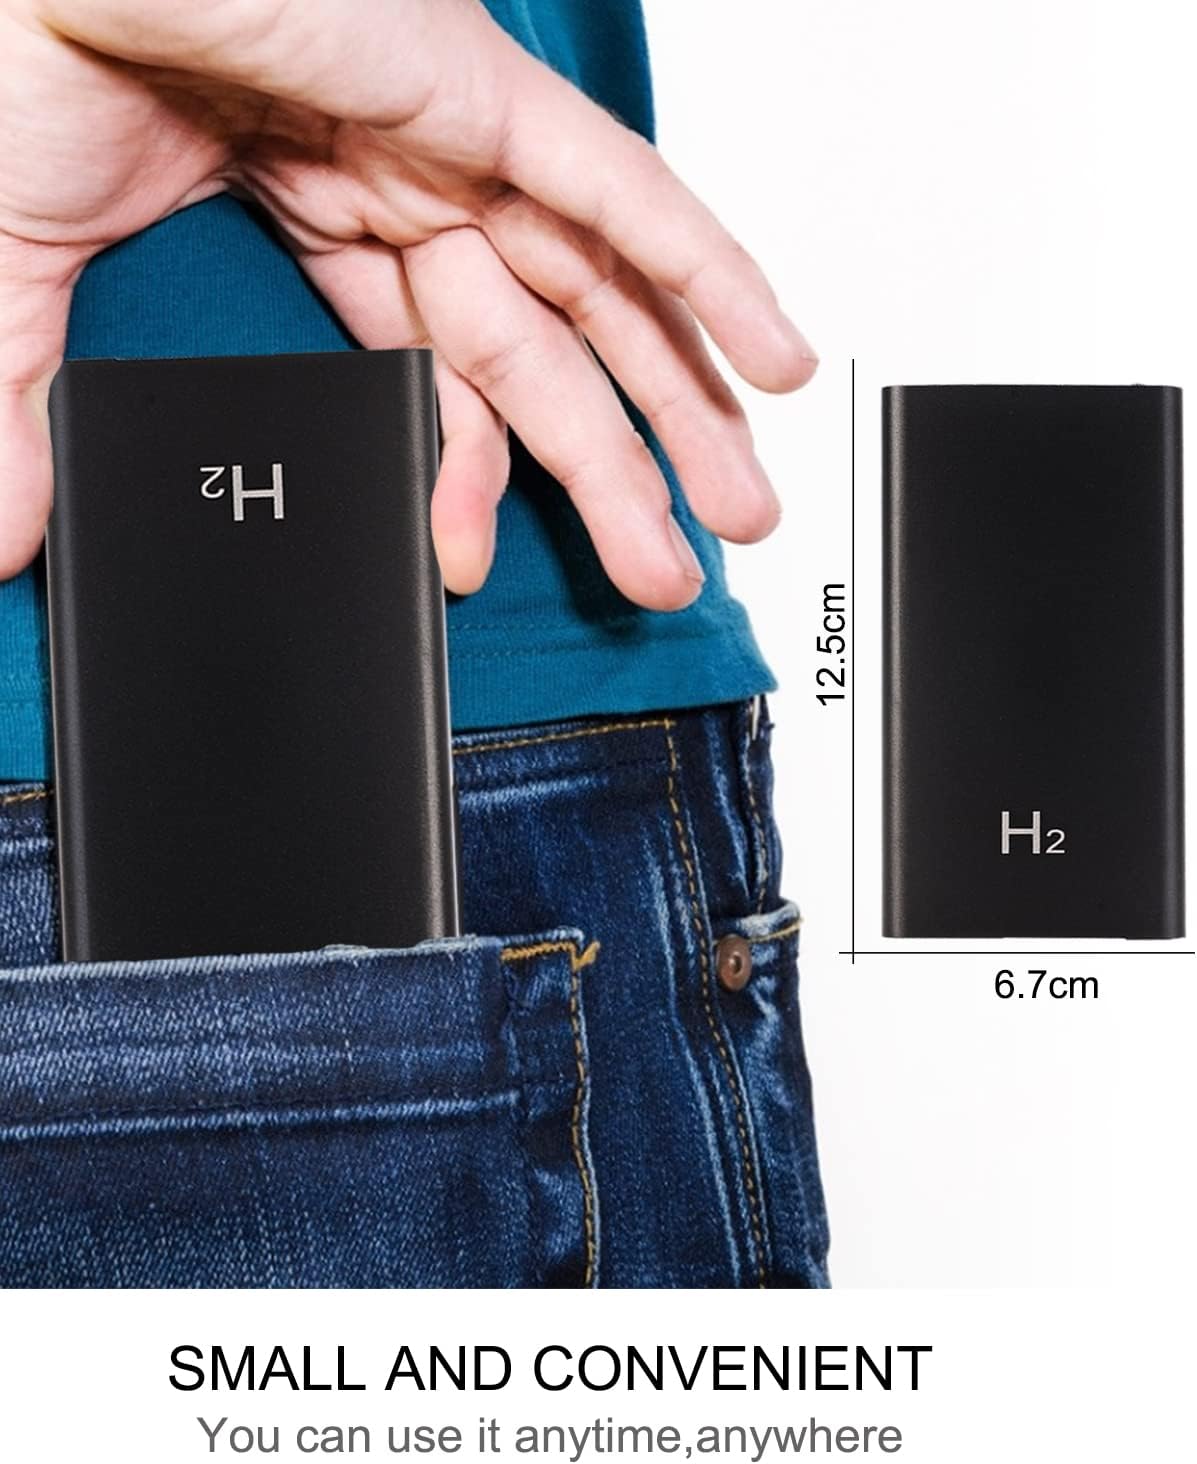
Image: The Jigayao H2 device connected via cable to a smartphone, demonstrating its function as a portable power bank.
8. Data Transfer and Viewing
To view recorded videos and photos, connect the device to a computer.
- Ensure the device is powered off.
- Connect the device to your computer using the provided data cable. The computer should recognize it as a removable disk.
- Navigate to the removable disk to access the recorded files (VID format for videos).
- Alternatively, you can remove the TF card from the device and insert it into a card reader connected to your computer.

Image: Two methods for data transfer: direct connection via USB cable and using a USB adapter for the MicroSD card.
9. Maintenance
- Clean the device with a soft, dry cloth. Do not use liquid cleaners or solvents.
- Store the device in a cool, dry place away from direct sunlight and moisture.
- If not used for extended periods, charge the device at least once every three months to maintain battery health.
10. Troubleshooting
| Problem | Possible Solution |
|---|---|
| Device does not power on. | Ensure the device is fully charged. Long press the power button correctly. |
| Cannot record video/take photos. | Ensure a TF card is inserted and has sufficient free space. Check if the TF card is formatted correctly. |
| Indicator lights are not working. | Check battery level. If the device is unresponsive, try charging it. |
| Computer does not recognize the device. | Ensure the data cable is securely connected. Try a different USB port or computer. Ensure the device is powered off before connecting. |
| Video quality is poor. | Ensure the lens is clean. Record in well-lit conditions if possible (though night vision is available). |
11. Specifications
| Feature | Detail |
|---|---|
| Model Name | H2 |
| Video Capture Resolution | 1080p |
| Battery Capacity | 5000mAh |
| Continuous Recording Time | Up to 10 hours |
| Night Vision Range | 3 Meters |
| Number of IR LEDs | 2 |
| Storage | Supports up to 128GB TF card (not included) |
| Connectivity Protocol | Wired |
| Control Method | Push Button |
| Product Dimensions | 3 x 2 x 0.2 inches |
| Item Weight | 8.1 ounces |
| Included Components | Power bank camera, data cable, user manual |
12. Warranty and Support
The Jigayao H2 Hidden Camera Power Bank comes with a standard manufacturer's warranty. For specific warranty details, please refer to the product packaging or contact your retailer.
If you encounter any issues or have questions not covered in this manual, please contact Jigayao customer support through your purchase platform or the contact information provided with your product.