
1. Introduction
Thank you for choosing the Osram Ceiling Wing Fan 36W D105. This manual provides essential information for the safe installation, operation, and maintenance of your new ceiling fan. Please read these instructions carefully before installation and retain them for future reference.
This modern ceiling fan features an integrated LED light with adjustable white color and dimming capabilities, controlled conveniently by a remote. It is designed for indoor use in various rooms such as living rooms, bedrooms, kitchens, and dining areas.
2. Safety Instructions
- Electrical Safety: Always disconnect power at the main circuit breaker before attempting any installation, maintenance, or cleaning. Ensure all wiring is performed by a qualified electrician and complies with local electrical codes.
- Mounting: The mounting structure must be capable of supporting the weight of the fan (approximately 4.2 kg) and the dynamic load during operation.
- Blade Clearance: Ensure there is adequate clearance between the fan blades and any obstacles, including walls and furniture, to prevent injury or damage.
- Water Exposure: This product is designed for indoor use only and has a water resistance level of 'Water Resistant'. Do not expose it to direct water spray or high humidity environments like uncovered outdoor areas.
- Children and Pets: Keep children and pets away from the fan during operation and installation.
- Maintenance: Do not attempt to repair or modify the fan. Refer all servicing to qualified personnel.
3. Package Contents
Carefully unpack the box and ensure all items are present and undamaged. If any parts are missing or damaged, contact your retailer immediately.
- Osram Ceiling Wing Fan Unit (with integrated LED light)
- Remote Control
- Mounting Hardware (screws, anchors, etc.)
- Instruction Manual (this document)
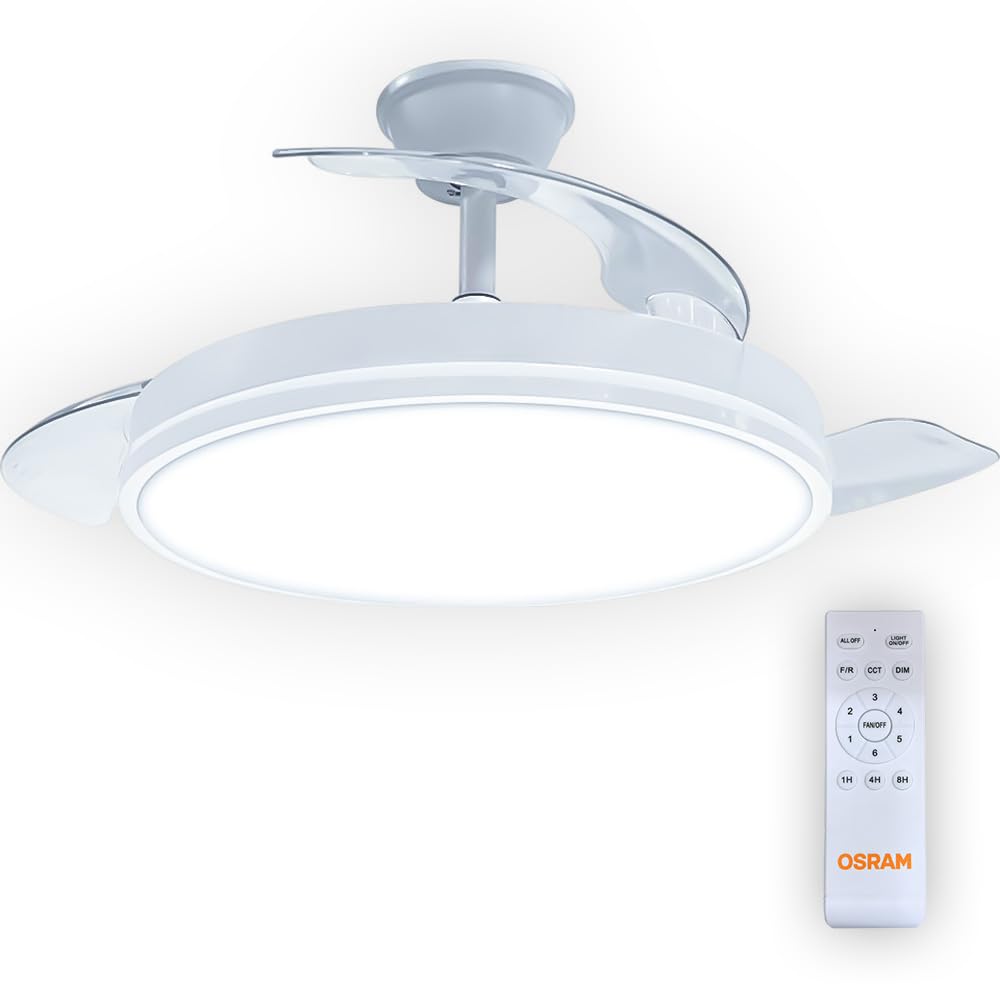
Image 1: Osram Ceiling Wing Fan 36W D105. This image shows the complete ceiling fan unit with its central LED light and transparent wing-like blades.
4. Setup and Installation
Assembly is required for this product. Follow these steps carefully. If you are unsure about any part of the installation, consult a qualified electrician.
4.1 Pre-Installation
- Turn off Power: Locate the circuit breaker for the room where you will install the fan and turn off the power. Verify power is off using a voltage tester.
- Prepare Mounting Location: Ensure the ceiling junction box is securely mounted and capable of supporting the fan's weight.
4.2 Mounting the Fan
- Attach Mounting Bracket: Secure the mounting bracket to the ceiling junction box using the provided screws and washers. Ensure it is firmly attached.
- Wiring Connections: Connect the electrical wires from the ceiling to the fan's wiring. Typically, this involves connecting Live (L), Neutral (N), and Ground (GND) wires. Match colors (e.g., Black to Black, White to White, Green/Bare Copper to Green/Bare Copper). Use wire nuts to secure connections.
- Secure Fan Body: Carefully lift the fan body and attach it to the mounting bracket. Follow the specific instructions in the included diagram for your model to ensure proper alignment and secure fastening. This fan uses a Semi-Flush Mount installation type.
- Install Blades: If the blades are separate, attach them to the fan motor housing according to the instructions. Ensure all screws are tightened securely.
- Attach Light Cover: Secure the LED light cover to the fan body.

Image 2: Side view of the Osram Ceiling Wing Fan. This view highlights the fan's profile and the semi-flush mounting point, which is crucial for installation planning.
4.3 Post-Installation
- Restore Power: Once installation is complete and all connections are secure, restore power at the circuit breaker.
- Test Fan: Use the remote control to test the fan and light functions.
5. Operating Instructions
Your Osram Ceiling Wing Fan is controlled by the included remote control. Ensure the remote has working batteries (not included, typically 2x AAA) before use.

Image 3: Osram Ceiling Fan Remote Control. This image displays the layout of the remote control with buttons for fan speed, light control, timer, and direction.
5.1 Remote Control Functions
- ALL OFF: Turns off both the fan and the light.
- LIGHT ON/OFF: Toggles the LED light on or off.
- F/R (Forward/Reverse): Changes the direction of the fan blades. Use forward rotation for cooling in summer and reverse rotation for circulating warm air in winter.
- CCT (Correlated Color Temperature): Adjusts the color temperature of the LED light (e.g., warm white, neutral white, cool white).
- DIM: Dims or brightens the LED light. Press and hold to cycle through brightness levels.
- FAN/OFF: Turns the fan on or off.
- 1-6: Selects one of the six available fan speeds. '1' is the lowest speed, '6' is the highest.
- 1H / 4H / 8H: Activates the timer function, setting the fan to turn off automatically after 1, 4, or 8 hours, respectively.
6. Maintenance
Regular maintenance ensures optimal performance and extends the lifespan of your ceiling fan.
- Cleaning: Always turn off the power before cleaning. Use a soft, damp cloth to wipe down the fan body and blades. Do not use abrasive cleaners or solvents, as they may damage the finish.
- Dusting: Regularly dust the fan blades and light cover to prevent dust buildup, which can affect performance and light output.
- Tighten Screws: Periodically check and tighten all screws on the fan body and mounting bracket to ensure secure operation.
- No Lubrication Required: The fan motor is permanently lubricated and does not require additional oiling.
7. Troubleshooting
If you encounter issues with your fan, refer to the following common problems and solutions:
| Problem | Possible Cause | Solution |
|---|---|---|
| Fan does not start | No power to the fan Remote control batteries are dead Incorrect wiring | Check circuit breaker and wall switch Replace remote control batteries Verify wiring connections (consult electrician) |
| Light does not work | No power to the light Incorrect wiring LED module failure | Check circuit breaker and wall switch Verify wiring connections (consult electrician) Contact customer support for LED module replacement |
| Fan wobbles | Loose mounting screws Unbalanced blades | Ensure all mounting screws are tight Check if blades are securely attached and balanced (balancing kit may be needed if severe) |
| Remote control not responding | Dead batteries Obstruction between remote and receiver Remote not paired (if applicable) | Replace batteries Ensure clear line of sight to the fan Refer to specific pairing instructions if provided (not common for basic fans) |
8. Specifications
| Brand: | Osram |
| Model Number: | Ceiling Blade |
| Product Type: | Ceiling Fan with Light |
| Electric Power: | 36 watts |
| Light Source: | LED |
| Light Color: | Adjustable White |
| Control Method: | Remote |
| Power Source: | Corded Electric |
| Mounting Type: | Ceiling Mount, Semi-Flush Mount |
| Indoor/Outdoor Use: | Indoor |
| Product Dimensions (L x W x H): | 50U x 20G x 50Y centimeters |
| Weight: | 4.2 kg |
| Shade Material: | Plastic |
| Color: | White |
| Style: | Modern |
| Assembly Required: | Yes |
| Included Components: | Remote Control |
9. Warranty and Support
For warranty information or technical support, please refer to the documentation provided with your purchase or contact your retailer. Keep your proof of purchase for any warranty claims.