
1. Product Overview
The GL.iNet Comet PoE (GL-RM1PE) is a remote KVM (Keyboard, Video, Mouse) solution designed for controlling computers and servers over the internet. It offers robust features for remote management, troubleshooting, and system maintenance, making it ideal for home labs, offices, and industrial automation environments.

Figure 1: GL.iNet Comet PoE (GL-RM1PE) Remote KVM device.
2. Key Features
- Power over Ethernet (PoE) Support: Enables easy device powering by connecting to a PoE switch, reducing cable clutter.
- Dual Power Option: Supports both PoE and 5V Type-C power adapters, allowing simultaneous use for enhanced power stability.
- Built-in Tailscale: Facilitates secure and efficient data transfer between devices using WireGuard's encrypted transmission and direct connection features.
- 32GB eMMC Storage: Integrated storage for quick device restoration, updates, and file sharing between host and remote devices.
- 4K@30Hz HD Video & Ultra-Low Latency: Provides clear, low-latency 4K video streaming with efficient H.264 hardware encoding.
- Two-way Audio: Supports audio conferencing, real-time troubleshooting, and remote monitoring.
- Flexible Local & Remote Access: Access via web browser (Windows, macOS, Linux) or the GLKVM app (Windows, macOS), and Tailscale.
- ATX Board/Fingerbot Support: Optional accessories (sold separately) for remote power on/off or hard reset of devices.
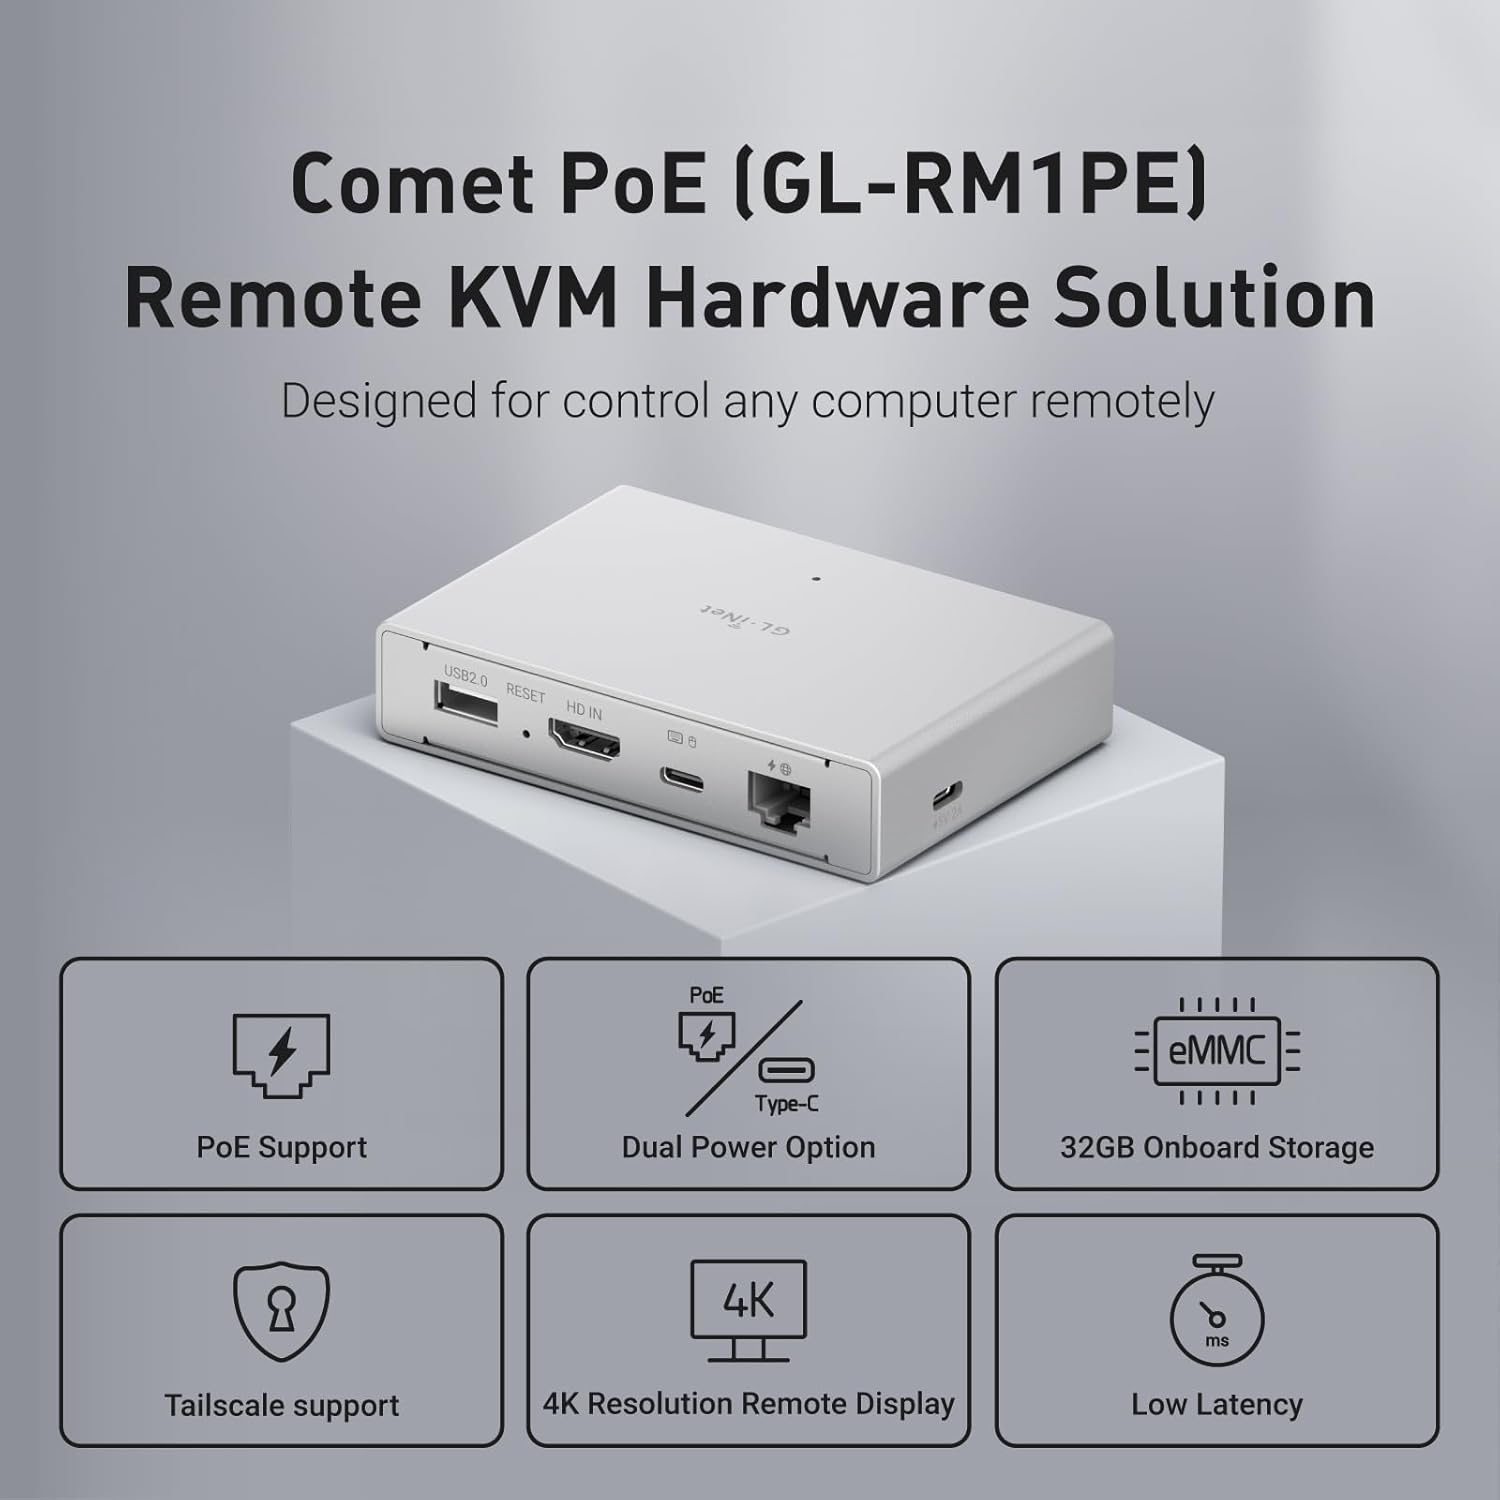
Figure 2: Overview of Comet PoE's primary features.
3. Package Contents
The following items are included in your GL.iNet Comet PoE package:
- 1 x Comet PoE (GL-RM1PE) Device
- 1 x User Manual
- 1 x Ethernet Cable
- 1 x HD Cable (HDMI)
- 1 x USB Cable (Type-A to Type-C)
- 1 x USB Cable (Type-C to Type-C)

Figure 3: All items included in the Comet PoE box.
Unboxing Video
Video 1: An unboxing video demonstrating the contents of the GL.iNet Comet PoE package.
4. Setup Guide
4.1 Physical Connections
Follow these steps to physically connect your Comet PoE device to your host computer and network.
- Connect HD IN: Use the provided HD cable to connect the Comet PoE's 'HD IN' port to the HDMI output of the computer you wish to control.
- Connect USB-C for Control: Use one of the provided USB-C cables to connect the Comet PoE's USB-C port (labeled with keyboard/mouse icon) to a USB port on the computer you wish to control. This transmits keyboard and mouse signals.
- Power and Network:
- For Power over Ethernet (PoE): Connect the Ethernet cable from the Comet PoE's Ethernet port to a PoE-enabled switch. This provides both power and network connectivity.
- For Type-C Power: If PoE is not available, connect a 5V Type-C power adapter (not included) to the standby power port on the side of the Comet PoE.
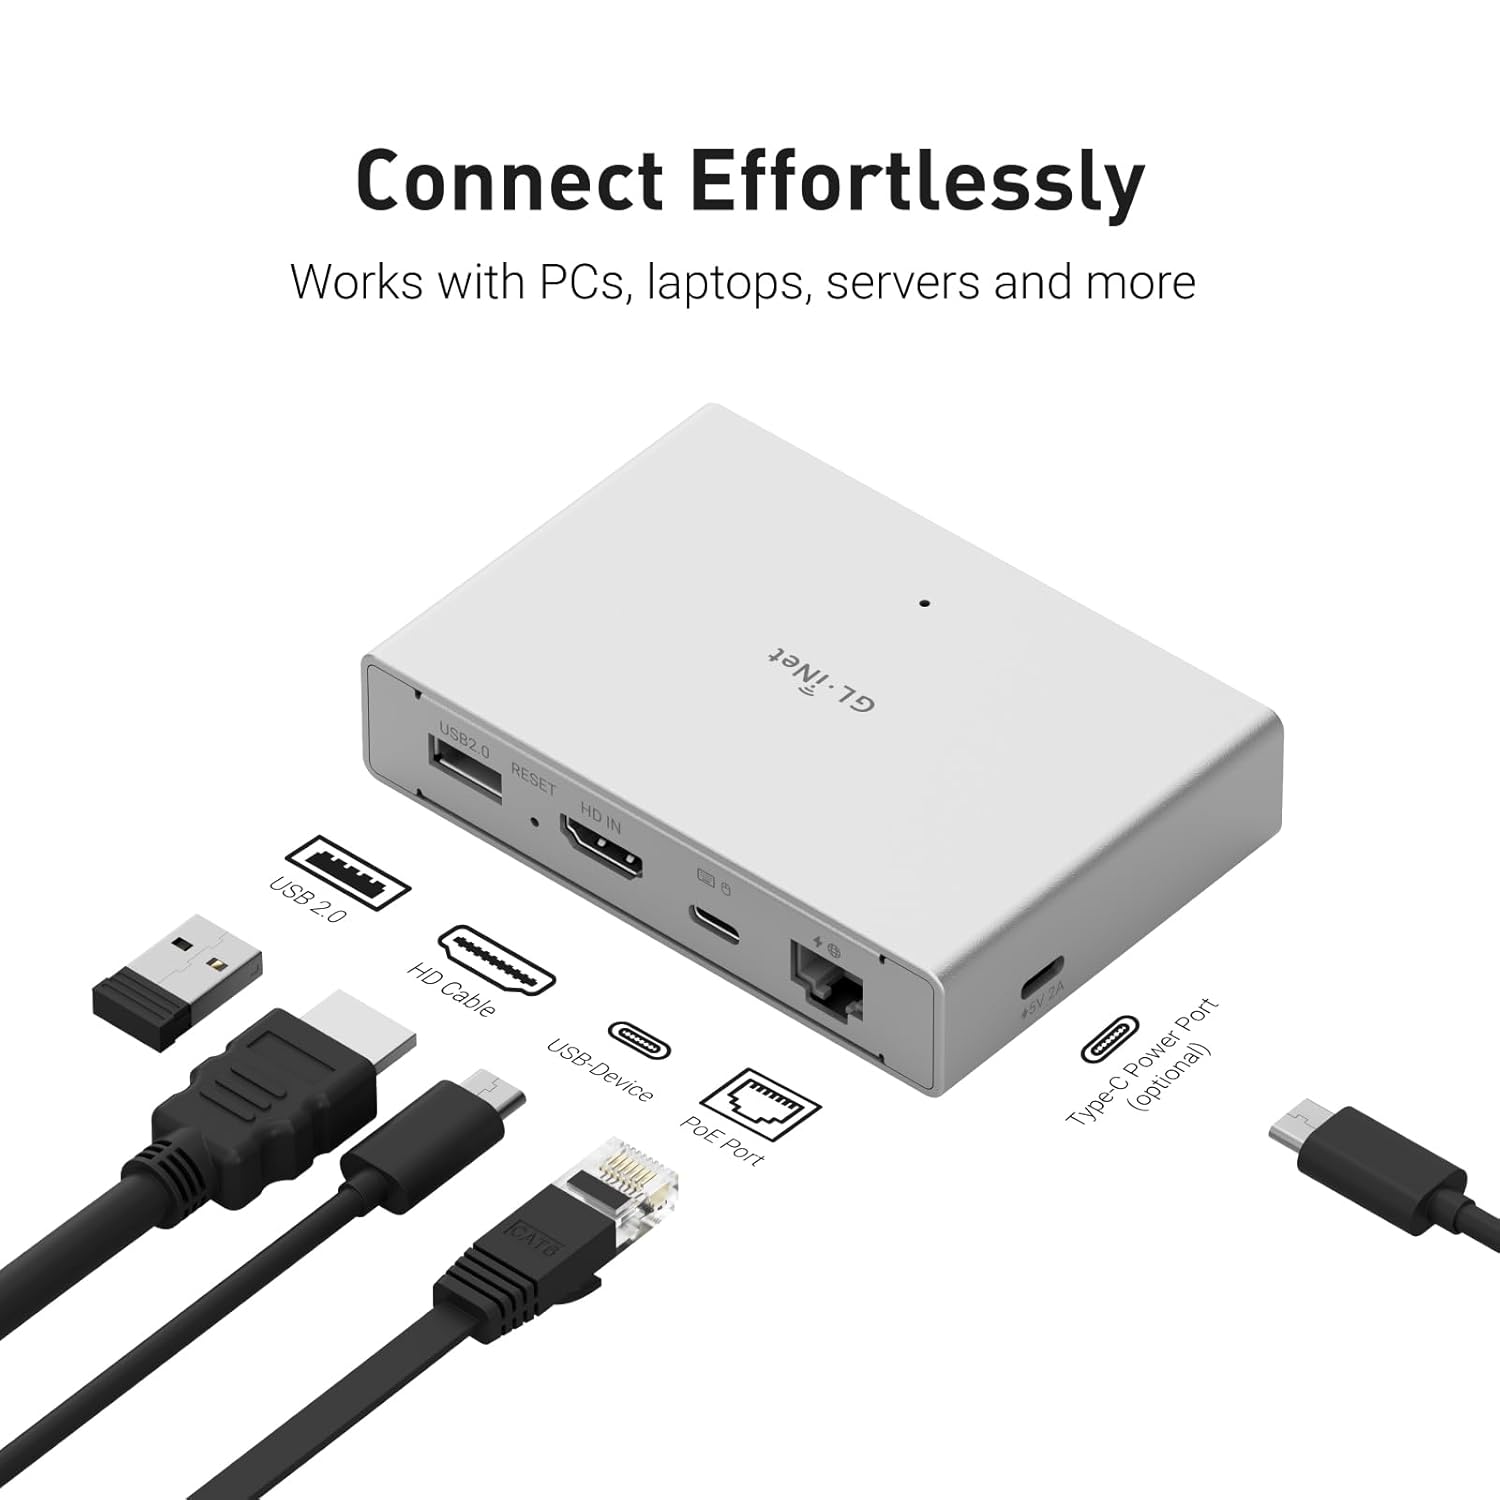
Figure 4: Connecting the Comet PoE to your computer and network.

Figure 5: Example of connecting the Comet PoE using Power over Ethernet.
4.2 Initial Configuration
After physical connections are made, you can access the Comet PoE's interface for configuration.
- Local Access: Open a web browser on a computer connected to the same local network as the Comet PoE. Enter
glkvm.localin the address bar. If this does not work, you may need to find the device's IP address from your router's administration page and enter it directly. - Remote Access (GLKVM App/Cloud Service):
- Download the GLKVM app for Windows or macOS from the official GL.iNet website.
- Alternatively, visit
glkvm.comin your web browser to access the Cloud Service.
- Bind Device: Follow the on-screen instructions in the GLKVM app or Cloud Service to register an account and bind your Comet PoE device. This typically involves automatic discovery or manual entry of the device's serial number (found on the back of the device).
Setup Guide Video
Video 2: A detailed setup guide for the GL.iNet Comet PoE.
First Time Setup Video (GL.iNet Official)
Video 3: Official GL.iNet tutorial on setting up the Comet PoE for the first time.
5. Operating Instructions
The Comet PoE offers a comprehensive web interface and app for controlling your remote device. Below are key functionalities:
5.1 Web Interface/App Overview
The main interface provides access to various settings and tools:
- Settings: Configure video quality, remote device settings (speaker, microphone, keyboard, mouse), system preferences (language, color mode, timezone), and network settings.
- Toolbox: Access clipboard for text input, manage shortcuts, enable Wake-on-LAN, and use the terminal for command-line access.
- Virtual Media: Mount virtual storage disks, share files, and mount images to the remote device.
- Apps Center: Manage integrated applications like Tailscale.
- Help: Access user guides and support resources.
5.2 Video and Audio Control
- Video Quality: Adjust streaming quality (Low, Medium, High, Ultra-High) and mode (WebRTC H.264) based on your network conditions.
- Resolution: Select supported resolutions up to 4K@30Hz.
- Orientation: Rotate the display (0°, 90°, 180°, 270°).
- Speaker/Microphone: Enable or disable two-way audio for communication.
5.3 Keyboard and Mouse Control
- Virtual Keyboard: Use an on-screen virtual keyboard for input.
- Mouse Control: Toggle local cursor visibility, adjust mouse jiggle settings, and select mouse mode (Absolute/Relative).
- Shortcuts: Utilize predefined keyboard shortcuts for common actions (e.g., Ctrl+Alt+Del).
5.4 Virtual Media and File Sharing
The 32GB eMMC storage can be used as virtual media for the remote device.
- Mount to Remote: Emulate a read-write USB drive on the remote device.
- File Sharing: Upload files from your host computer to the Comet PoE's storage, which can then be accessed by the remote device.
- Image Mounting: Mount ISO images for operating system installations or recovery.
5.5 Tailscale Integration
The Comet PoE has built-in Tailscale support for creating a secure, independent virtual networking solution.
- Enable Tailscale in the Apps Center.
- Bind your Tailscale account to the device for secure remote access from any Tailscale-enabled device.
6. Optional Accessories
The GL.iNet Comet PoE supports optional accessories (sold separately) to enhance its functionality:
- ATX Board (GL-ATXPC): This smart power management module enables remote control of the controlled device's physical power button operations (power on/off/reboot). It installs within the device's chassis for concealed and stable power management.
- Fingerbot (GL-FGB-01): A physical button emulator designed for remote PC power on/off. It features easy stick-on installation, a long-lasting battery, and requires no complex setup.
7. Specifications
| Feature | Detail |
|---|---|
| Product Dimensions | 2.76 x 0.79 x 3.94 inches; 3 ounces |
| Item Model Number | GL-RM1PE-US |
| Manufacturer | GL.iNet |
| Connector Type | HD Video (HDMI) |
| Switch Type | Relay |
| Control Method | App |
| Material | Aluminum |
| Storage | 32GB eMMC |
| Video Resolution | Up to 4K@30Hz |
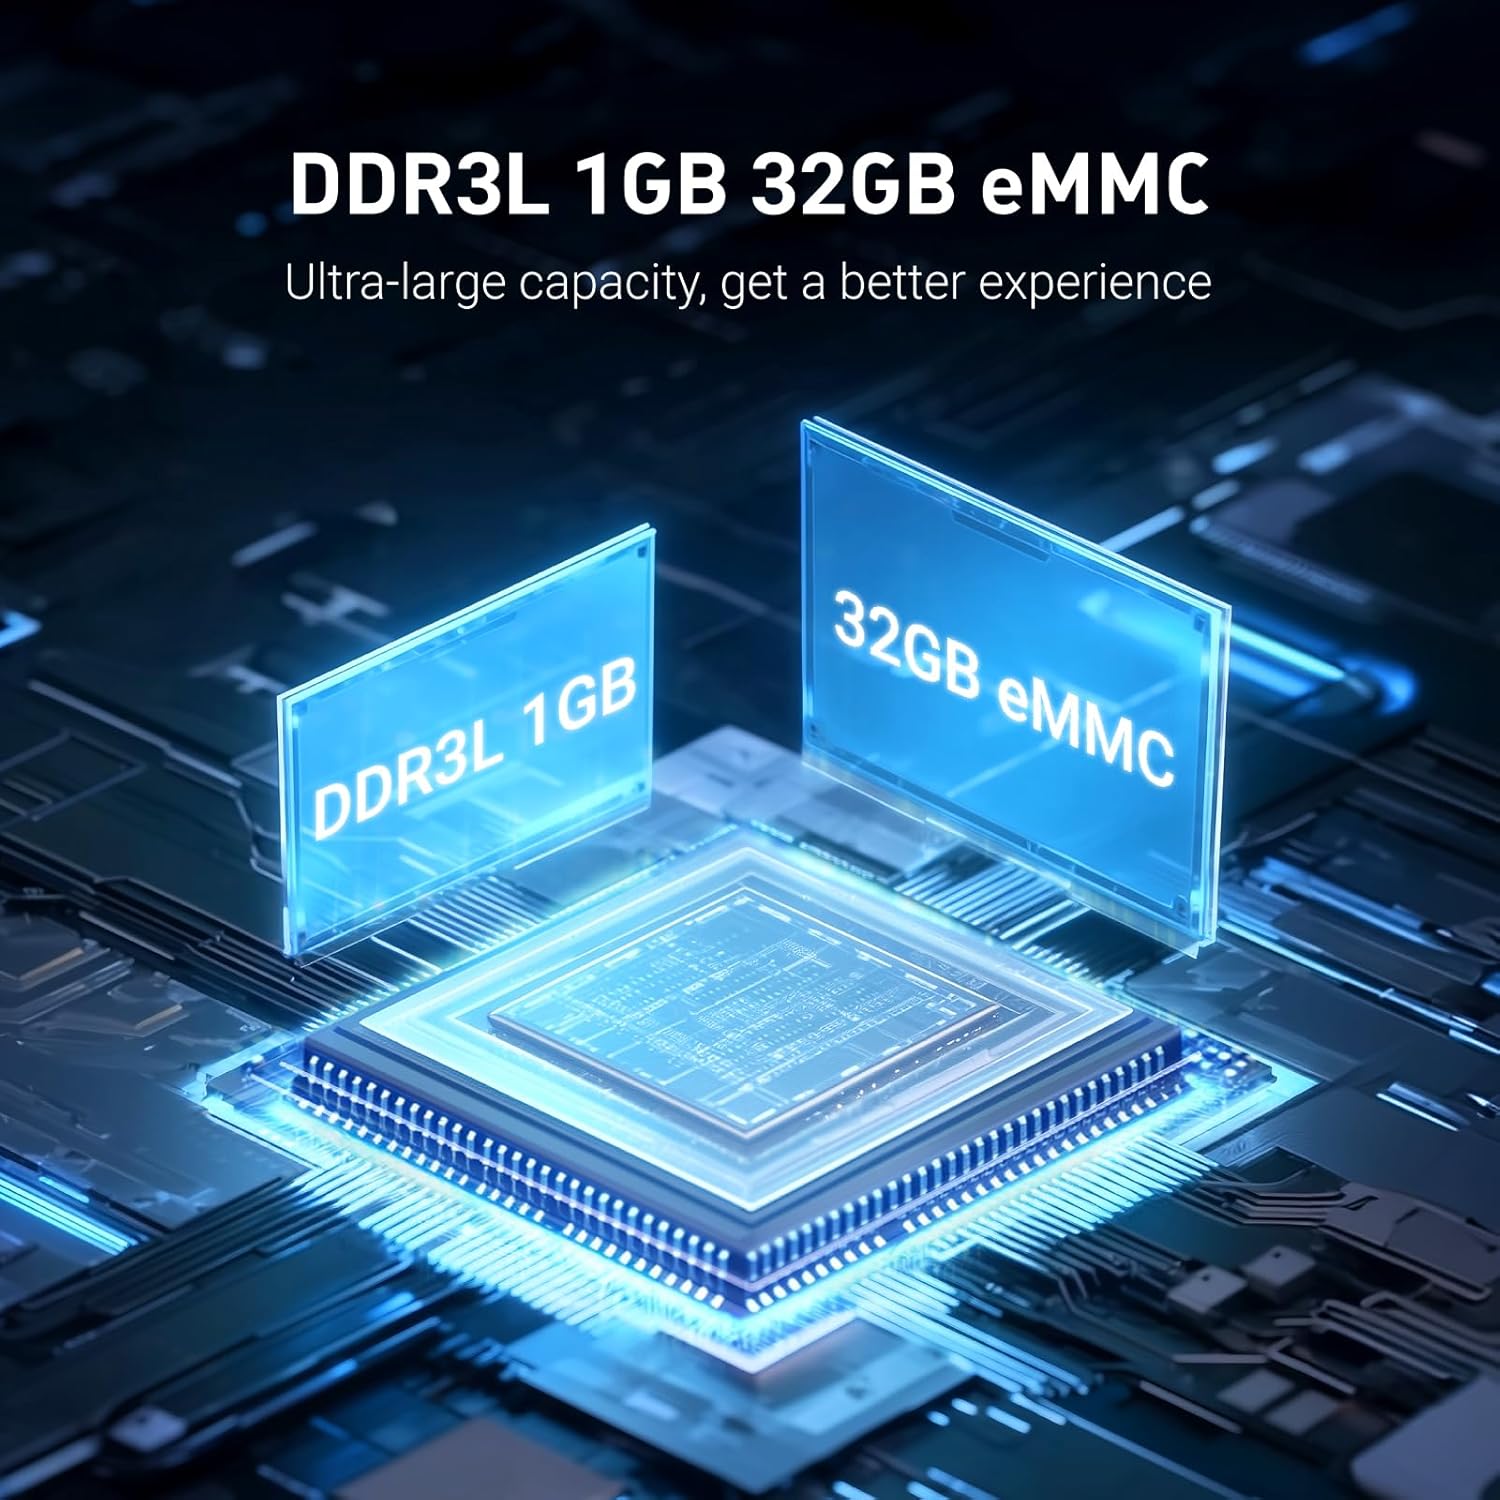
Figure 6: Comparison between Comet PoE (GL-RM1PE) and Comet (GL-RM1).
8. Support
For technical assistance, troubleshooting, or warranty inquiries, please contact GL.iNet support:
- Email: support@gl-inet.com
- Refer to the official GL.iNet website for additional resources, FAQs, and firmware updates.